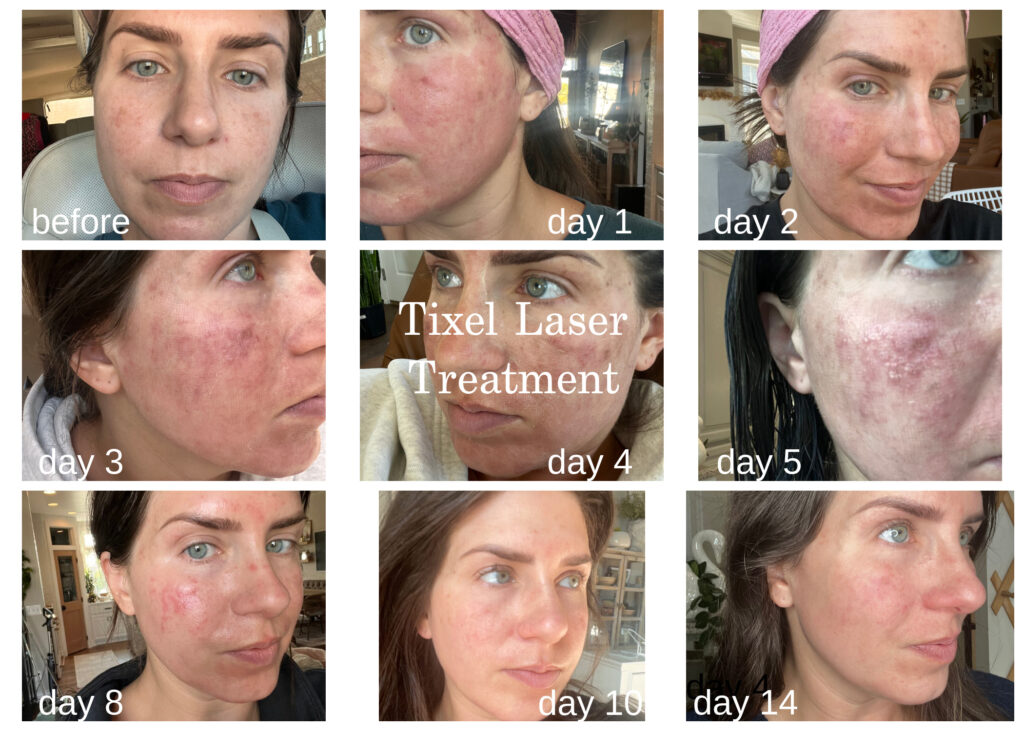
Tixel Laser-Before & After- Session 1
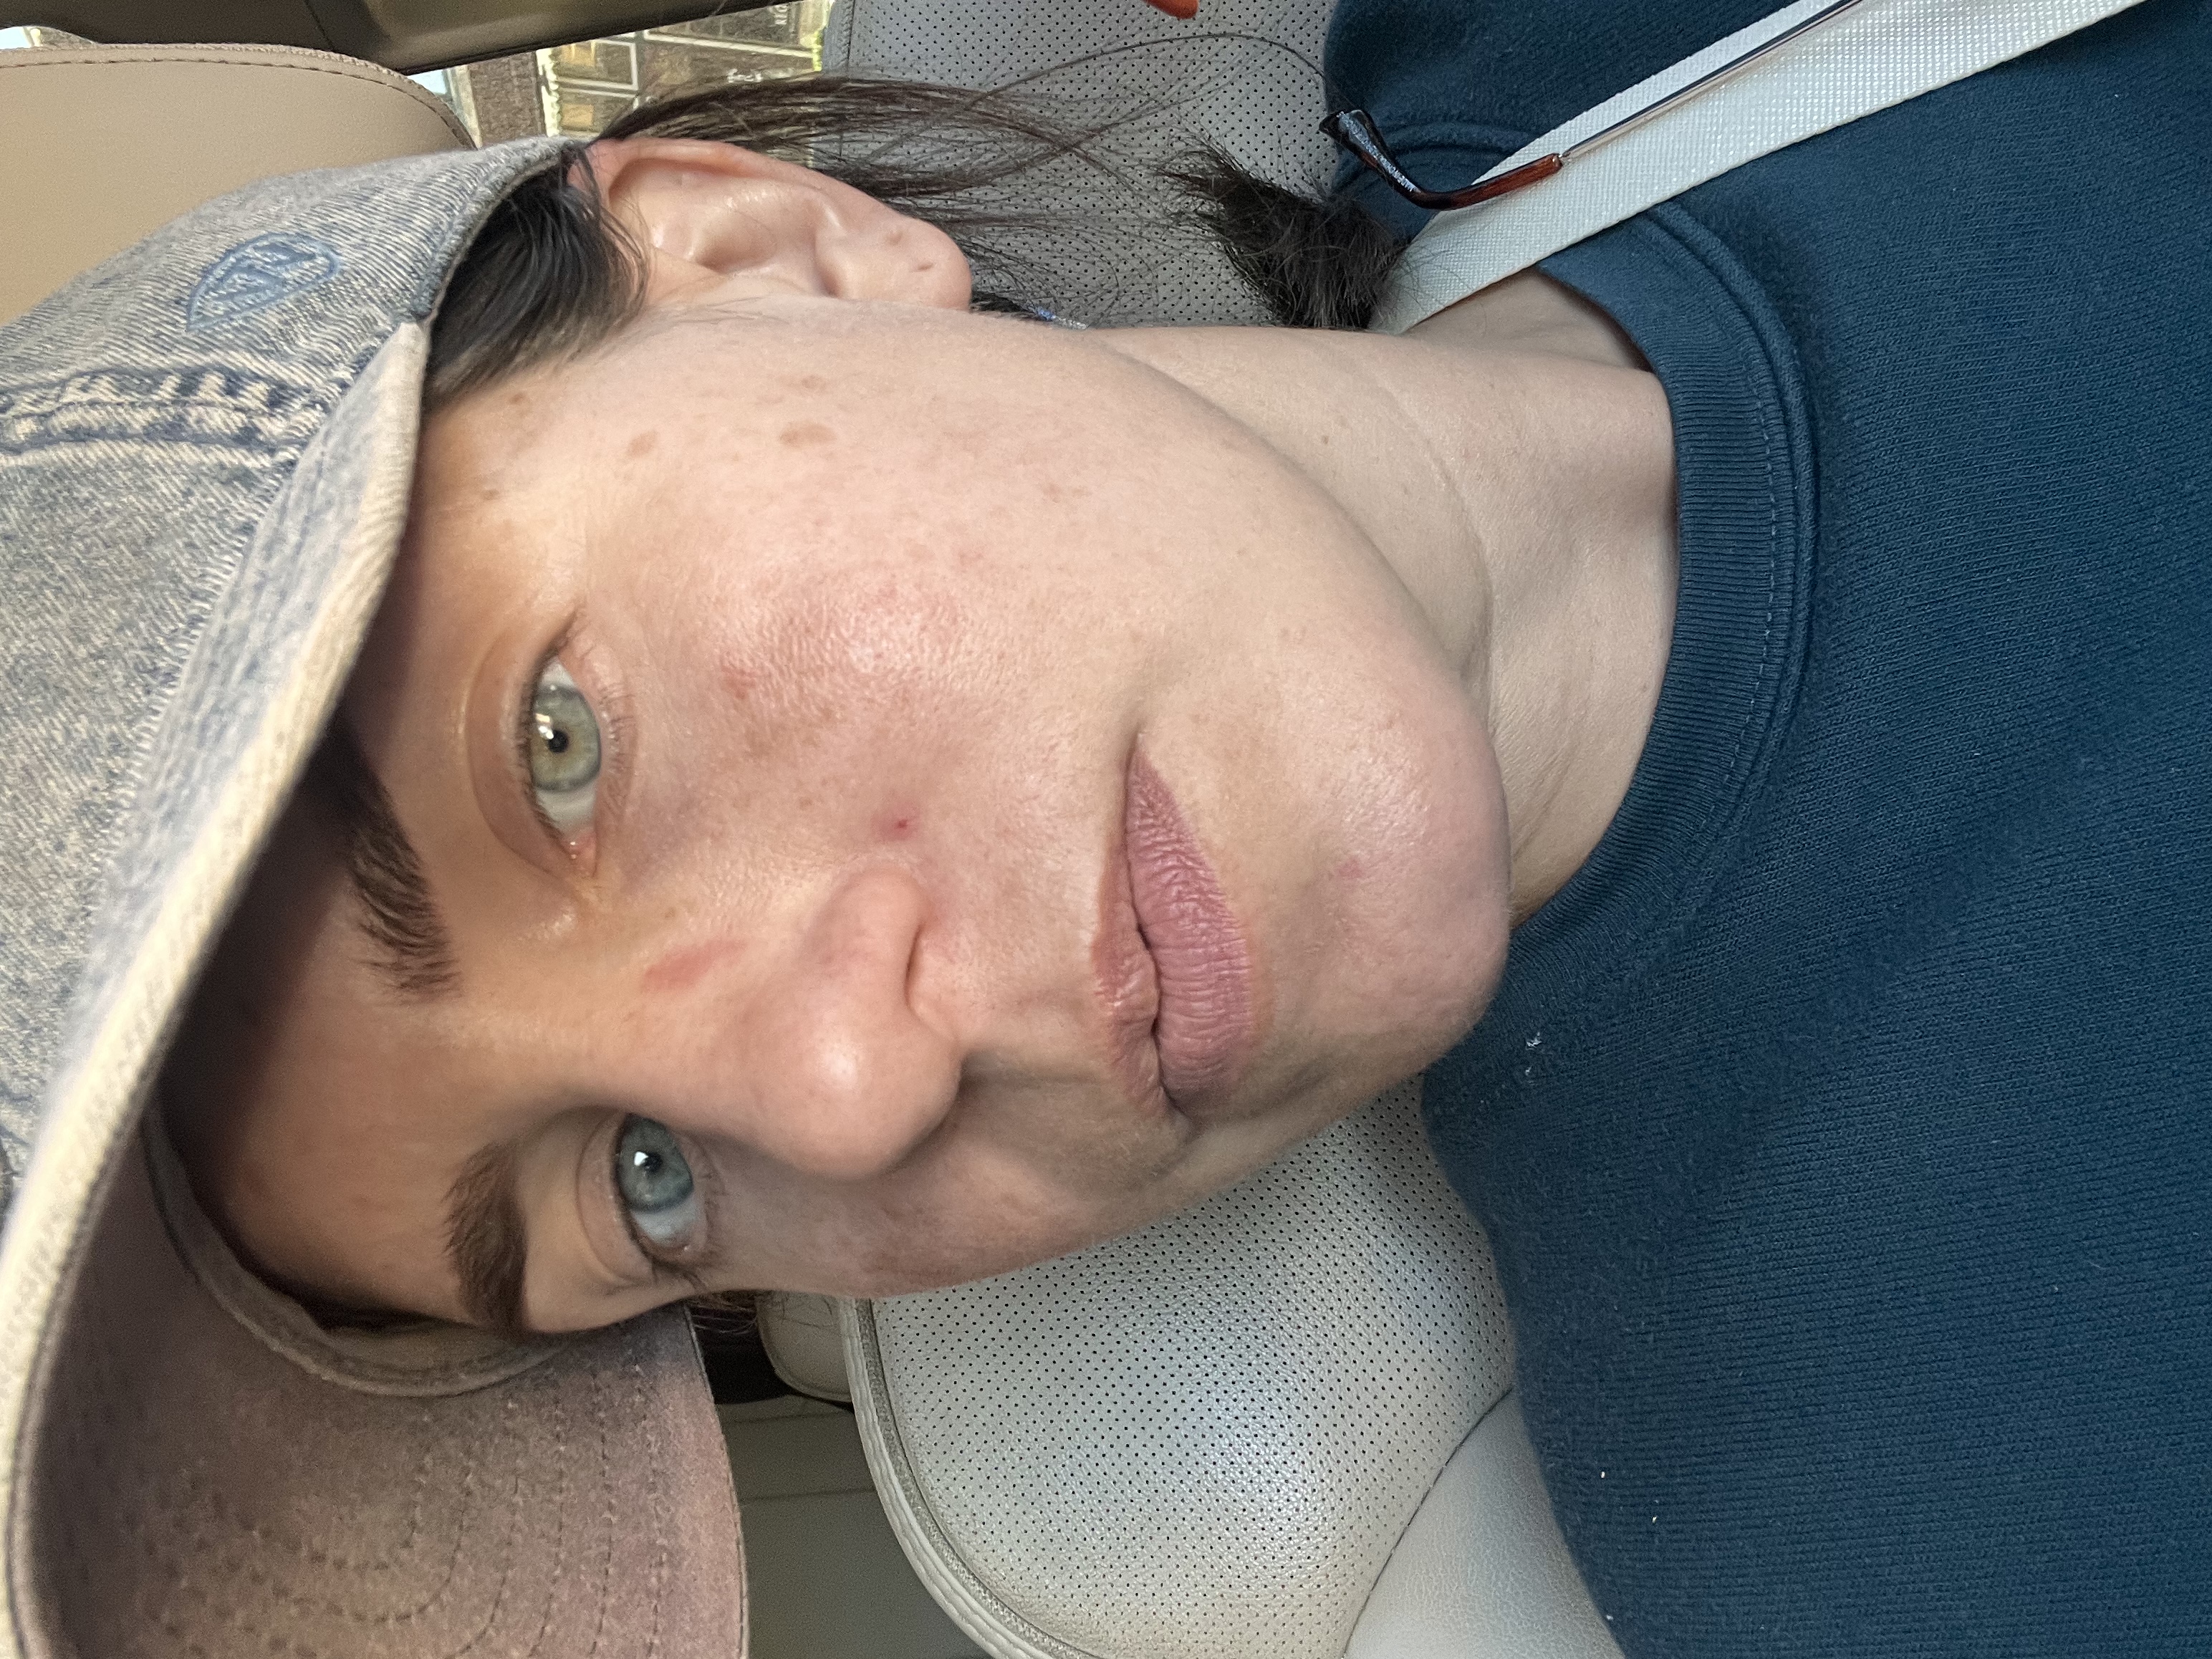
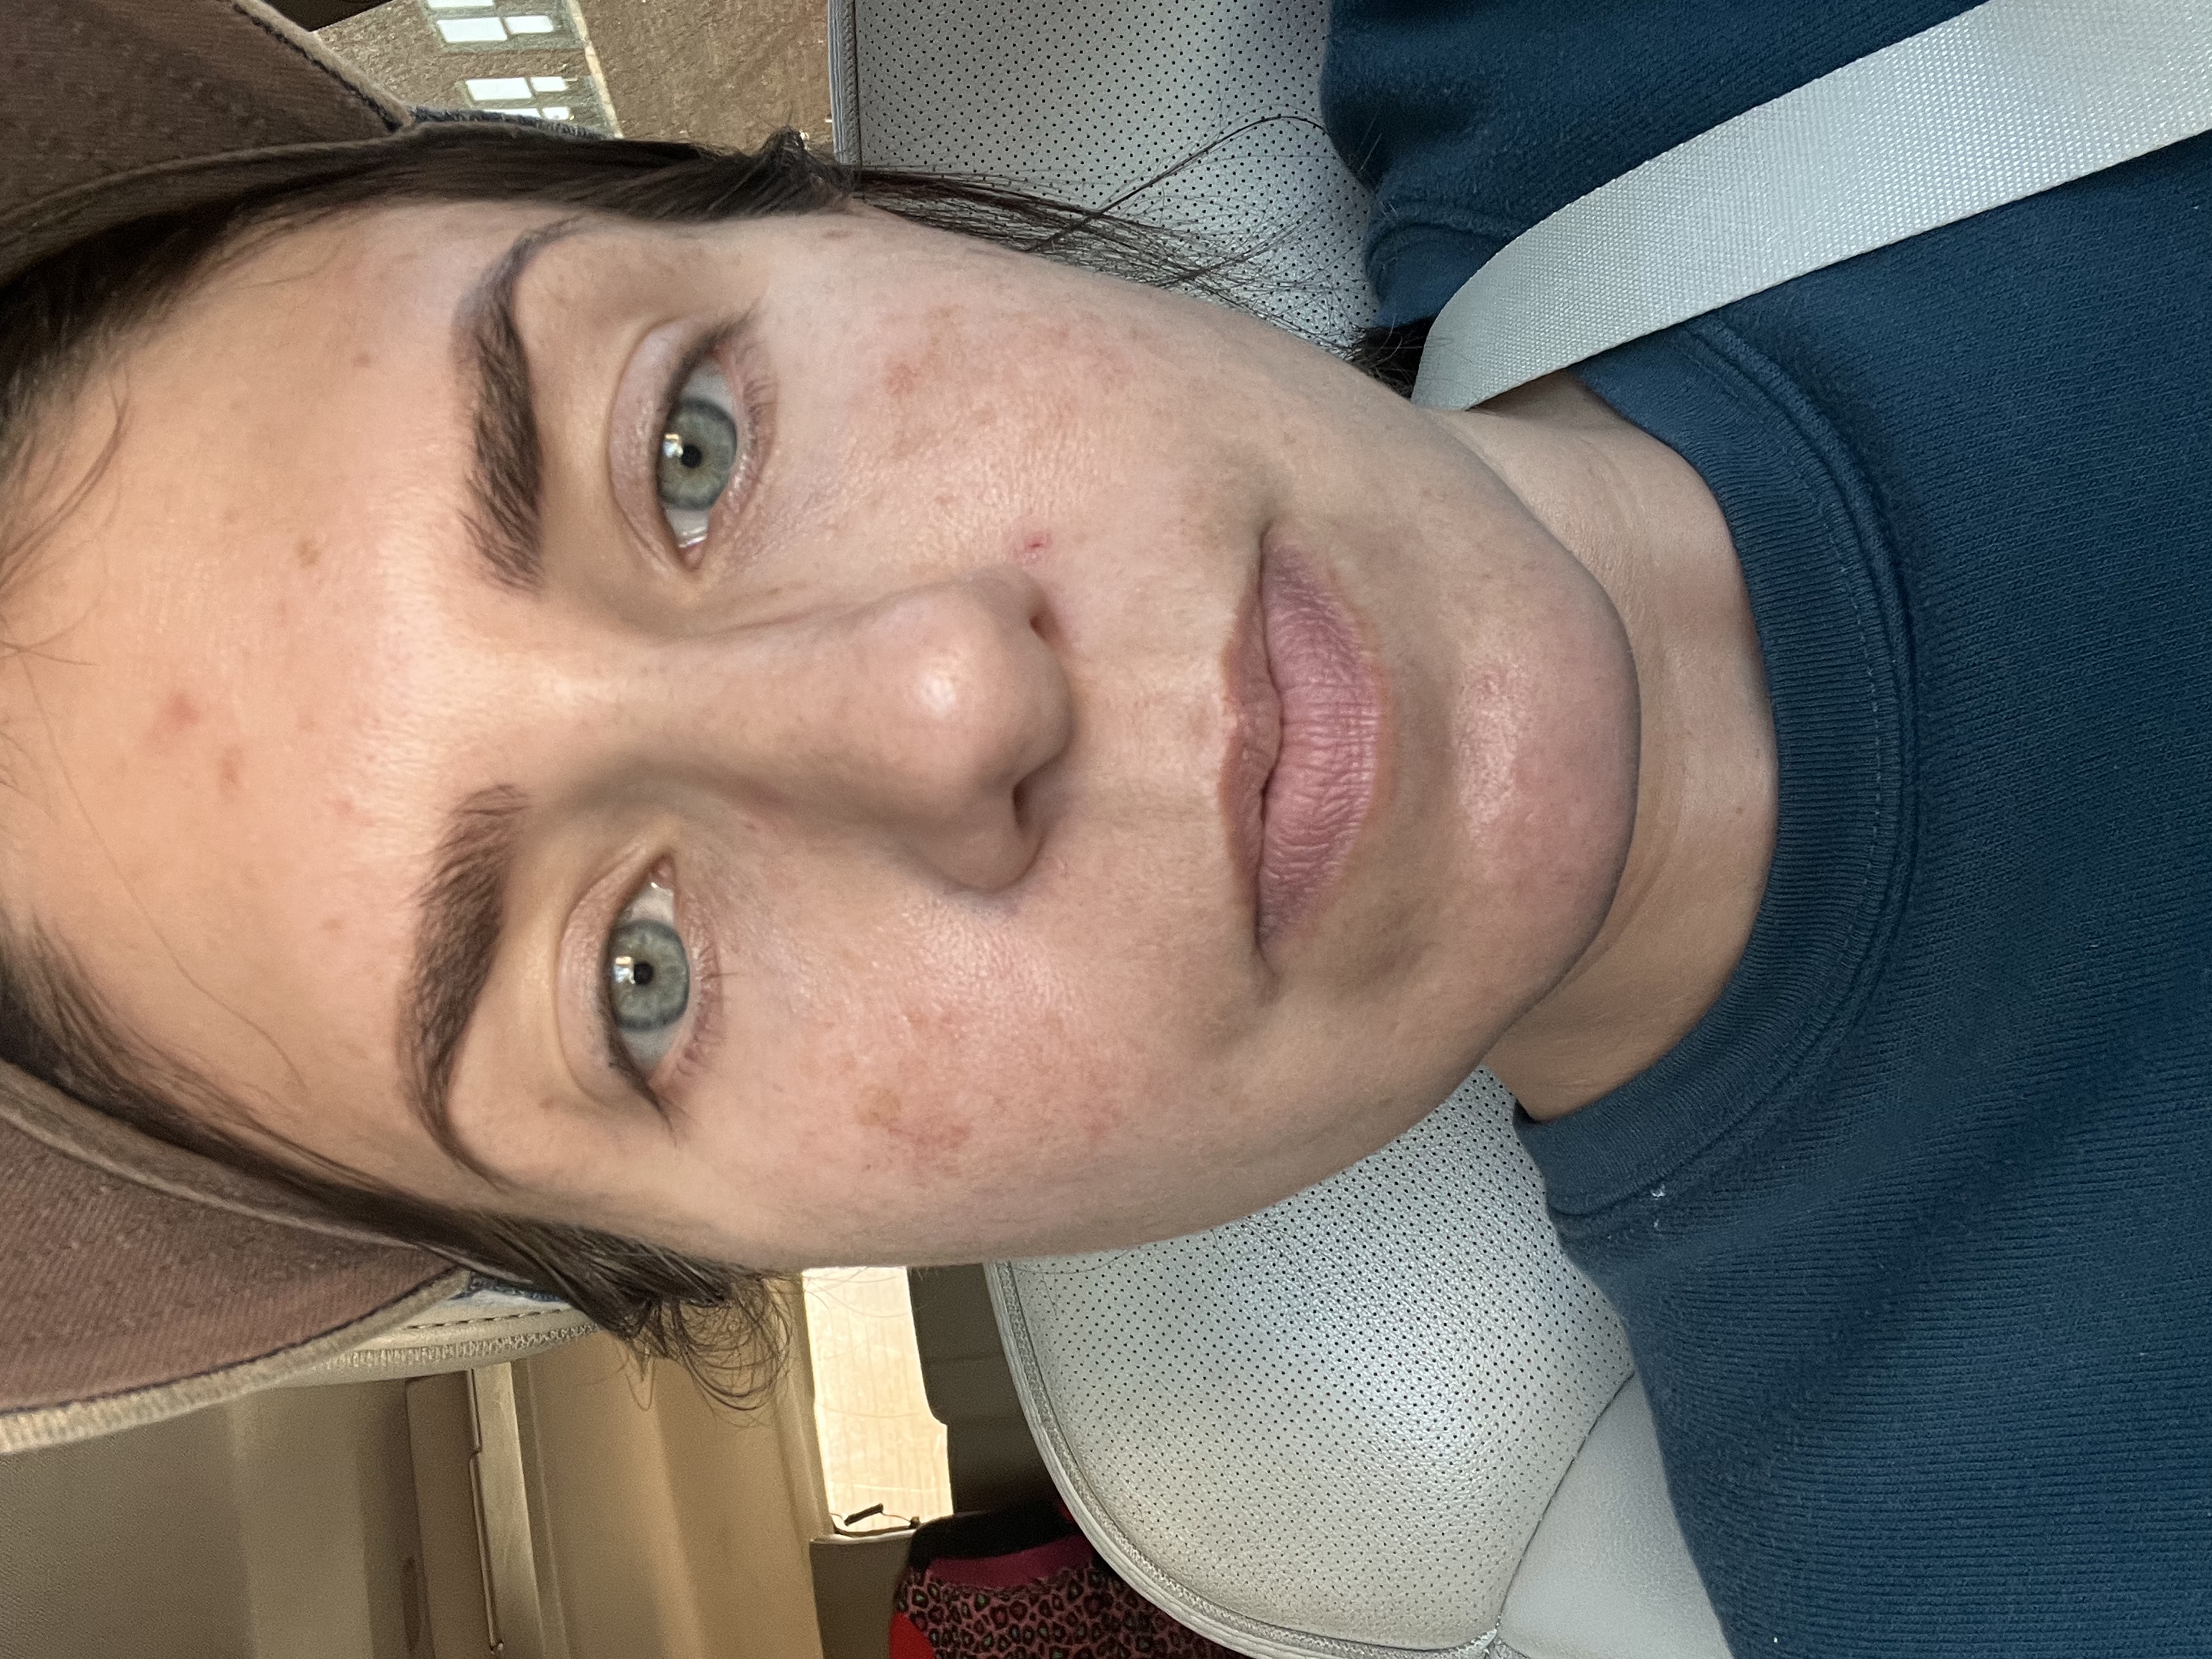
When I was pregnant with my 3rd daughter, Brielle, I first noticed melasma on my face. And ever since it has been something I’ve battled. I’ve tried LOTS of different skincare products over the years to get rid of it but nothing has worked. I do have sensitive skin so I’m limited to what I can use on my skin which definitely doesn’t help. Musely has a hydroquinone cream that probably made the biggest difference but didn’t take the melasma away completely. If your melasma isn’t terrible, that would be a good place to start in my opinion! My skin scars very easily so along with melasma, acne scarring is something I have also dealt with. After a lot of researching and considering, I decided to bring out the big guns and try a tixel laser treatment. It is suggested to do these treatments in a trio- your 2nd one close to a month after your 1st one and then the 3rd sometime in the next few months. I wanted to document my journey to #1- see how well this treatment ends up working and #2- for all of you. I don’t love showing all of my flaws up close and center but this is real life, real skin and real results.
What is a Tixel Laser Treatment?
A Tixel is a non-surgical skin treatment device that uses heat to improve the appearance of the skin:
- How it works A Tixel device uses a small metal plate with titanium cones to deliver short bursts of heat to the skin. The heat stimulates collagen production, which helps the skin heal and look smoother and tighter.
- What it can treat Tixel can treat a variety of skin concerns, including:
- Wrinkles and lines
- Acne scars
- Uneven skin texture
- Pigmentation problems
- Rosacea
- Stretch marks
- Benefits Tixel is suitable for all skin types and requires less downtime and discomfort than other treatments. It’s also safe to use near the eyes.
- Treatment process A typical treatment program includes 3 to 4 sessions with a one month interval between each session.
- Other names Tixel is also known as “fractional ablative laser treatment” or “fractional skin resurfacing”.
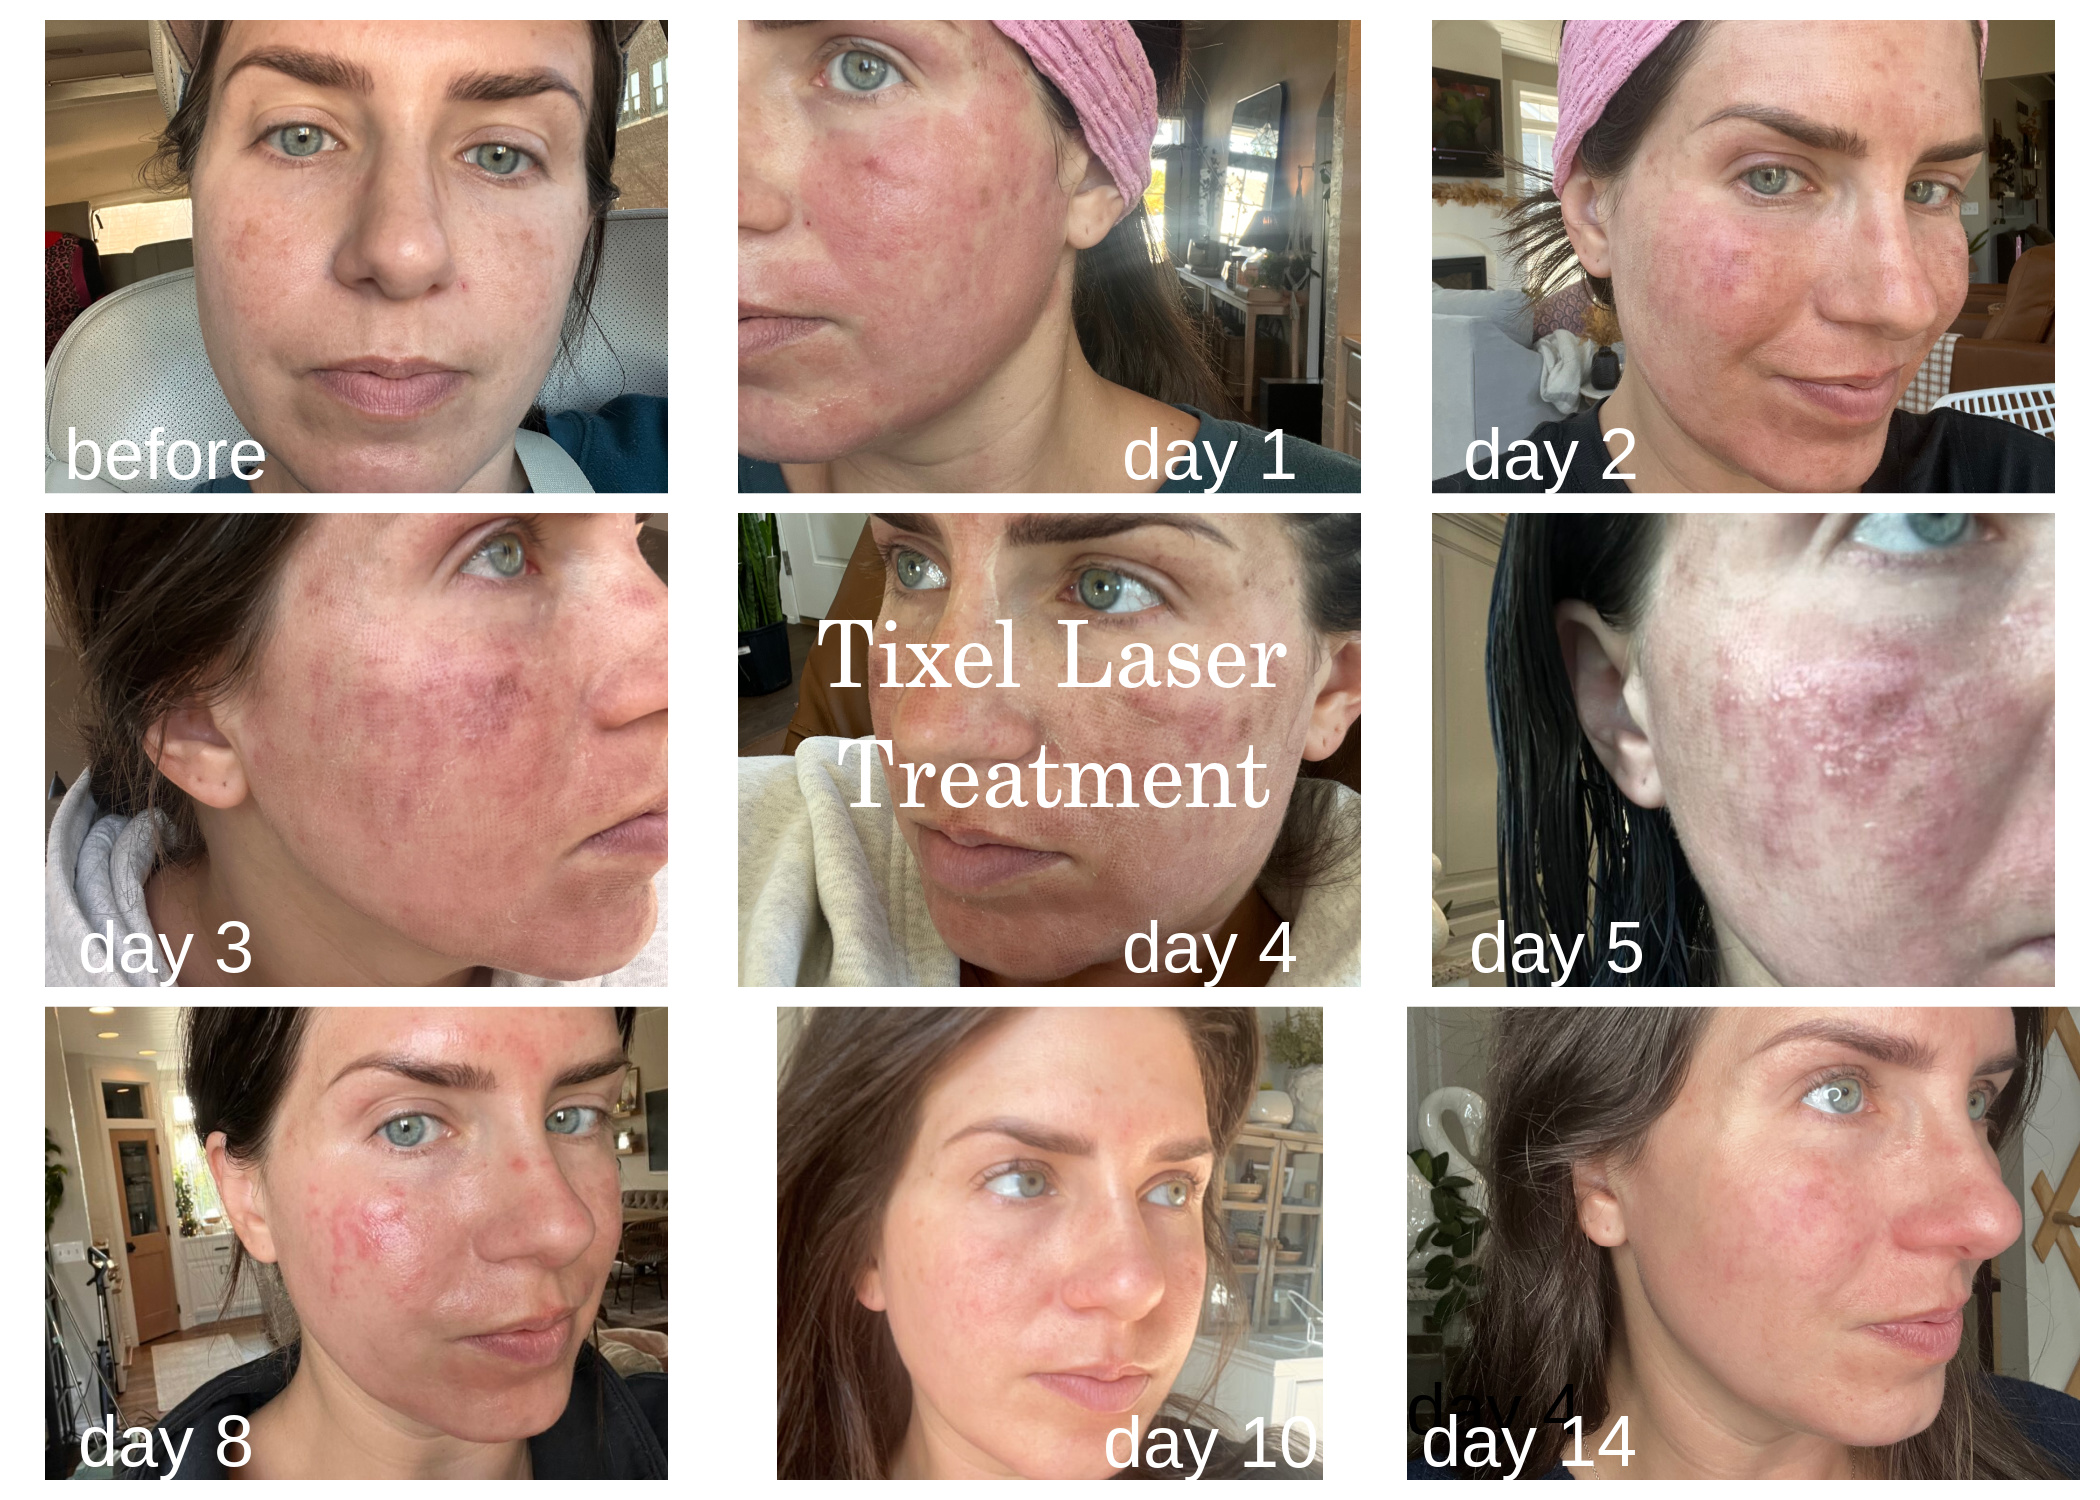
before
Tixel Treatment
Once I arrived, my face was cleansed and a numbing cream put on. After 20-30 minutes, he then started the procedure. He gave me a hand-held fan that helped a lot. Because of the numbing cream, it did not hurt that bad. Definitely spicy in some areas but nothing I could not handle! I would NOT suggest this procedure without being numbed first! I would say I was there for about an hour altogether and this is what my face looked right after I got home.
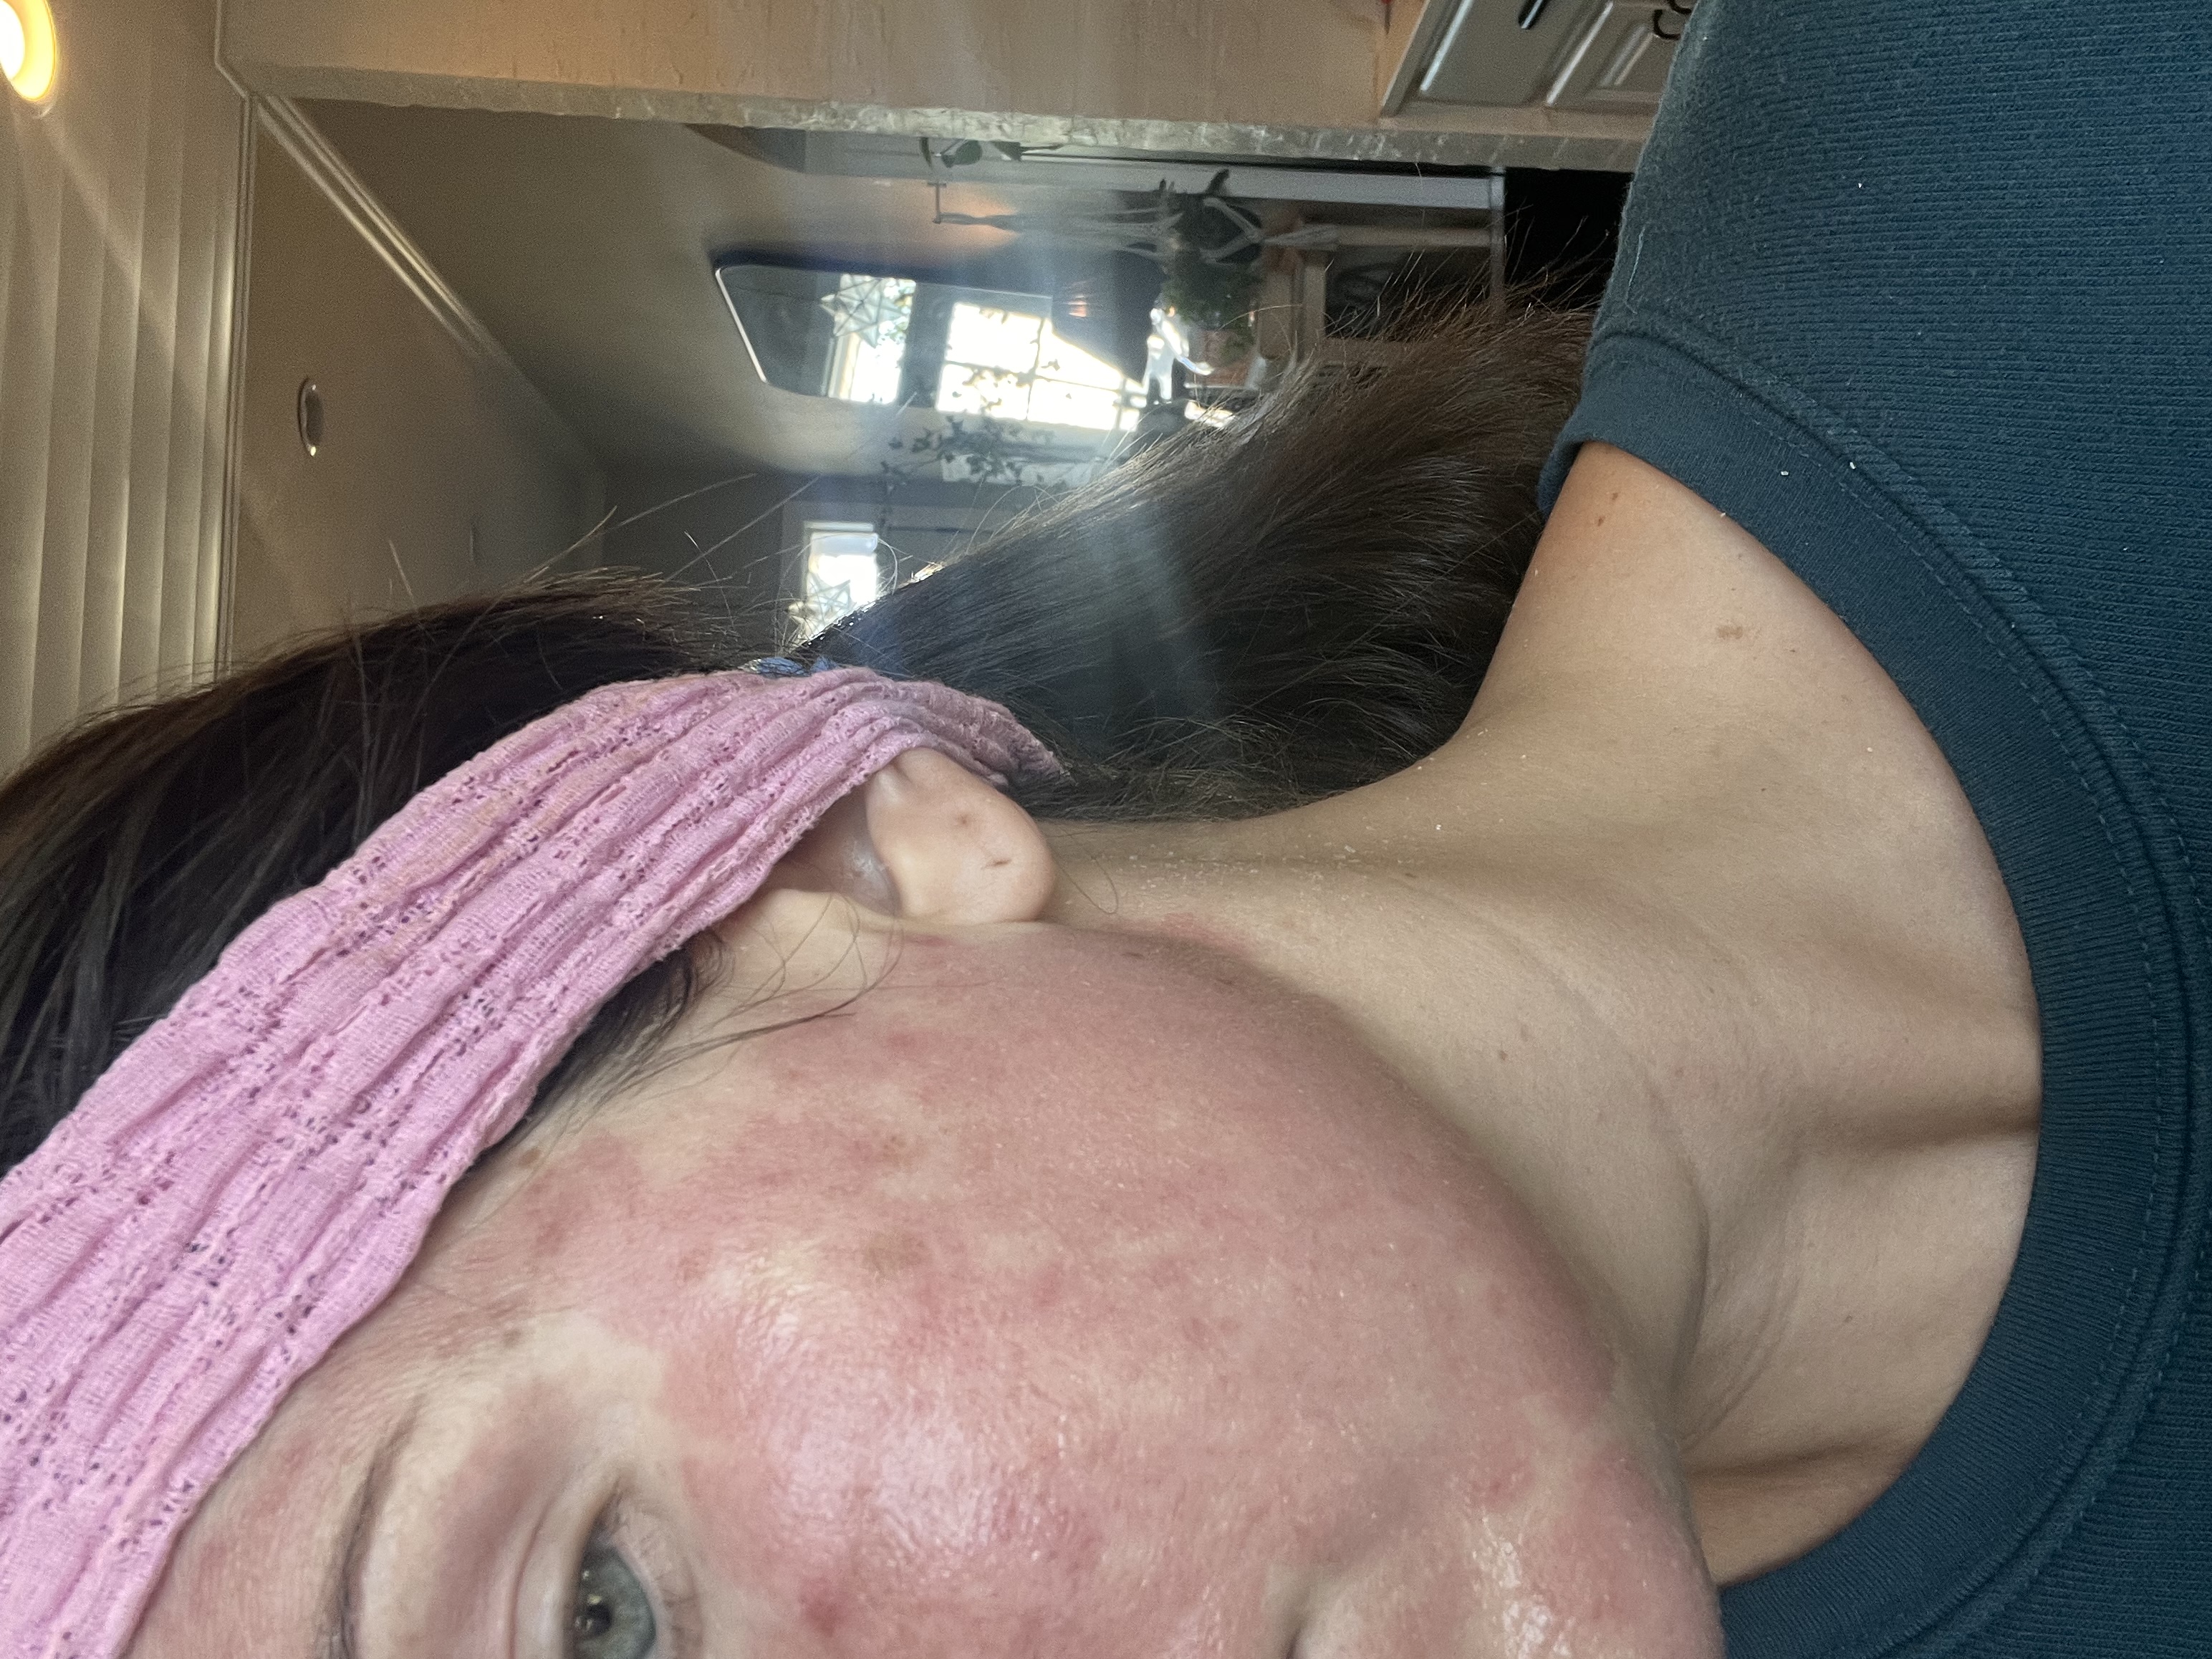
My skin felt like I had a bad sunburn but after a few hours, felt much better.
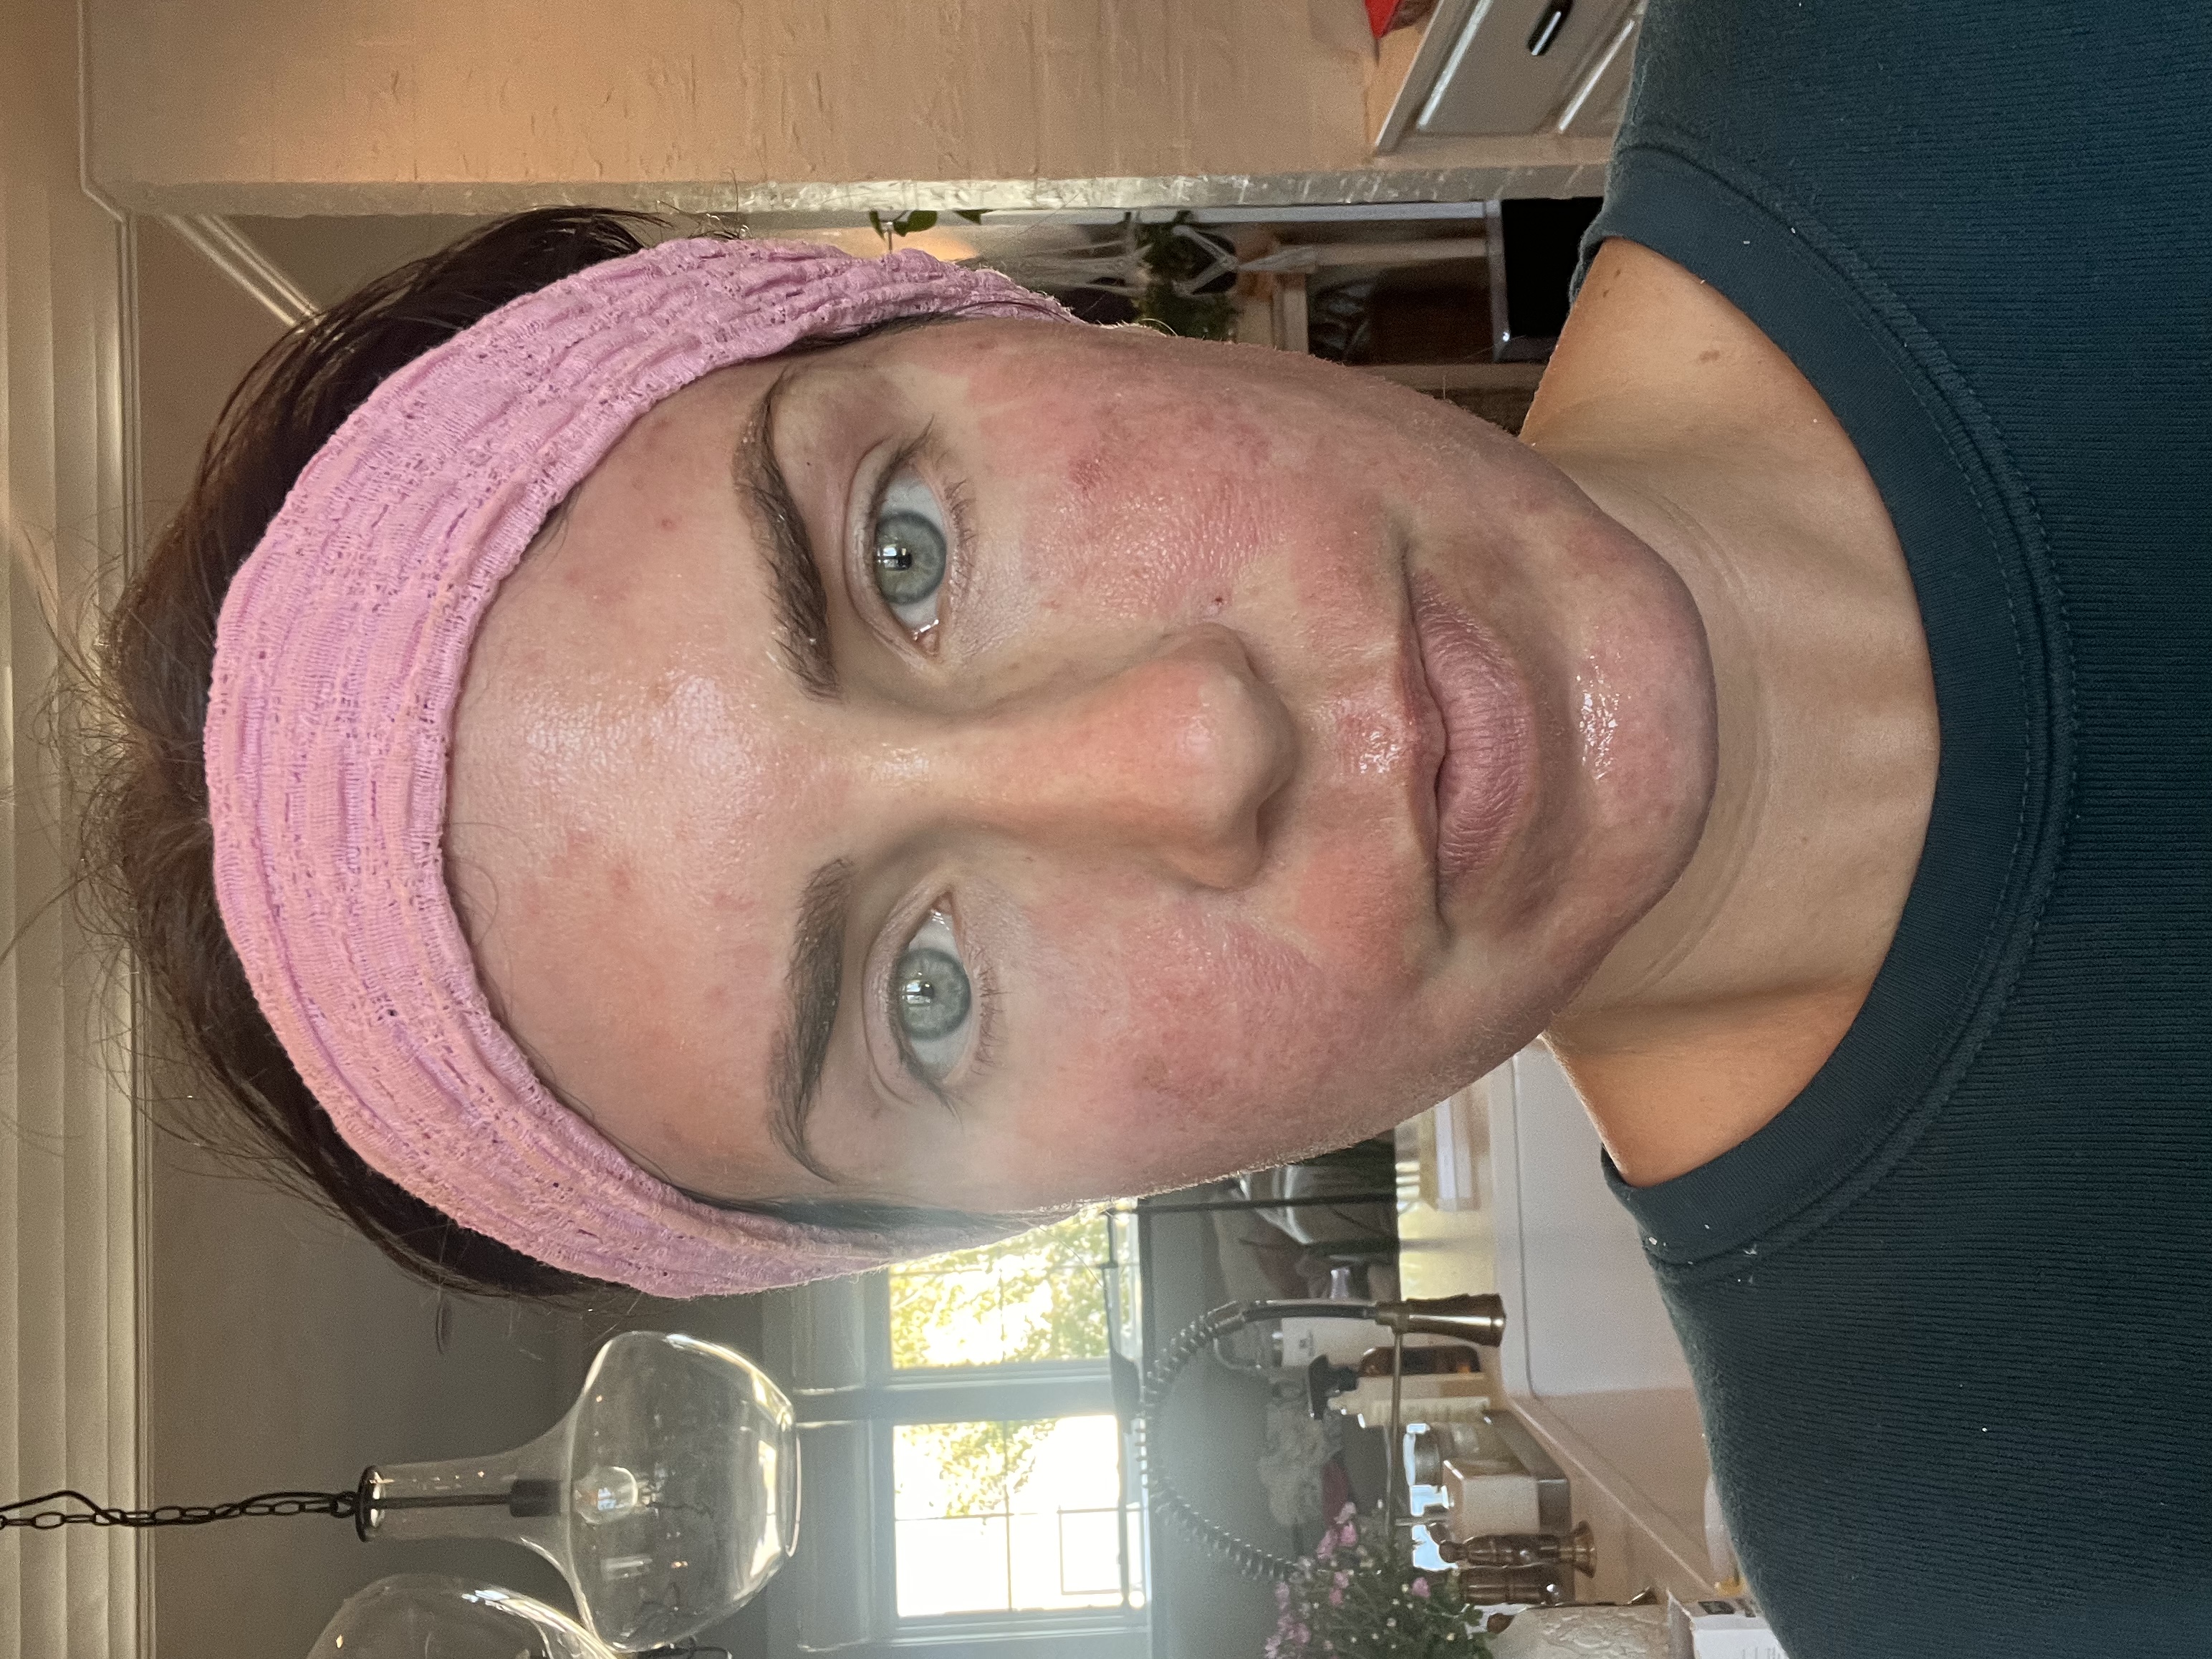
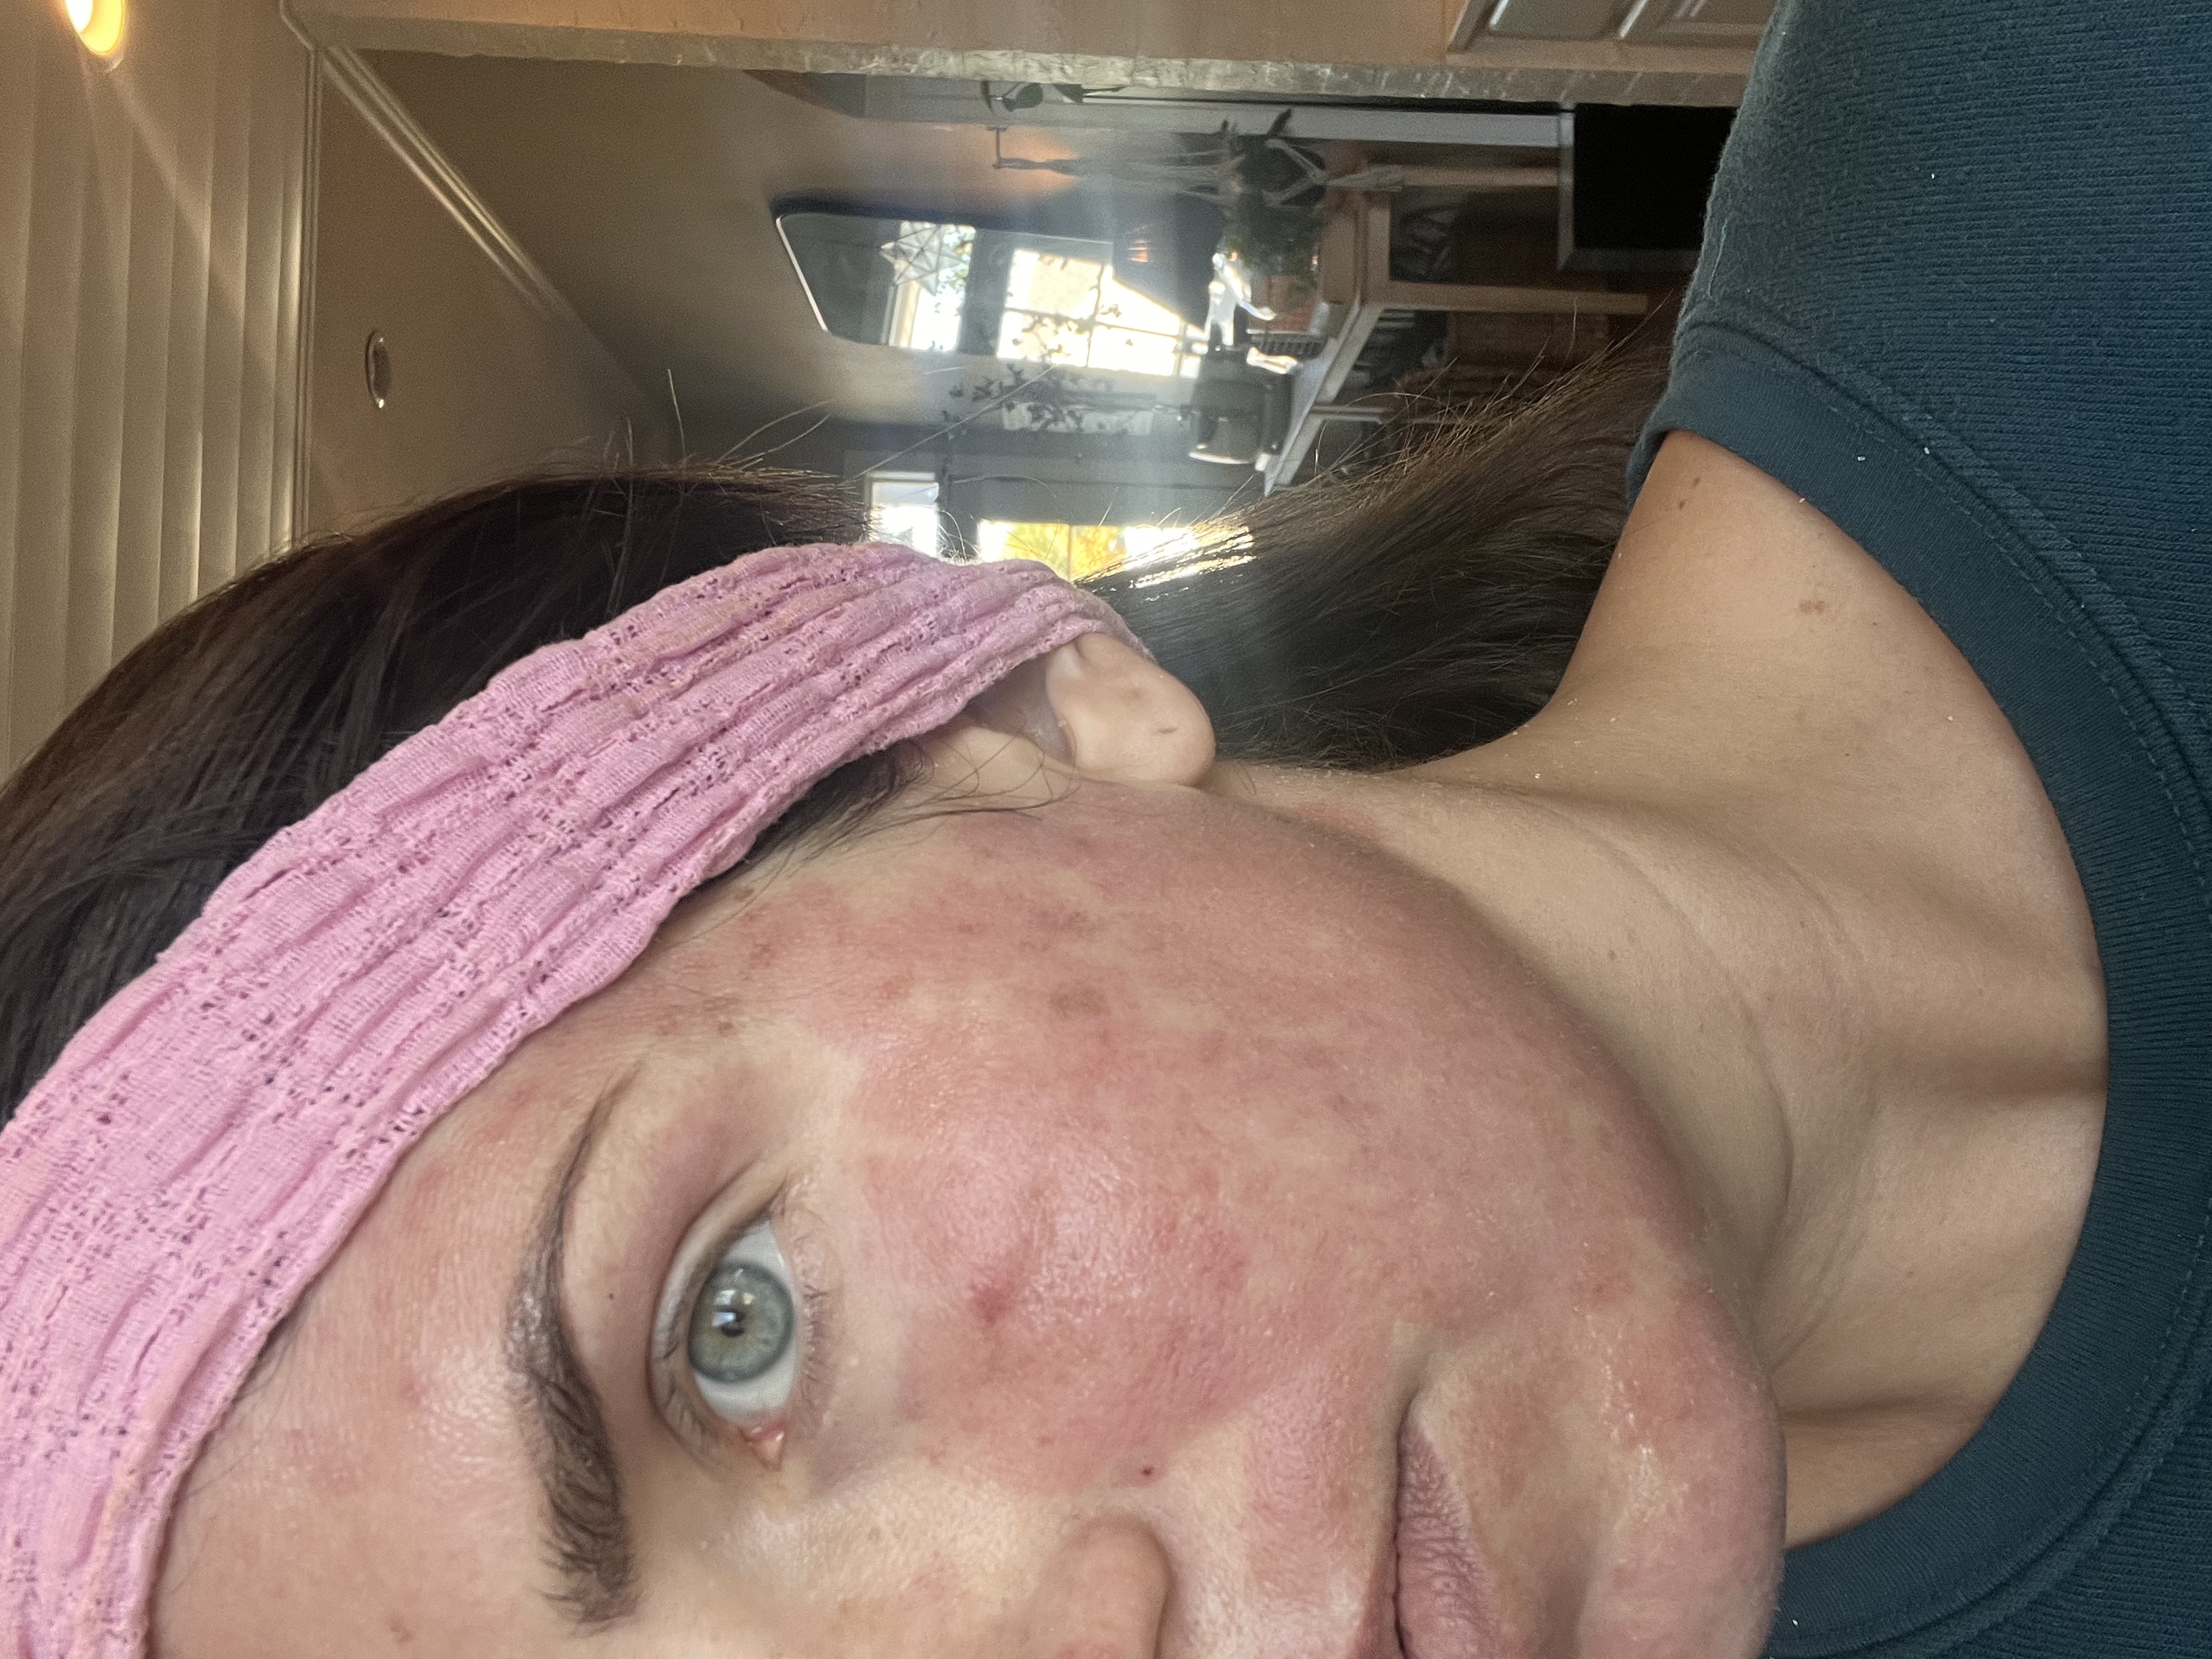
Day 2
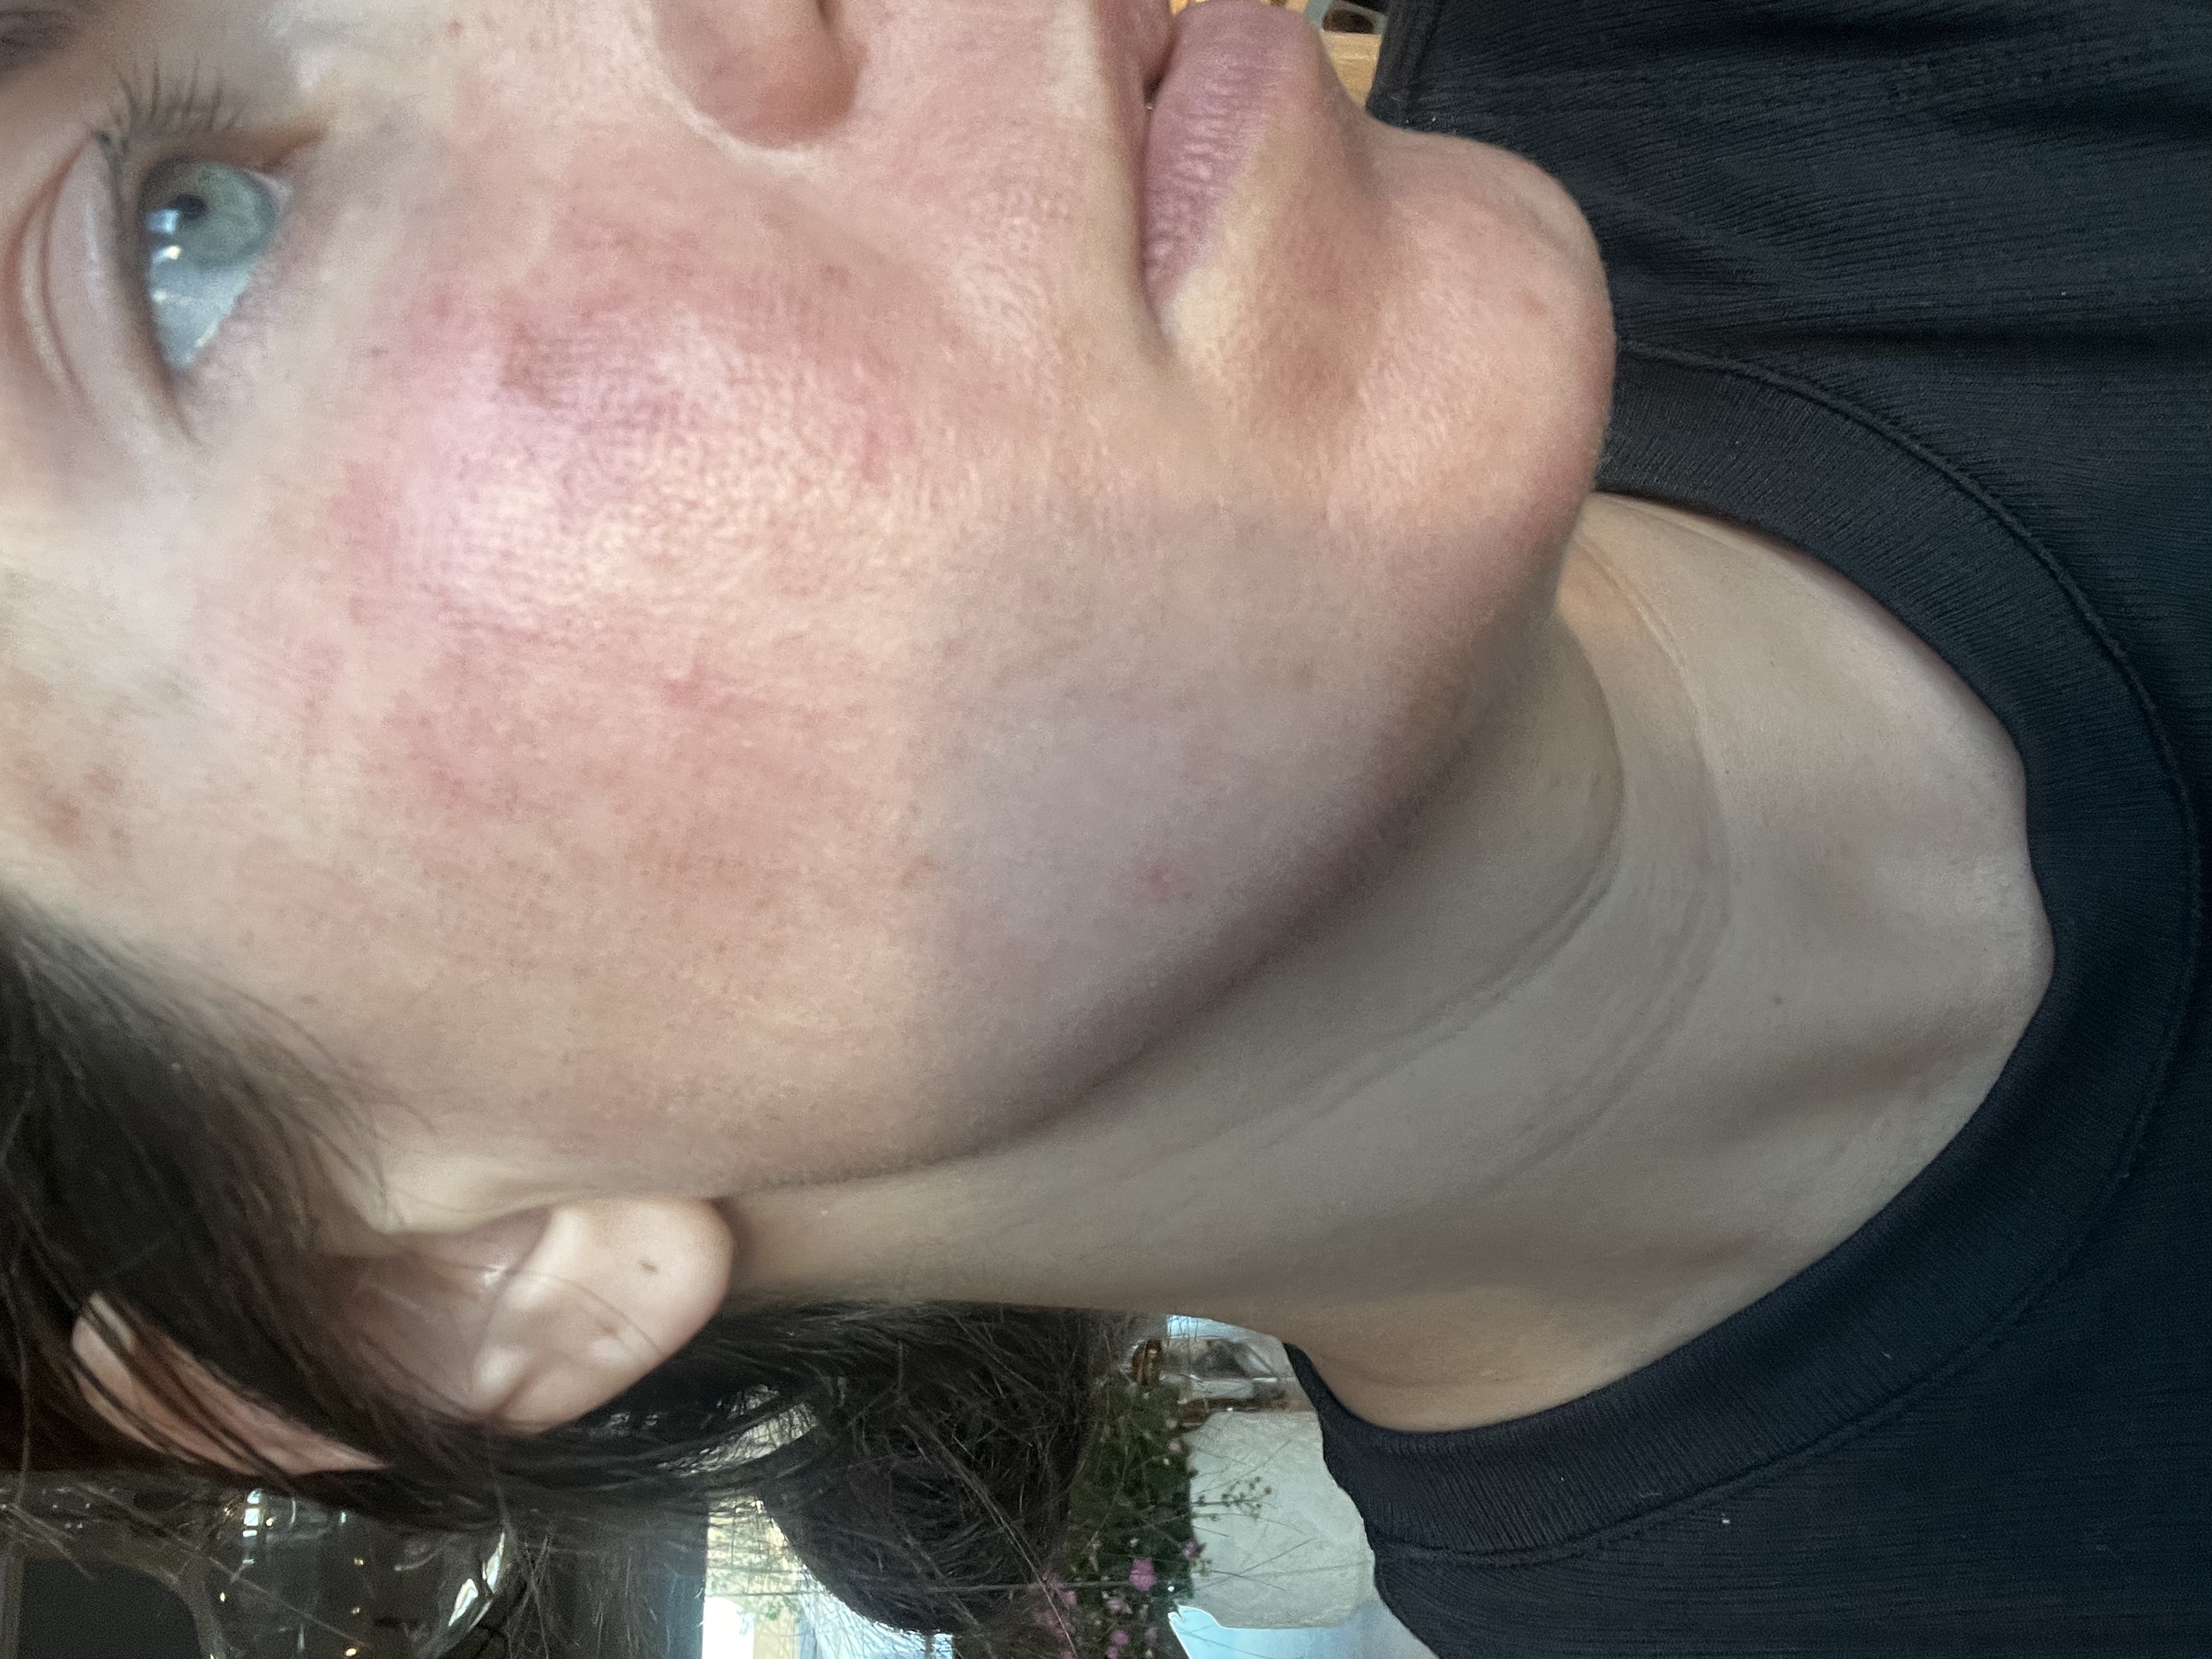
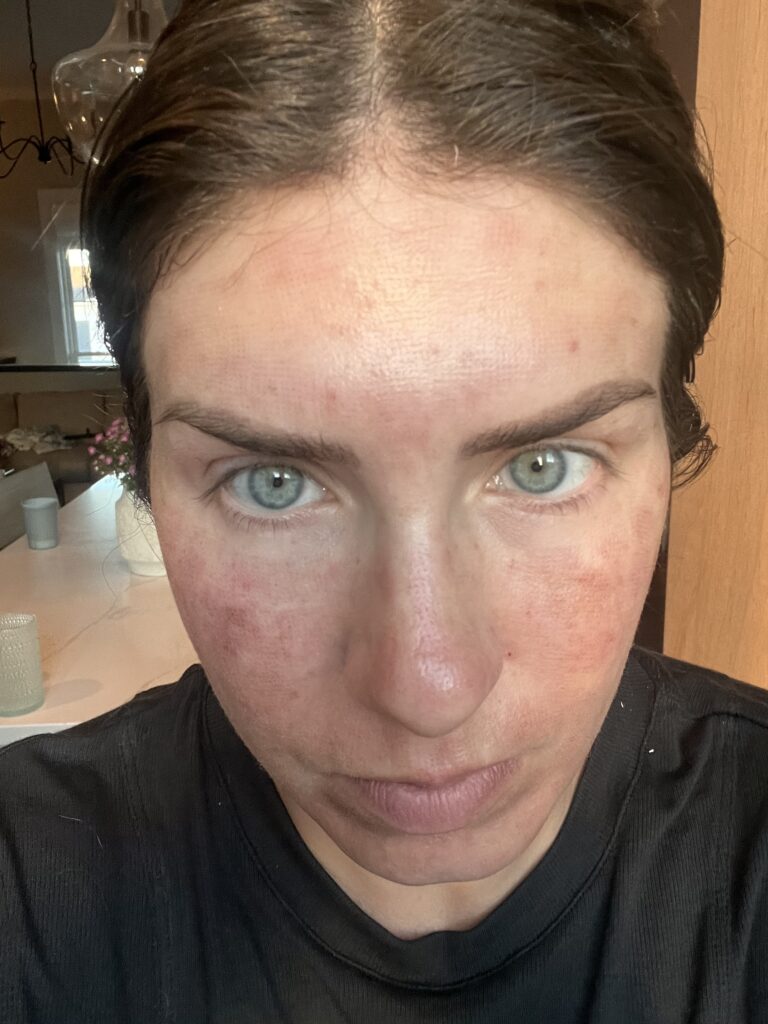
Day 3
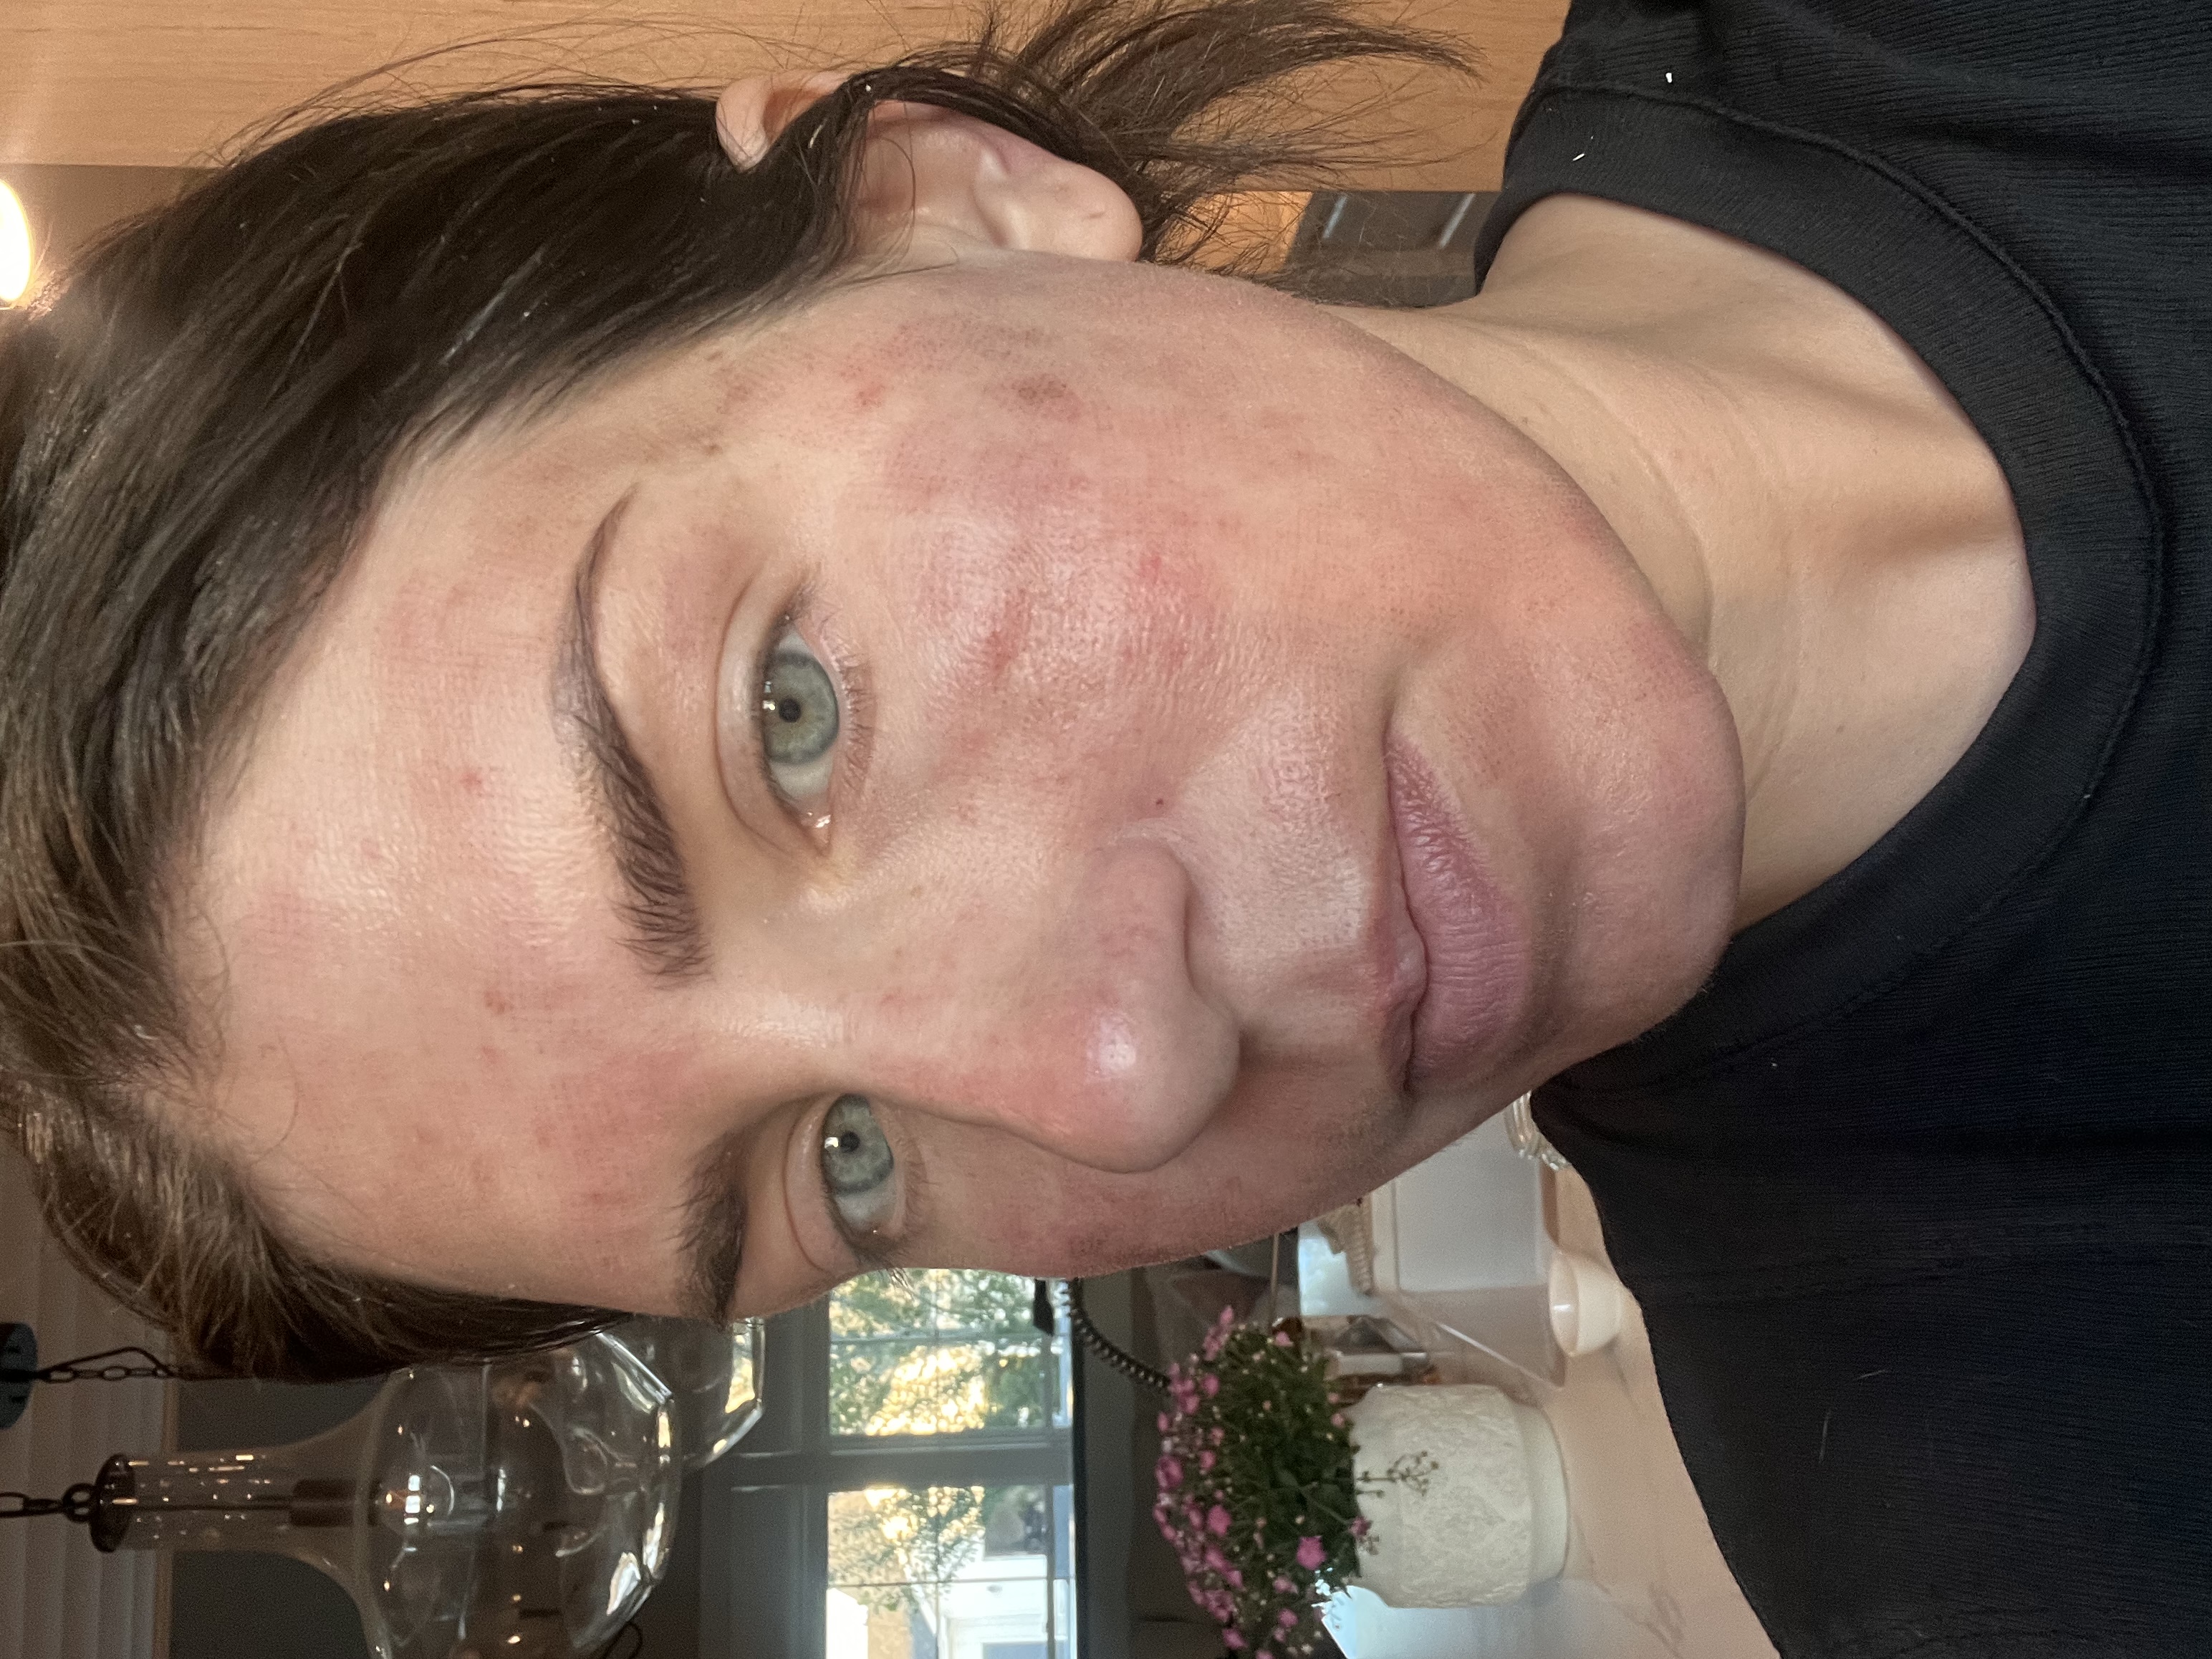
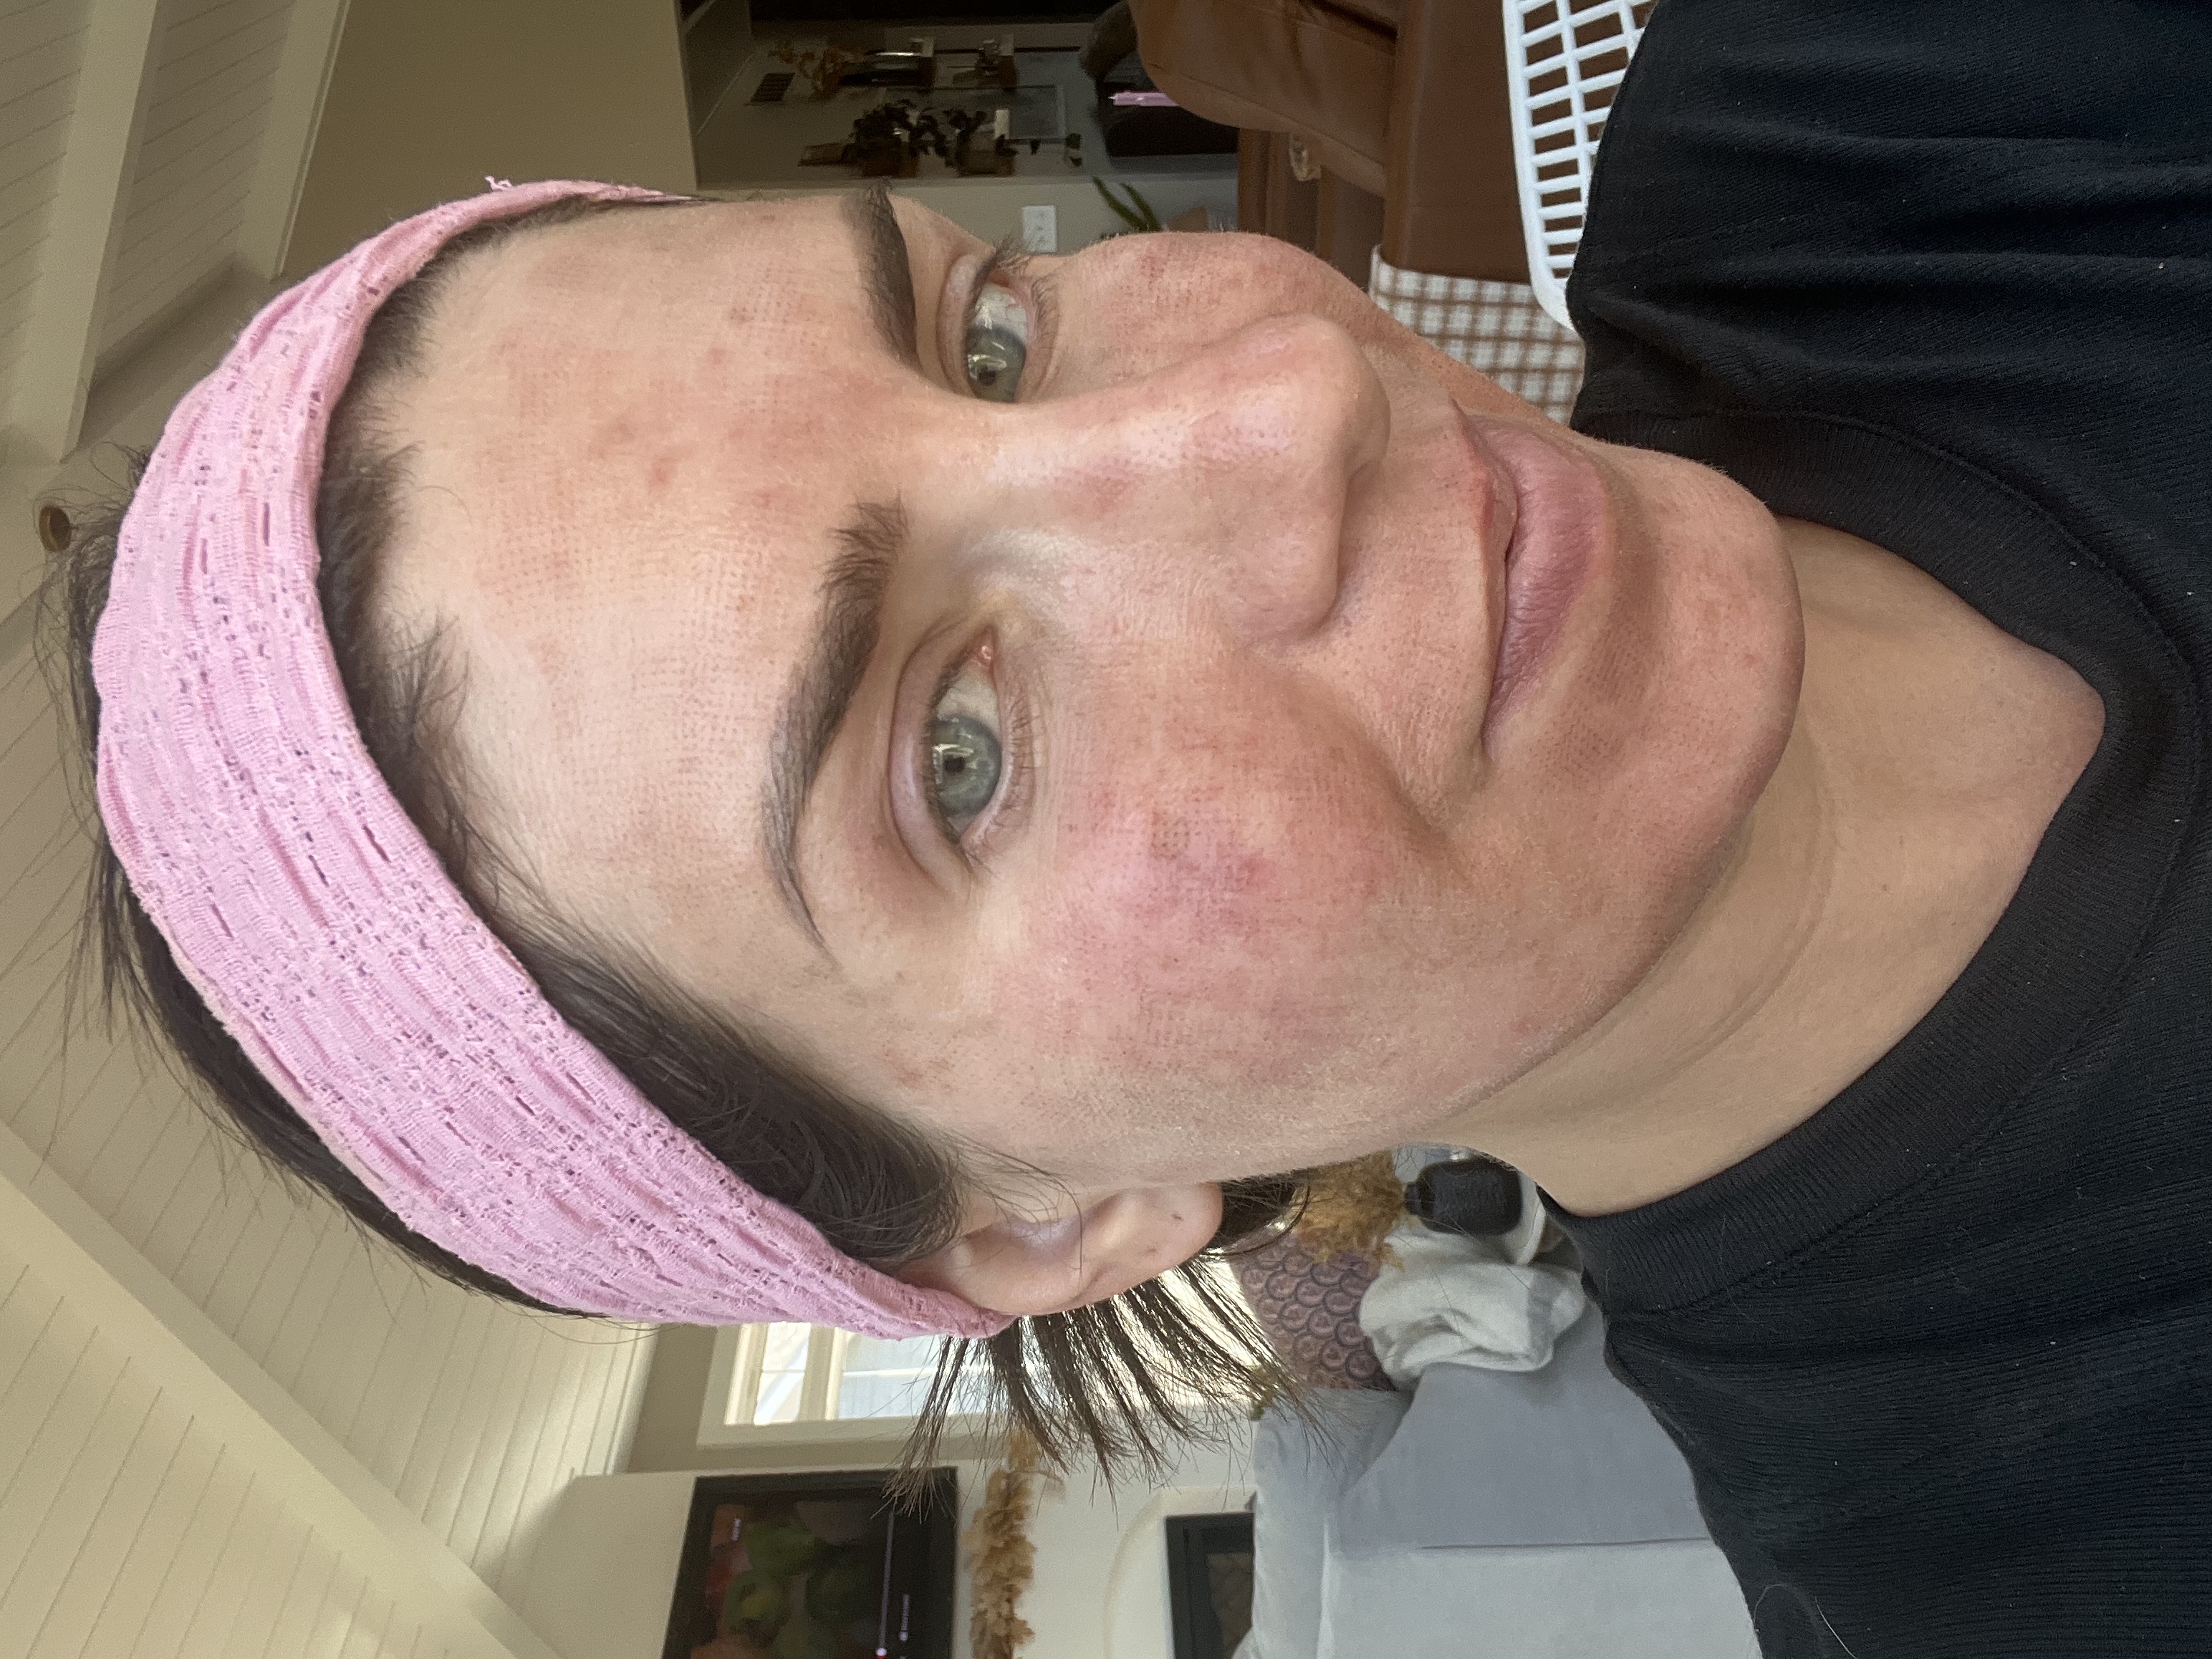
Day 4
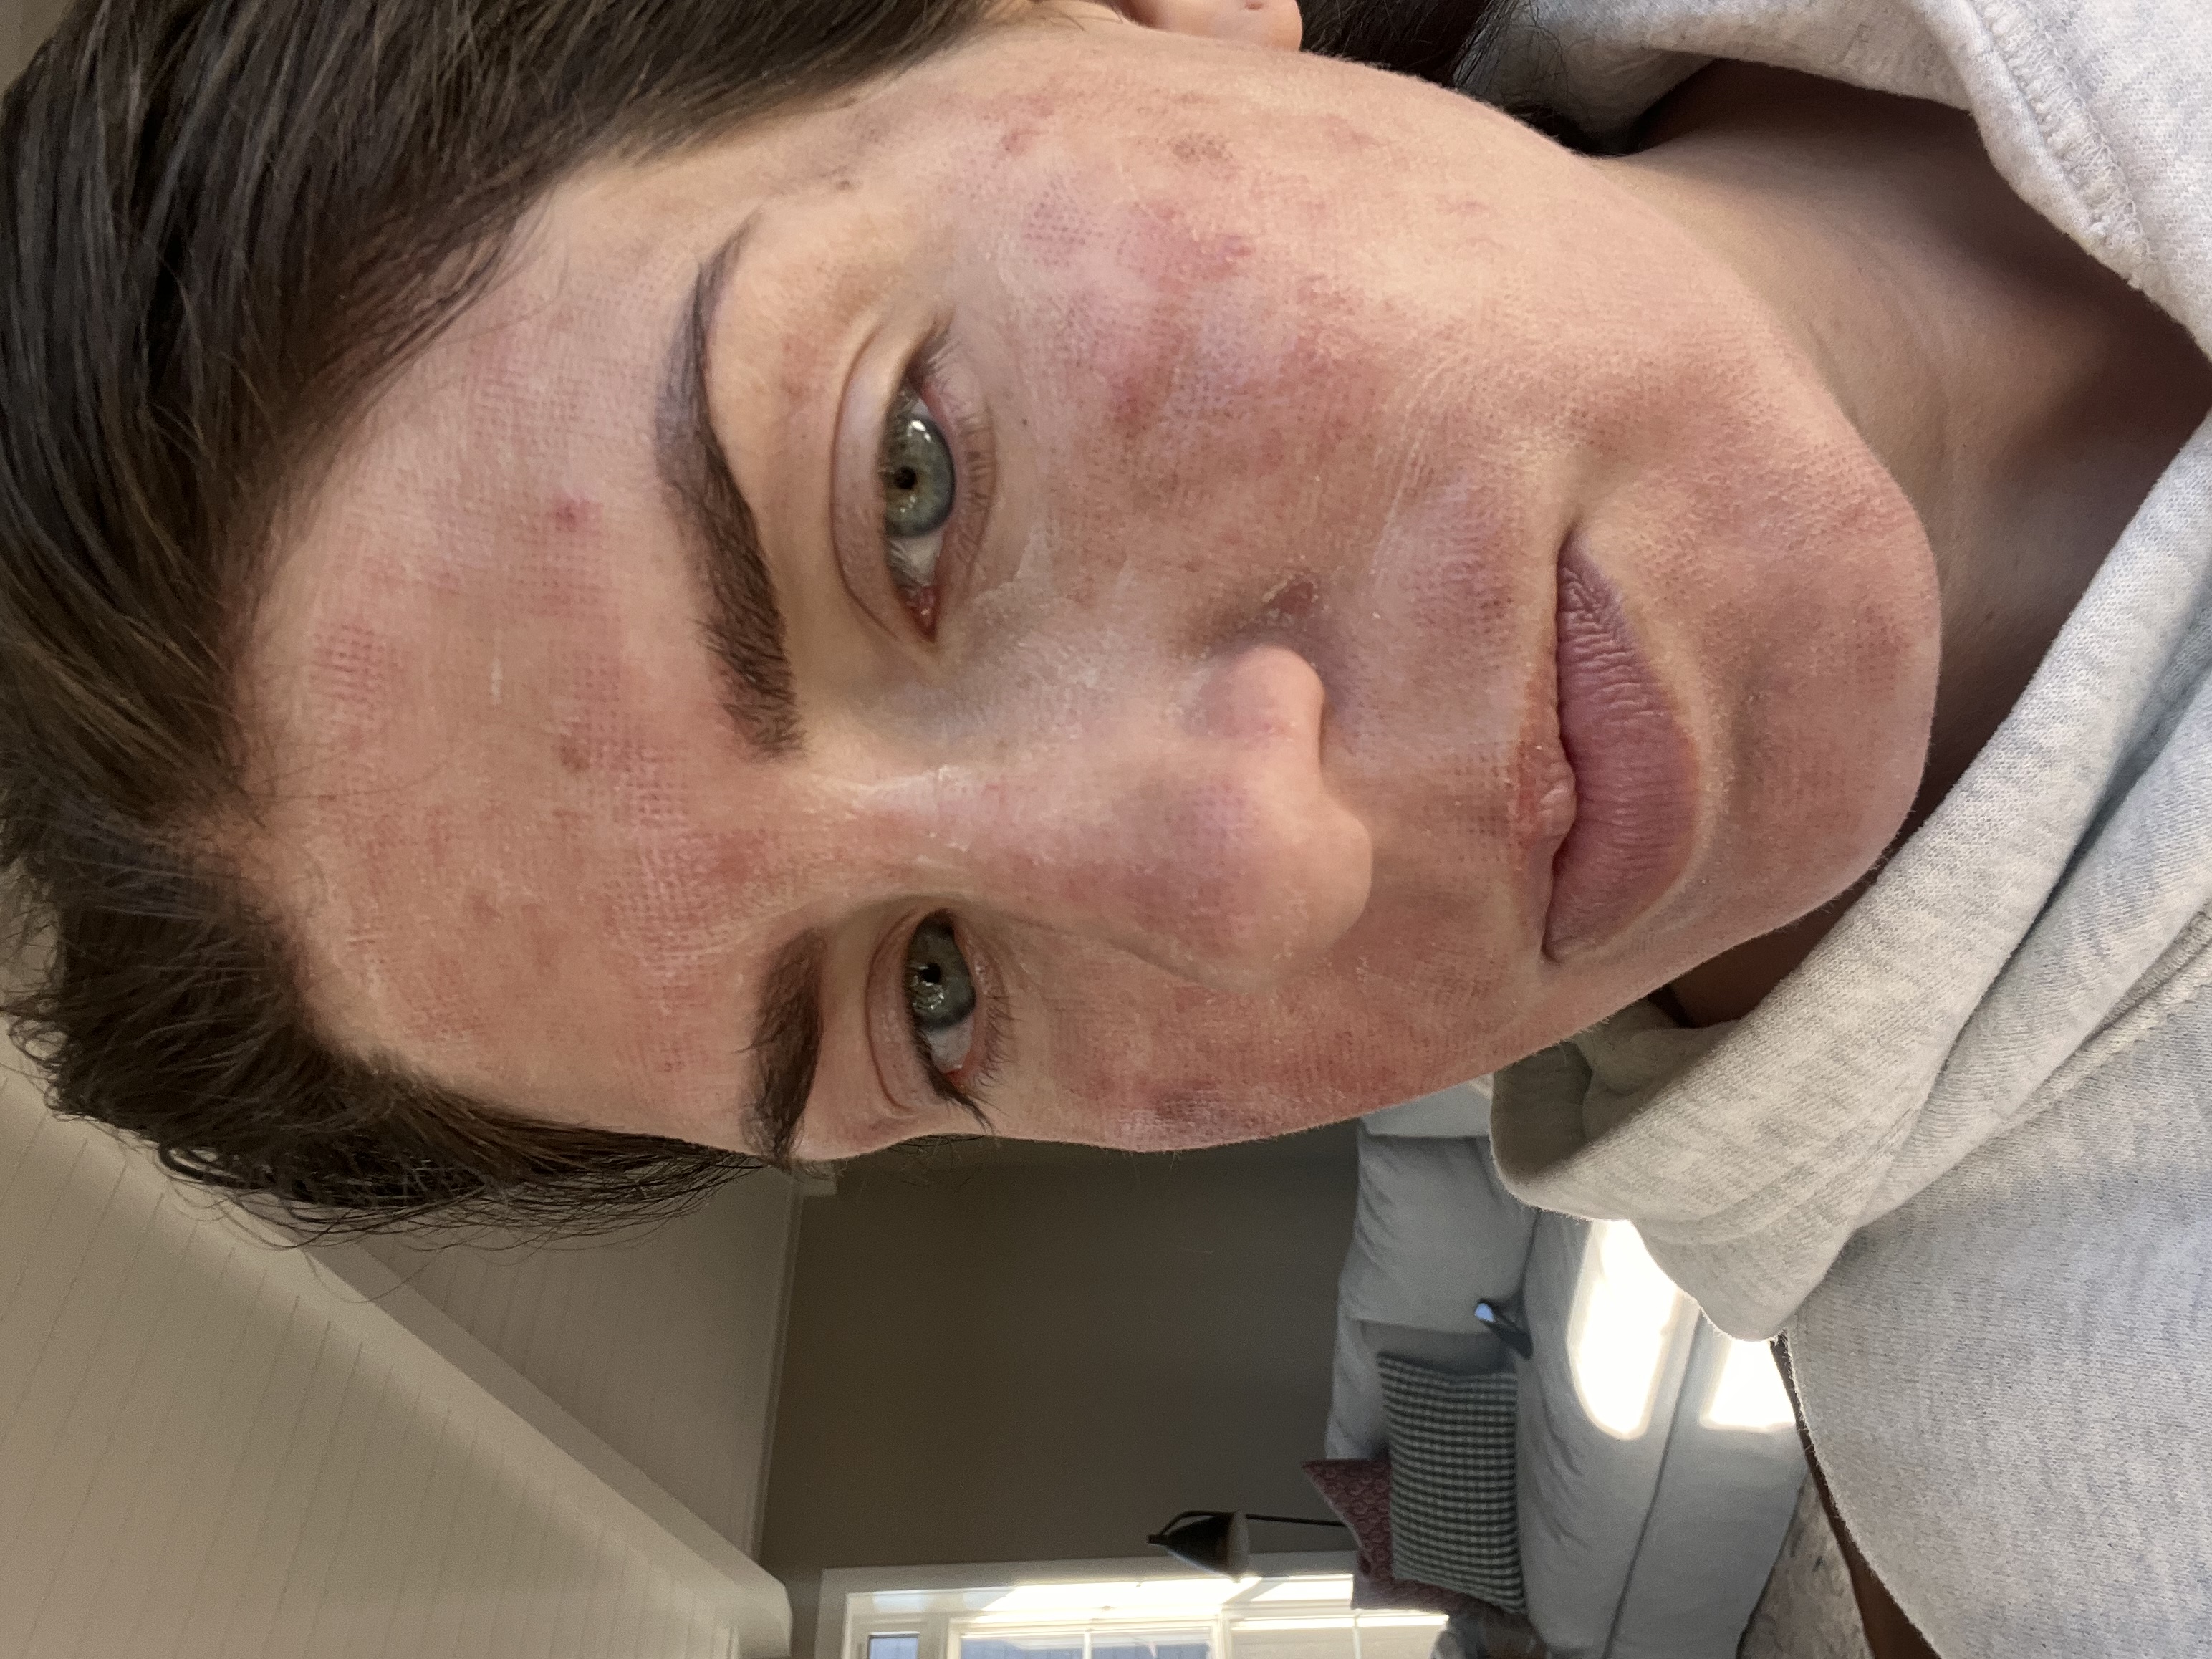
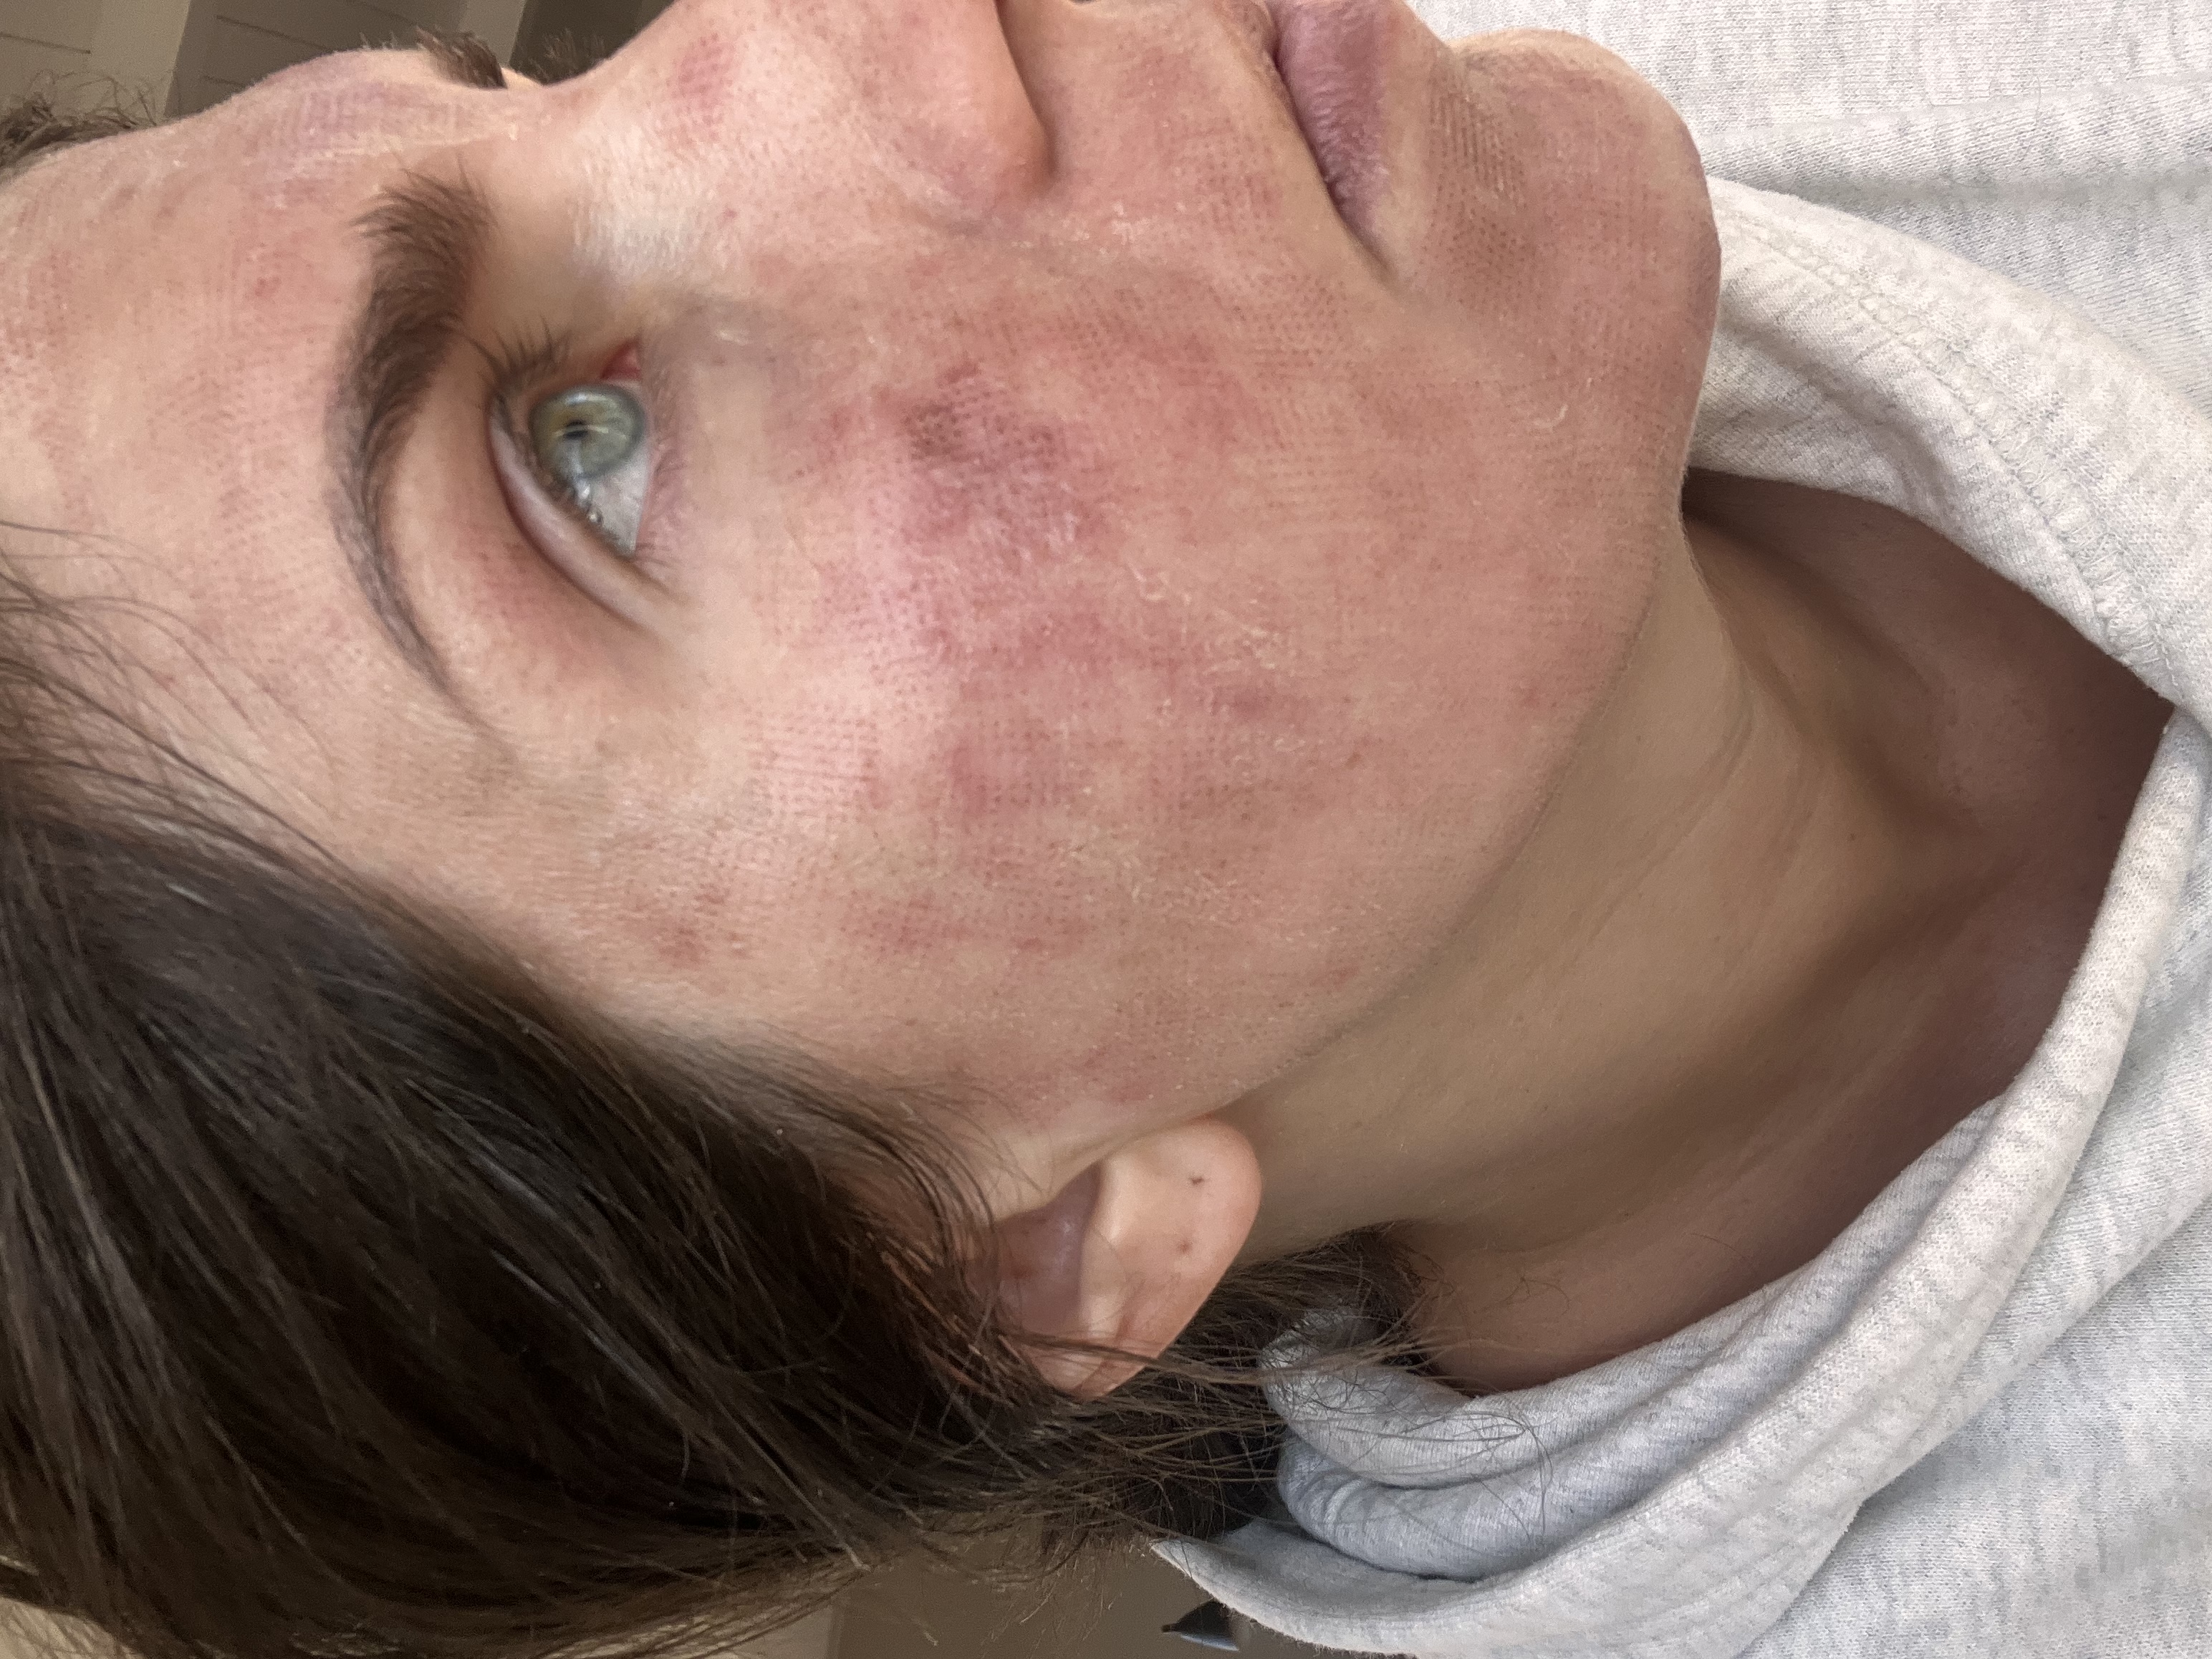
Day 5
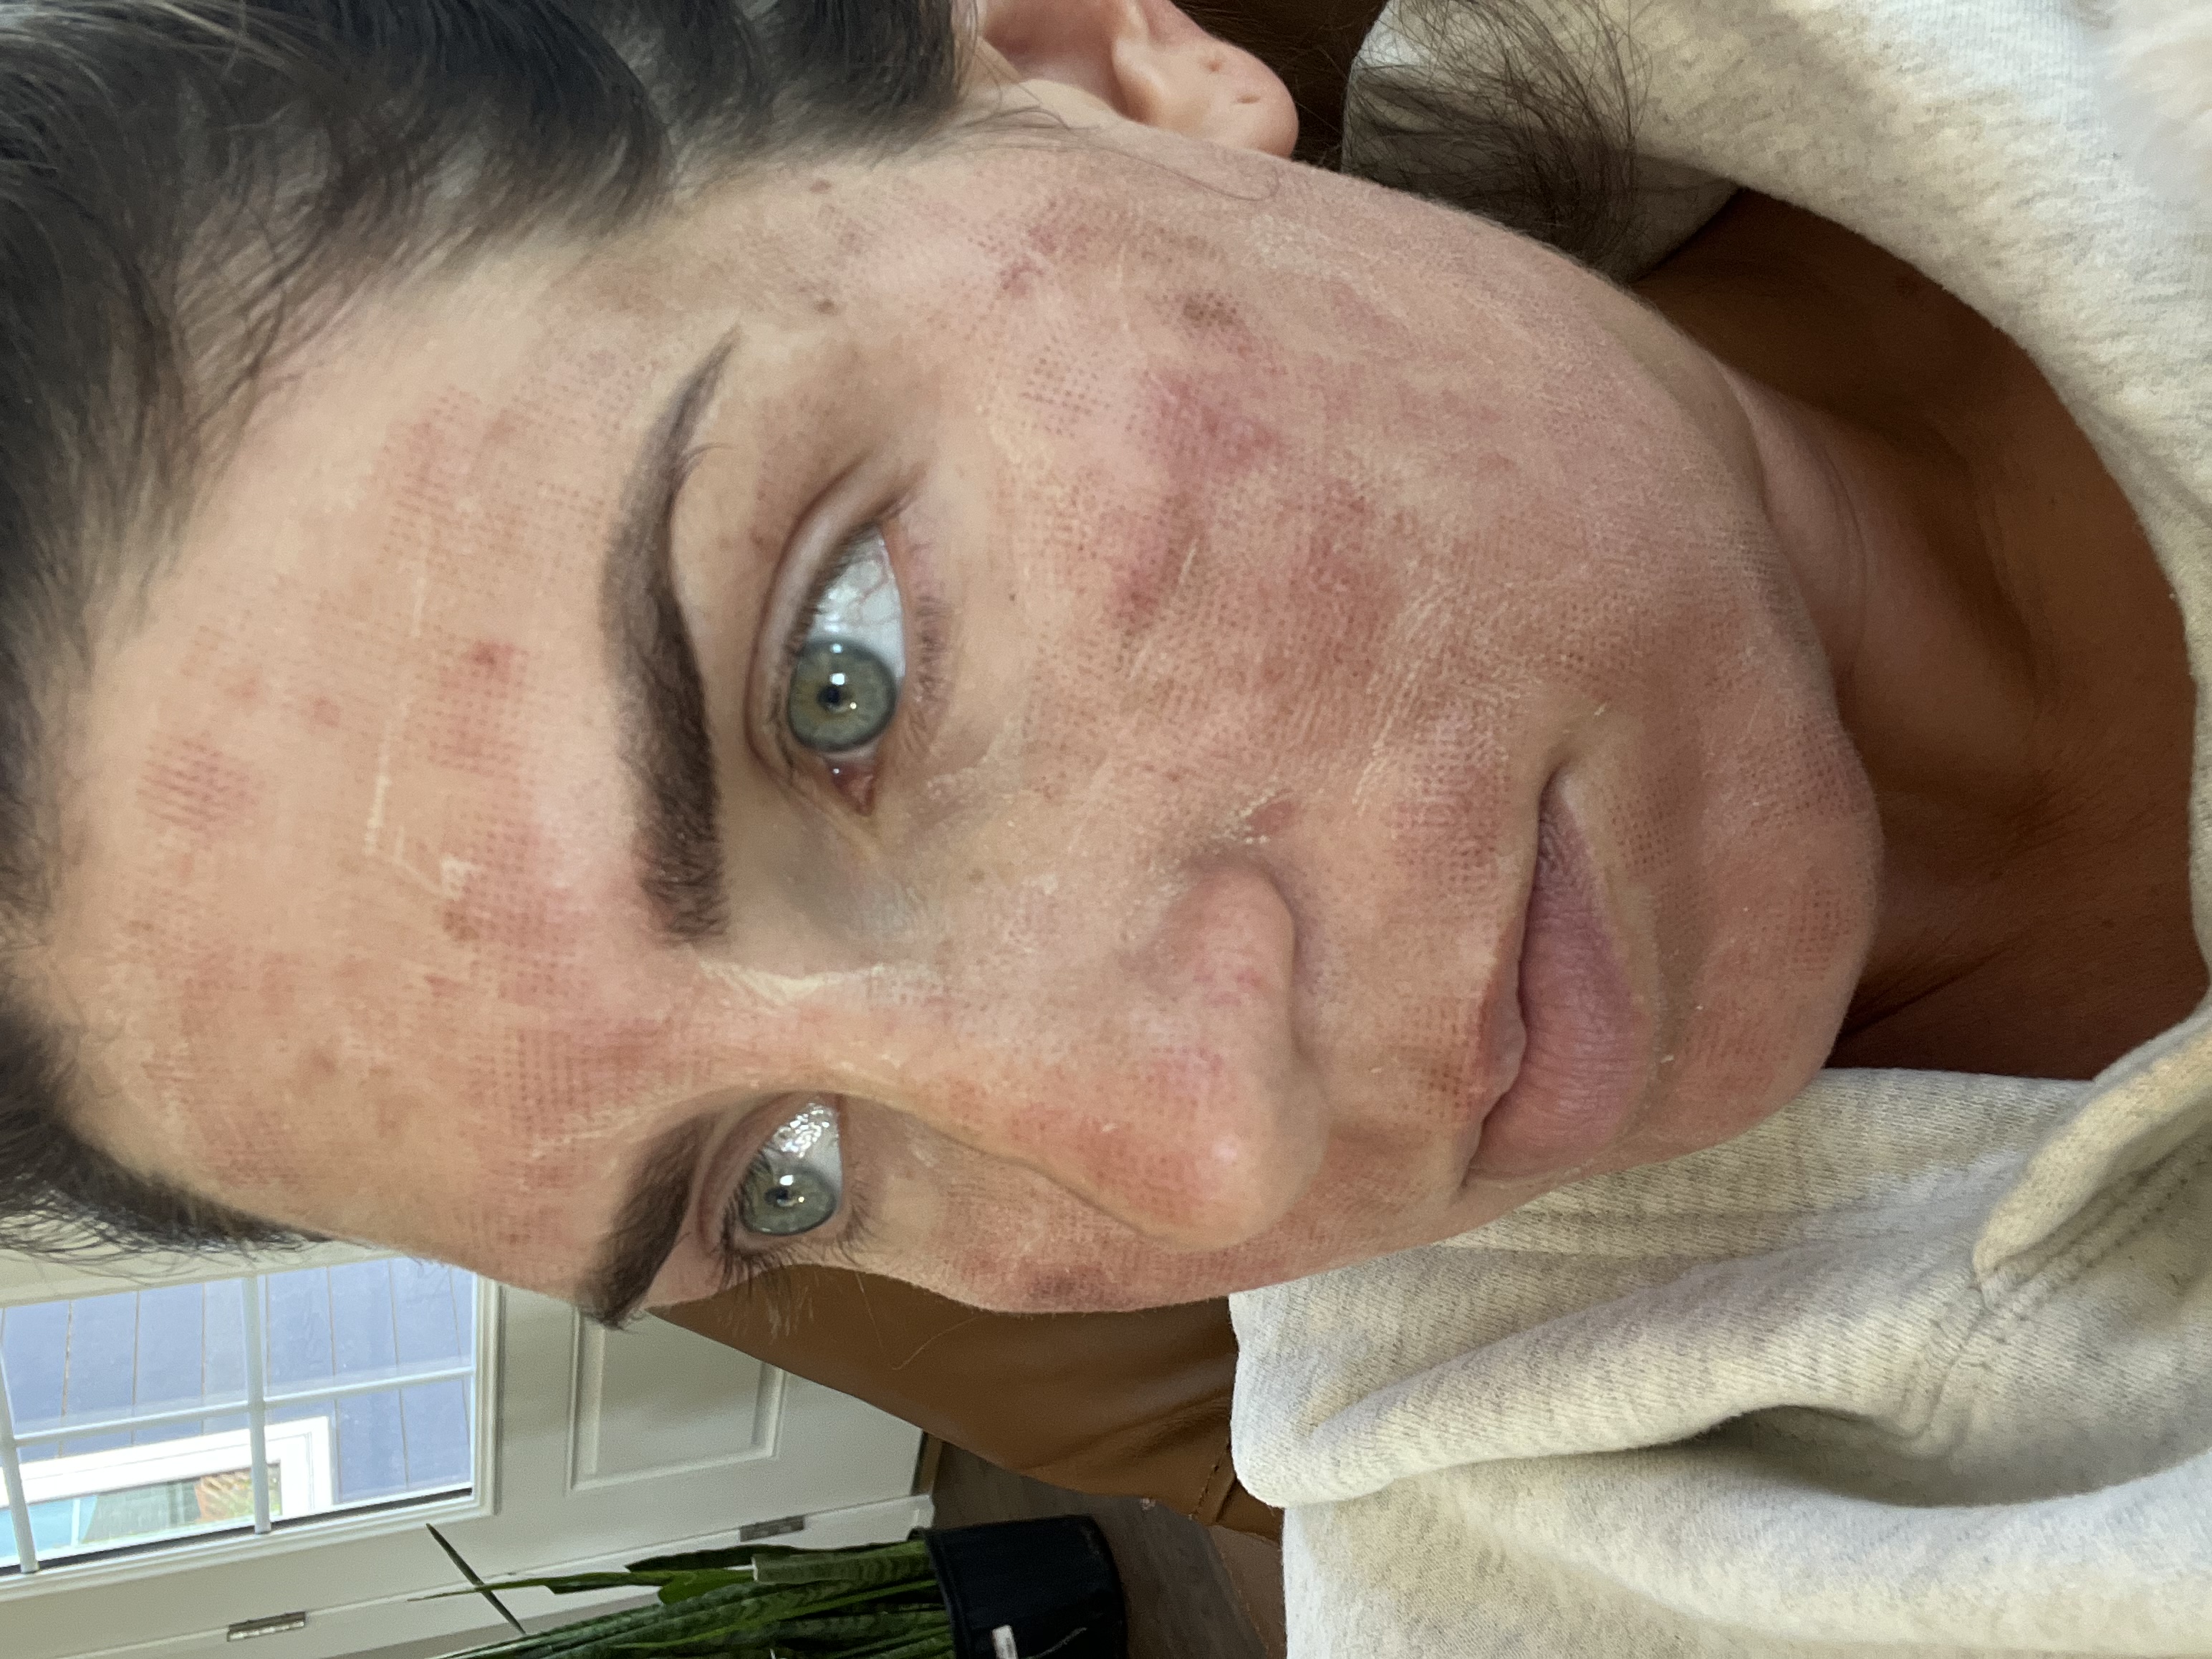
Day 6
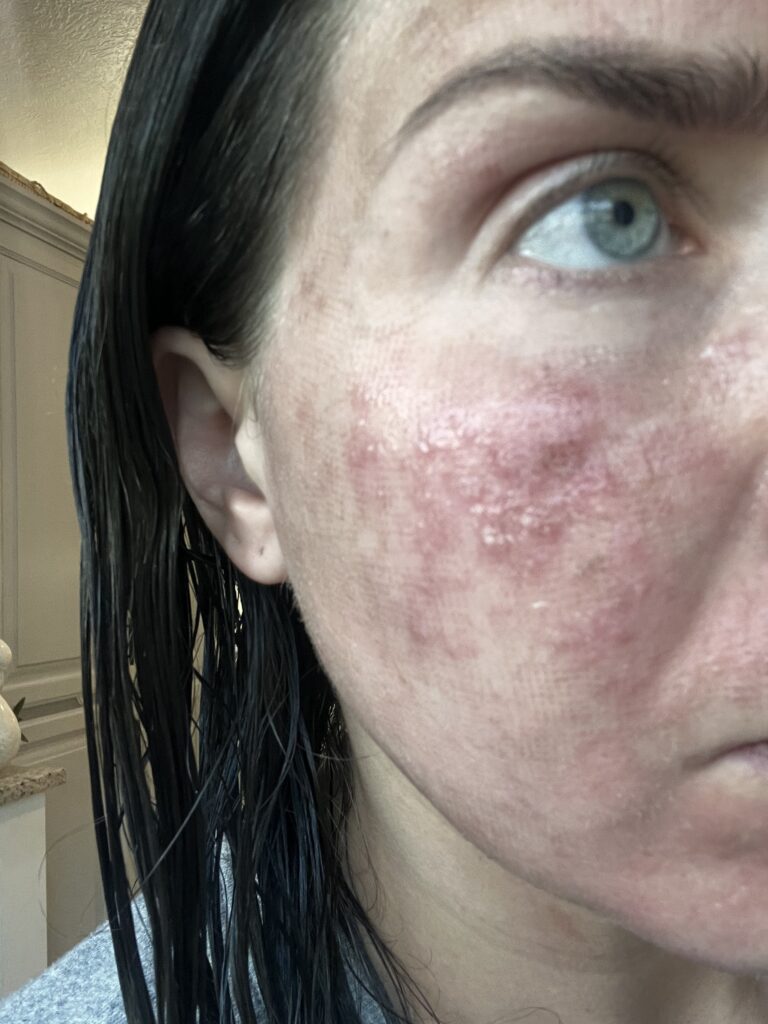
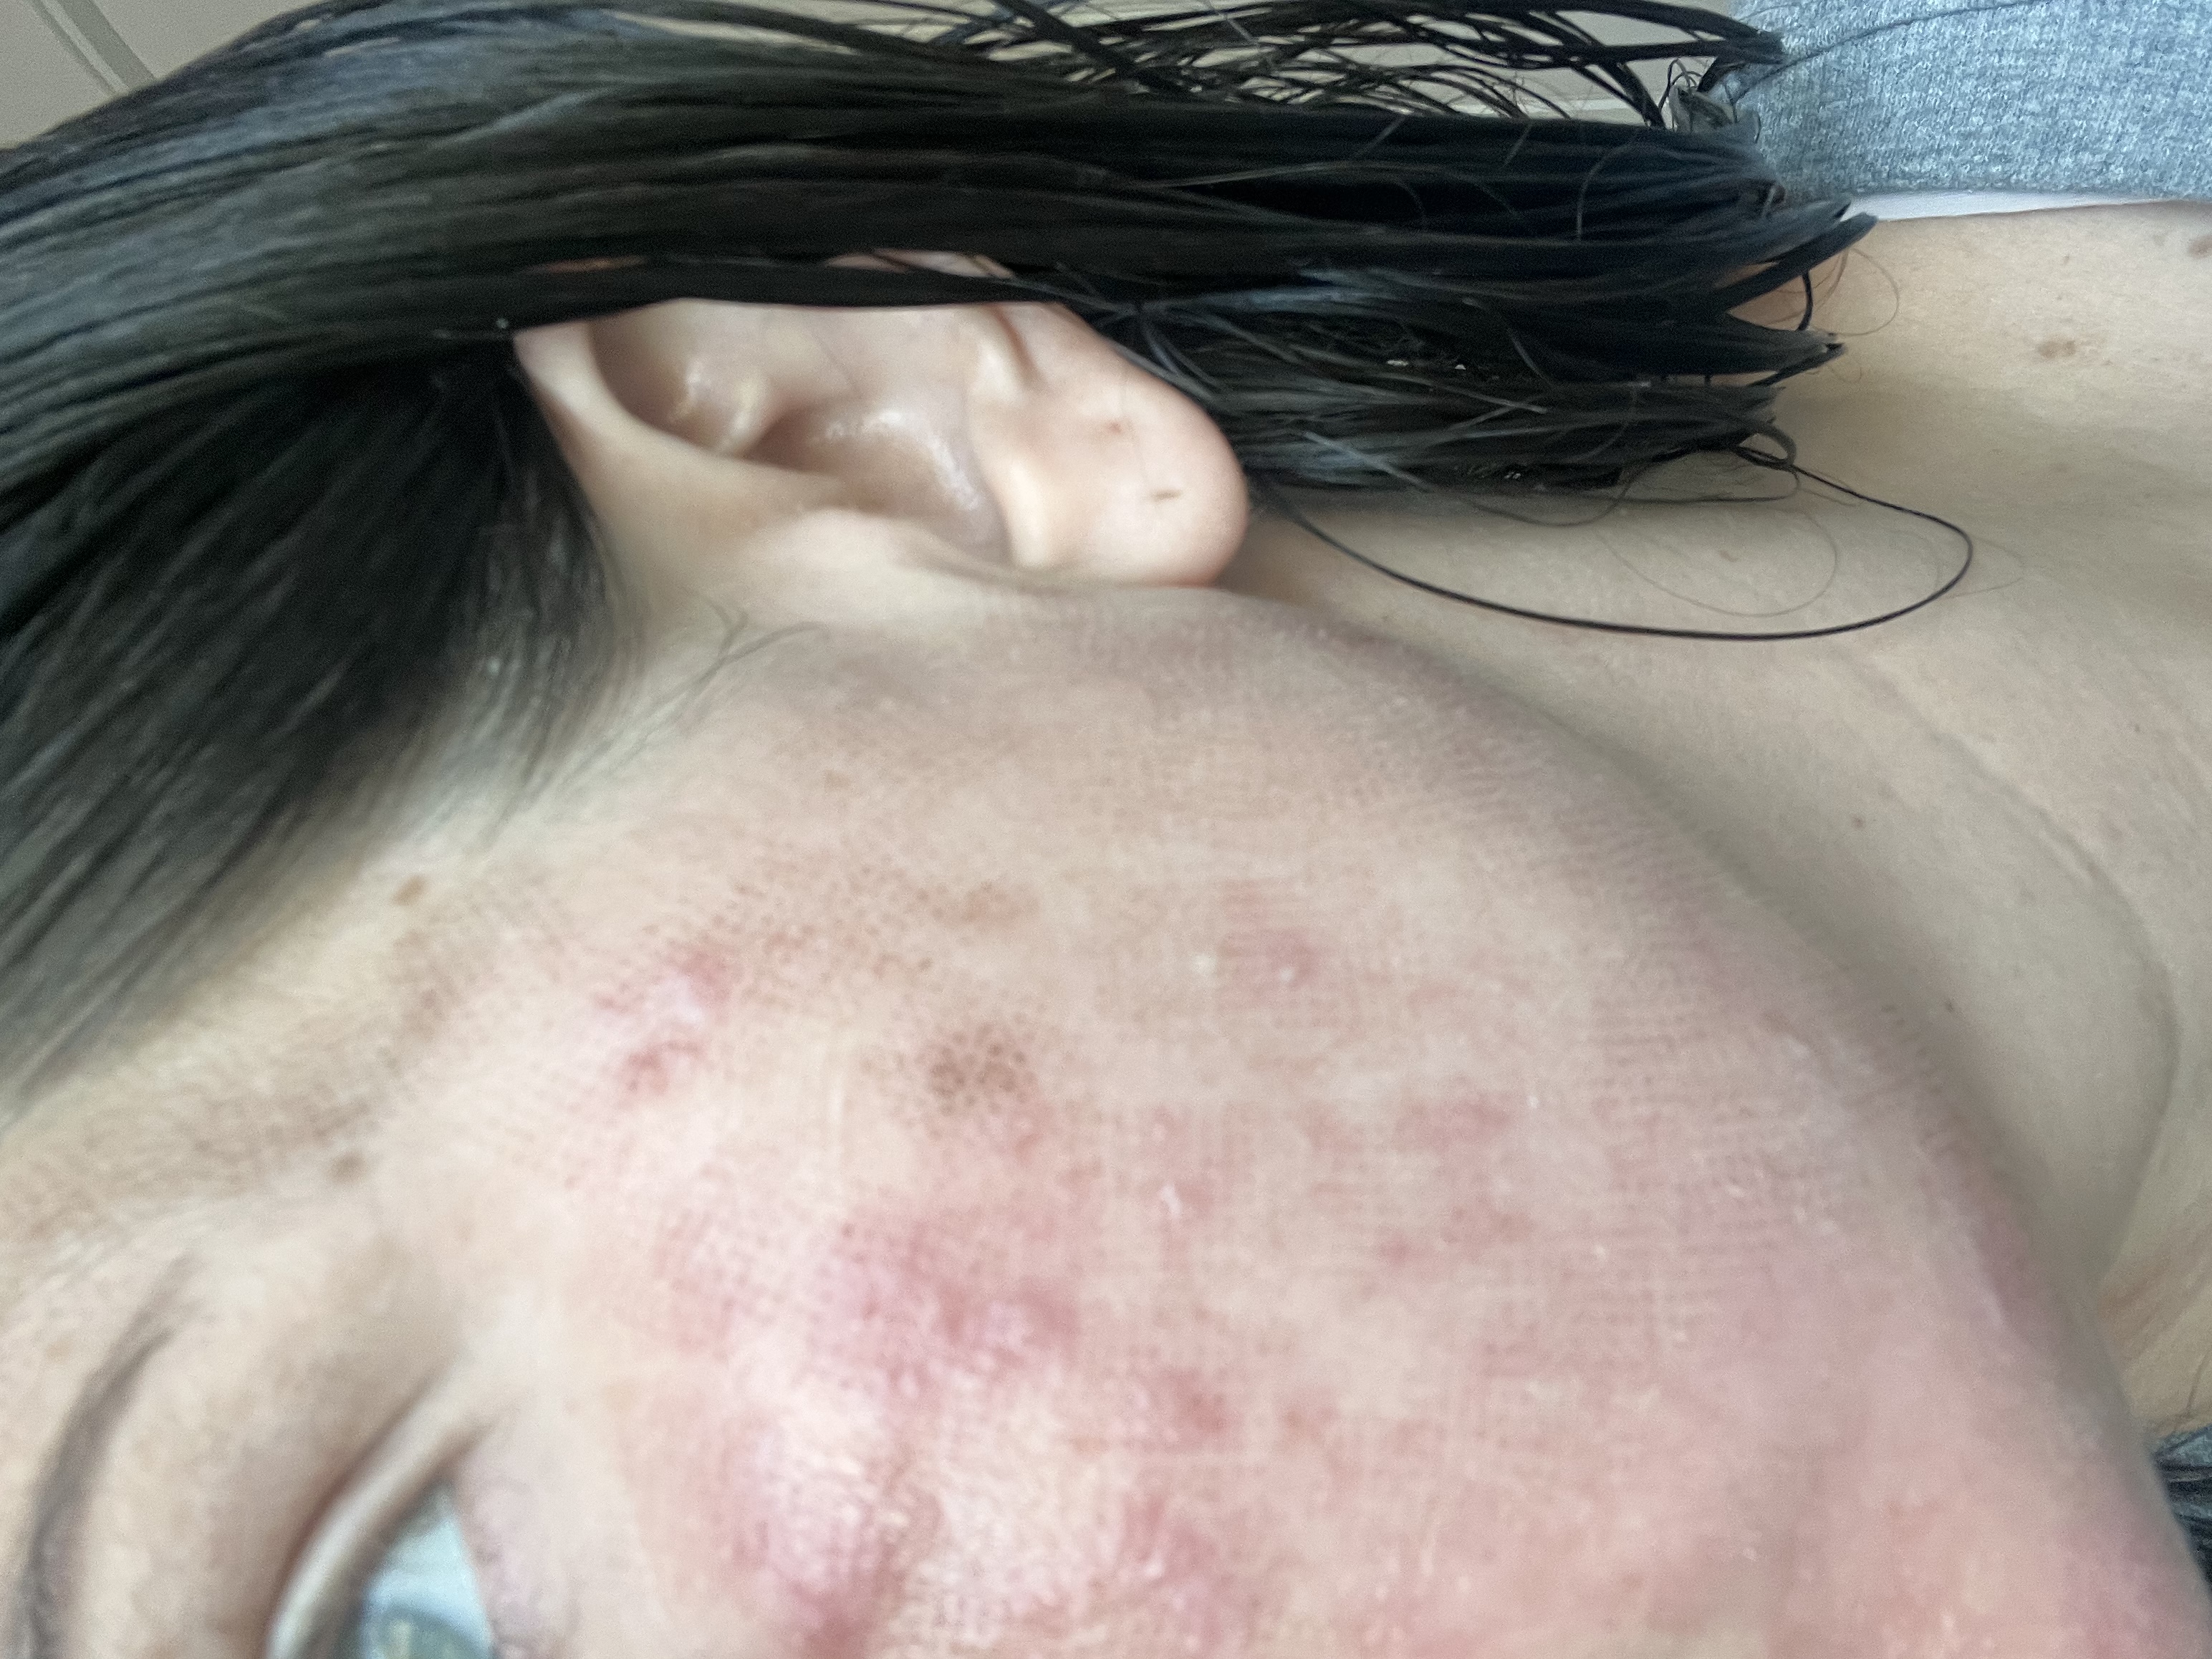
This is when things started to get rough. I honestly was expecting to be almost healed by this day but my skin was worse than ever. Lots of bumps, redness, dryness and I was a little concerned. I reached out to the person who did my procedure and they assured me it was normal and to not pick at it or mess with the bumps.
Day 9
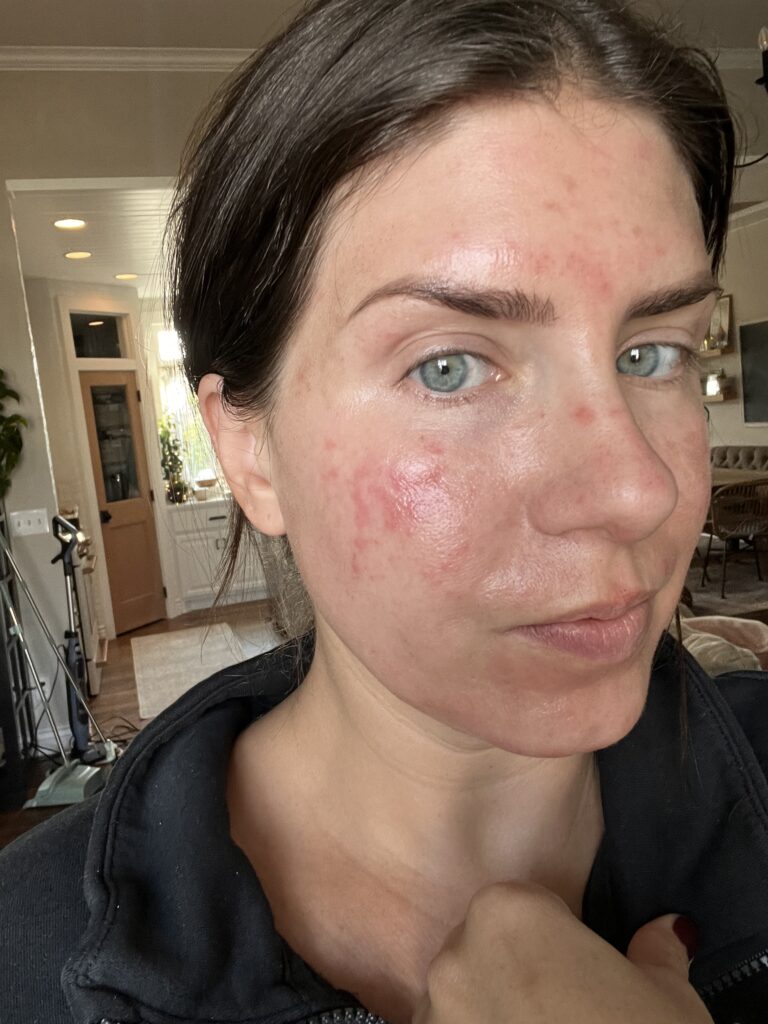
Things started to look a lot better! Throughout the week, my skin got very dry and peeled off- very satisfying, to be honest! Once it all peels off, I was left with very soft, smooth skin.
Day 10
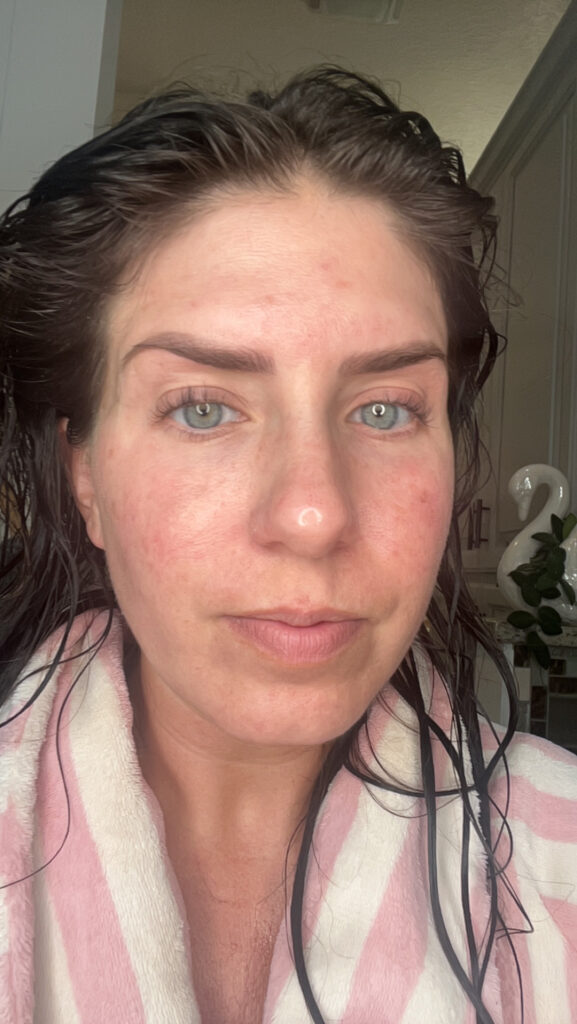
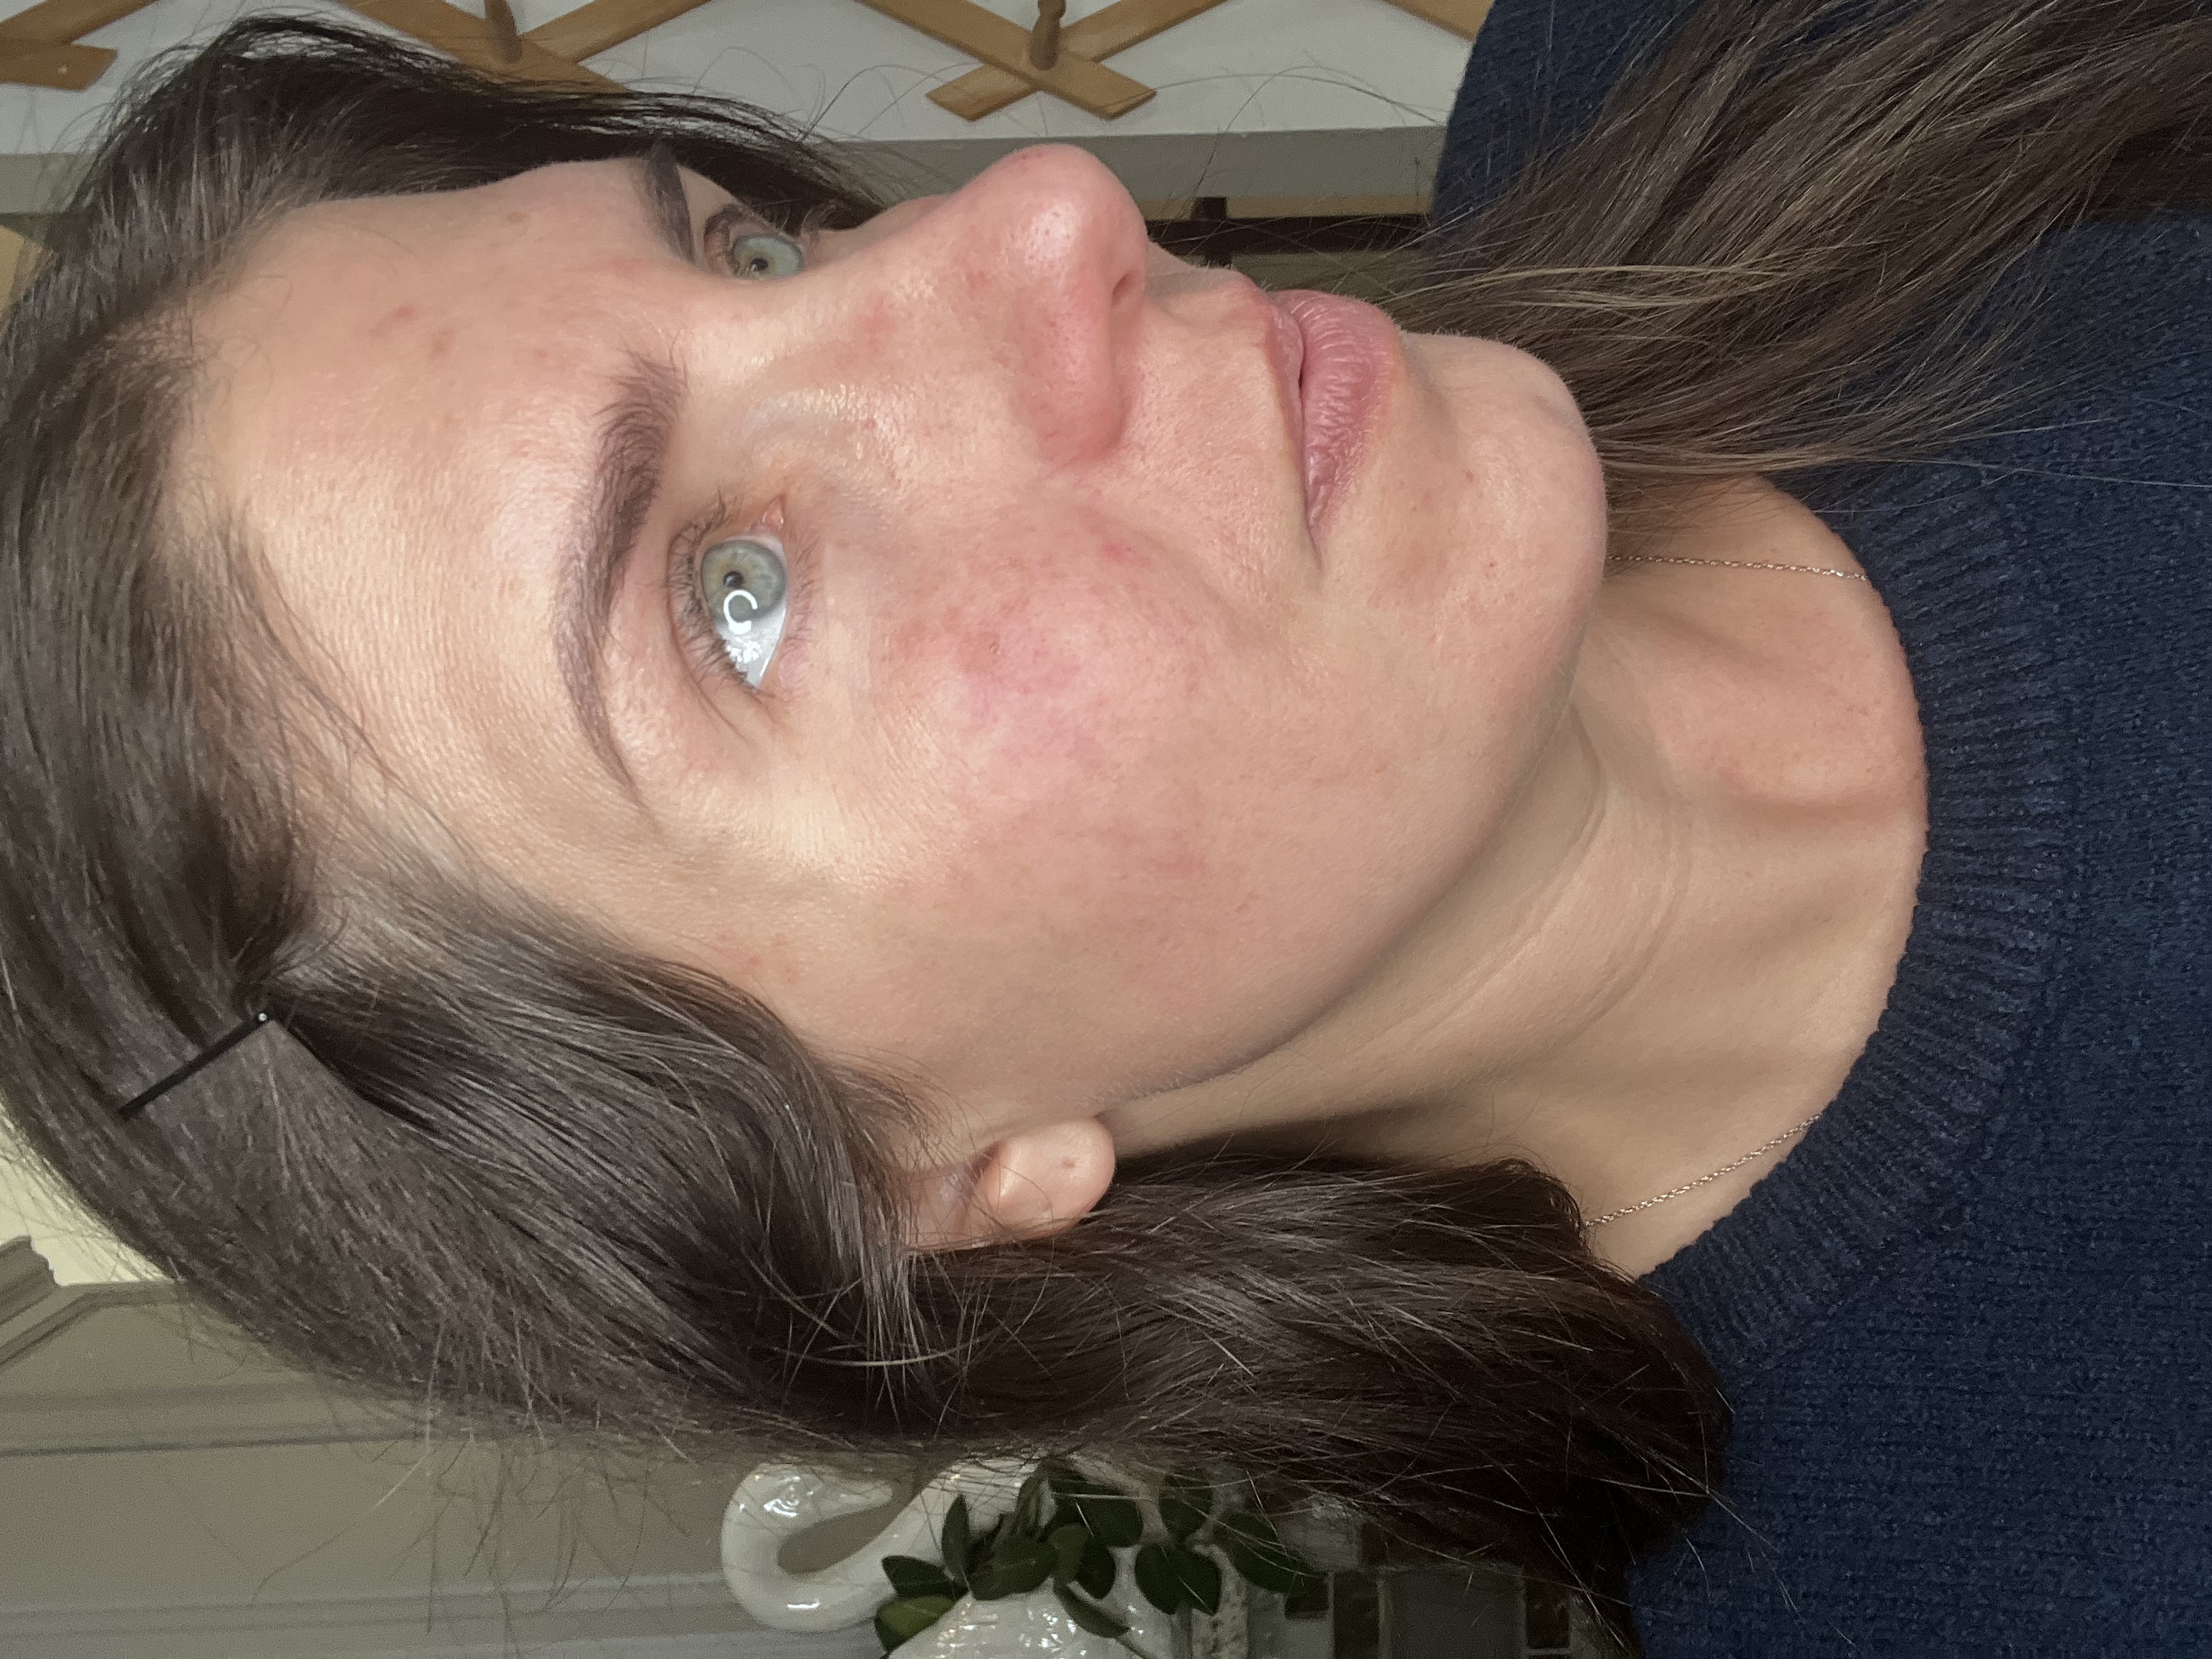
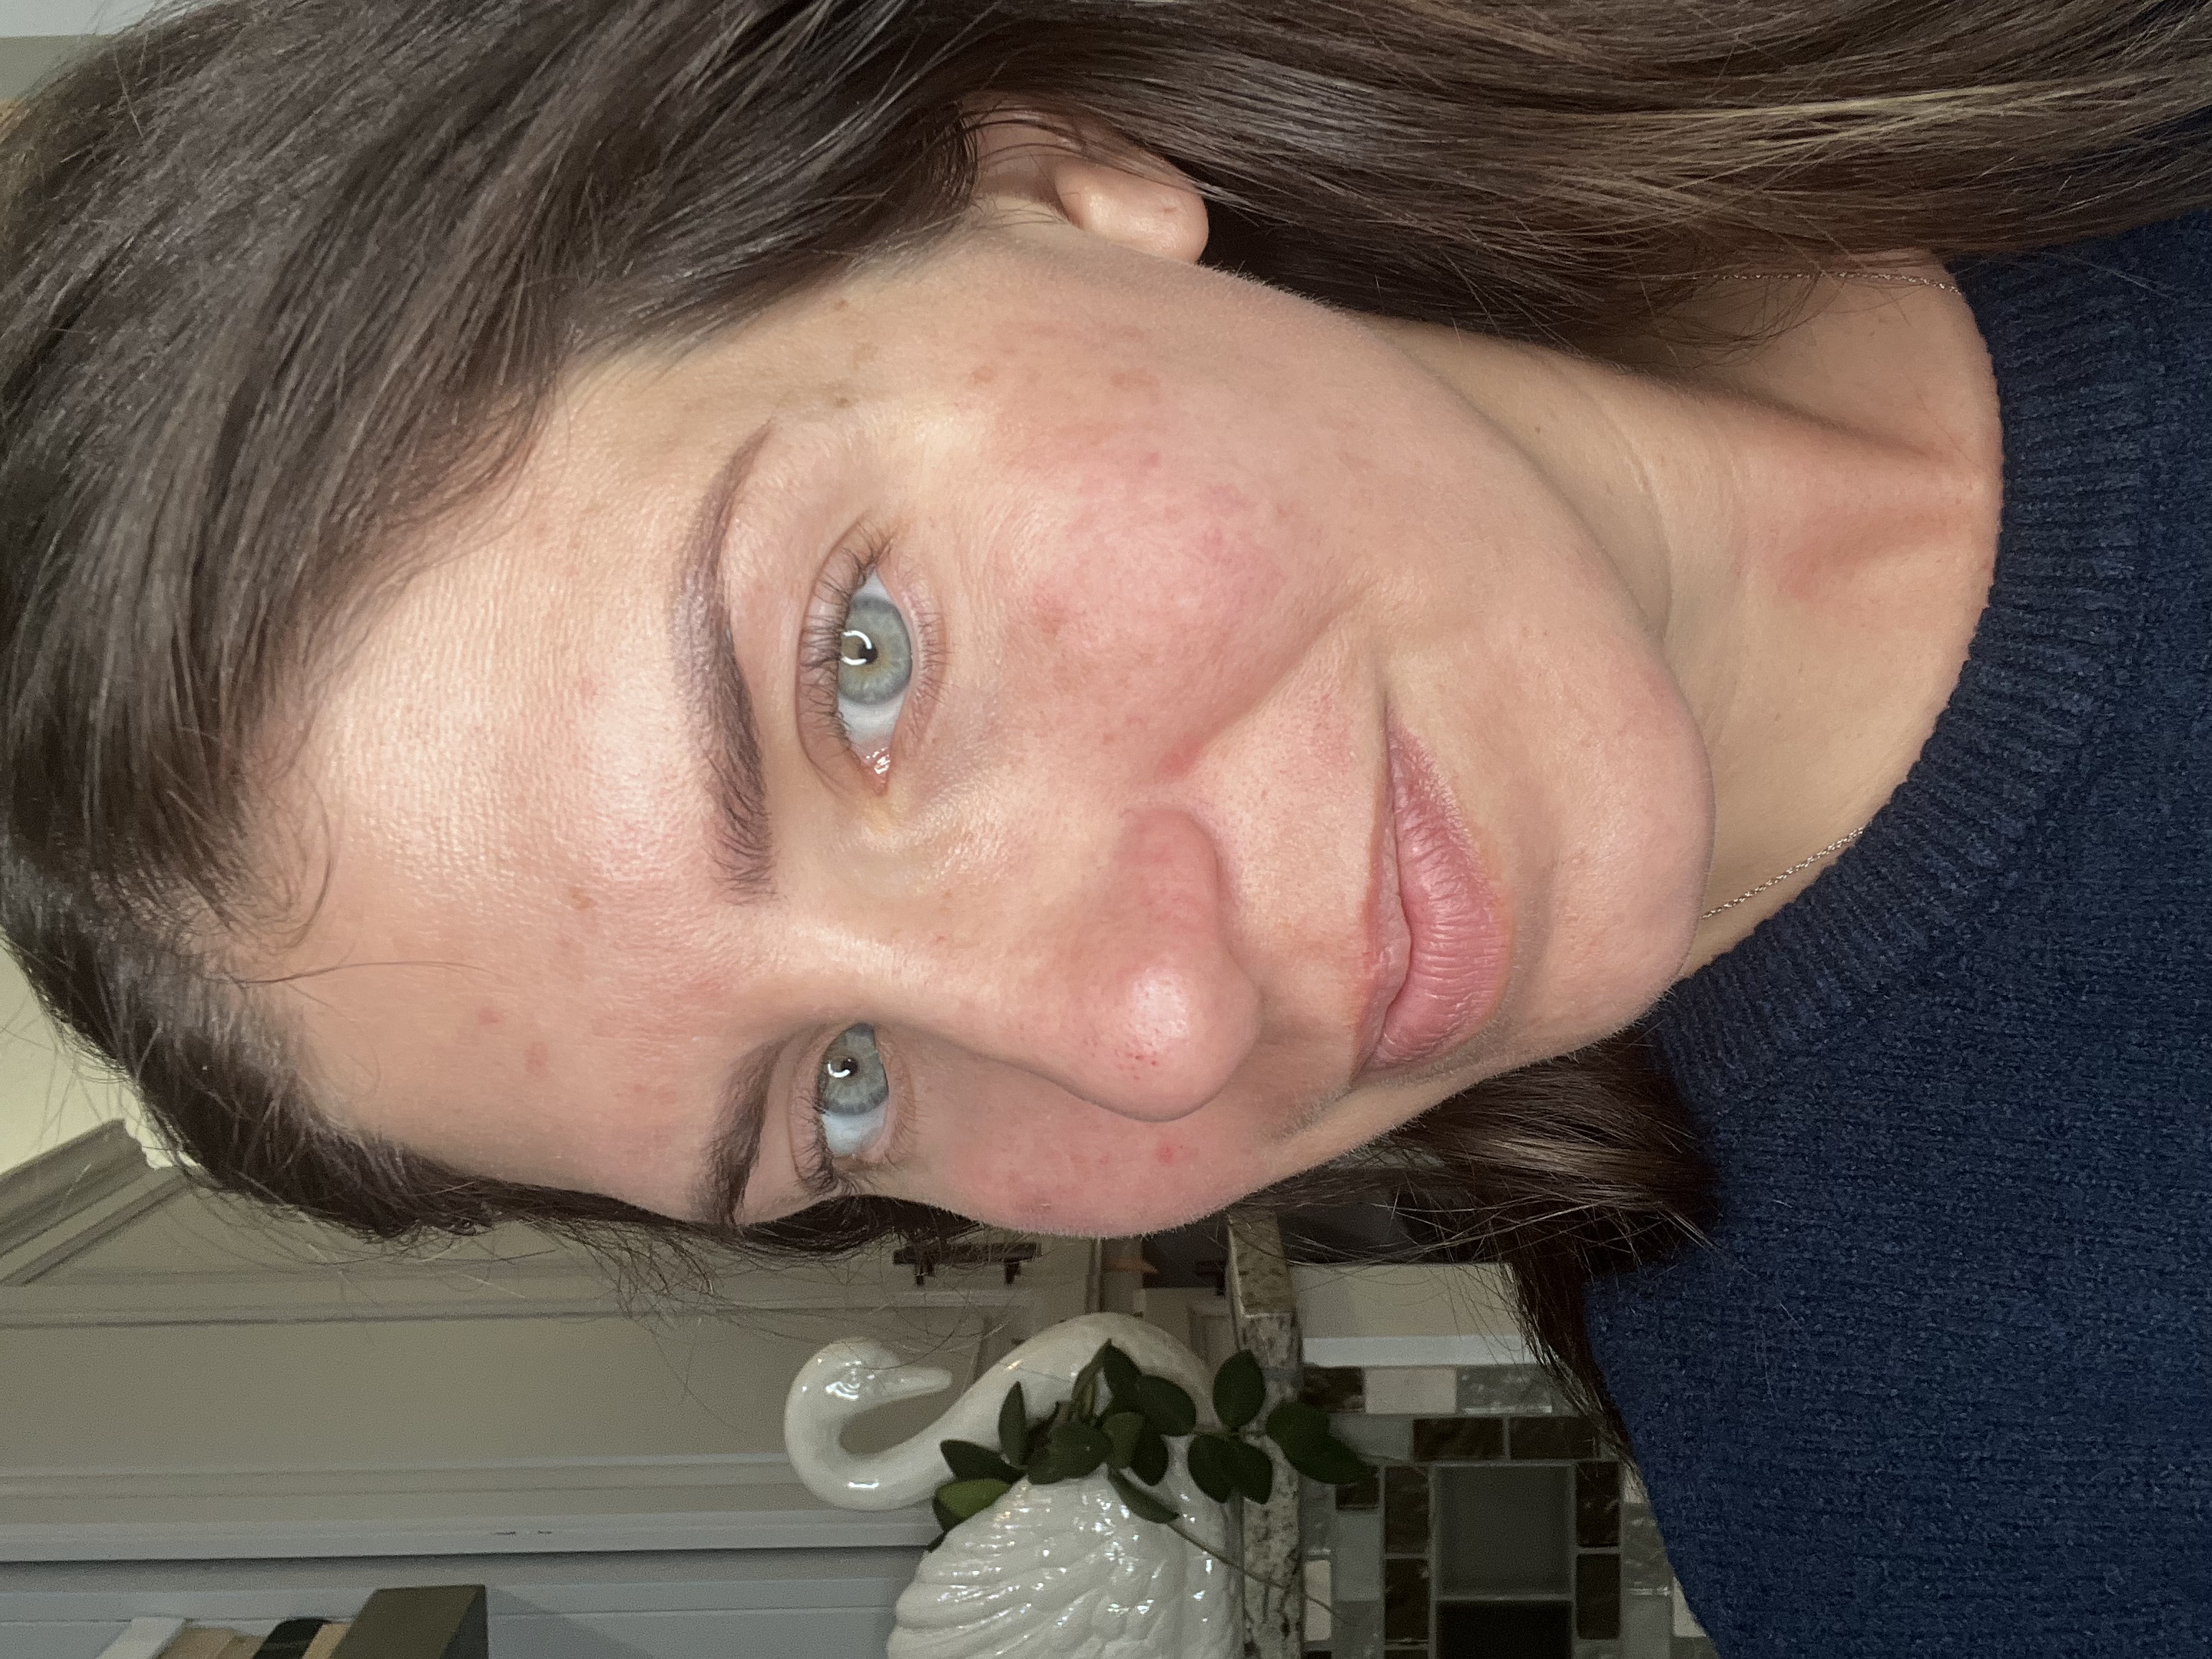
Two Weeks Later
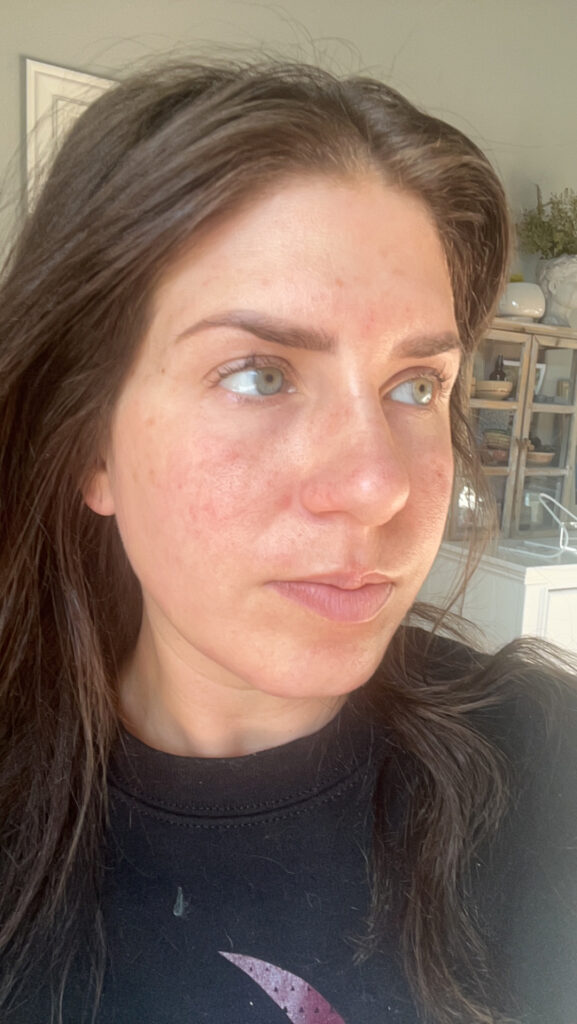
Two weeks later my skin is all healed and I am happy with the results! A lot of my melasma is lightened, still there, but not as noticeable. My skin tone looks more even overall. And although it really was not fun having a whole week of my face looking terrible, I would say it was worth it and I will be getting my 2nd treatment at the beginning of November. I’m really excited to see my results after the 2nd time- will do another blog post for you all!
