Limewashed Stone Exterior Home
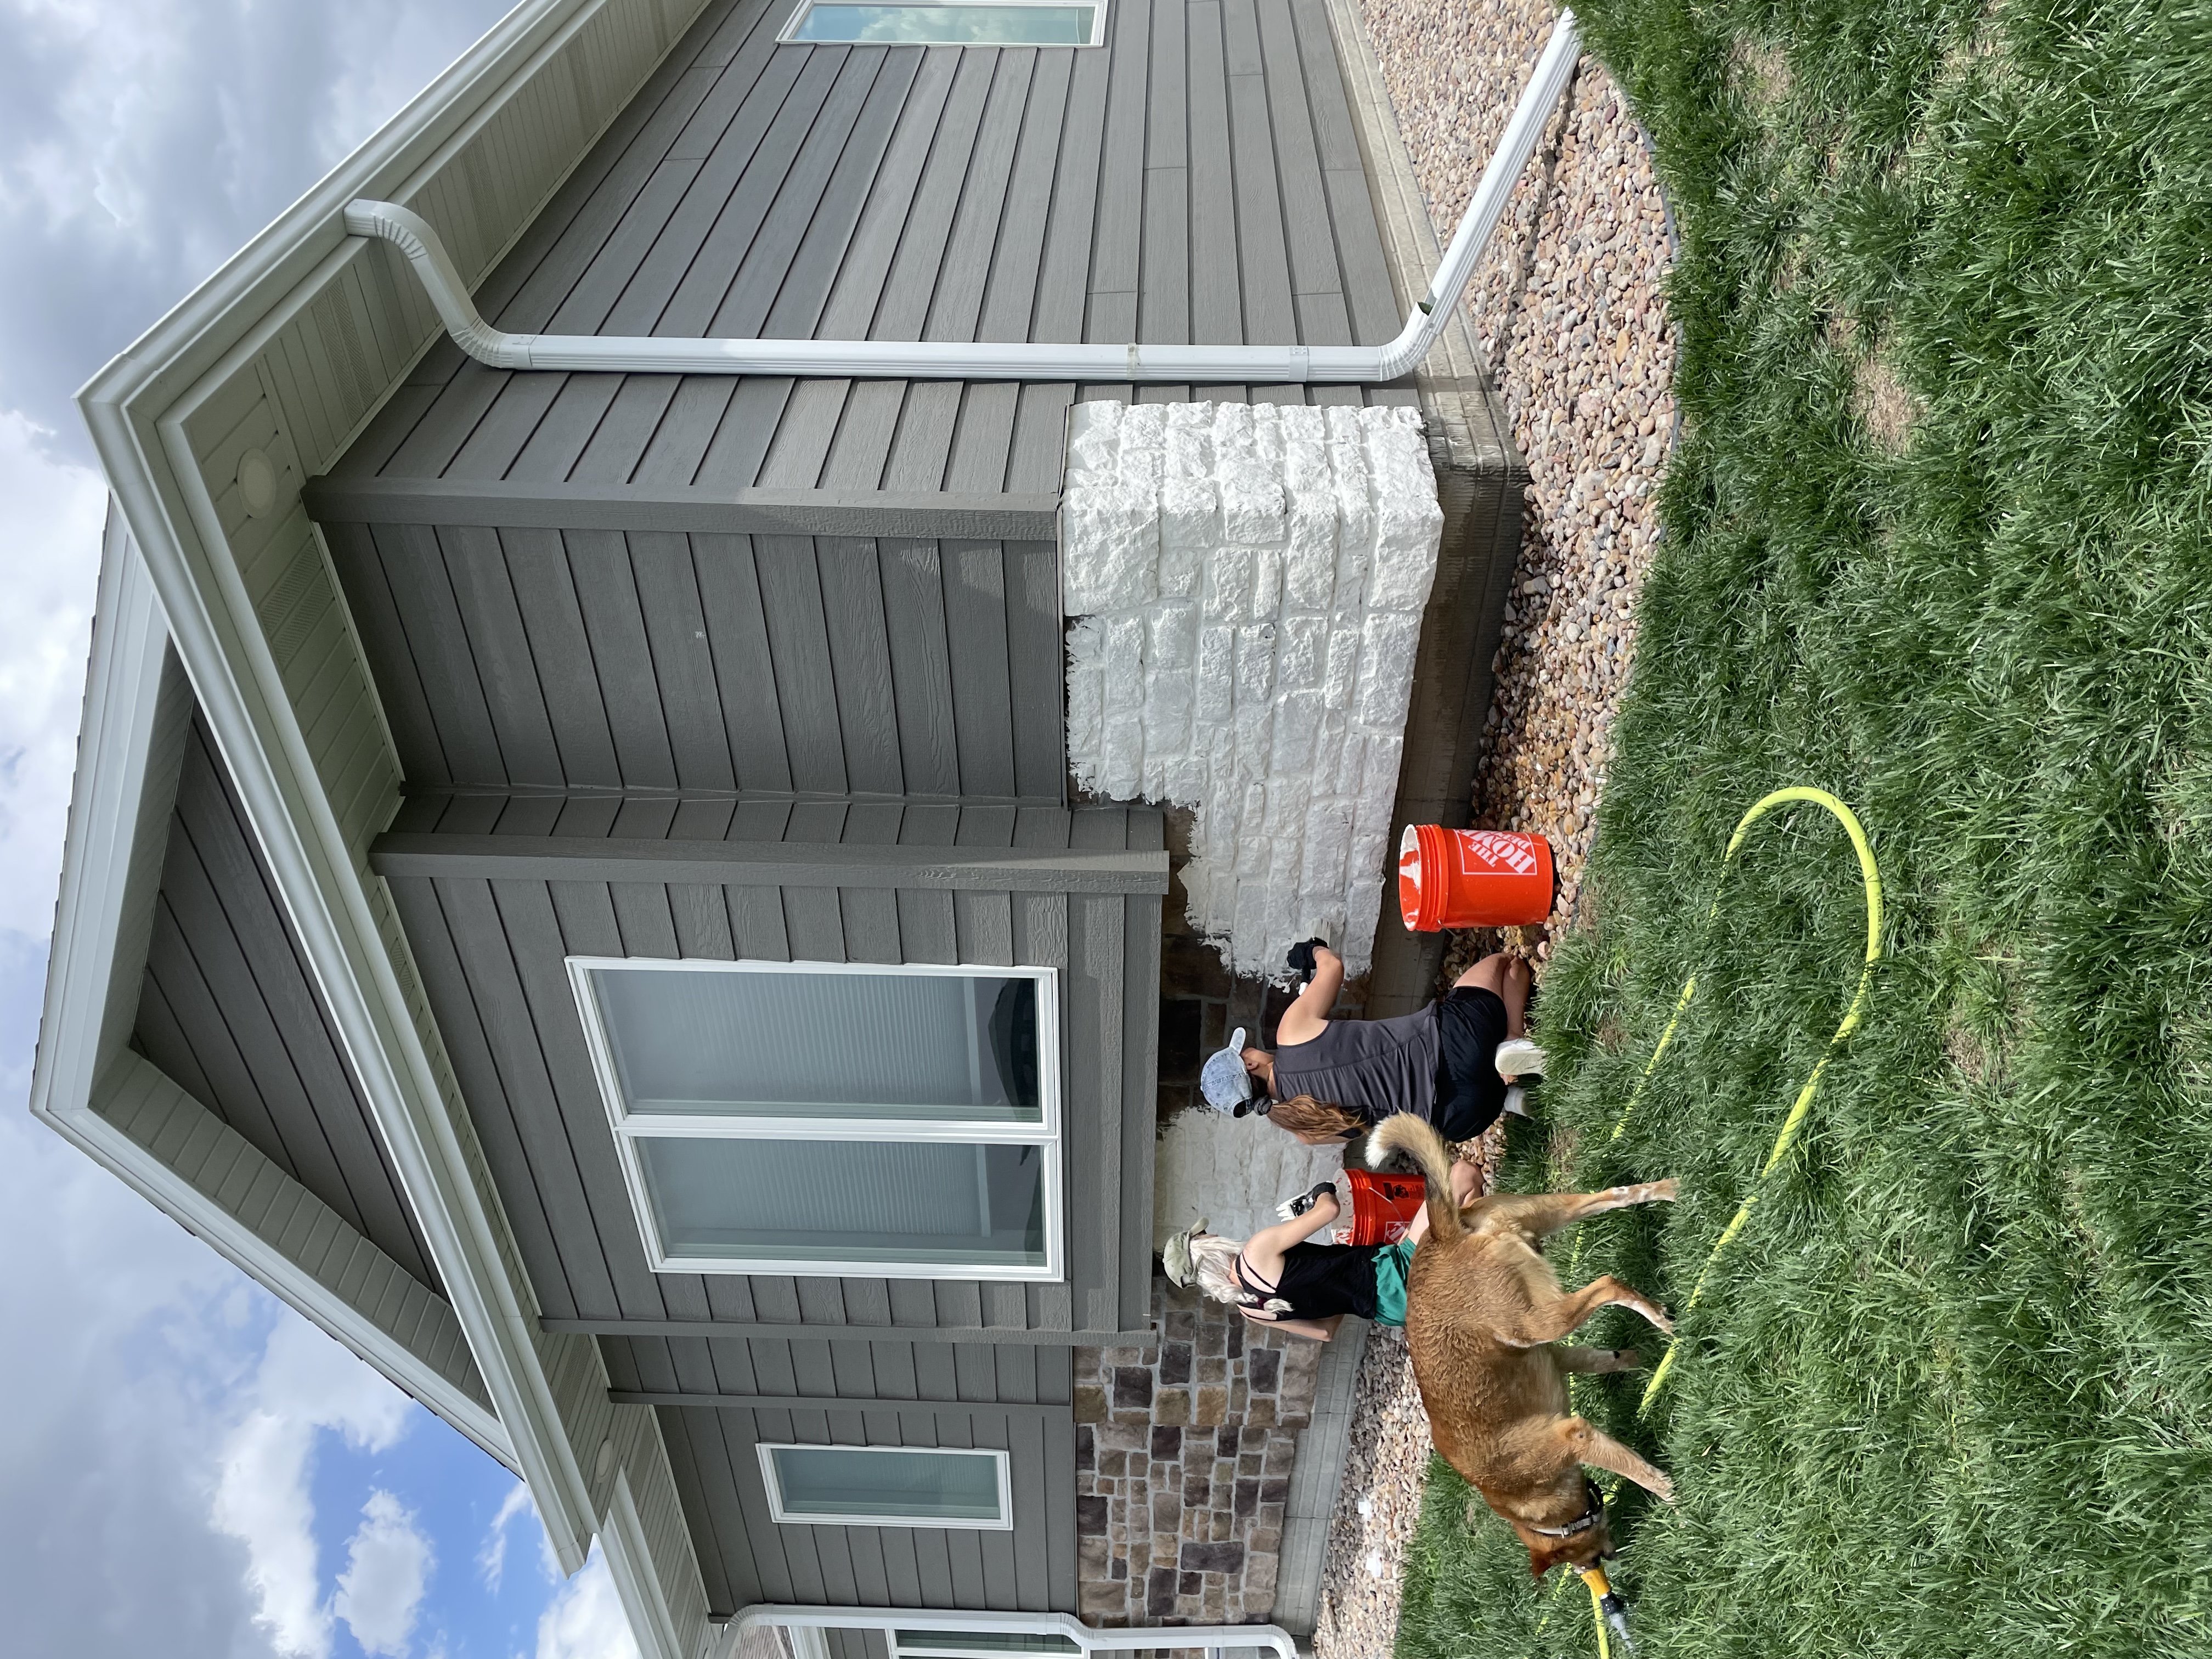
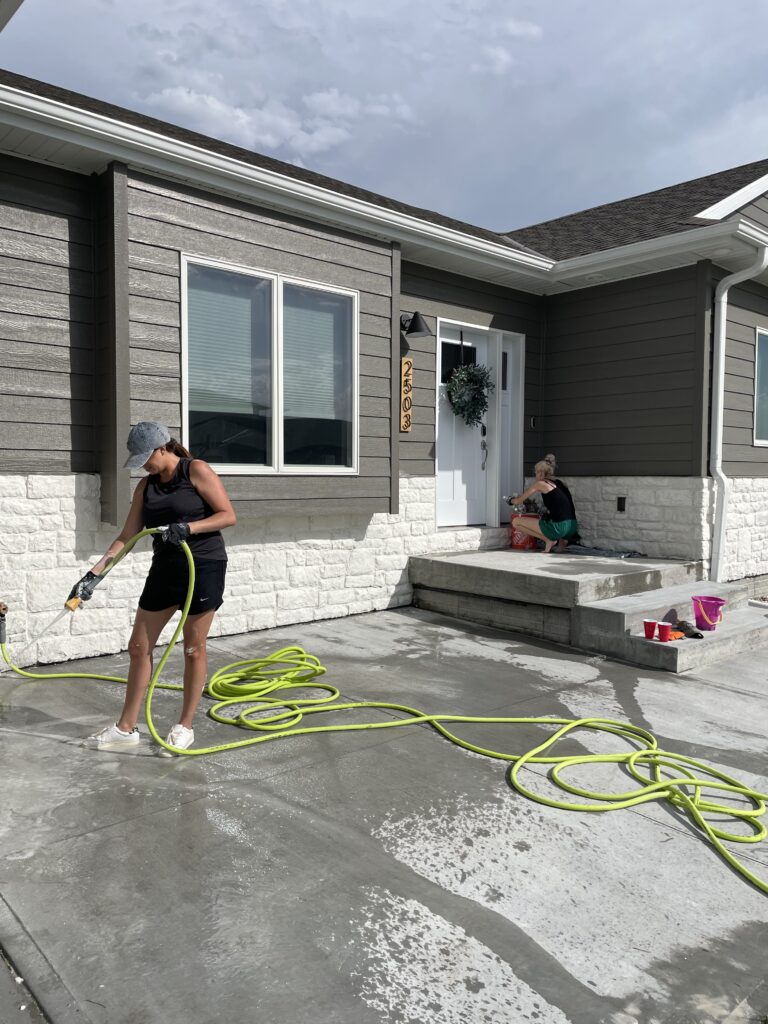
Last month, I traveled back to Nebraska to help my sister limewash the stone on the exterior of their home. Limewash is much thinner than paint so instead of sitting on top of the stone it actually penetrates into it. I have never limewashed anything before but with the help of another sister and doing some research before hand- we were able to knock this project out in one afternoon. I love the finished product and wanted to share it with you all!
Limewashed Stone

Supplies
- Limewash (We used Romabio in Avorio White)
- Romabio Large Masonry Brush (could probably get away with a cheaper version)
- Smaller paint brushes to get into the cracks and grooves easier
- Water (Will need your hose during the whole process)
- Gloves
- Large Bucket
- Drill with a mixer attachment

I found this tutorial on Pinterest and it was SO helpful- go HERE to see how to limewash your stone.
The basics: wet your stone, paint on the mixed limewash, wait 10-15 minutes and then use your hose to distress it to your liking. Work in small sections. A partner is helpful. A white claw is also helpful. Or two.


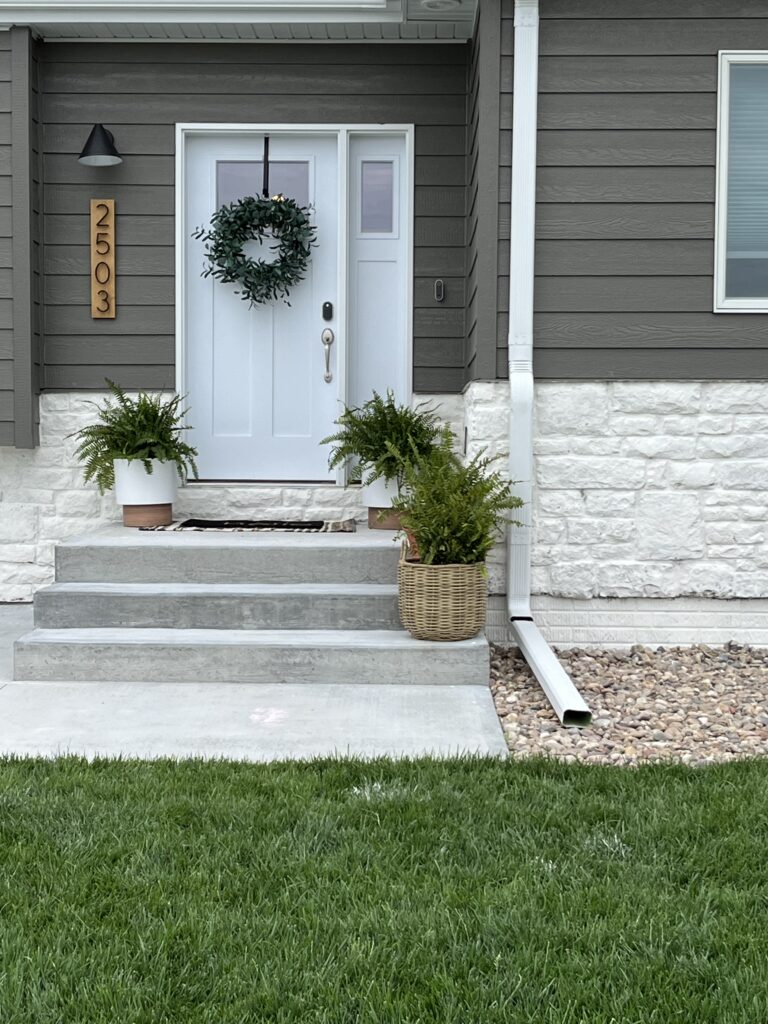
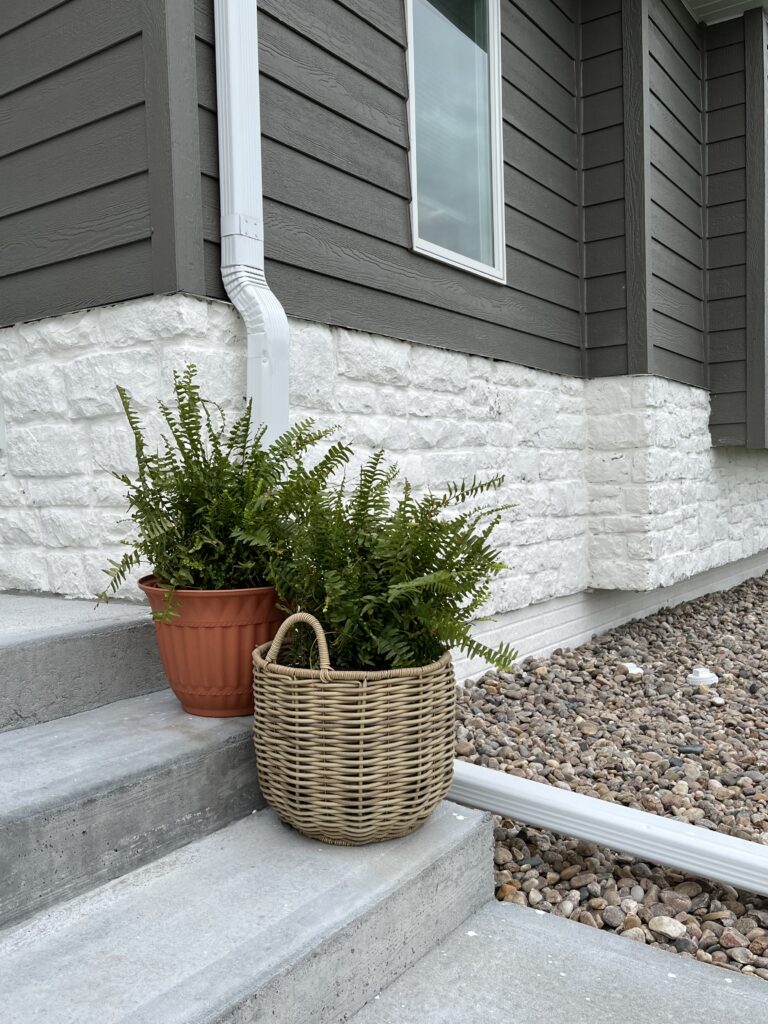
After

I love how it turned out! Most importantly my sister and her husband love it as well!

Isn’t her front porch decor cute?!


This project was not hard at all- a lot like painting just with a few more steps added in. I think limewash is a great way to update stone/brick on the exterior of a home. By doing this, I feel like their home looks more modern and in the future when they do more projects- they wont be limited by the brown color of the stone.
