Side of House Landscaping Progress- Flagstone Path & New Trees
Our landscaping is coming right along and I thought I’d share our progress with you all! Go here to see my sketch of the plans and more before pictures. In-between soccer and volleyball games the last month, we have tried to squeeze in as much work as we have been able to in this space. Like most projects, it’s always more work and takes more time than what you originally think. And to add, always more expensive! I get asked, “How do you do all of this with kids?!” Emersyn is to the age where she loves to play with her sisters so that definitely helps. Basically, I’m on kid duty, so I’ll go back and forth from the project to checking in on the girls, feeding them, etc. while Matt works on it. And then once bed time hits, we are both usually out here til’ dark.
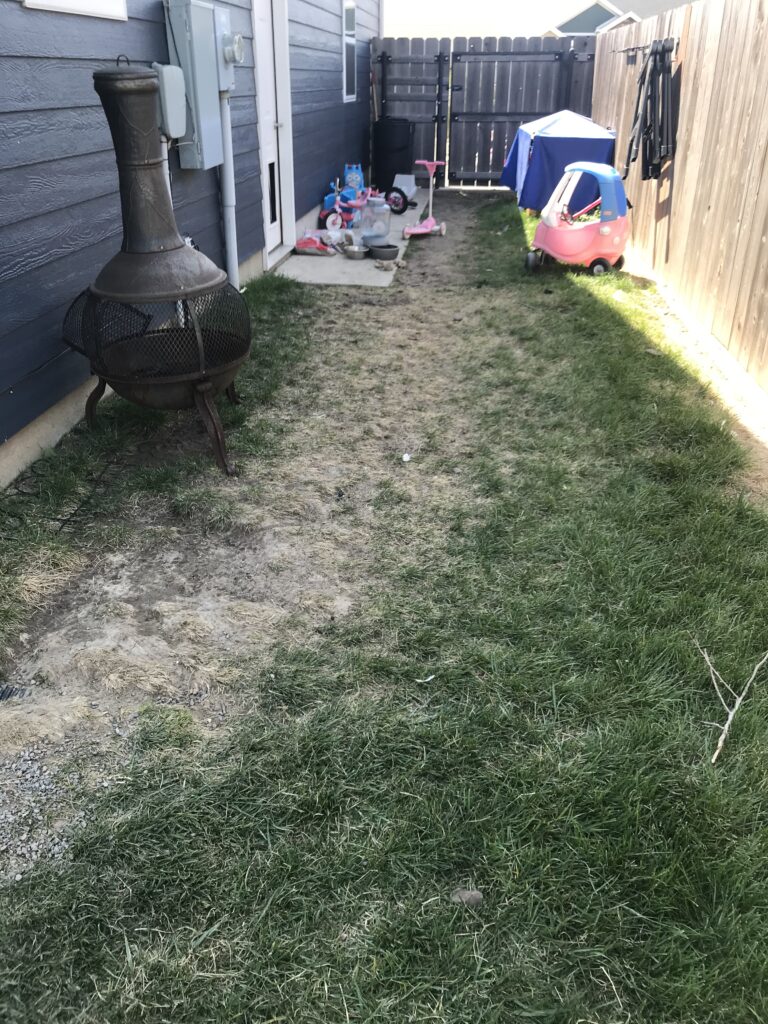
Here is a before picture to remind you of what it looked like.

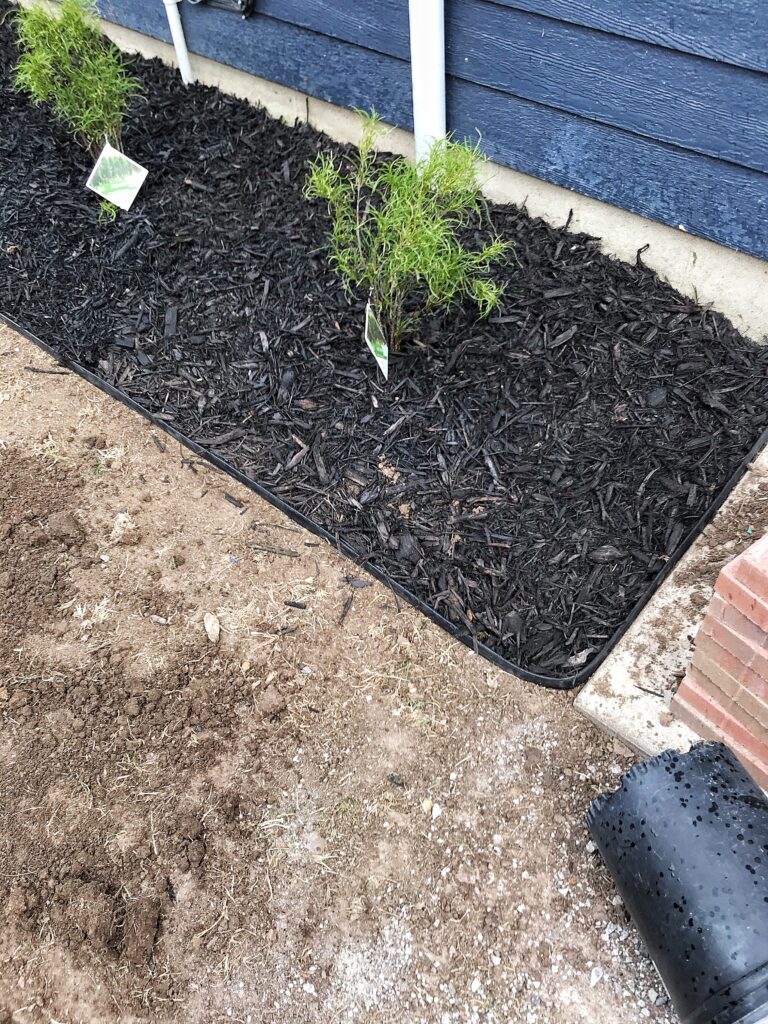
On this side Matt rototilled this area up, we added this plastic border, planted fine line plants, and added black mulch. This plant will grow more so up, not out which is perfect for this space.

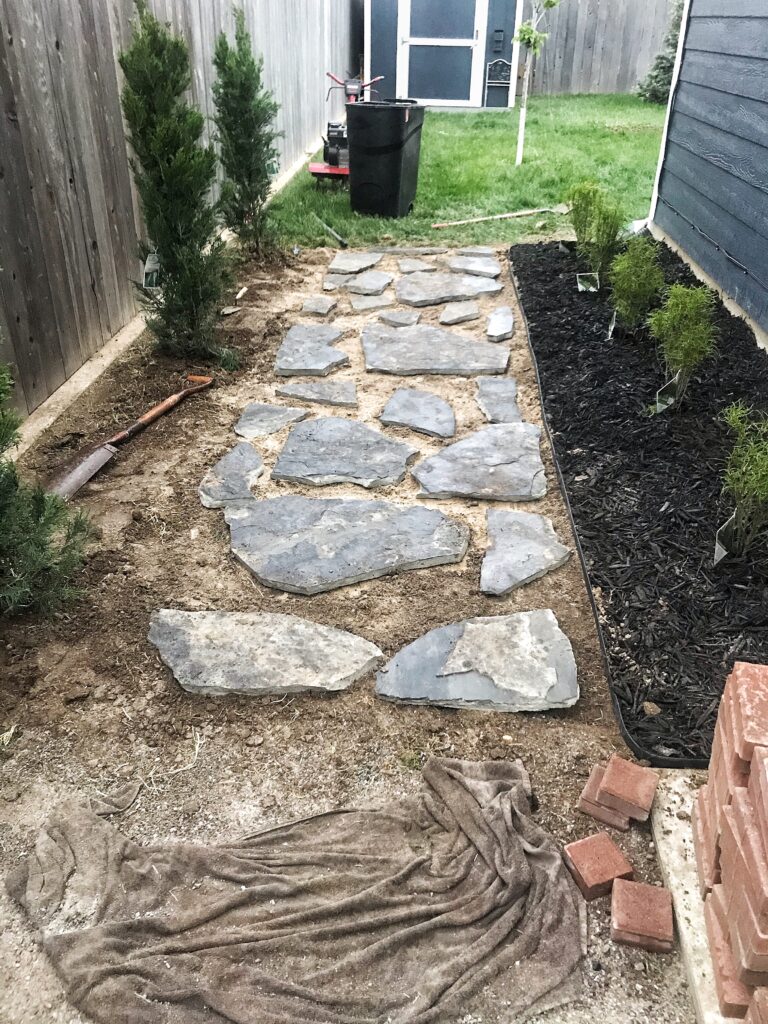
At the nursery, they didn’t have as many options of pine trees as I would’ve liked to see. We don’t have a ton of options around here to shop around so I ended up picking out these spearmint juniper trees. Again, we needed a more narrow type tree in this space so I think these will do really good here. And we can always trim them if they get too big.

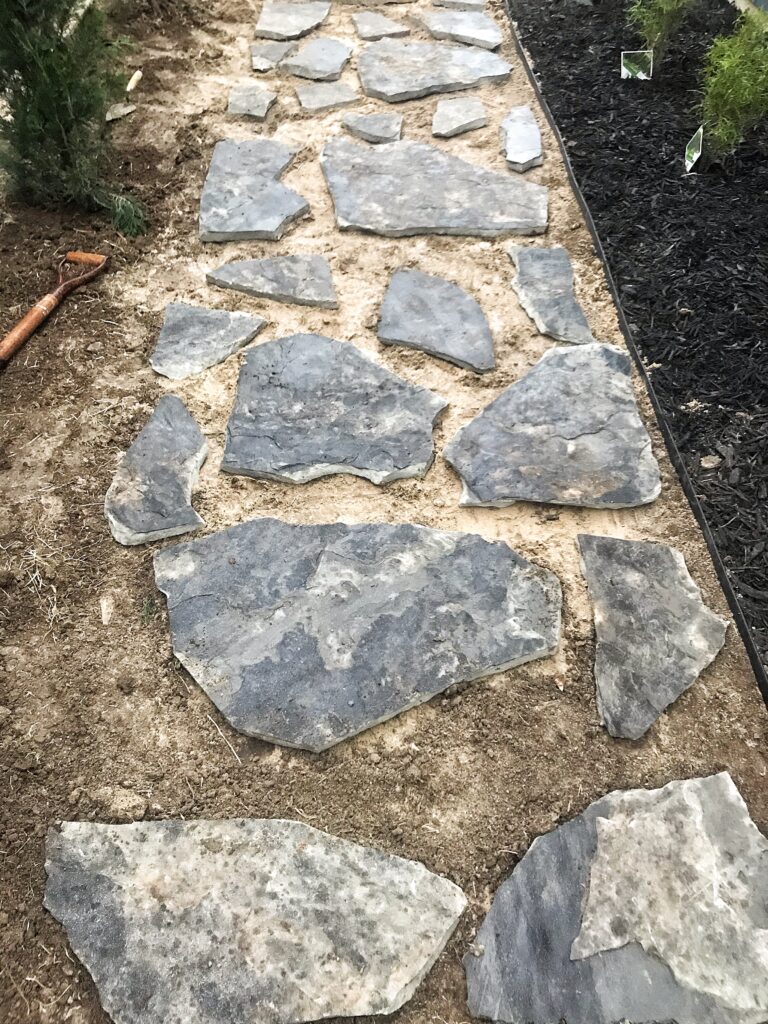
I don’t know how I did it, but I managed to get the perfect amount of stones for our walkway! (Thanks mom for your help picking out these even though you dropped a stone on your toe twice!) This never happens in my experience with projects; most the time I have to make a couple trips back to wherever it is. There is nothing more annoying than being in the middle of a project and having to make a run somewhere. But I’m also someone who doesn’t like to stop if I’m in the middle of something, I’d rather just not stop until it’s done. It’s kind of like a puzzle with these stones, it took me a little bit of time to be happy with how they all looked.

After I got them placed where I was happy with them, I then had to dig out the dirt under each stone so they sat a little more flush to the ground. Otherwise, the stones would not stay in place well. This part was a little tedious but I placed my last stone in it’s spot right as it was getting dark.

I am so stoked with how far this space has come! Later this week I plan on doing a diy back here (will share with you all soon), having Matt install our new light fixture, and doing a few little other things. I probably wont show the big reveal until a few weeks from now. There is still quite a bit to do but the work will have to wait. This weekend we have something HUGE coming for our backyard and we have birthday parties coming up the weekend after that. But hopefully, by the end of the month (fingers crossed) I can share it completed!
Have a great day!!
xoxo Kayla
