Faux Brick Walls in Kitchen Using Joint Compound
Our kitchen makeover is underway and to say I’m excited is an understatement!! To see our plans and what our kitchen has looked like throughout the last 6 years, you can go to this post. A few years ago, when I was 8 months pregnant with Emersyn, I decided to try a faux brick wall in our kitchen using tape and joint compound. Nesting must’ve been in full force I guess?!
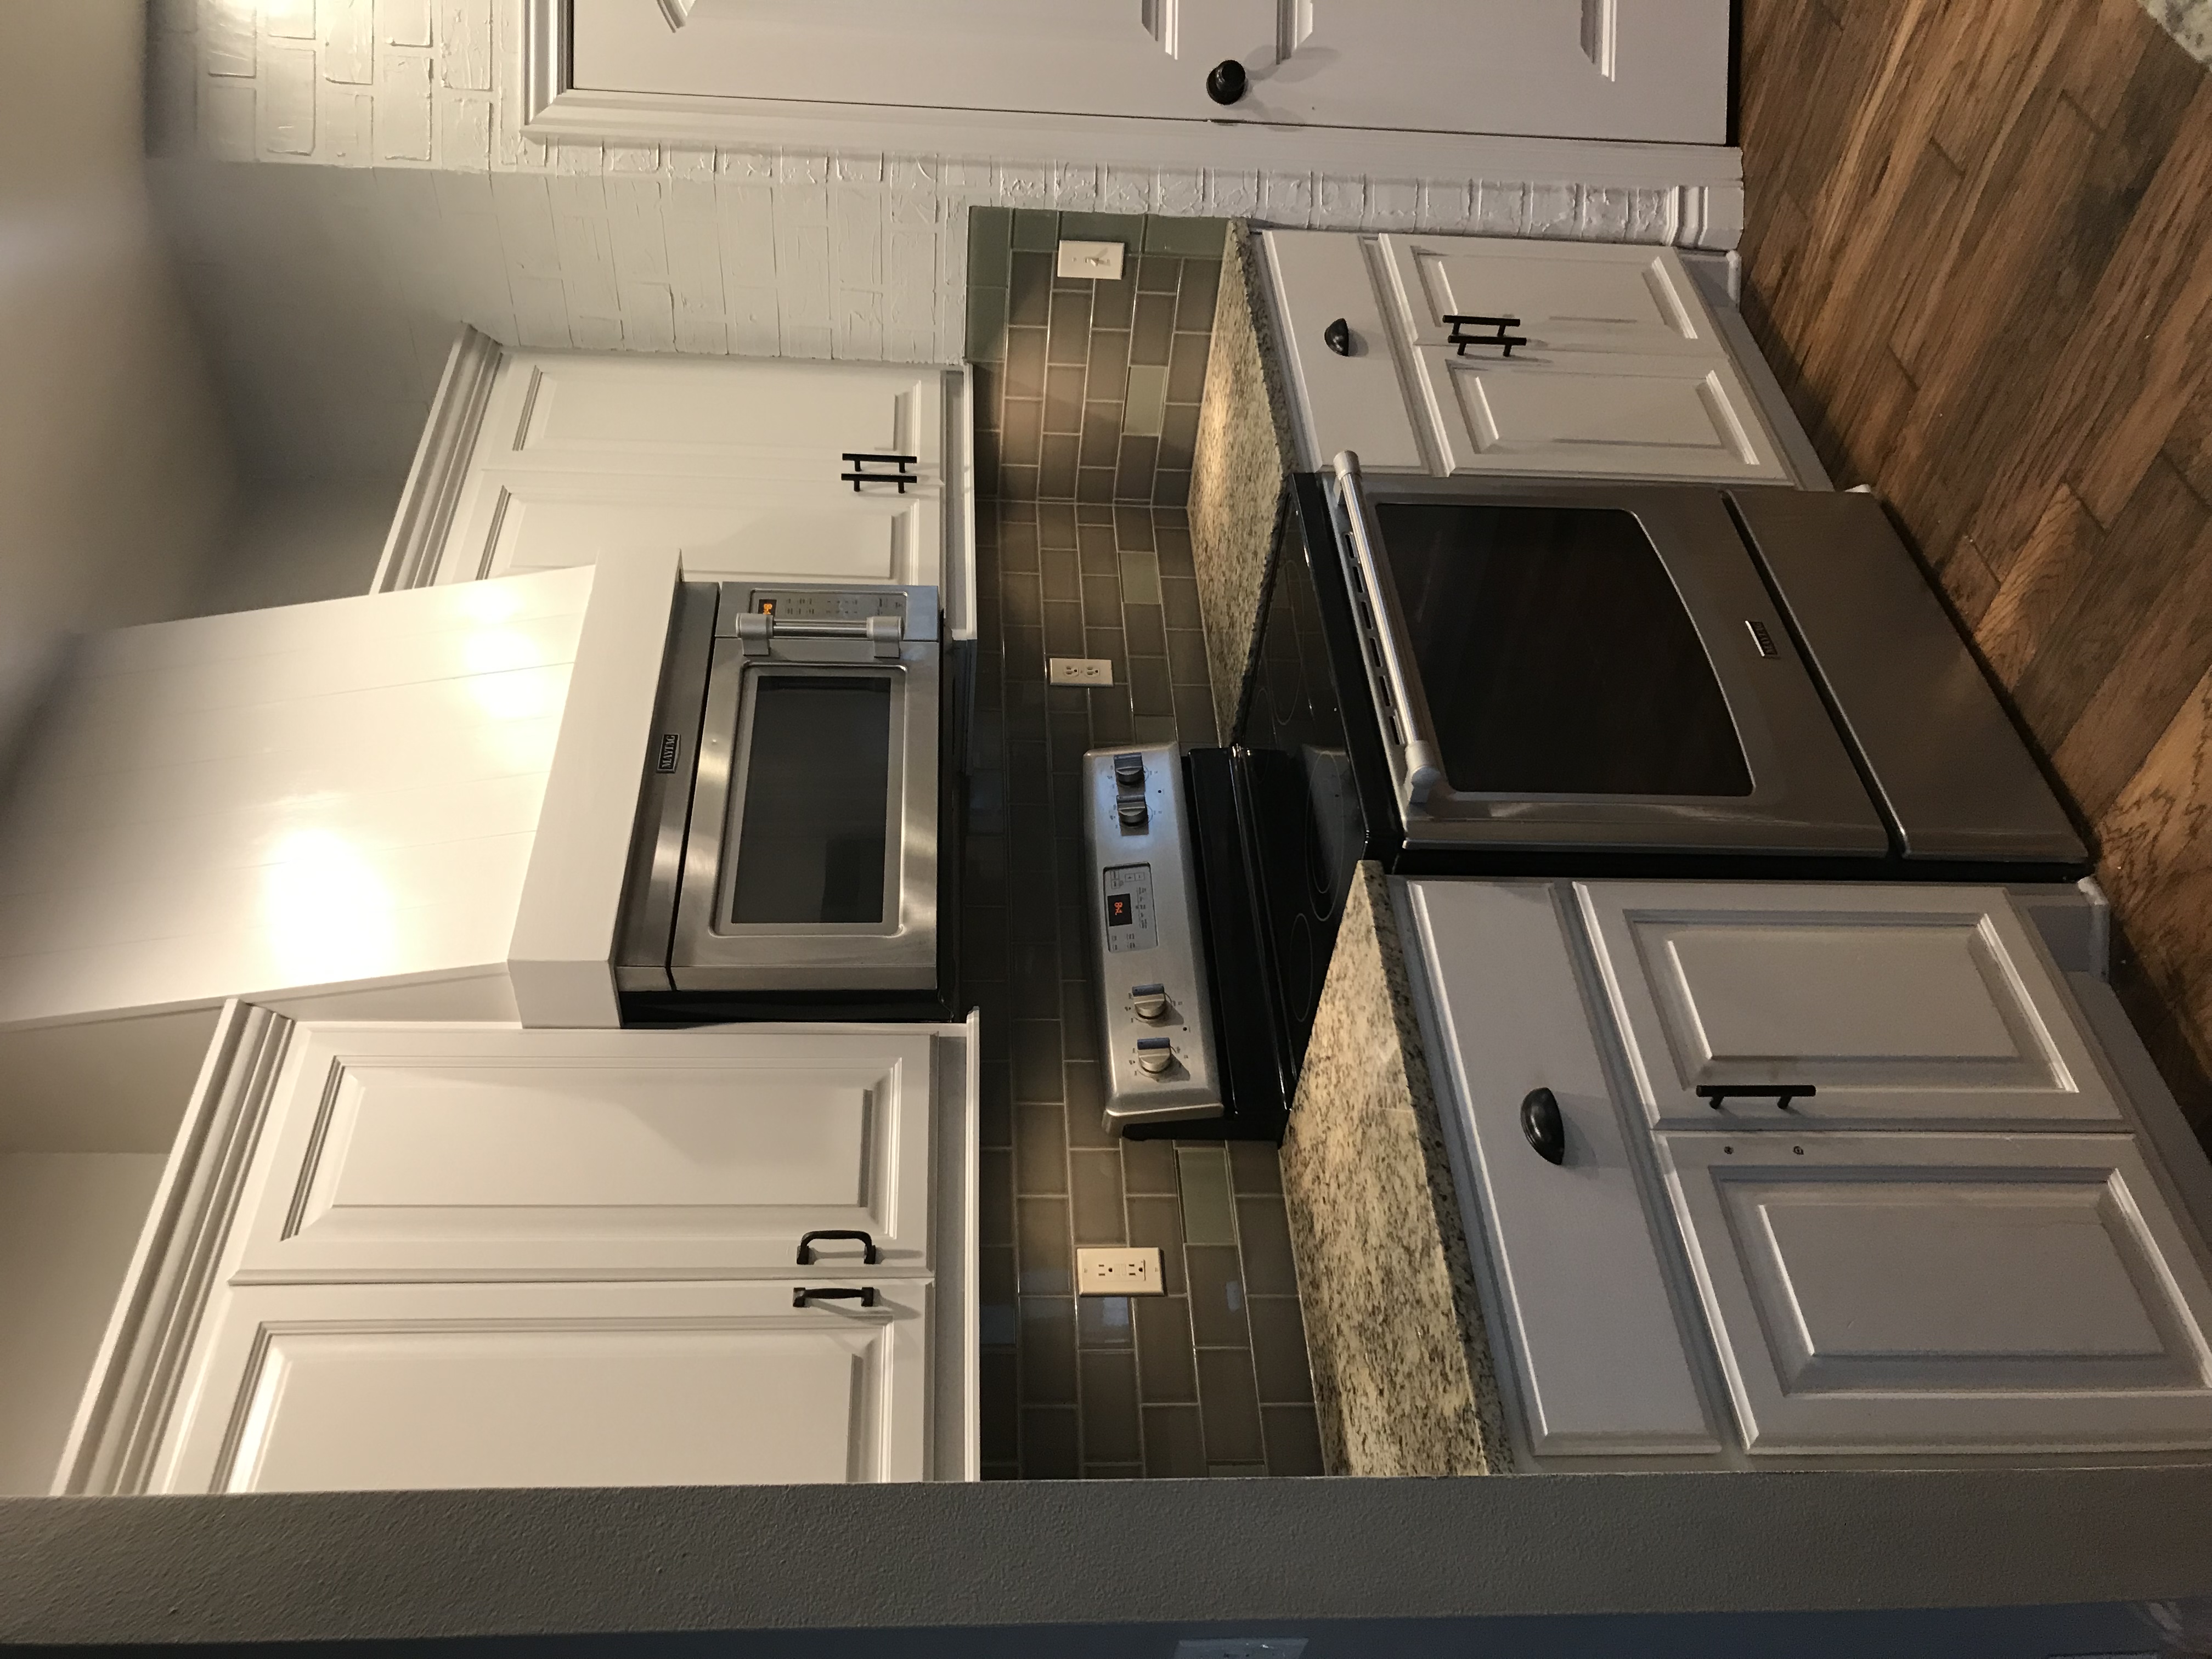
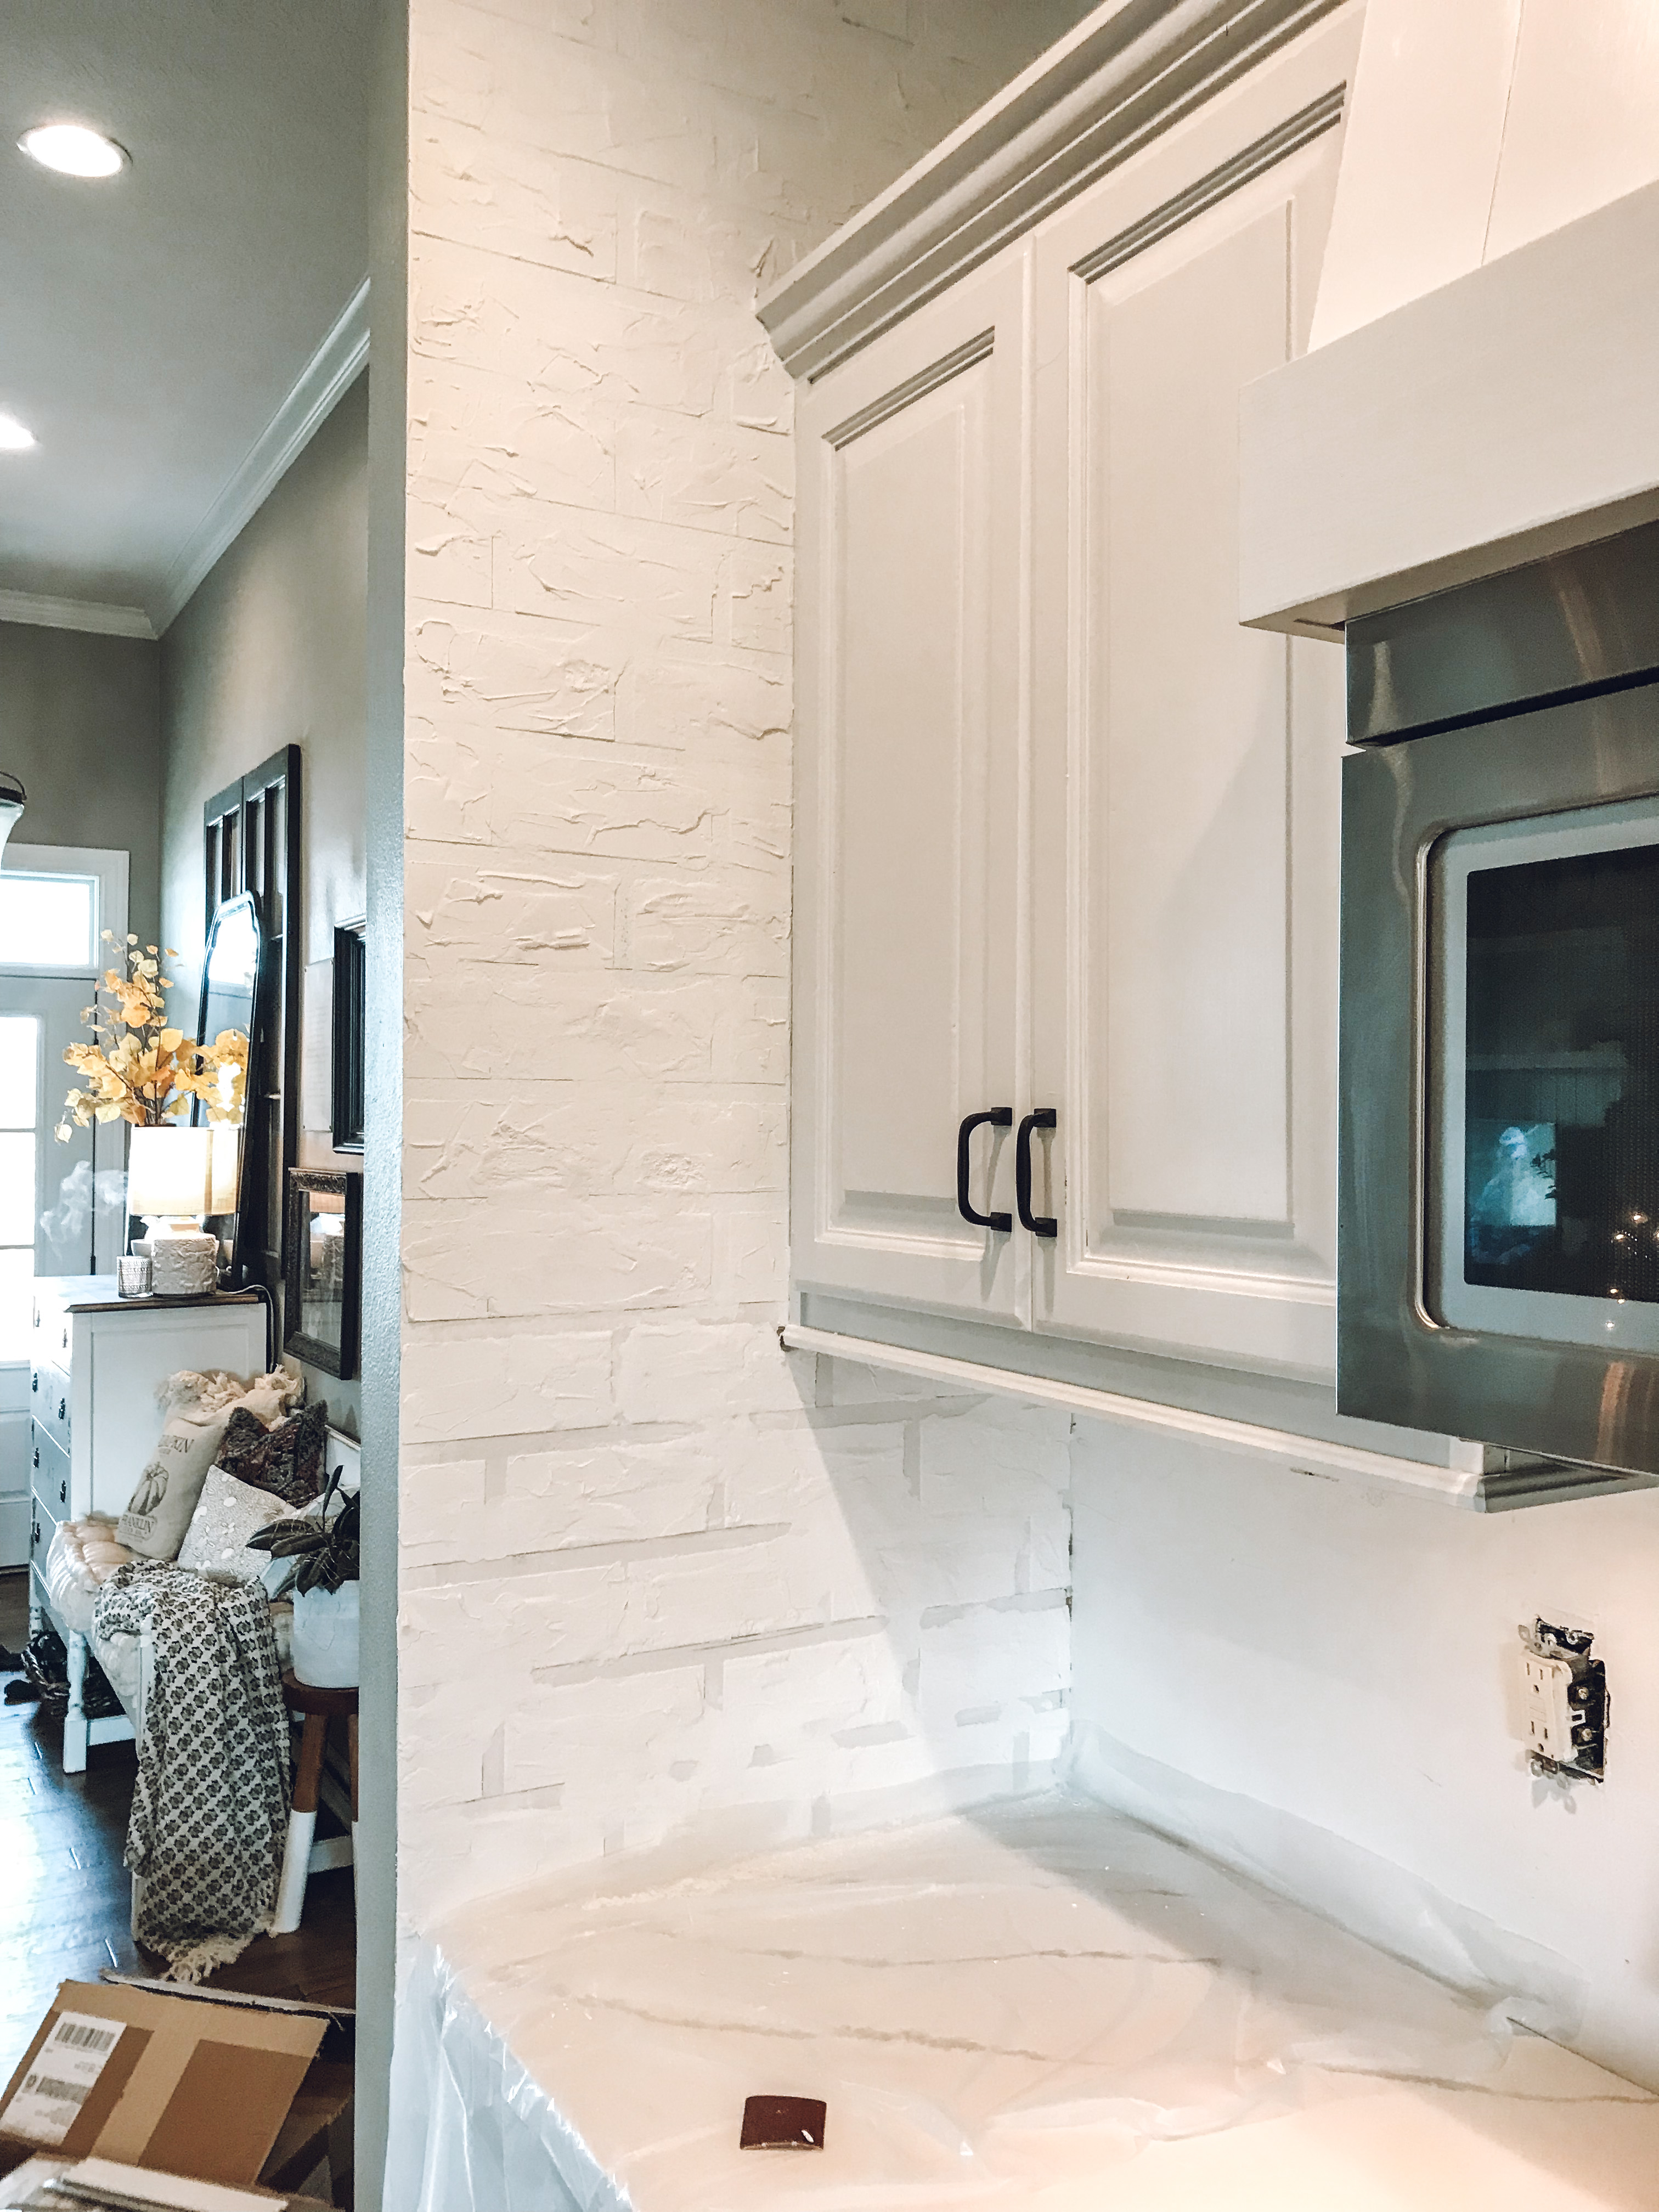
Here is what our kitchen looked like just a week ago. Notice the faux brick around the pantry door. (And don’t mind our mis-matching and missing hardware; we have new ones coming in soon!)
Originally, I was going to have our contractor put up our new backsplash the same way as pictured above.
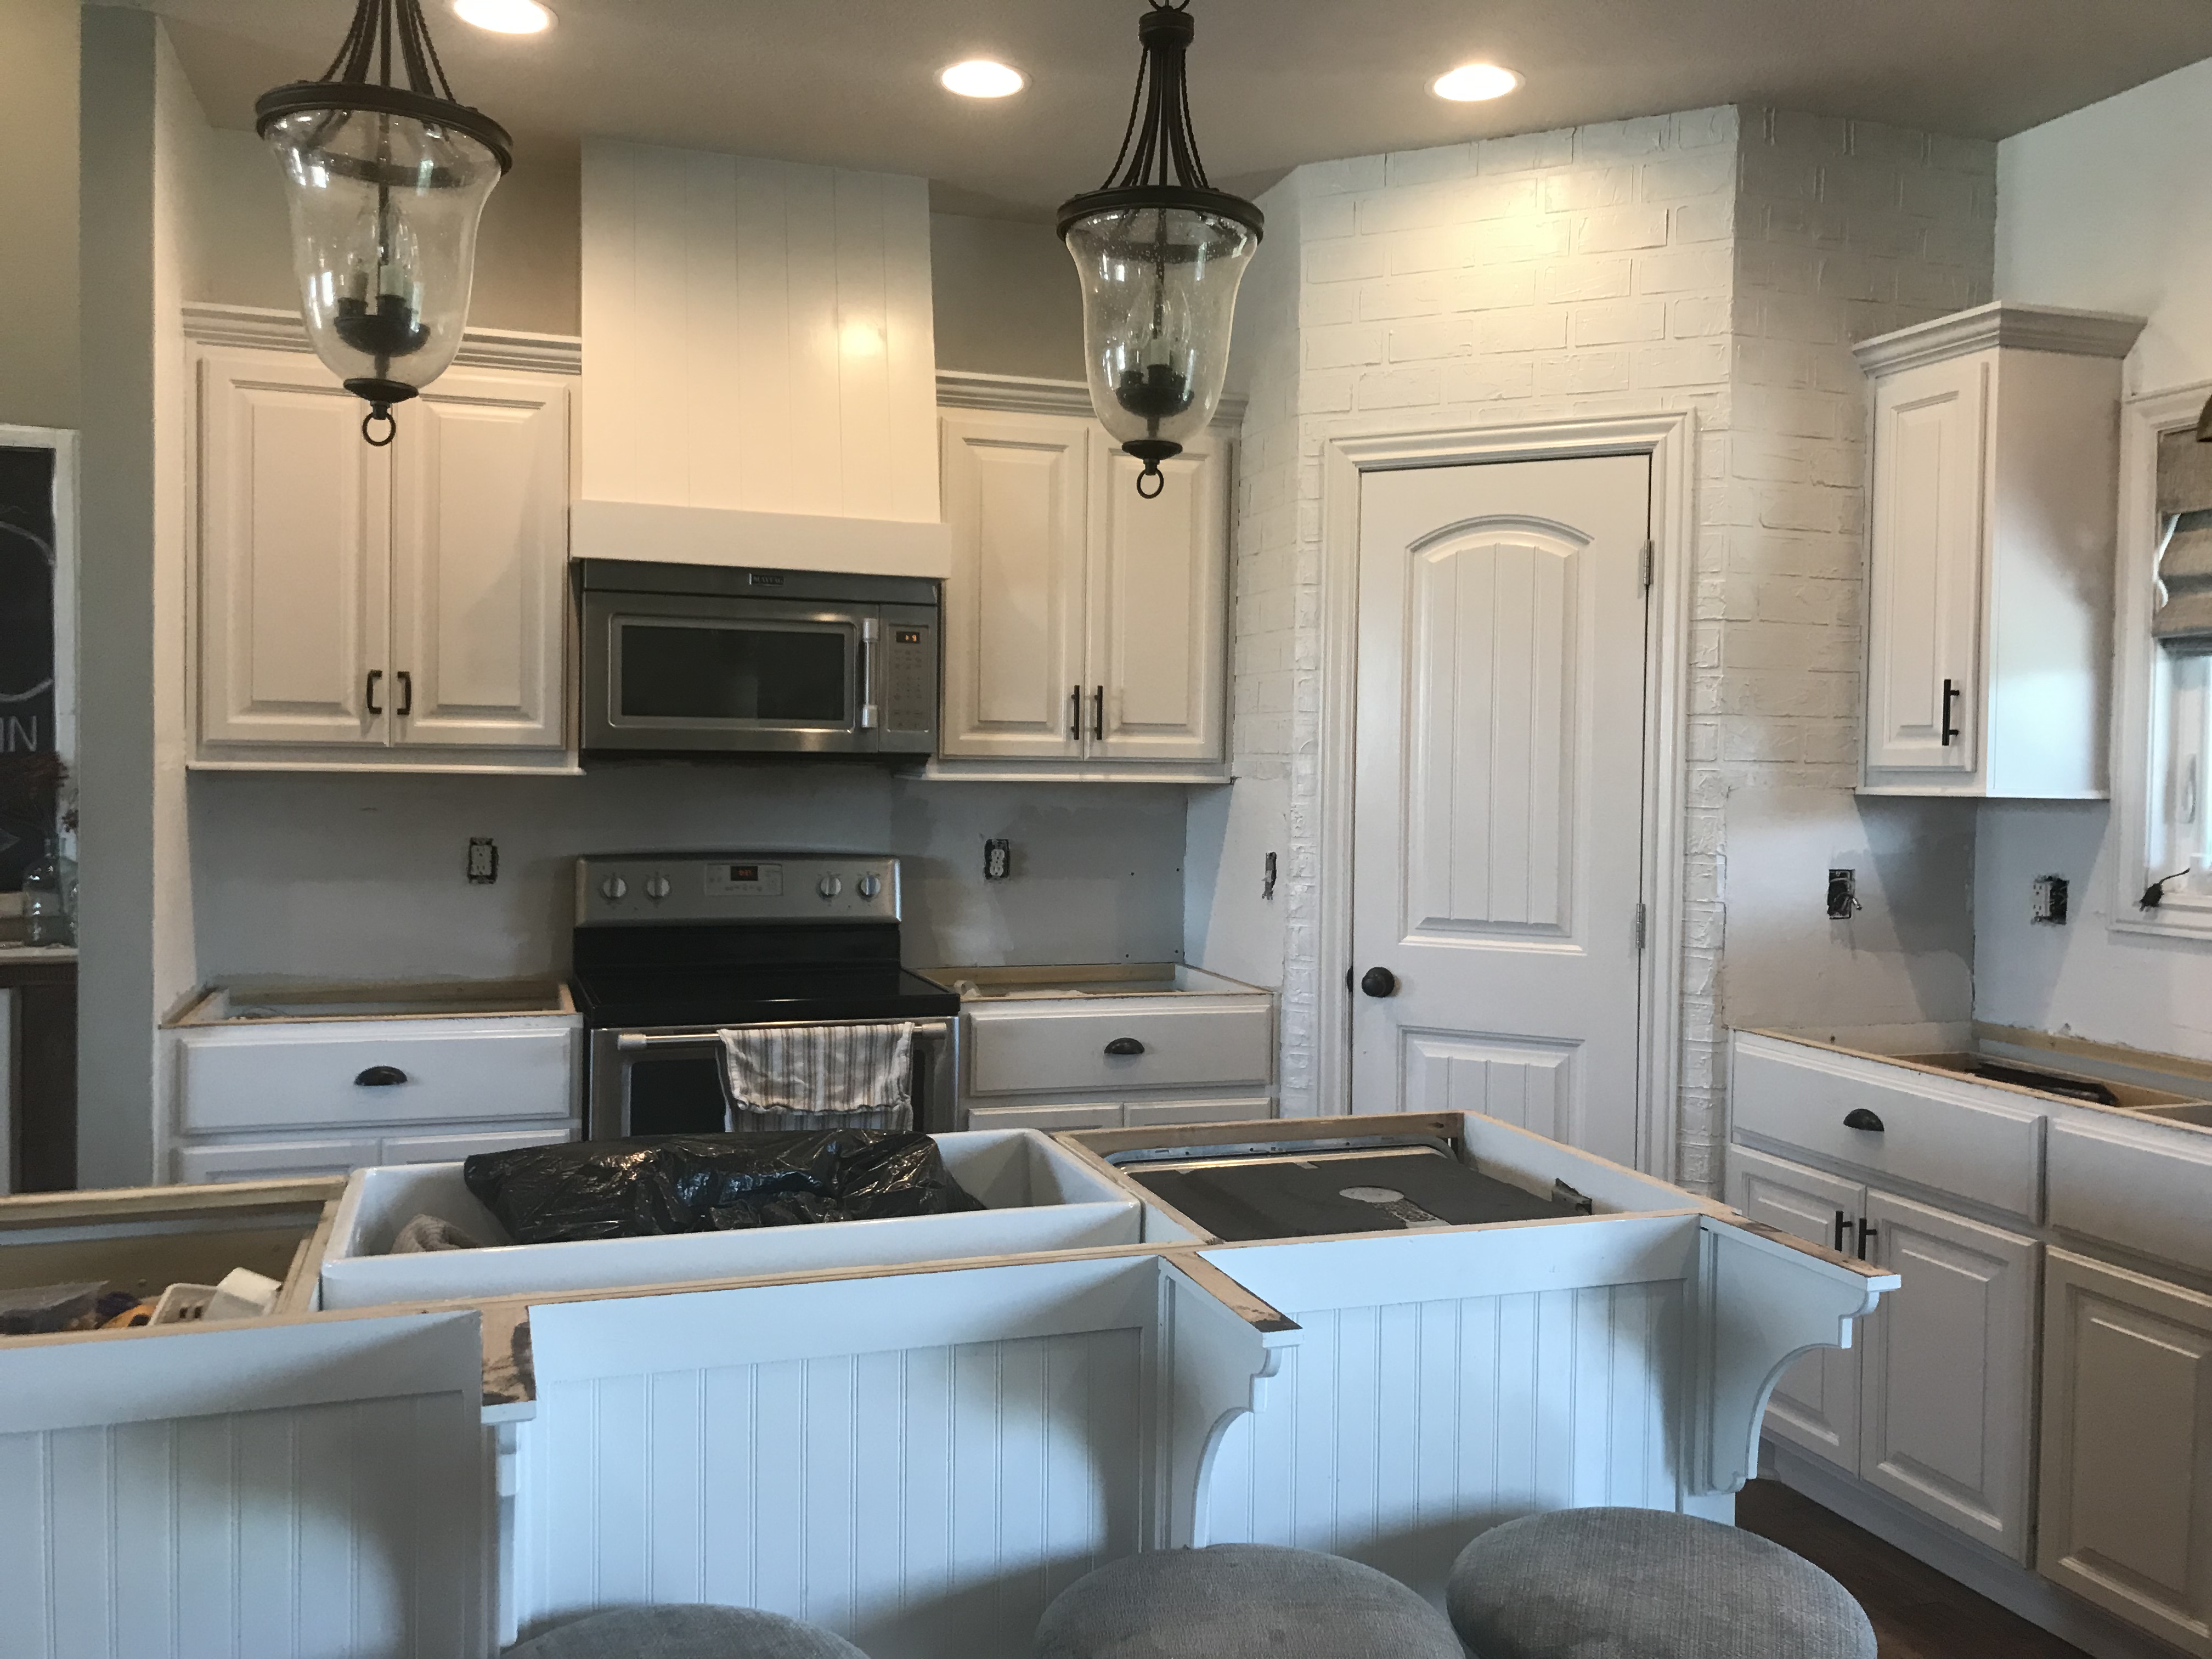
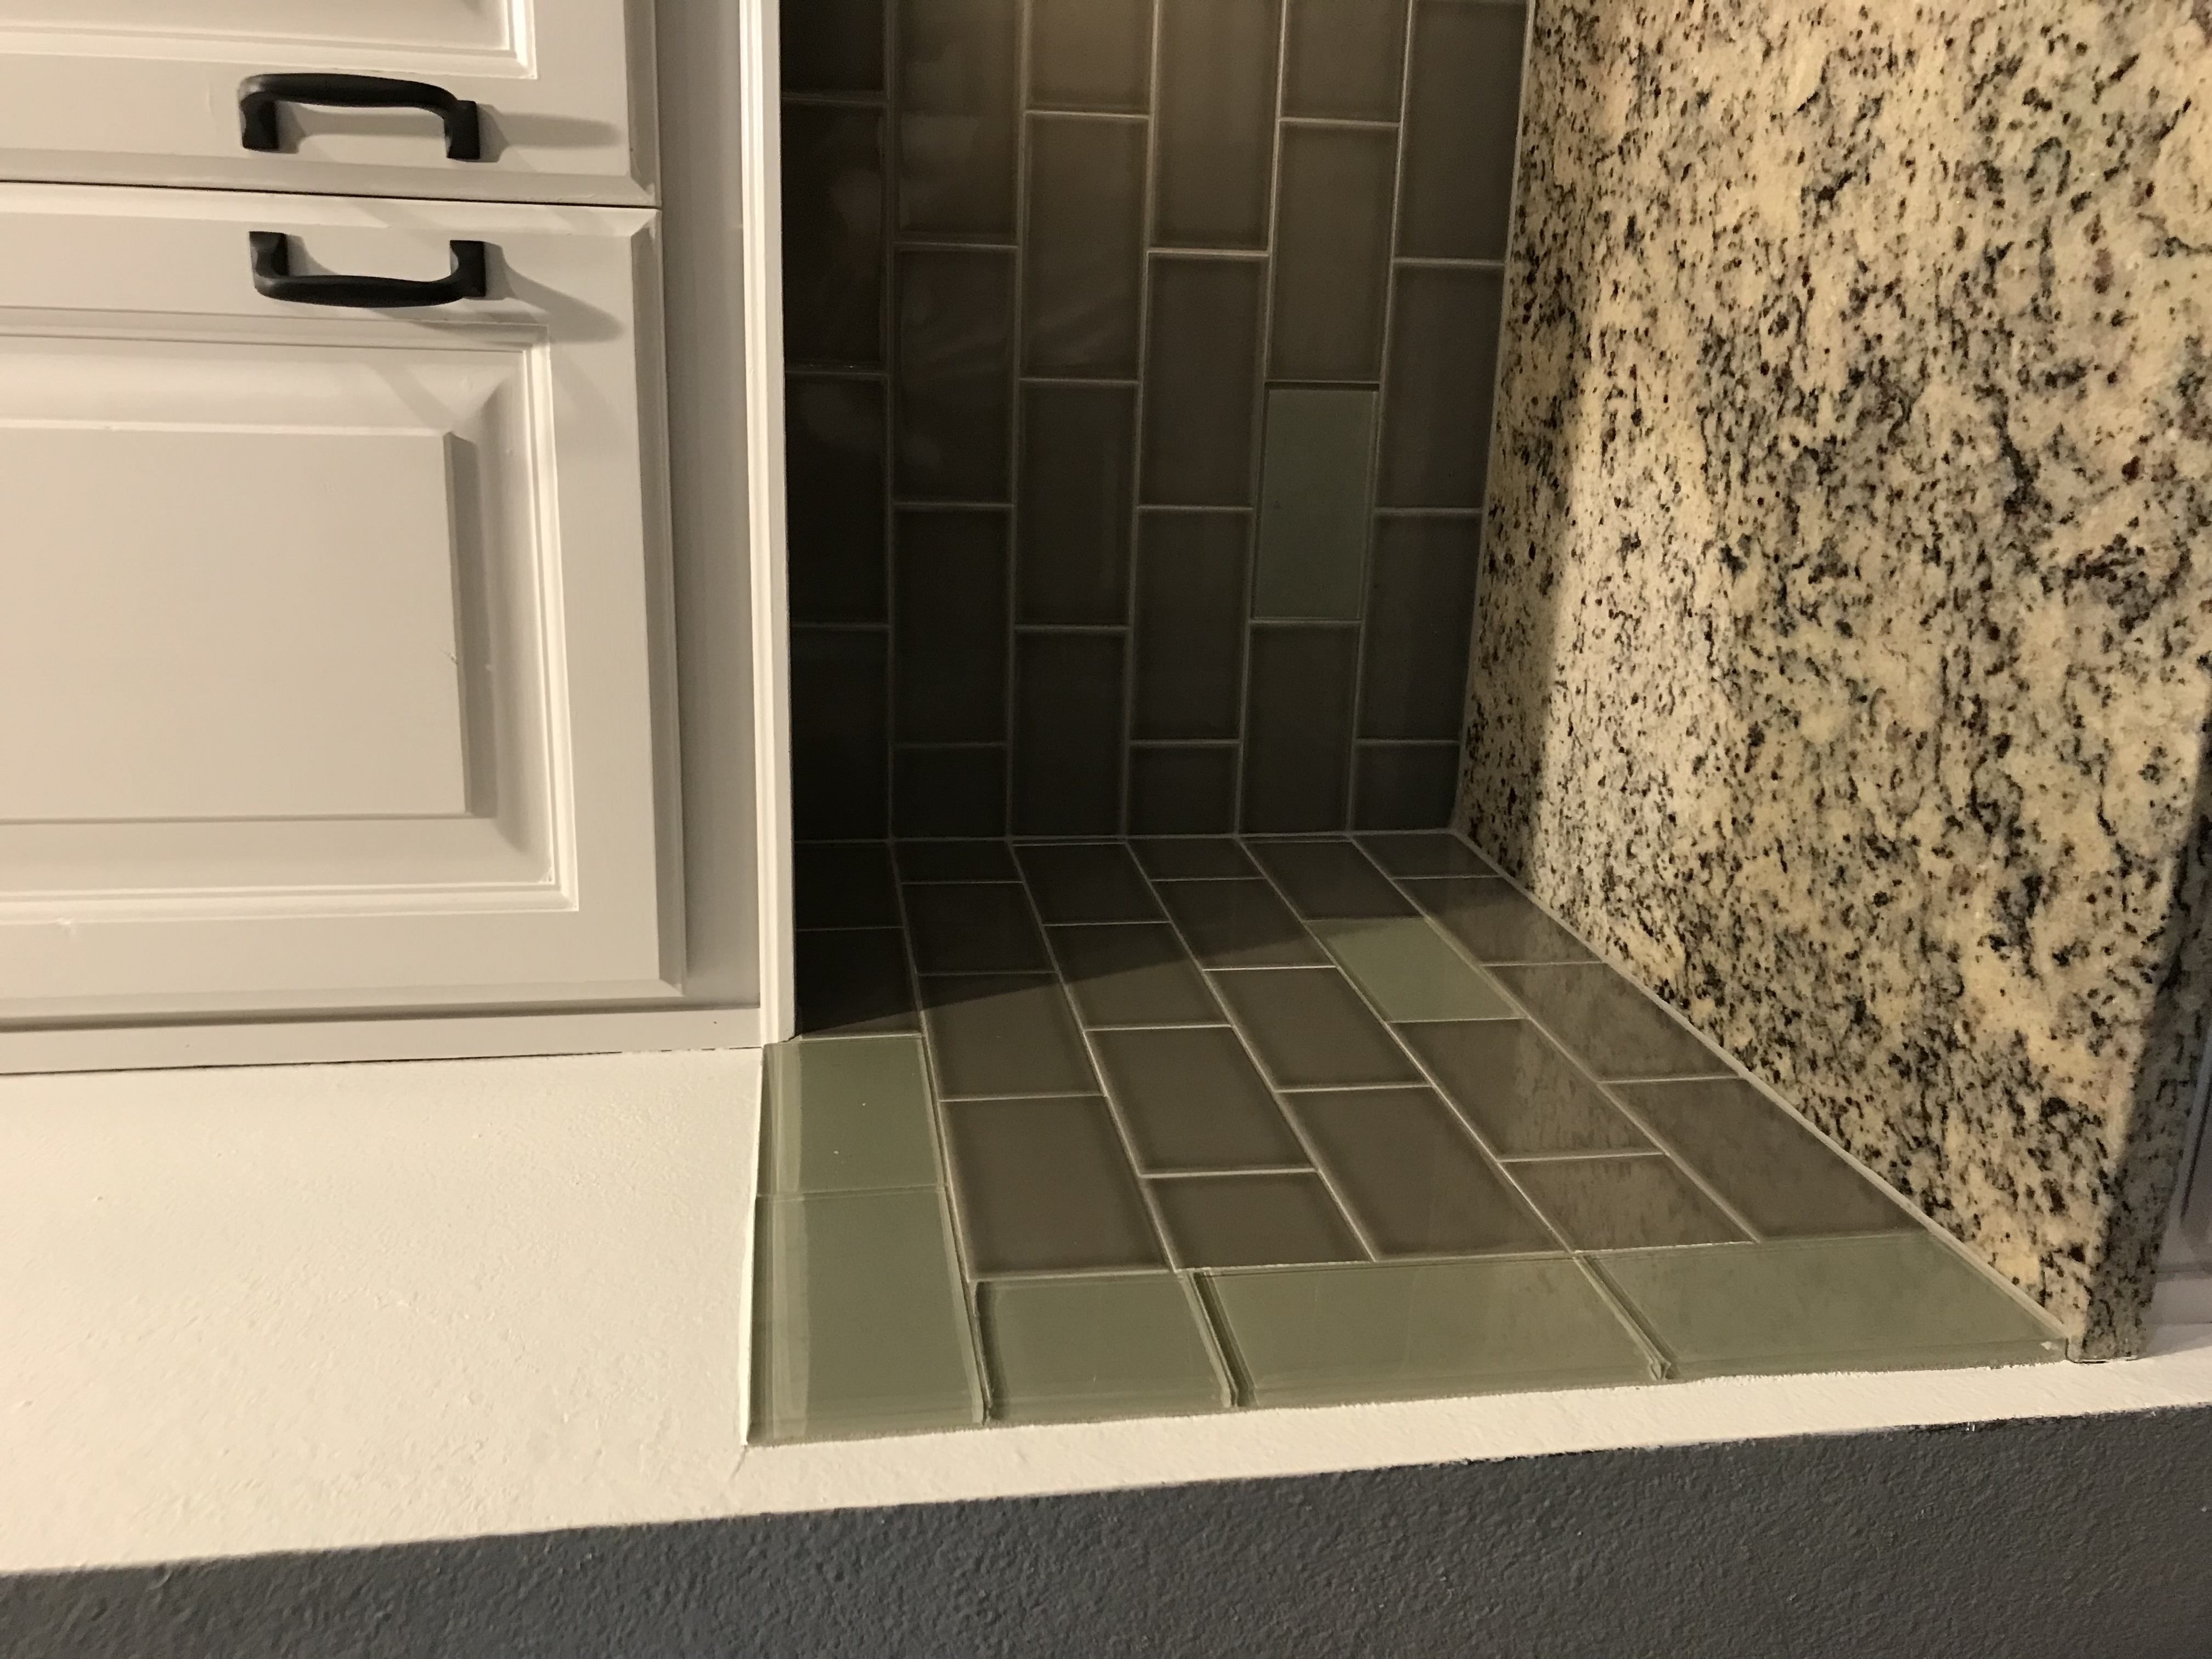
But being able to look at the kitchen with no backsplash in it made me realize I needed to continue the brick down the sides of the pantry and on the far left wall.

Faux Brick Tutorial
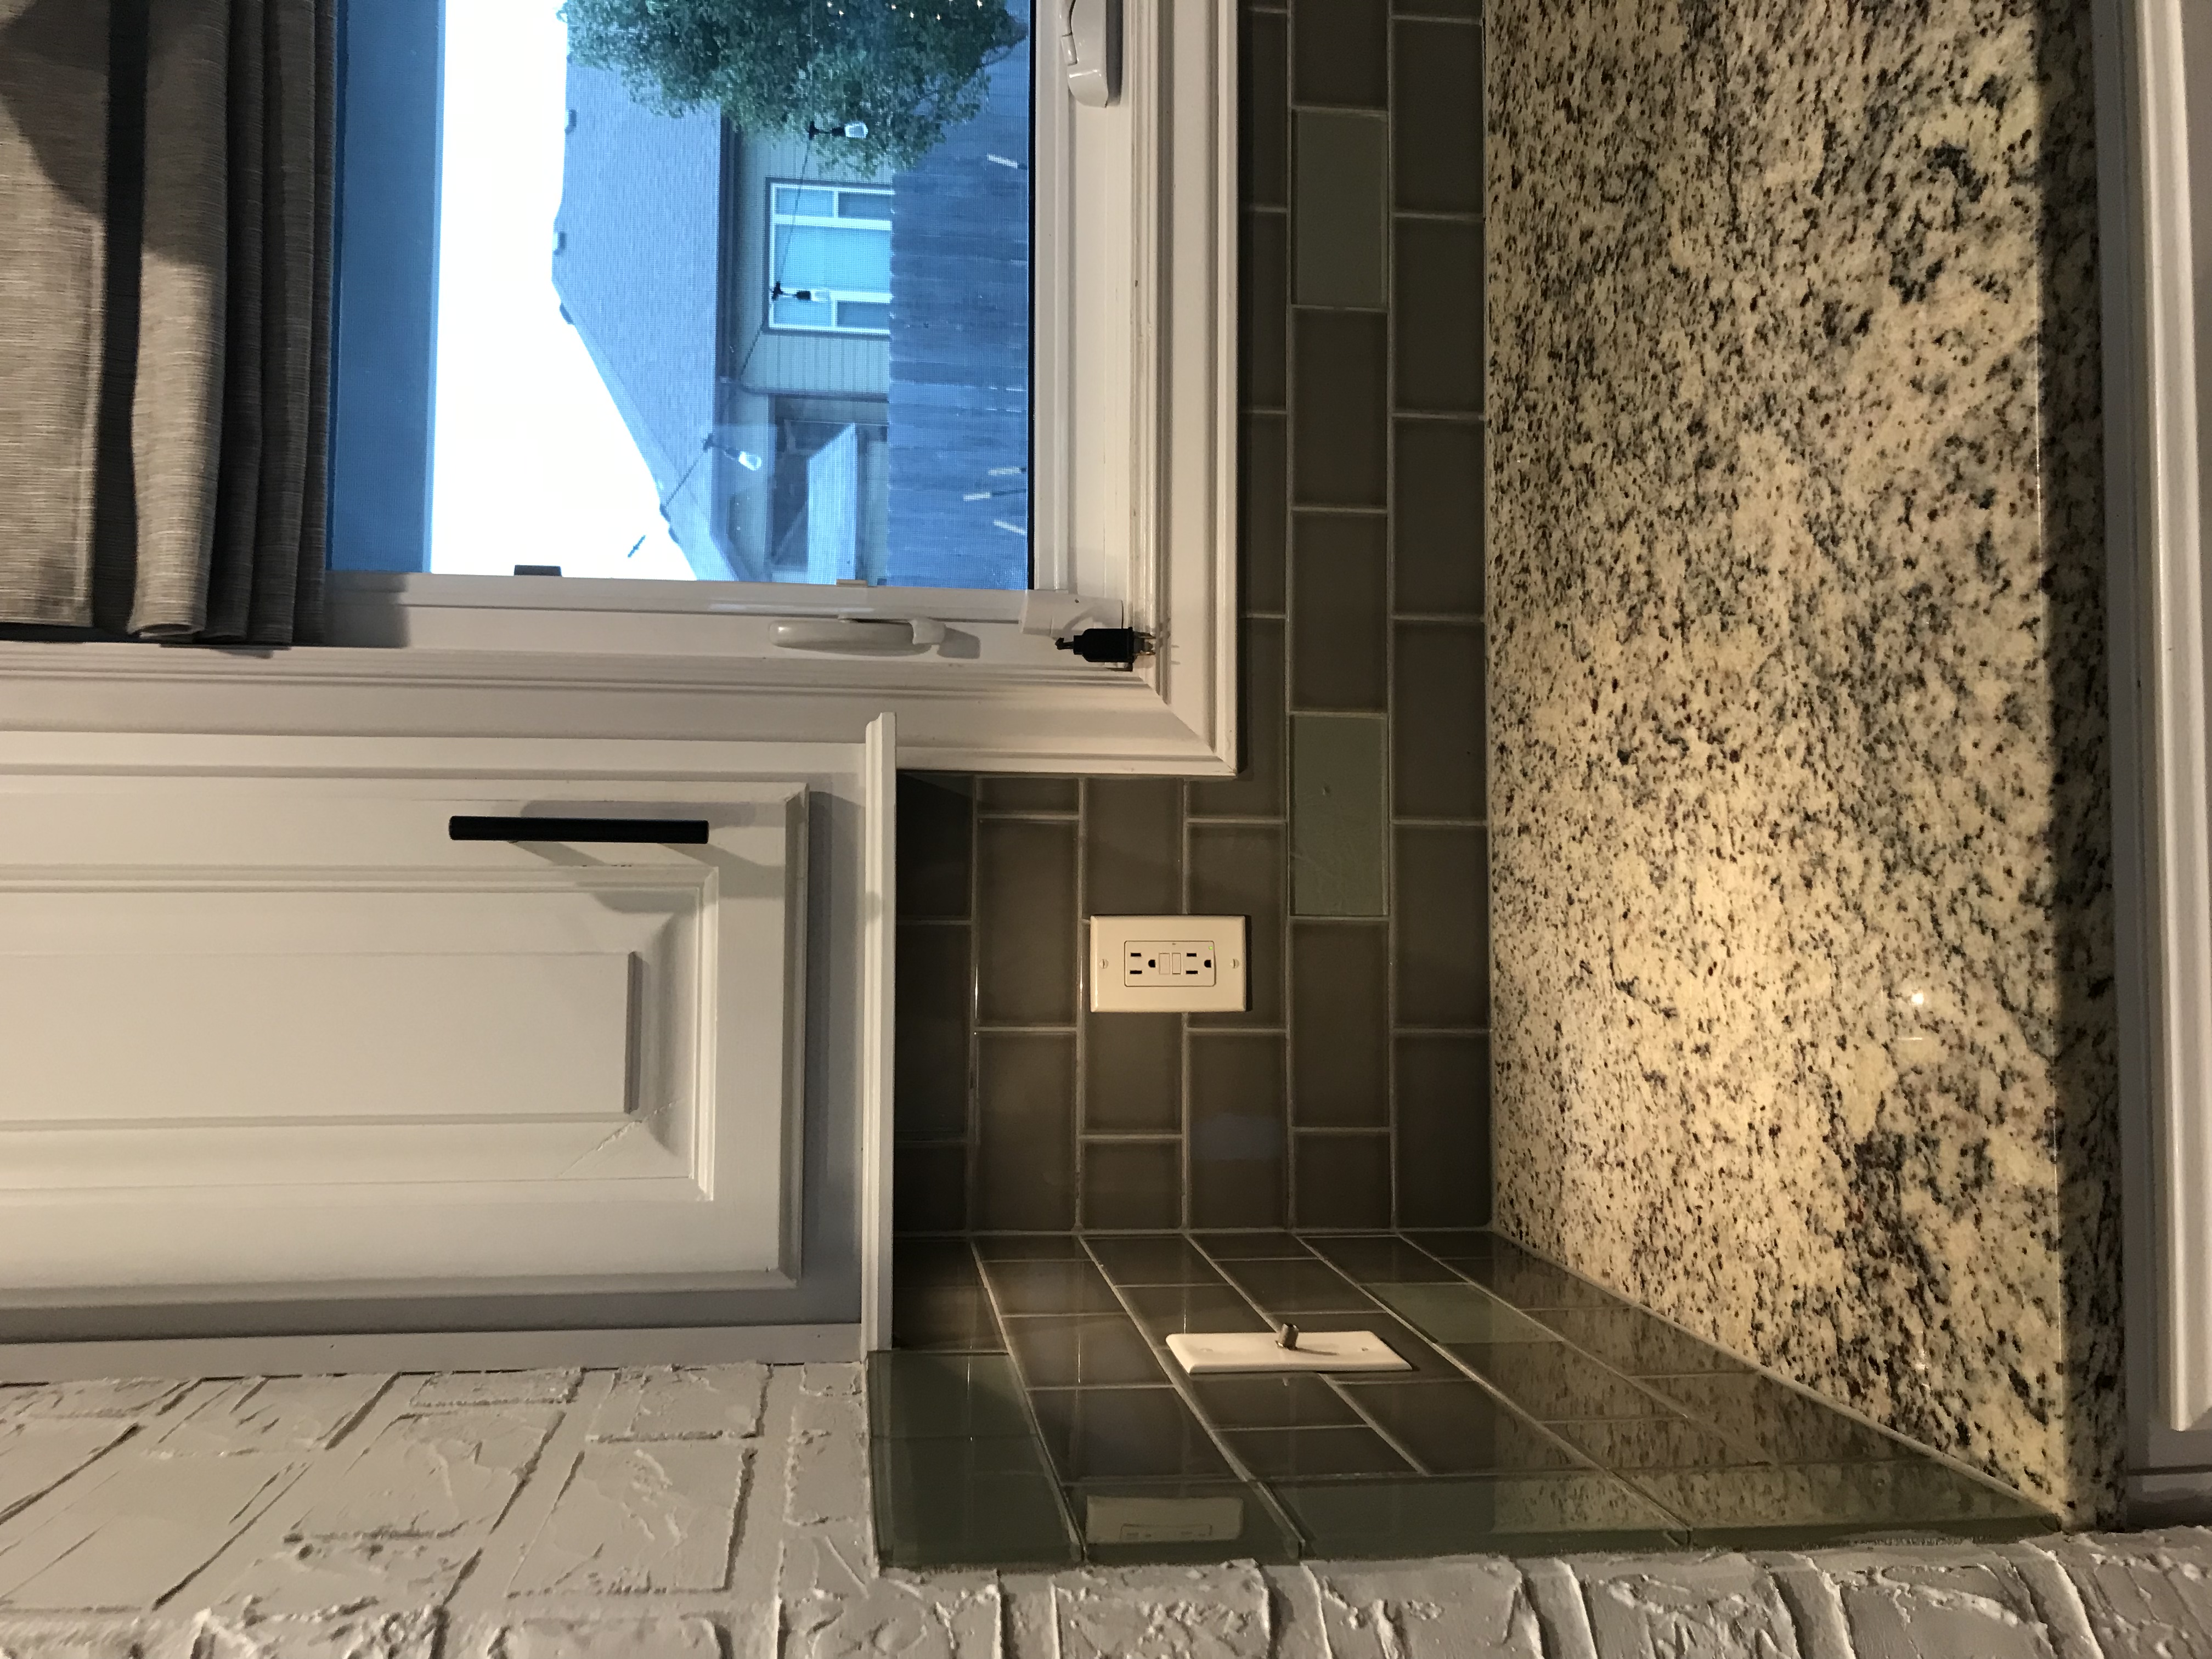
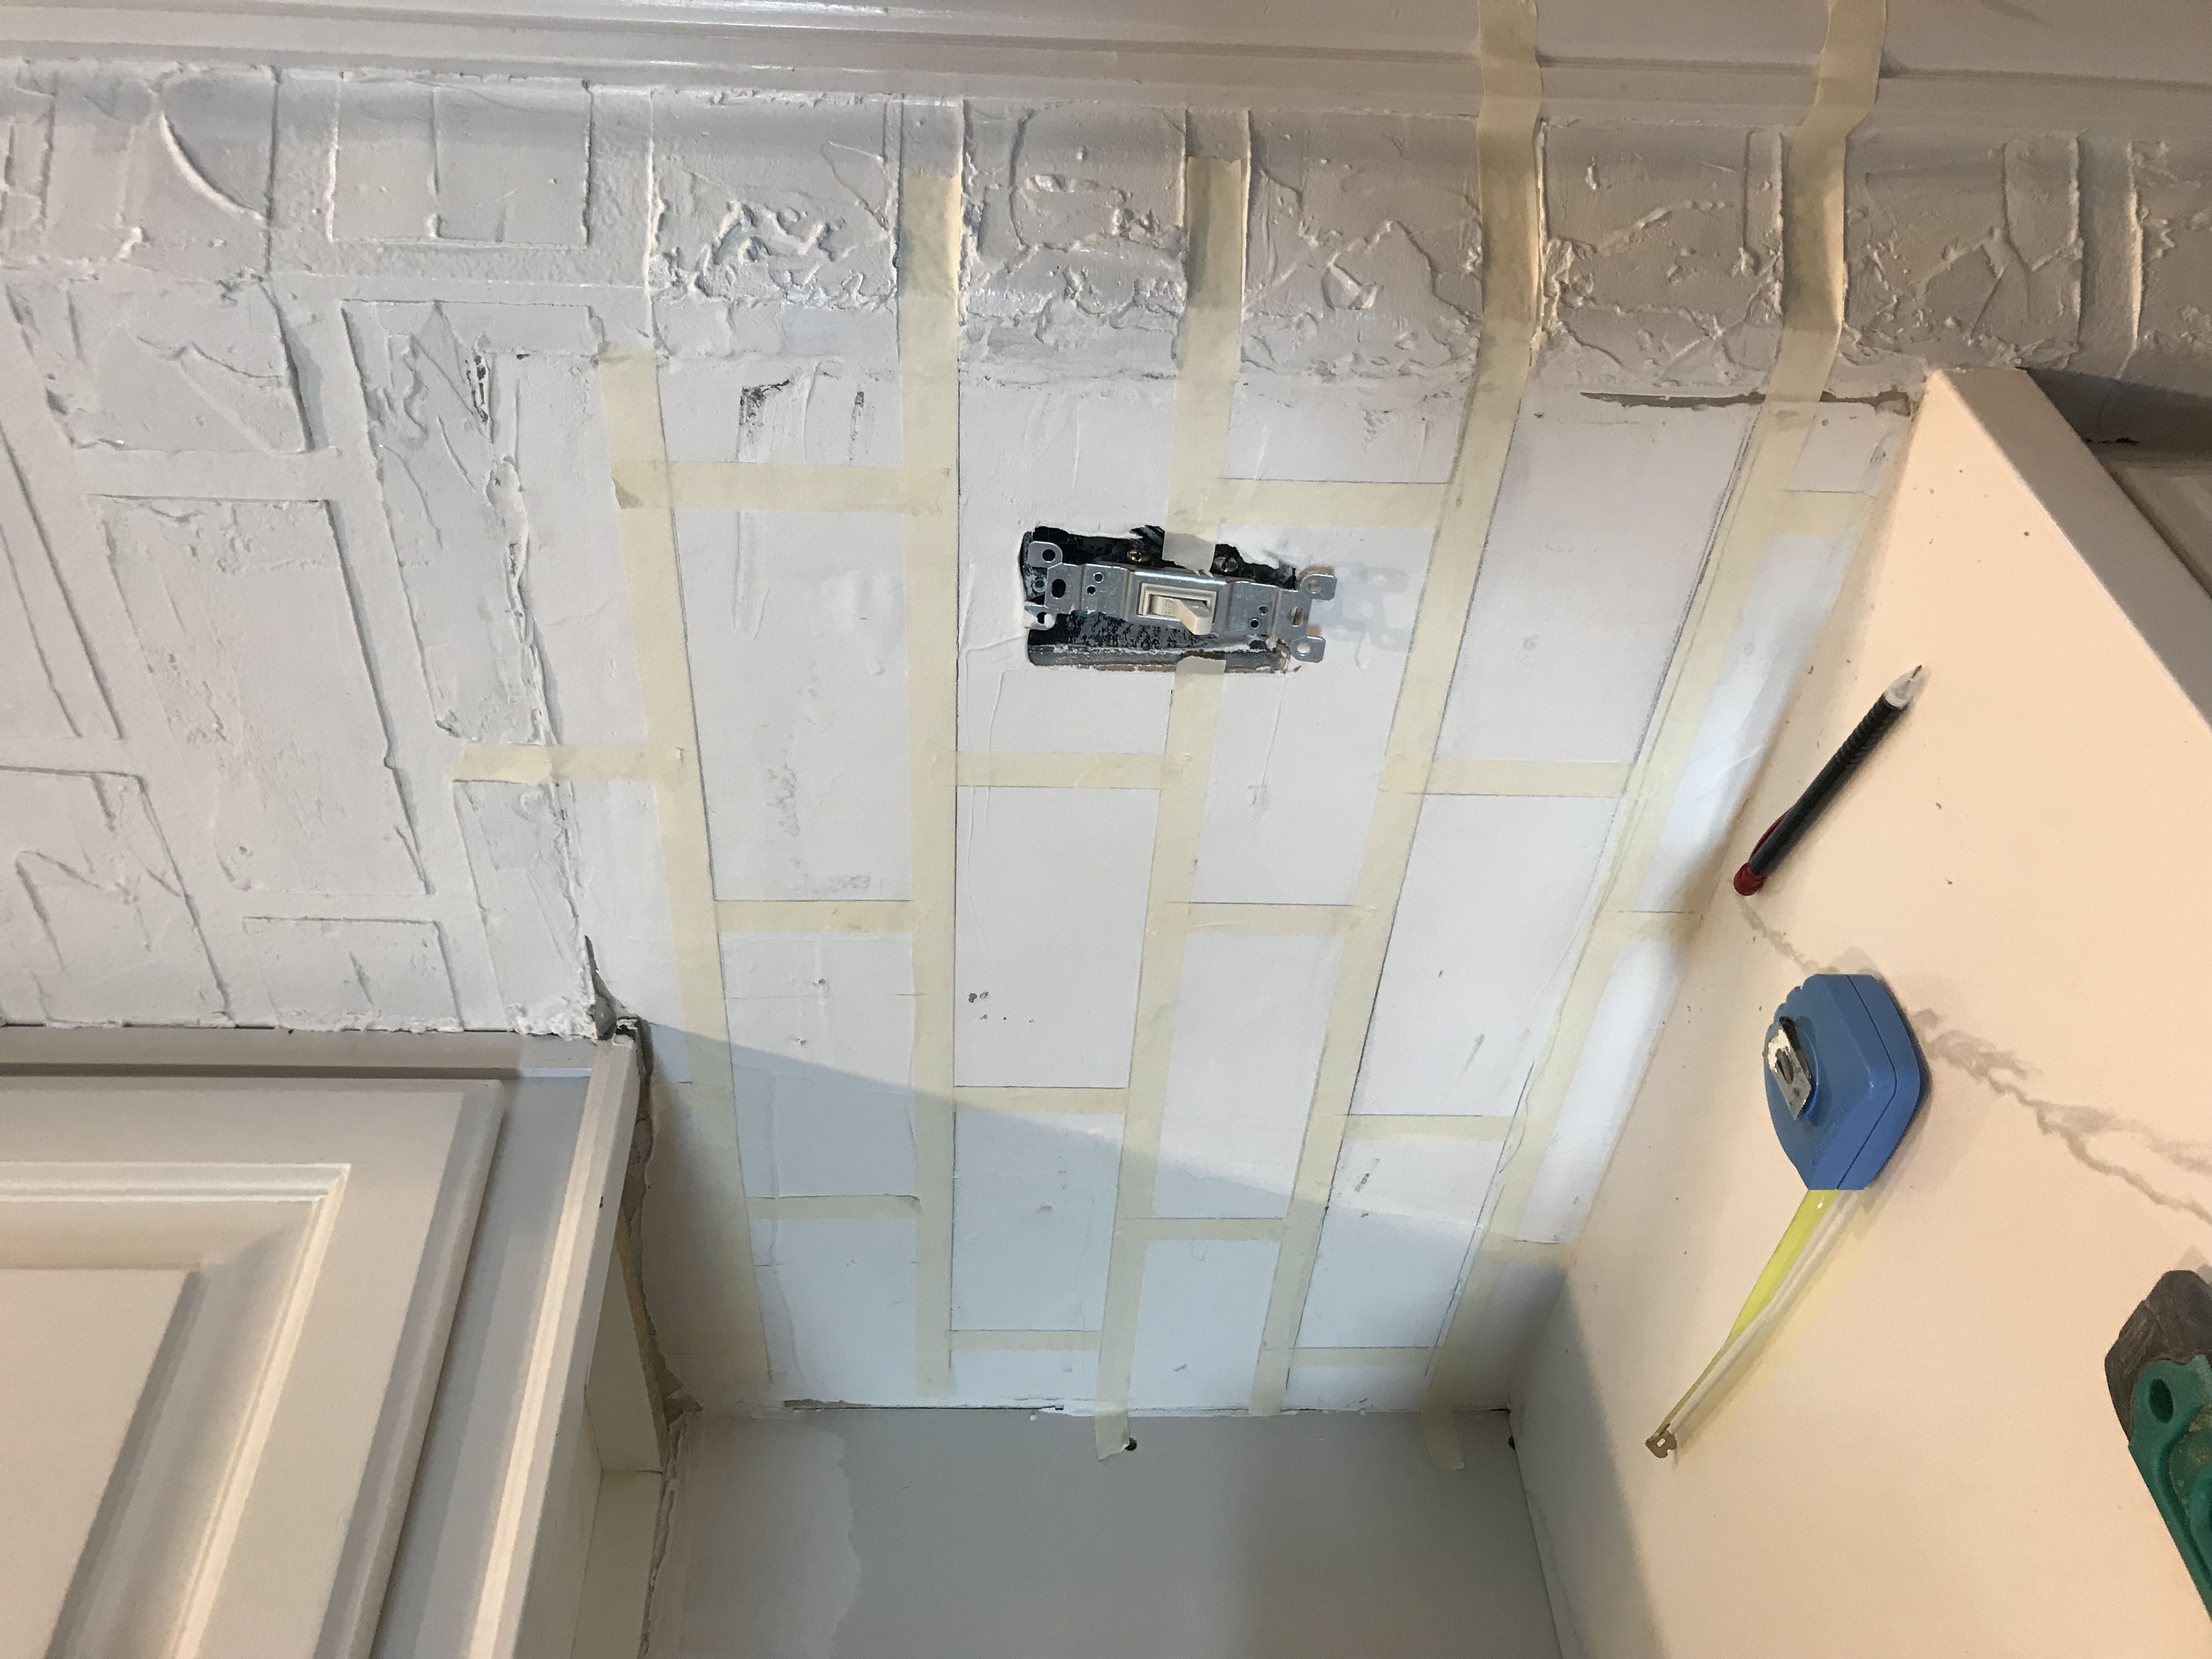
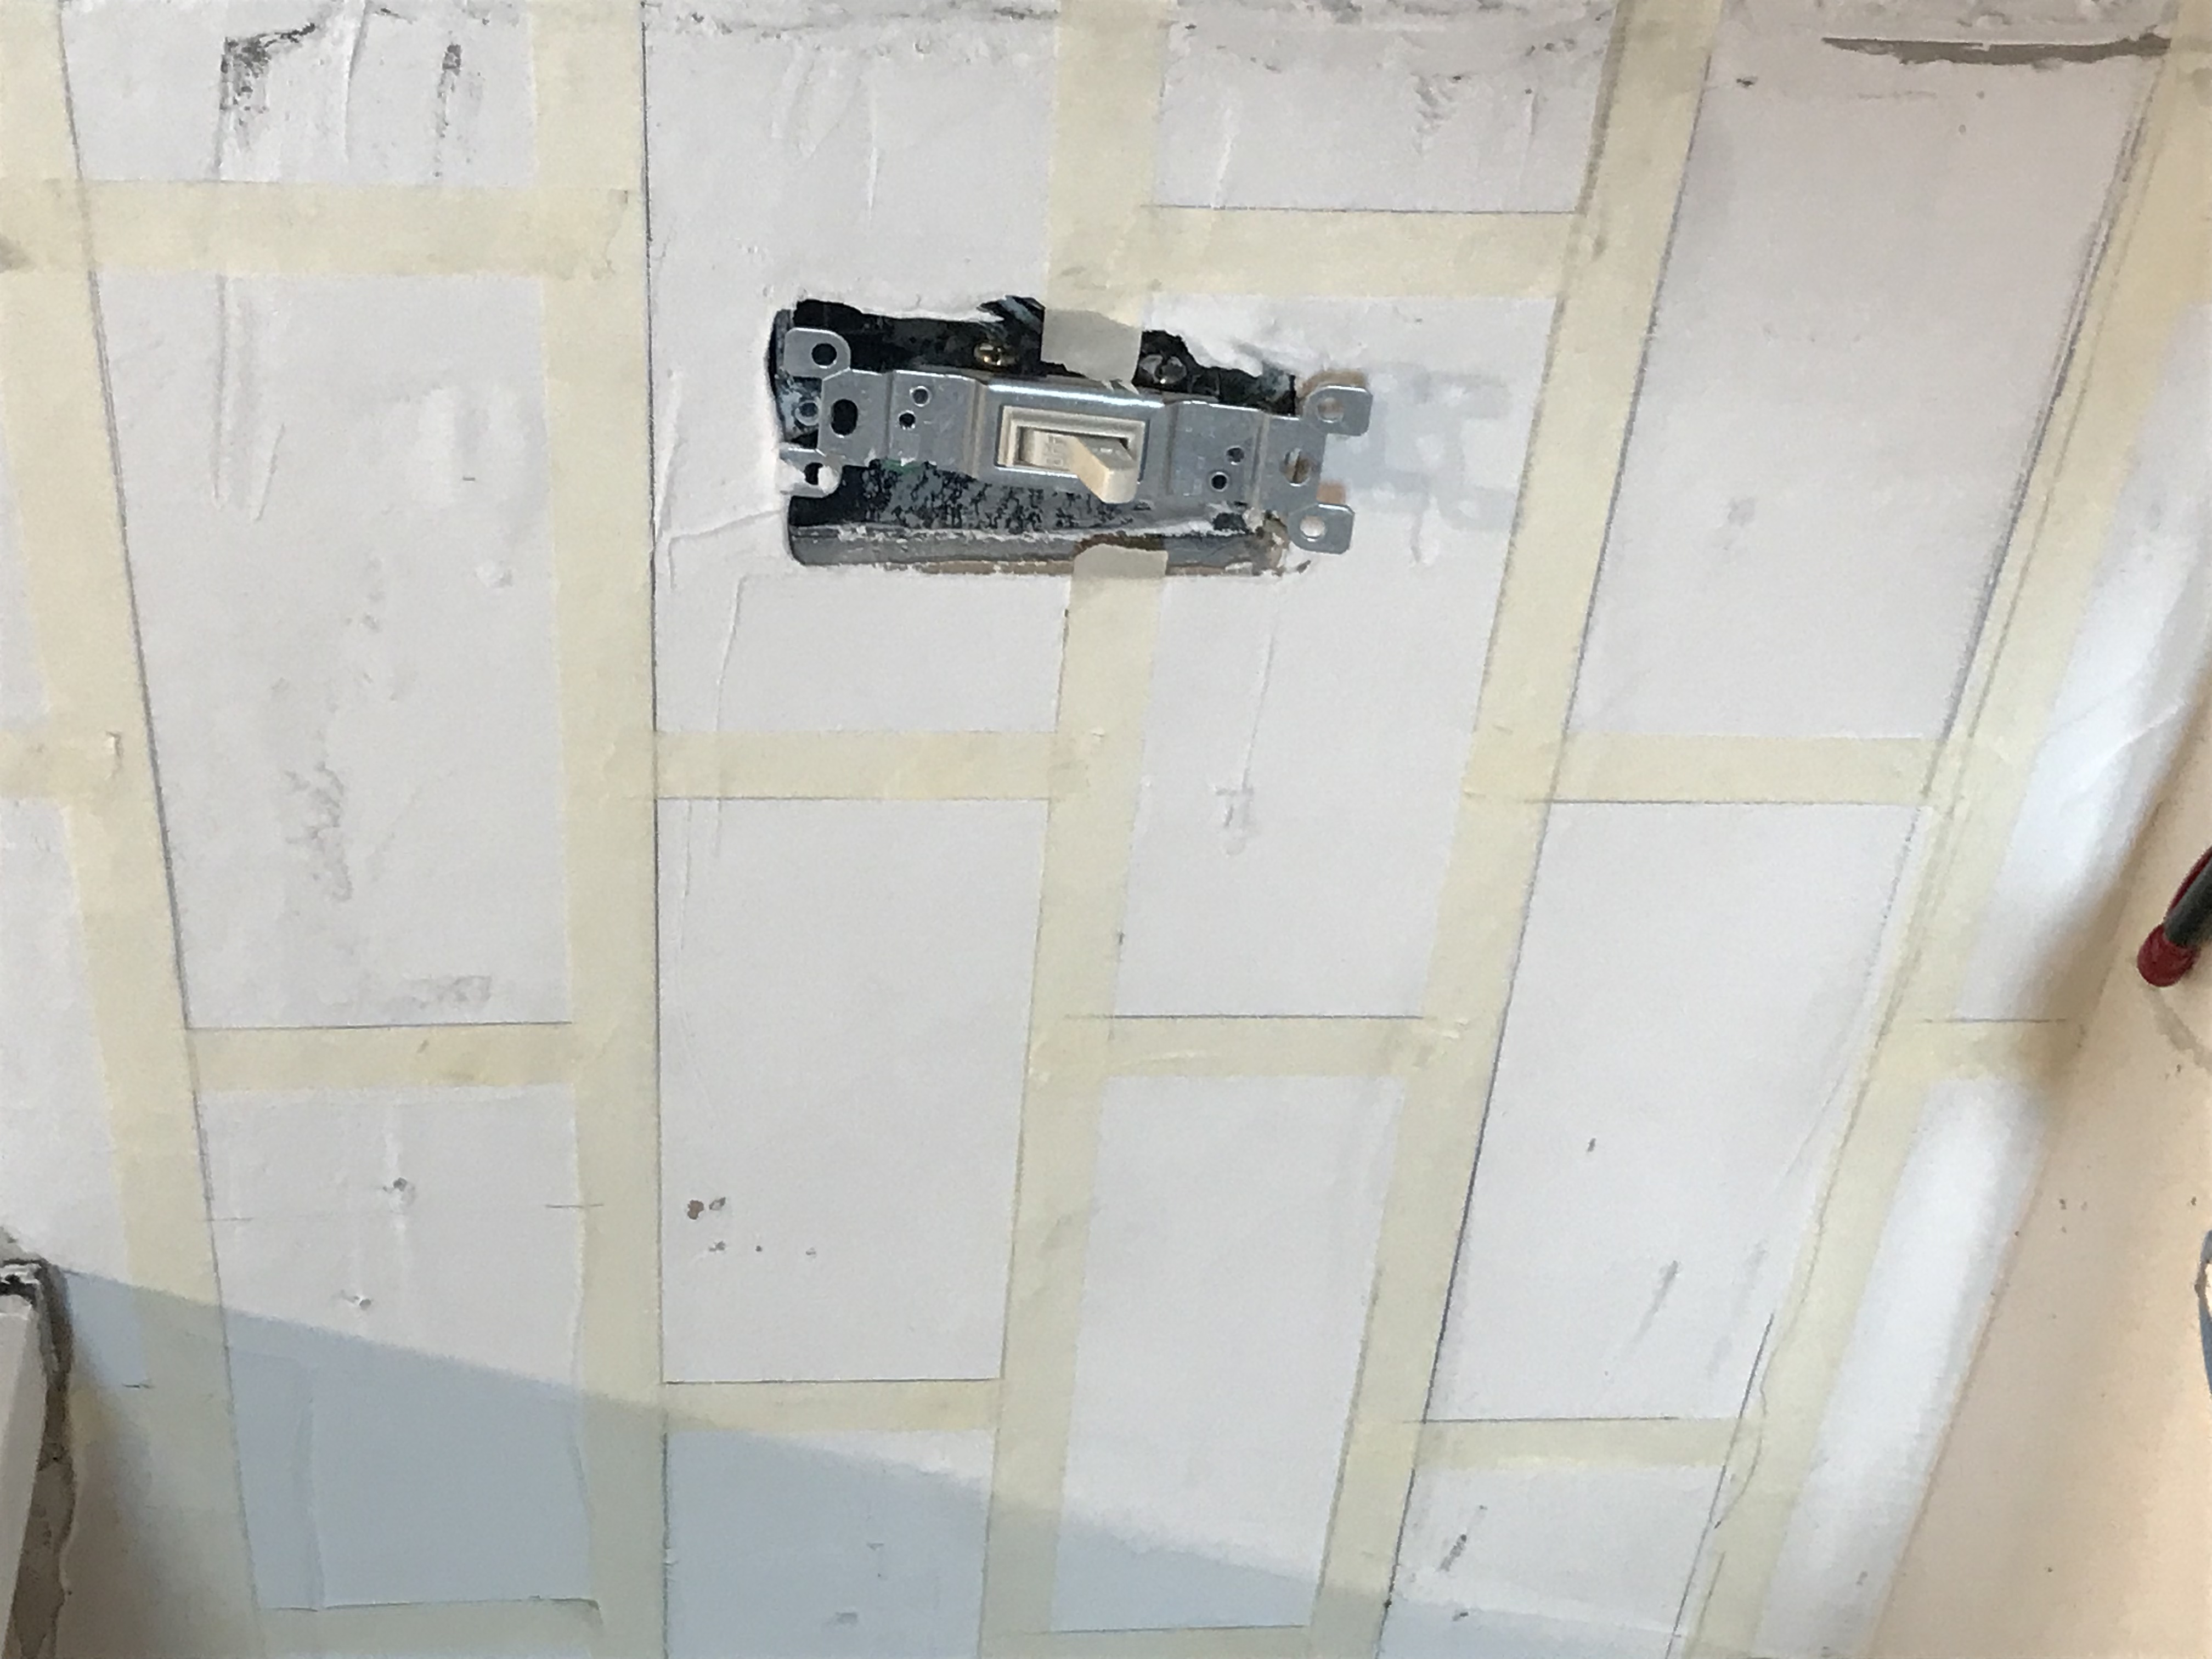
First step is to tape out your bricks. I used .75 inch tape to create the faux mortar lines. A level is your best friend during this step. (Sidenote: you are also getting a little sneak peek of our new countertops. I LOVE them so much!)
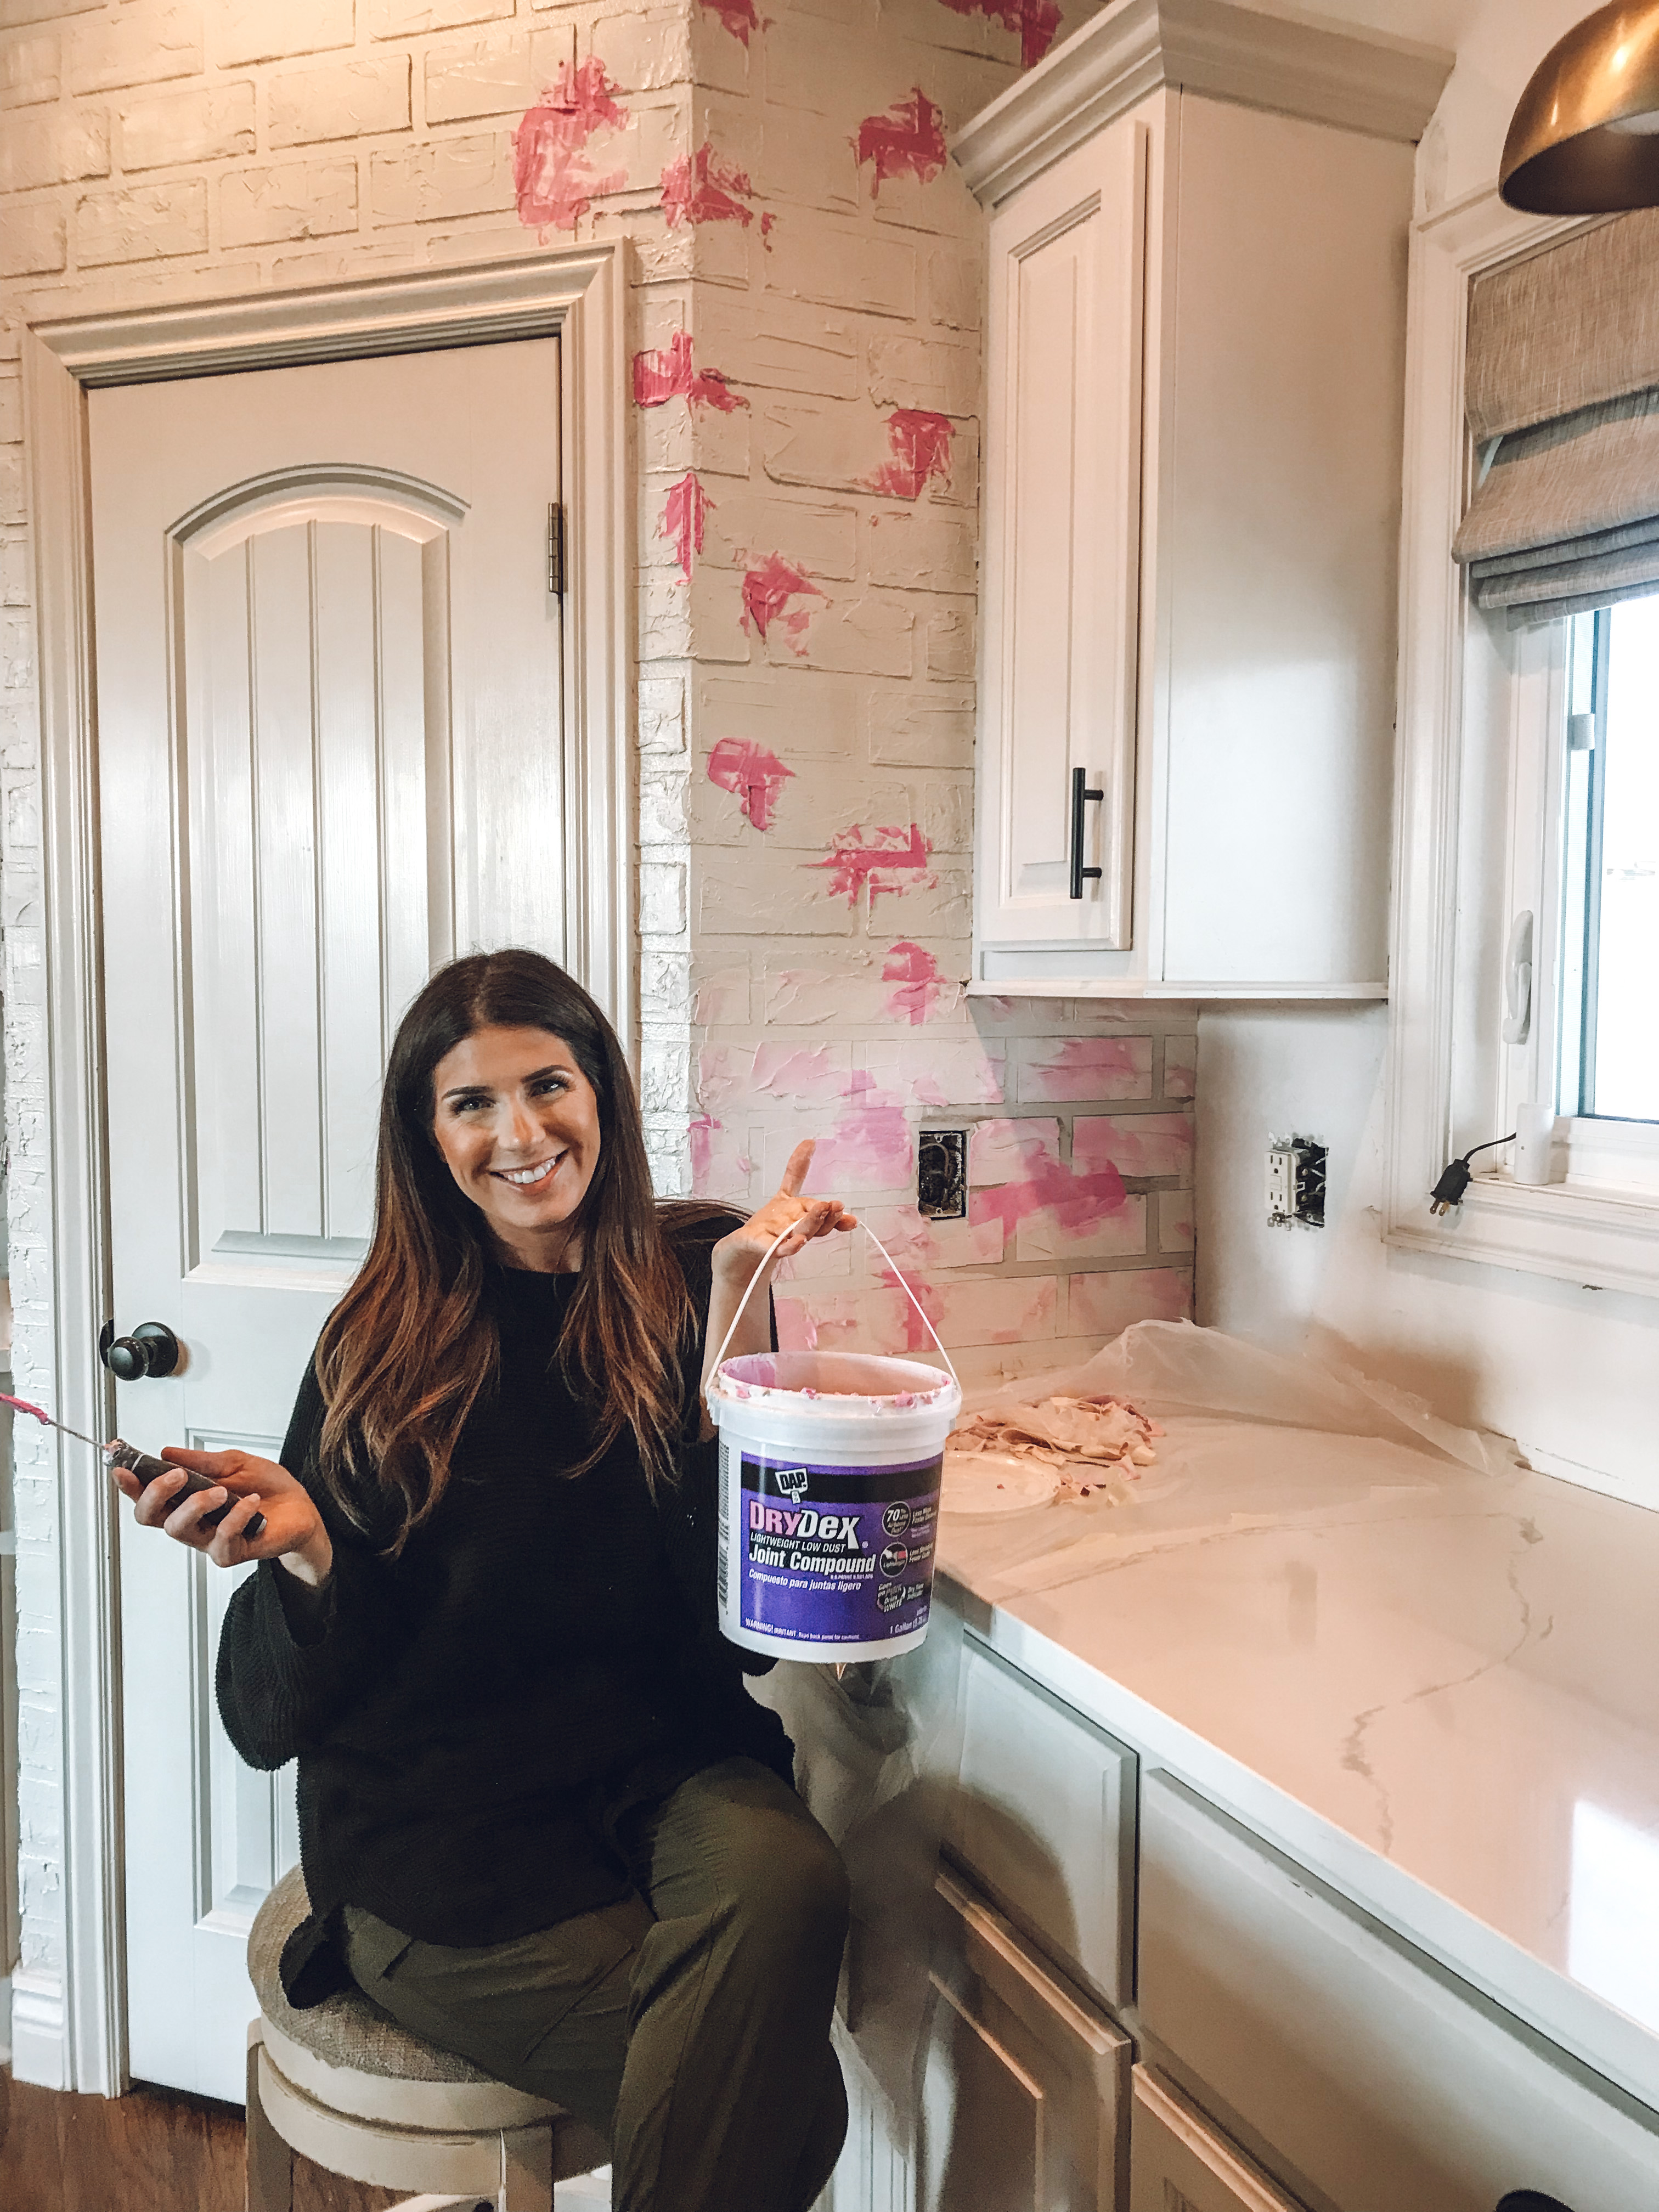
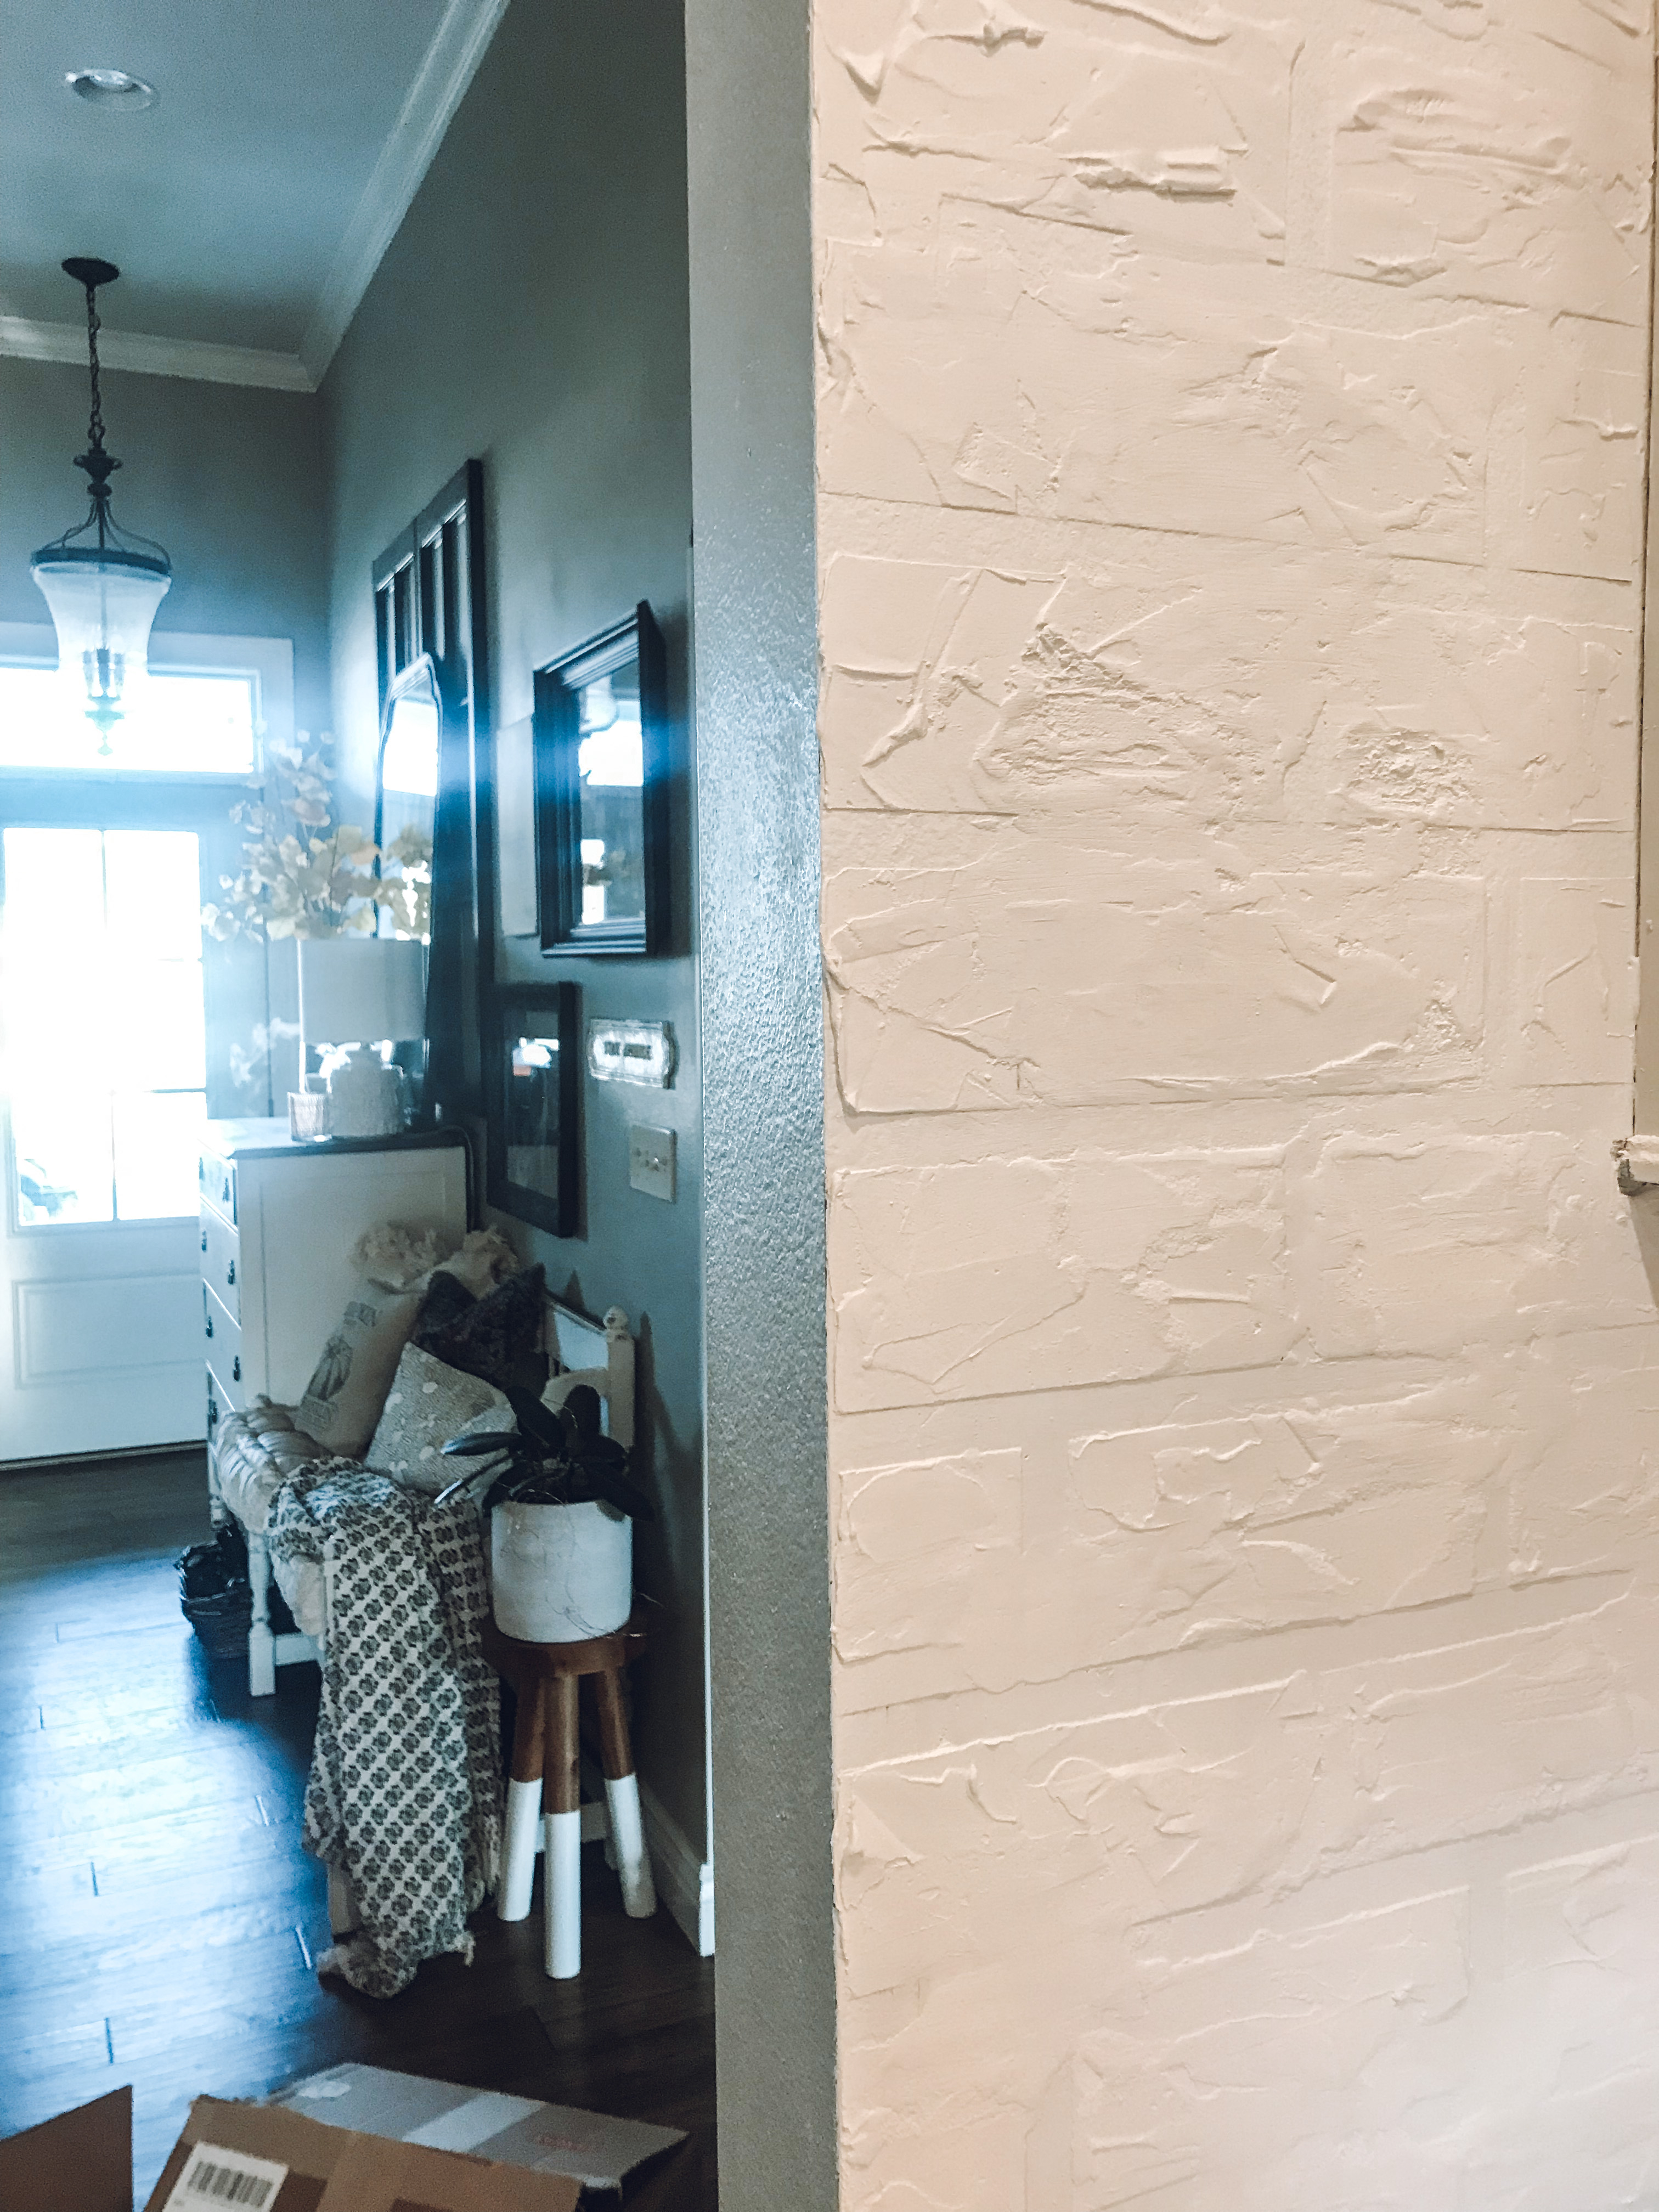
After you have your bricks taped out, you simply use a putty knife and spread on your mortar. The more texture, the more real the bricks look, so I am not afraid to lay the mortar on a little thicker. The joint compound goes on pink and turns white when dried. Make sure to pull off your tape before it dries completely!
Ever heard of a german smear technique?! I first heard about this on an episode of Fixer Upper and did it to the red brick on the front of our home. I wanted to try this same technique with my faux brick. Basically, you smear your mortar over some of your grout lines to create a more messy, old world looking look.
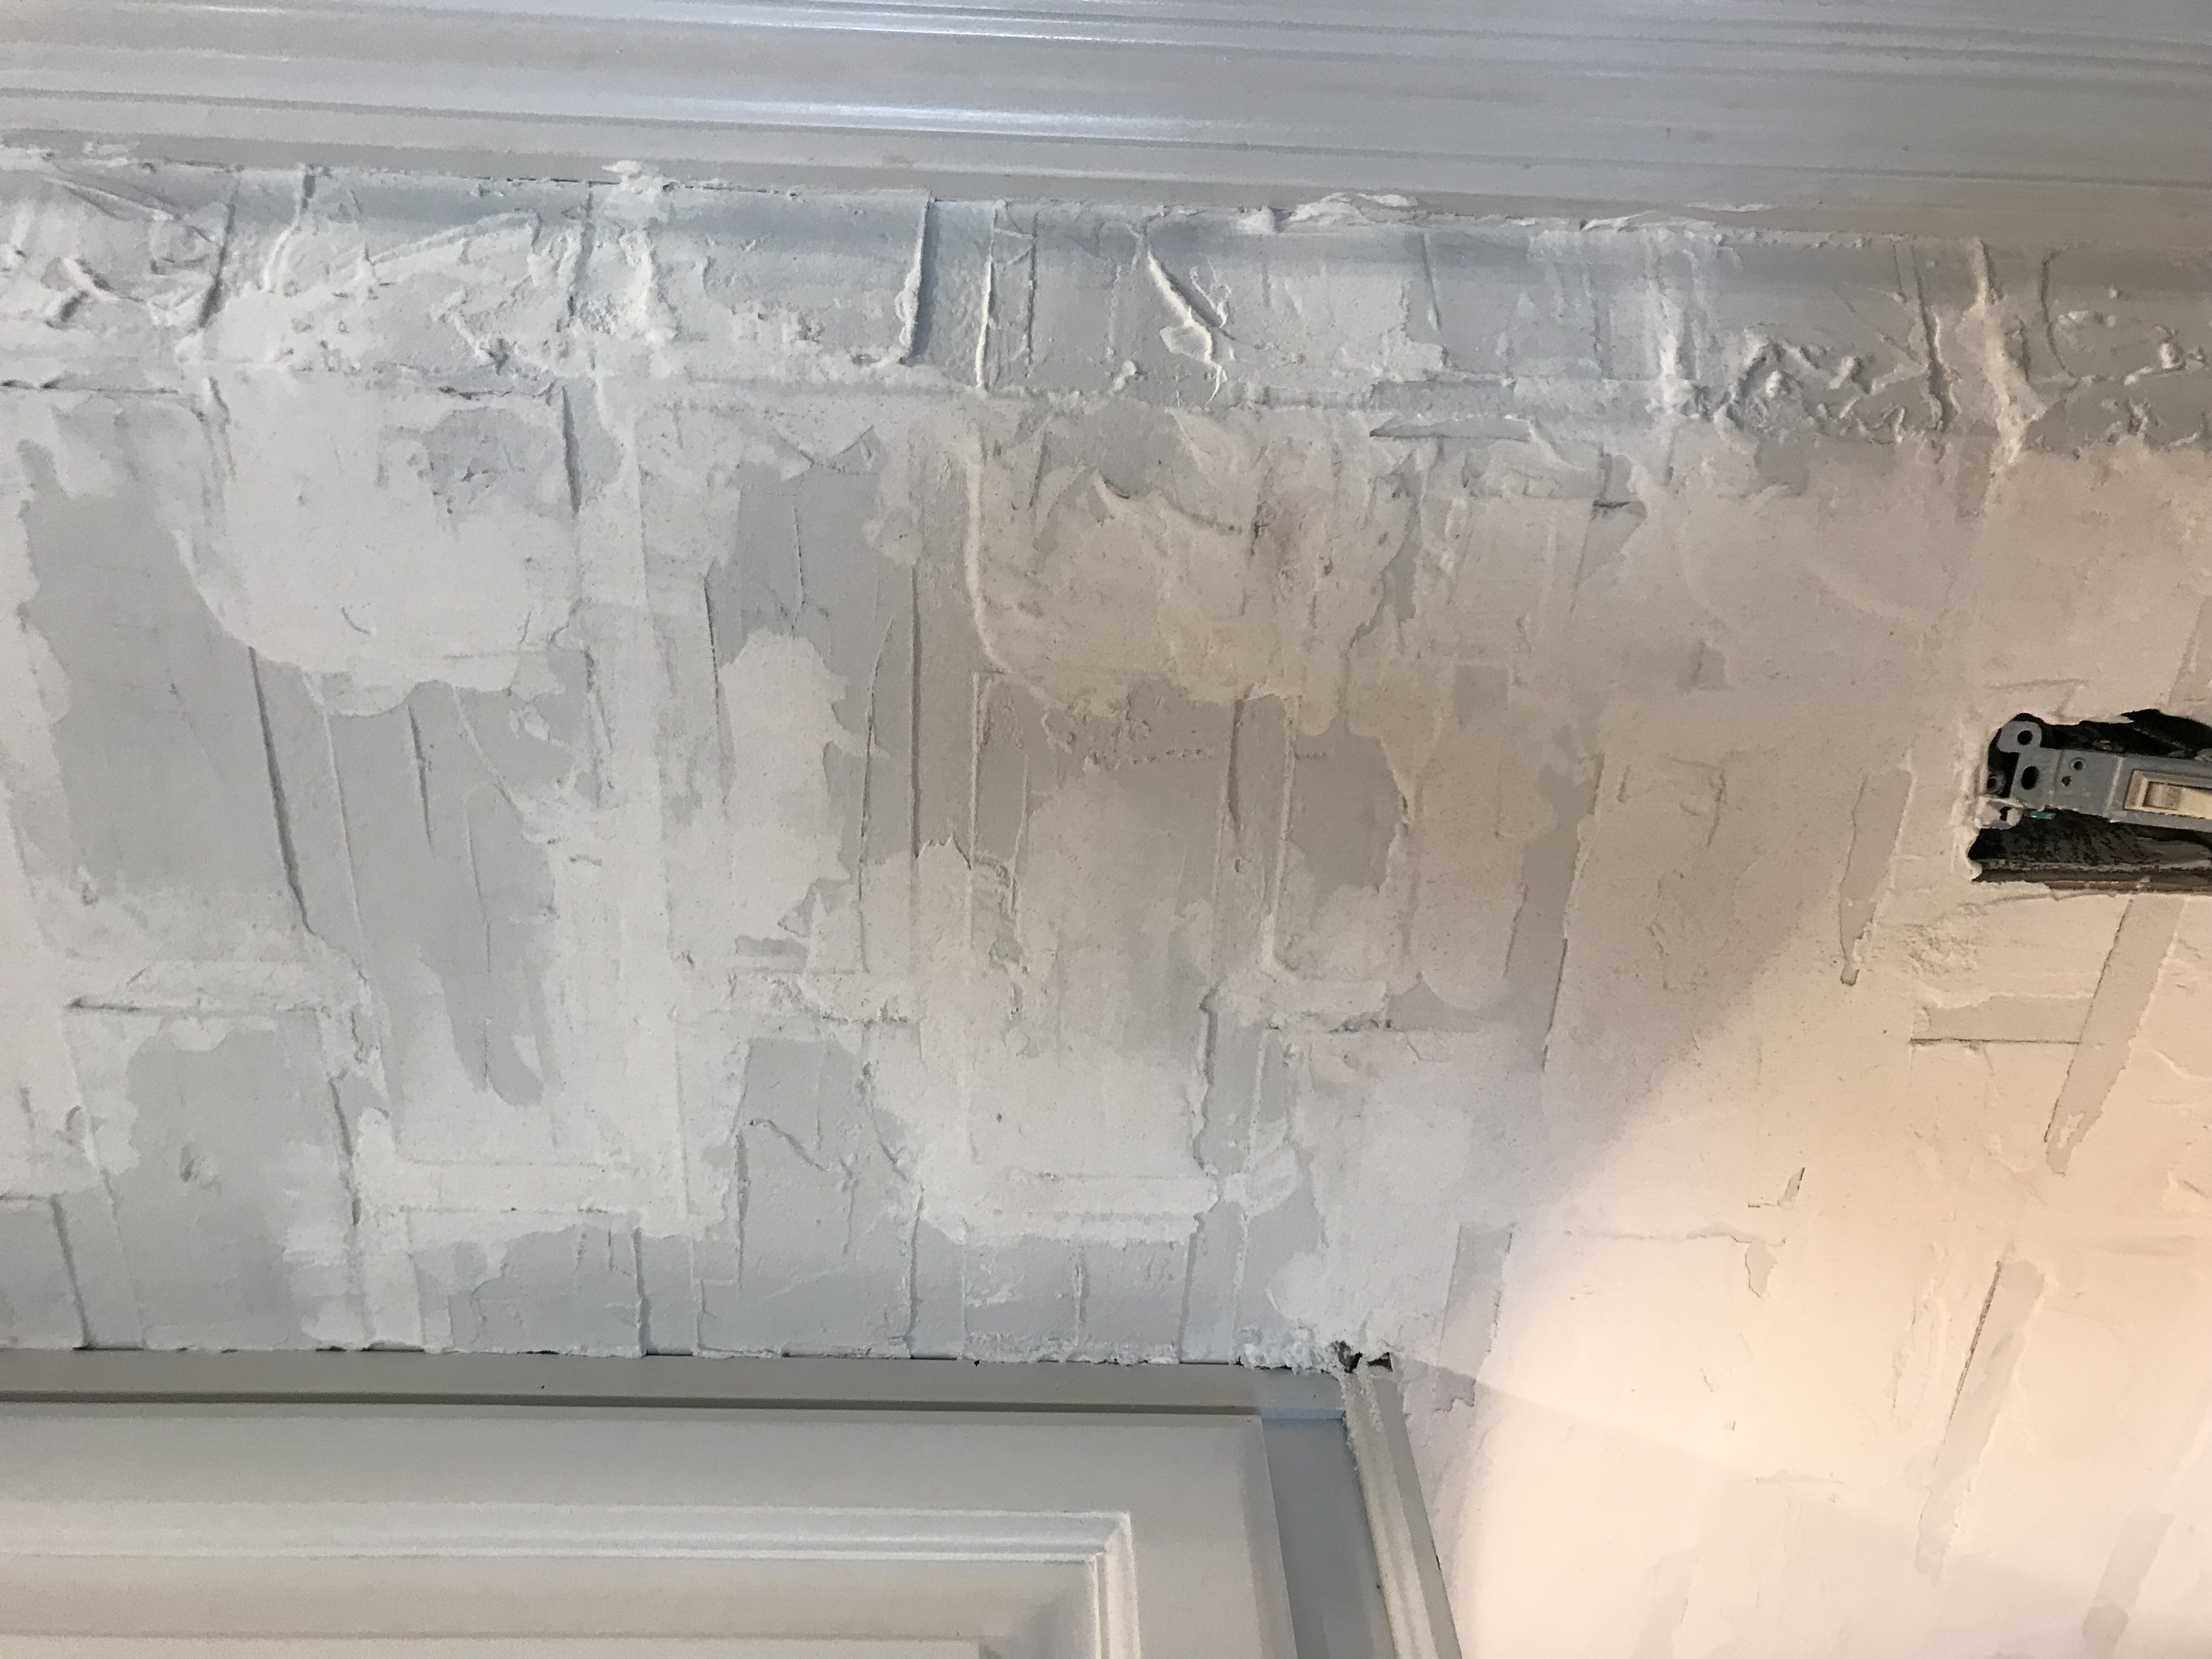
After letting the mortar dry overnight, the next morning I took a wet sponge and some sandpaper and went over the walls until they were to my liking.

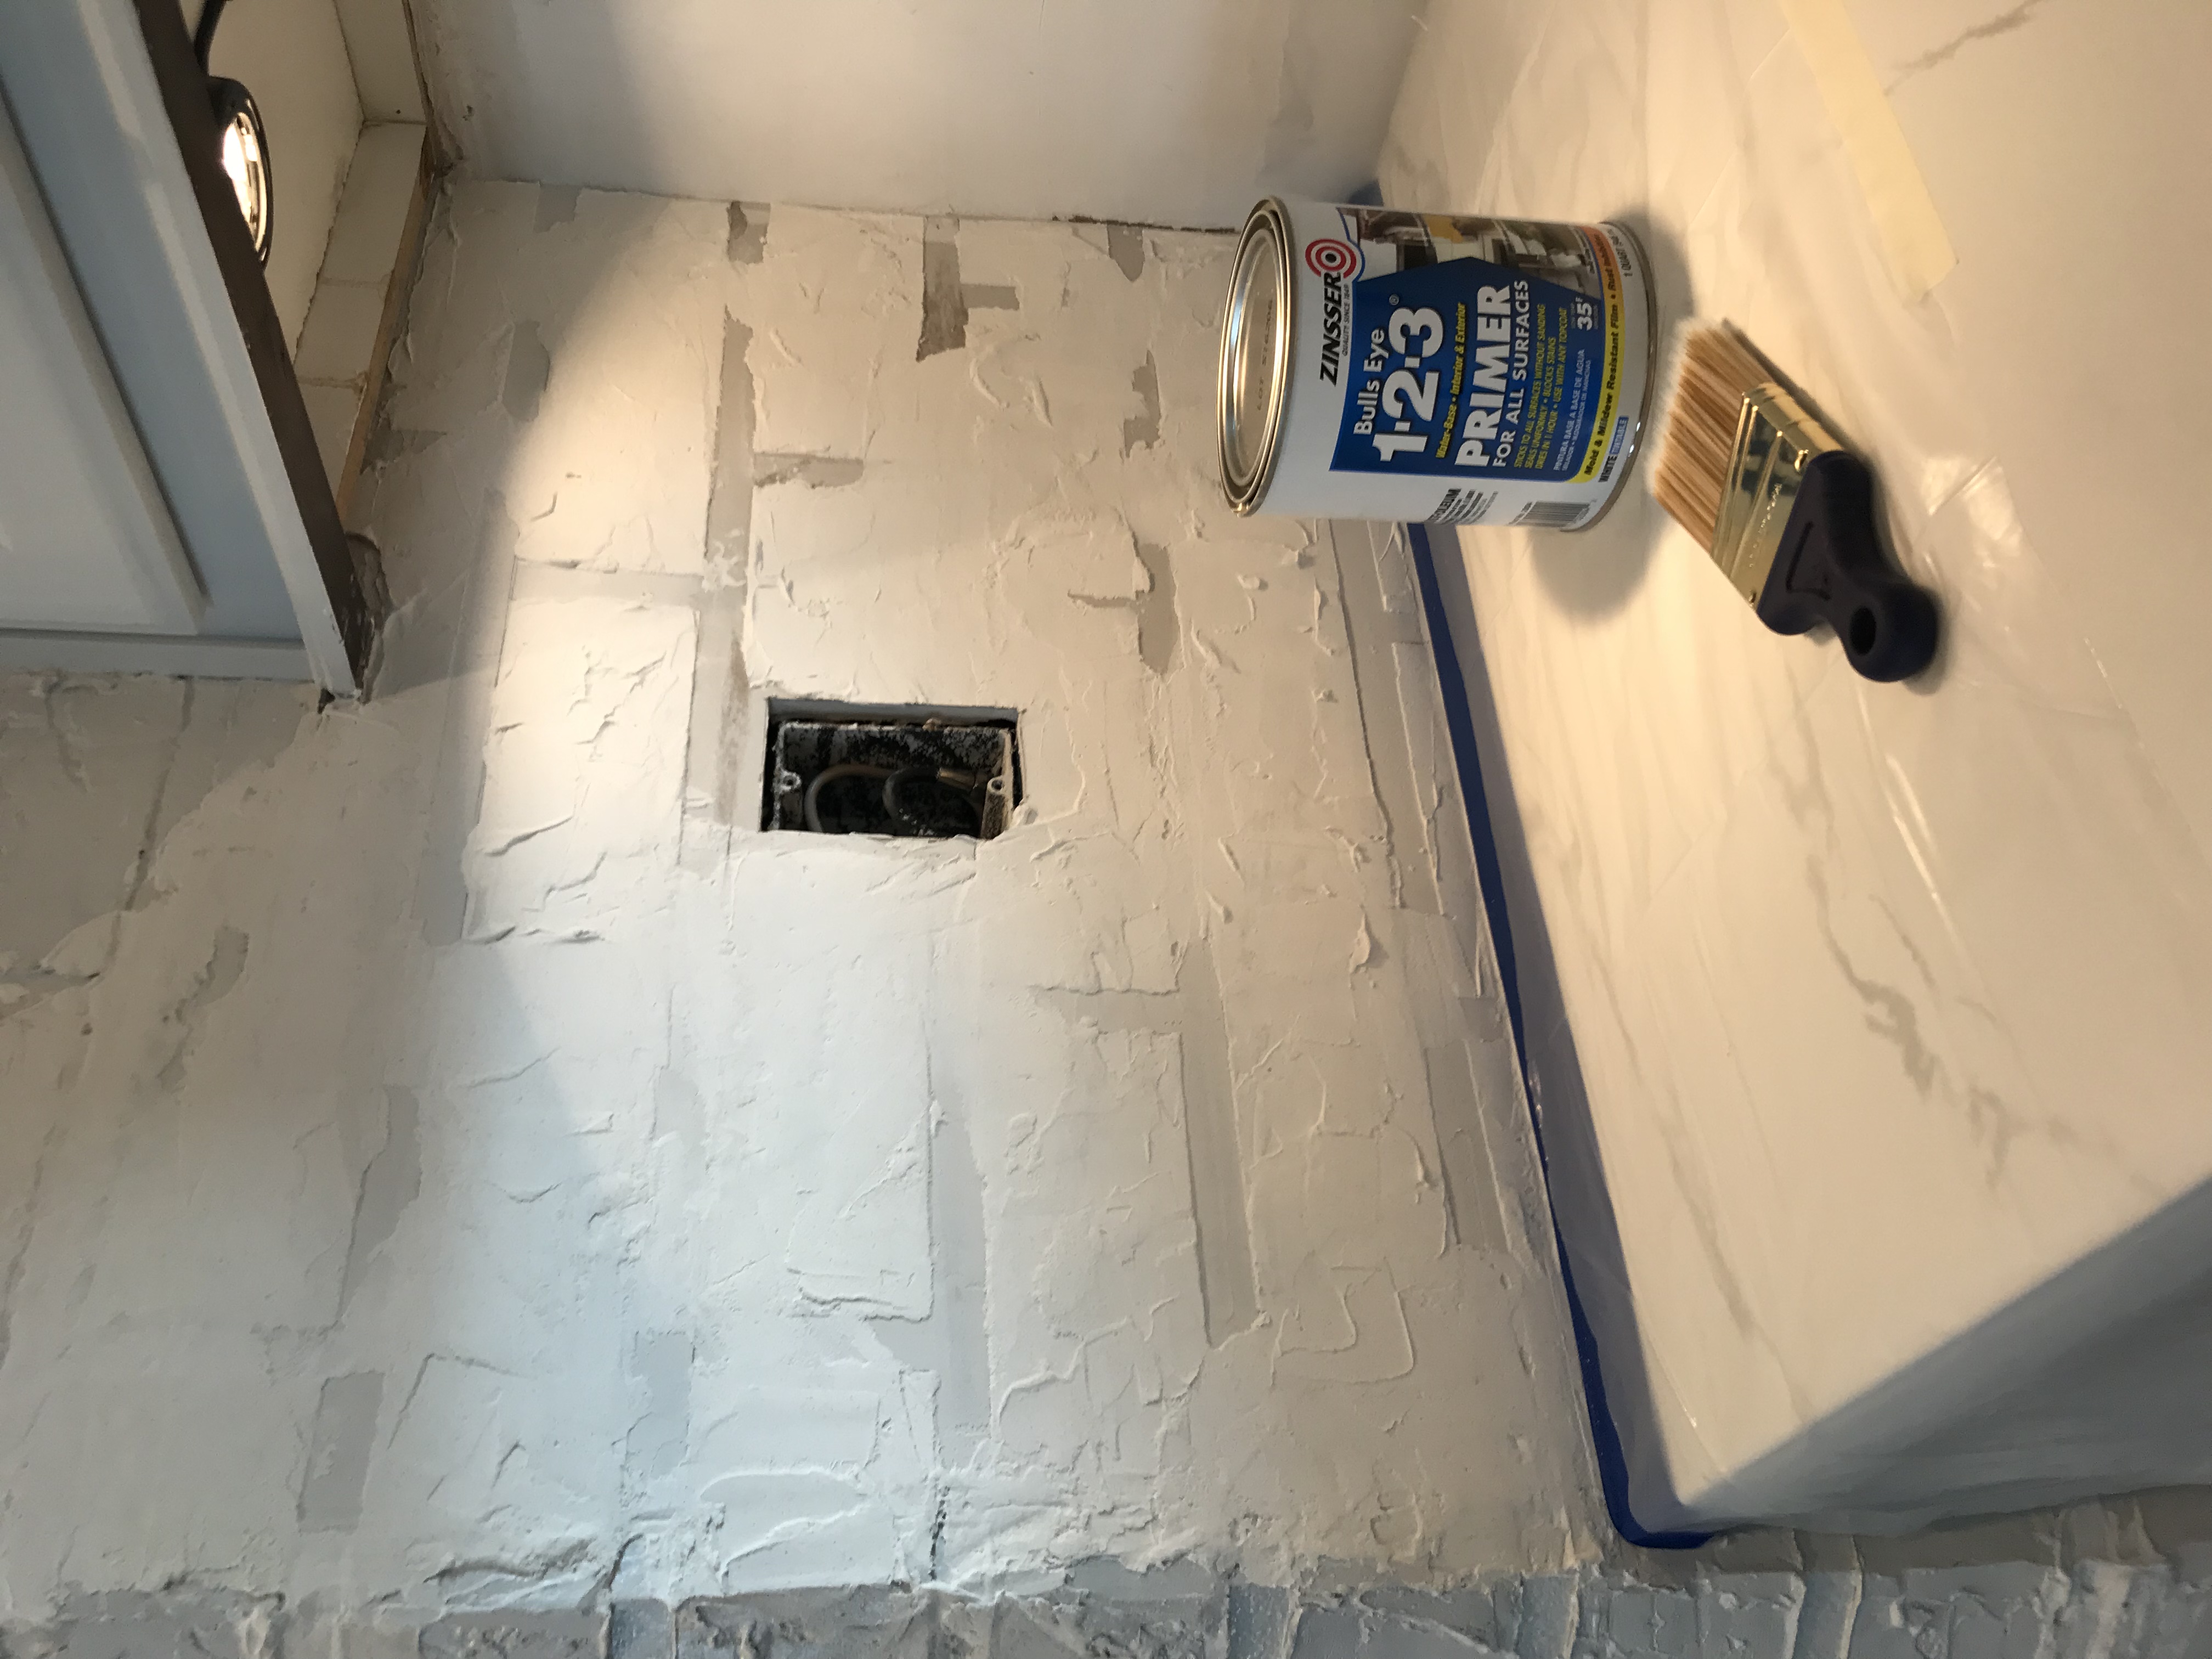
I then primed my walls using the only primer I ever use, Zinsser primer.
Once your walls are primed, then comes the fun part! Whether you want to mix shades of browns and tans together to create a “brick” color, paint them white or black or whatever you want, you are done! I am undecided right now on what I’m wanting to do but I’m leaning towards a limewash technique.
Would you ever attempt this?! It’s really not too bad of a project, the taping is the most tedious part. But after that step, the rest of it is kind of fun!
Thanks for stopping by!
xoxo
Kayla