Stenciled Cement Front Porch Makeover with Royal Design Studio Stencils
Hello friends!! It’s another windy day here in the middle of Kansas but yesterday was the most gorgeous day. Literally- perfection. We went golfing and couldn’t of asked for a more beautiful day. The day before it was snowing at Jayde’s softball tournament. That is spring Kansas weather for ya! Luckily, we had one non windy day last week and I took advantage of the weather and spruced up our front porch with the help from Royal Design Studio Stencils. They gifted me their stencil and roller set to makeover our front porch and I am so thrilled with how it turned out!
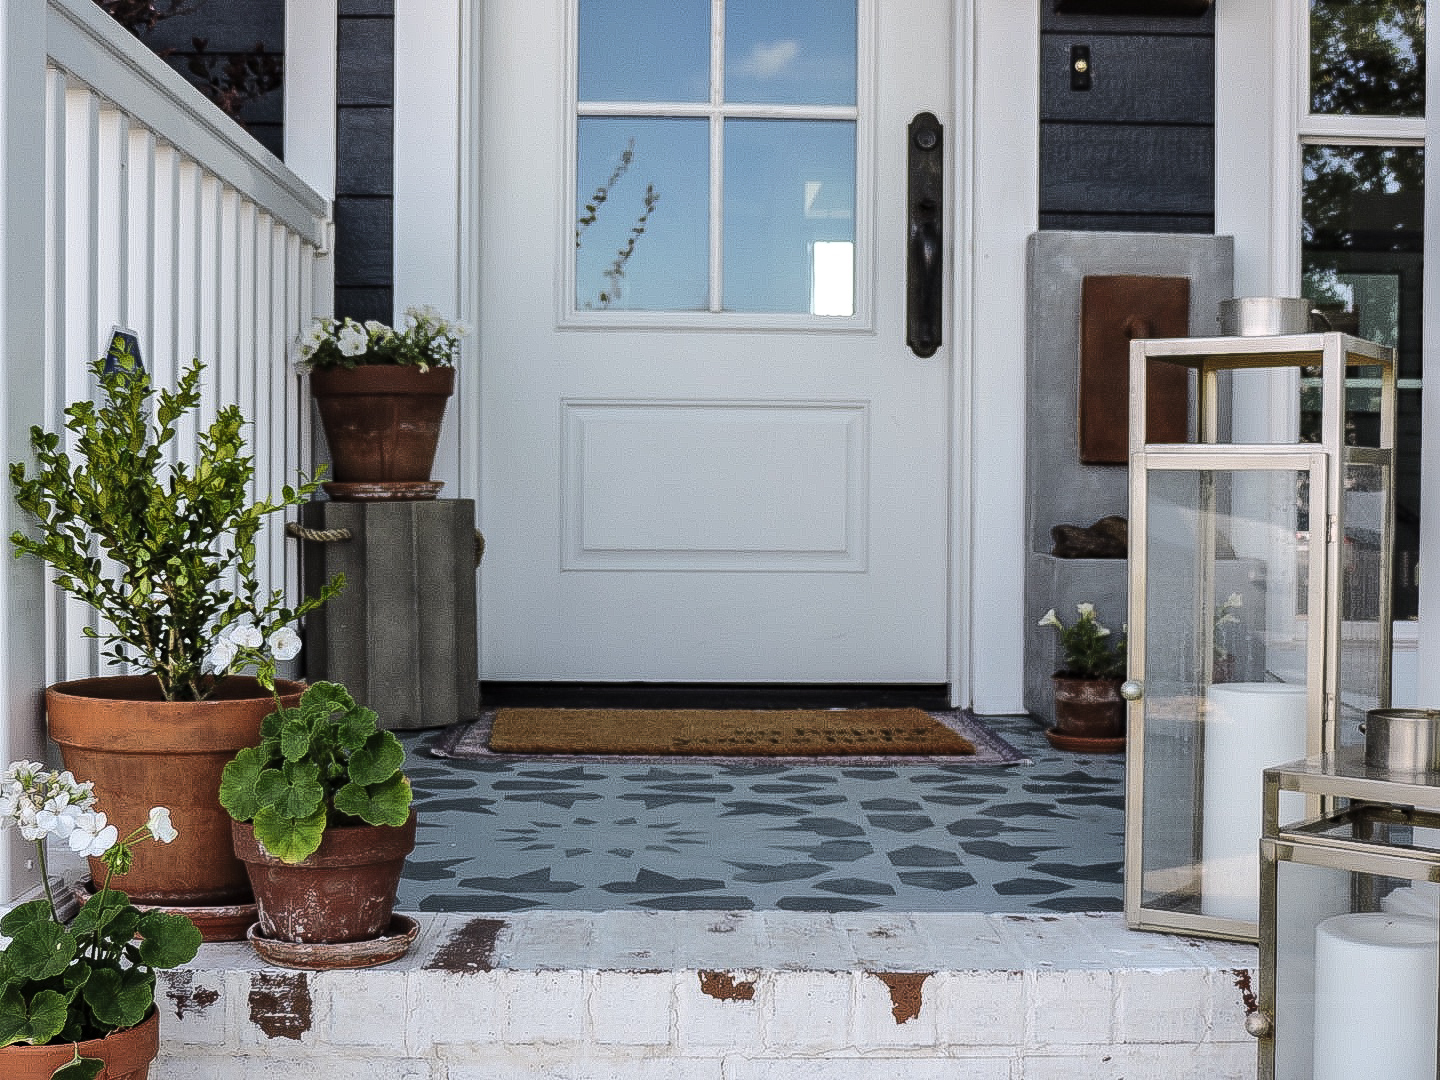
before
Two years ago, I did this design on the front porch and was obsessed. Last year I was able to touch up some of the paint and keep this design going strong- go here to see what it looked like last spring.
The way our porch sits- it gets snow blown on here in the winter which causes some of the paint to peel in spots. It’s a bummer and I wish our porch was more protected from the elements but it is what it is. I do want to look into finding some type of sealant for the porch to see if that would help but am worried about it being slippery when wet. Something I will look into down the road. But for now, I don’t mind re-painting it every couple of years and wanted to try something new this spring!
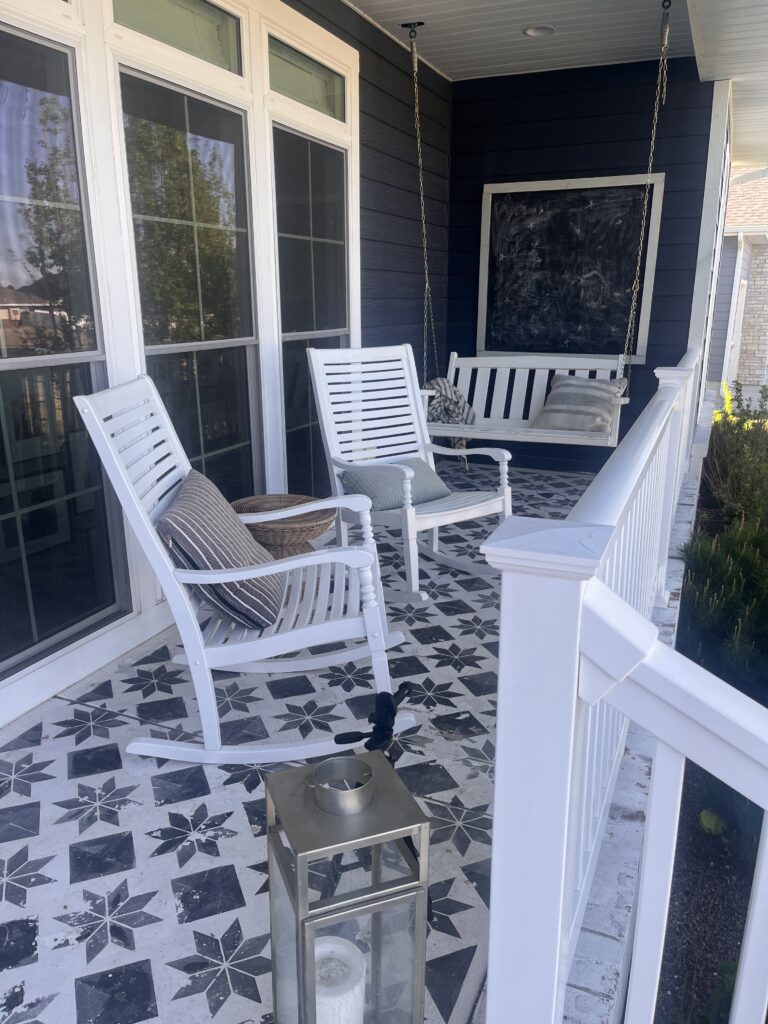
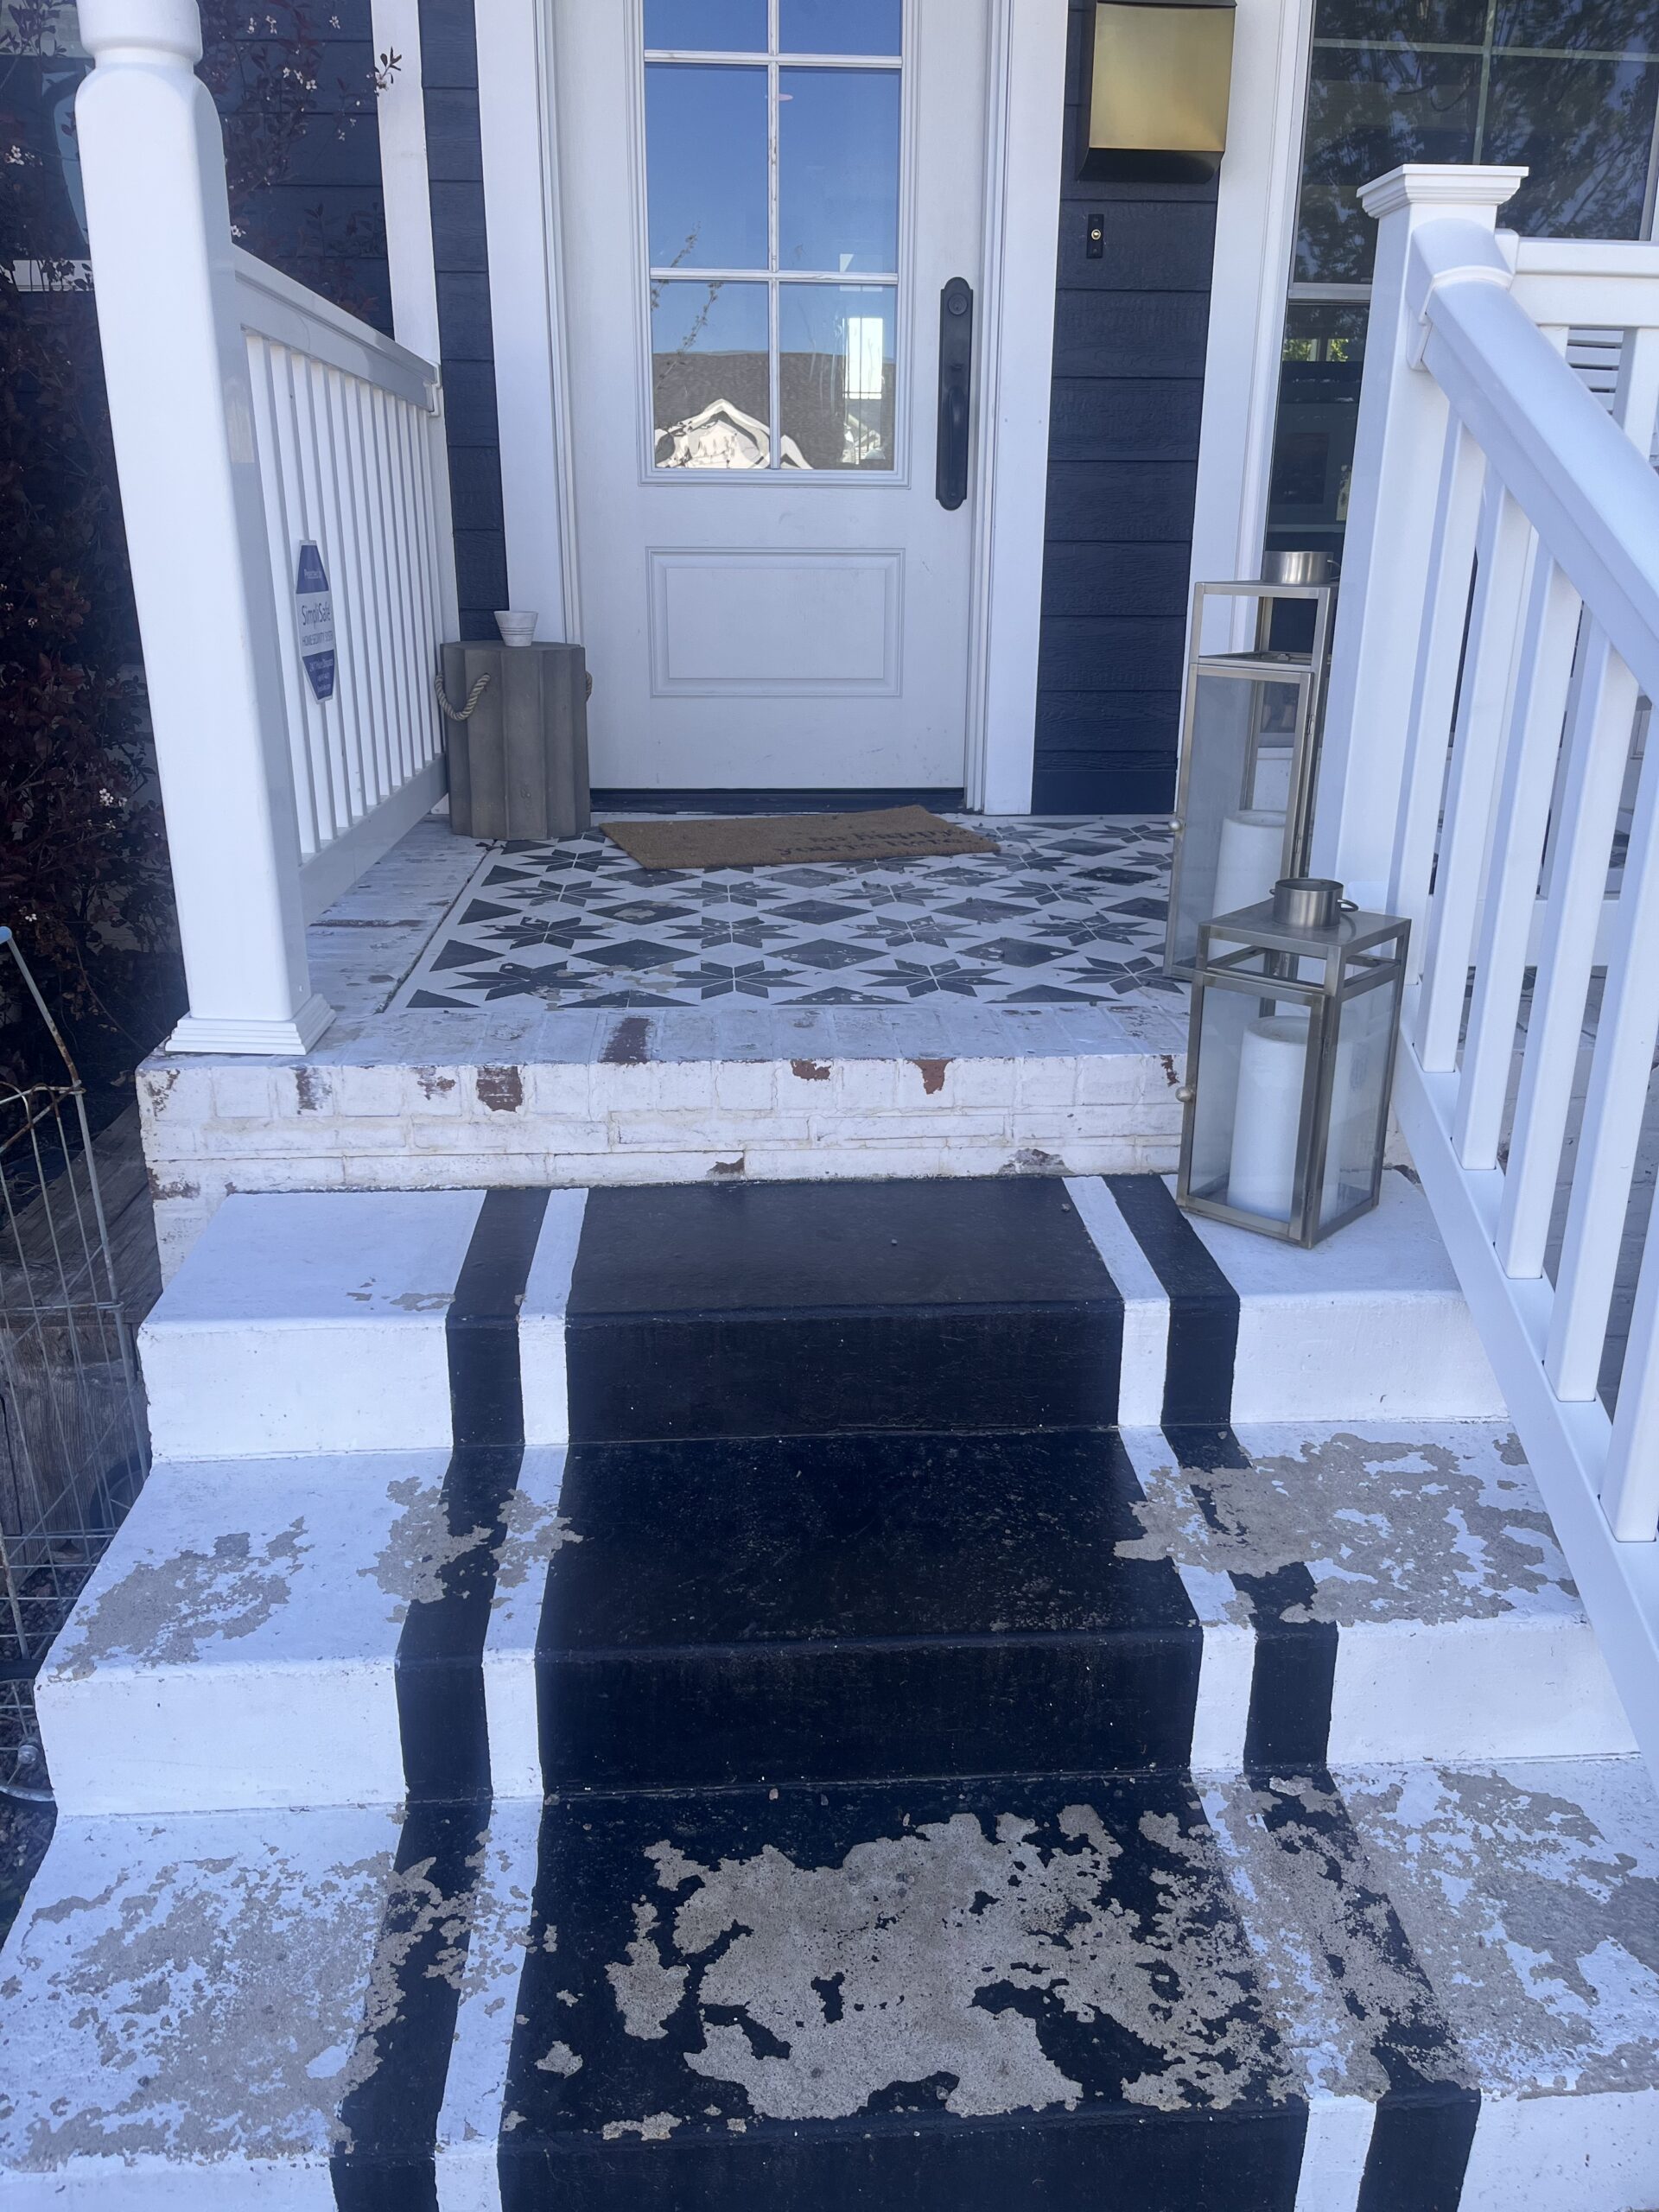
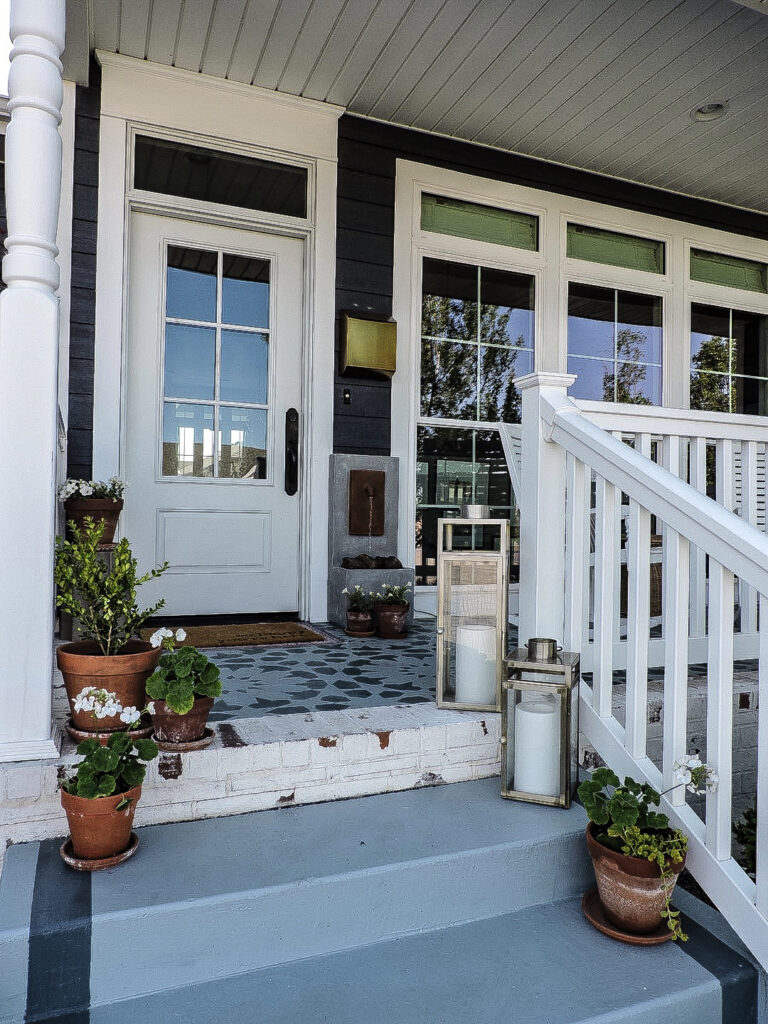
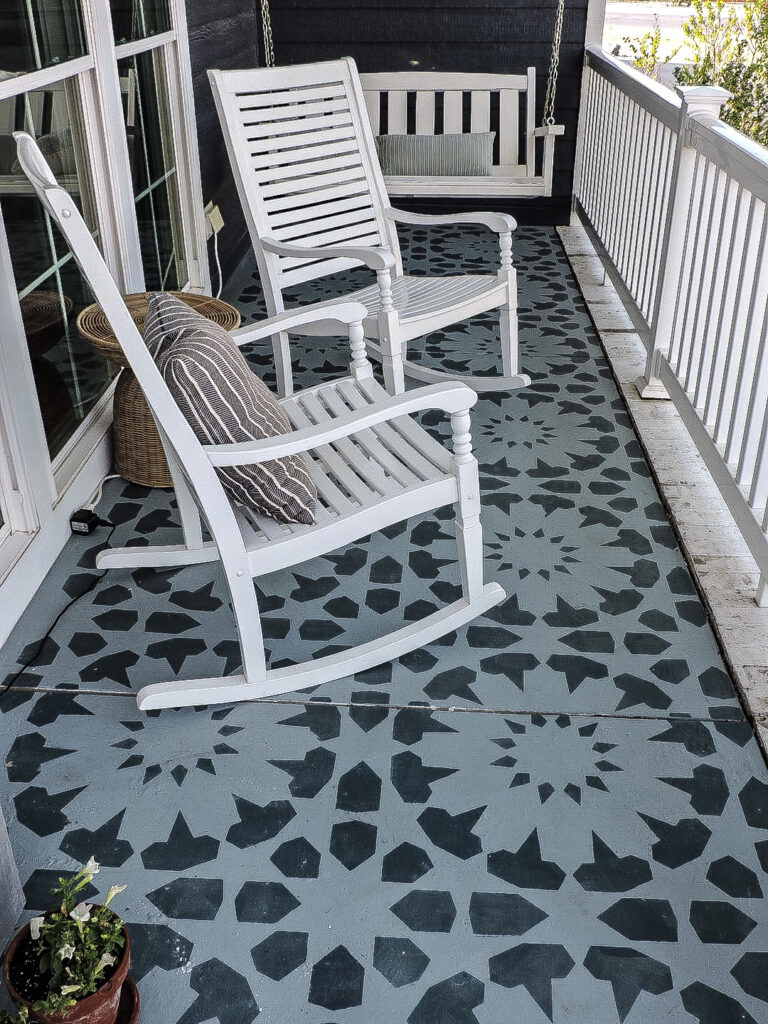
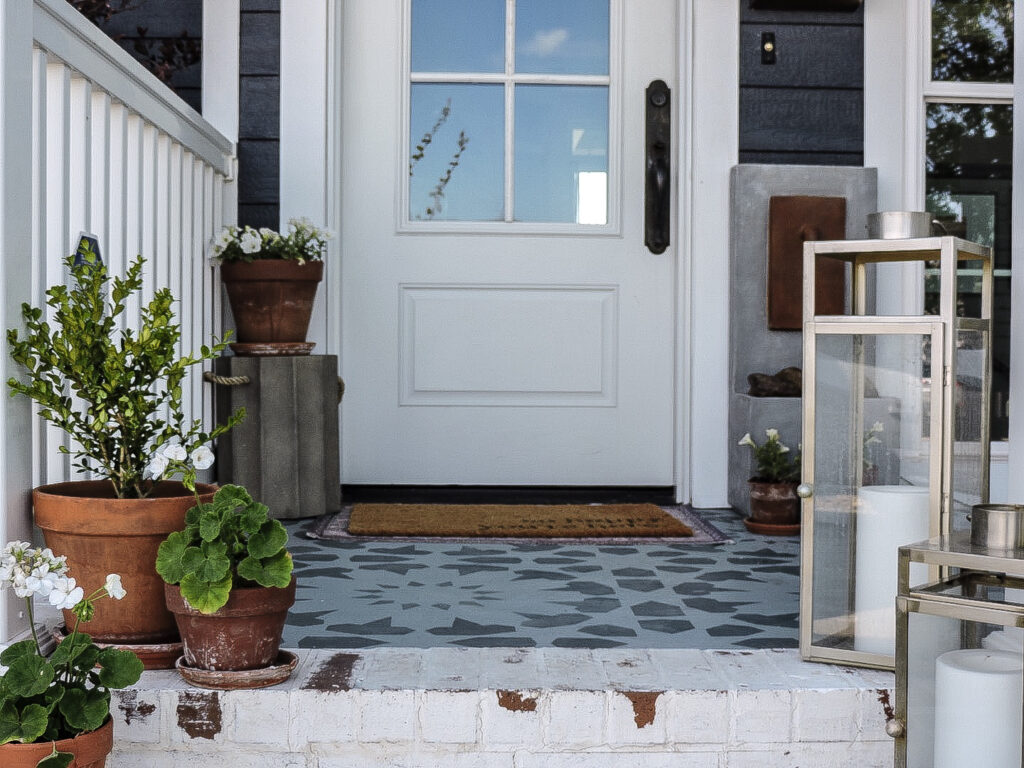
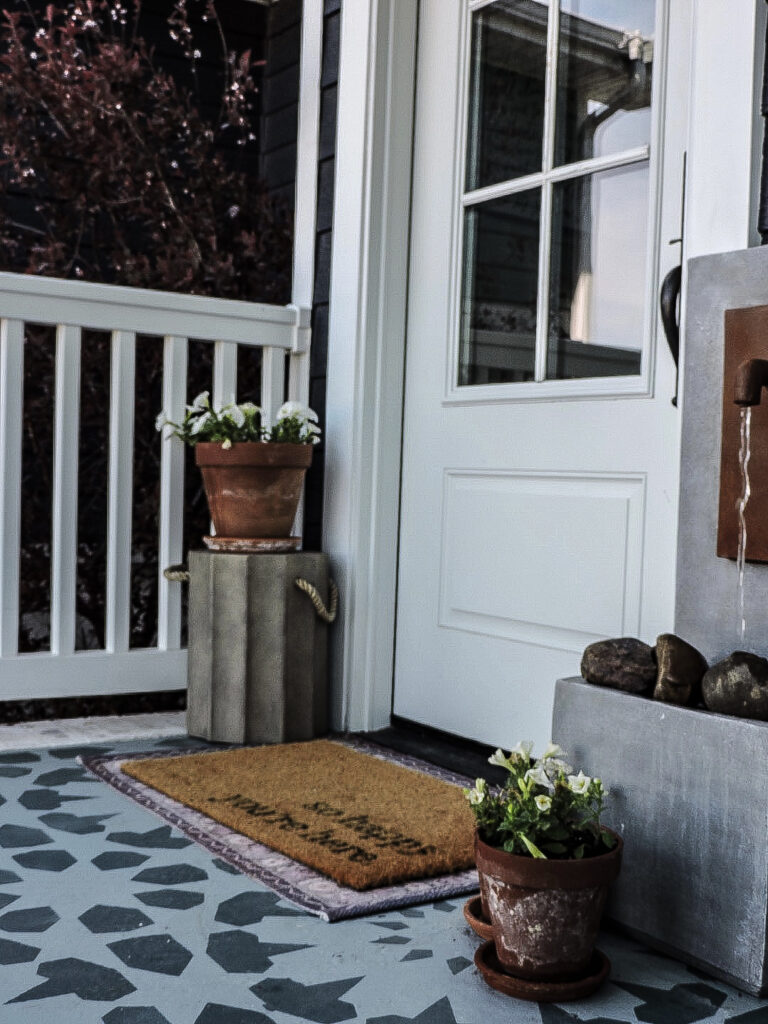
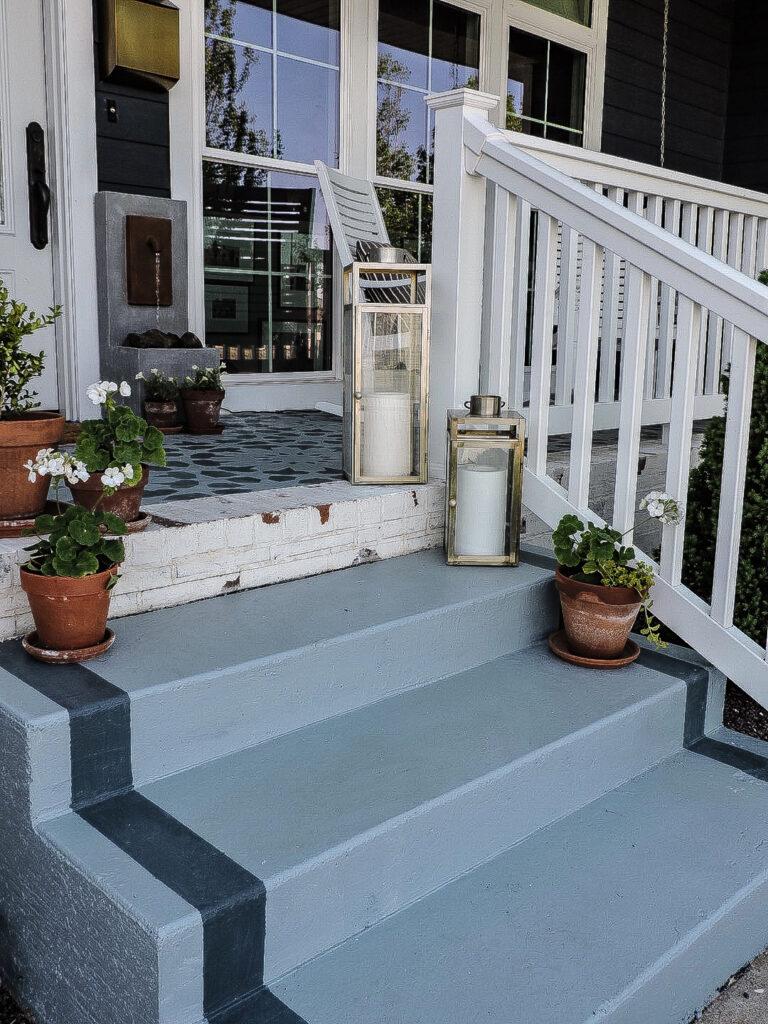
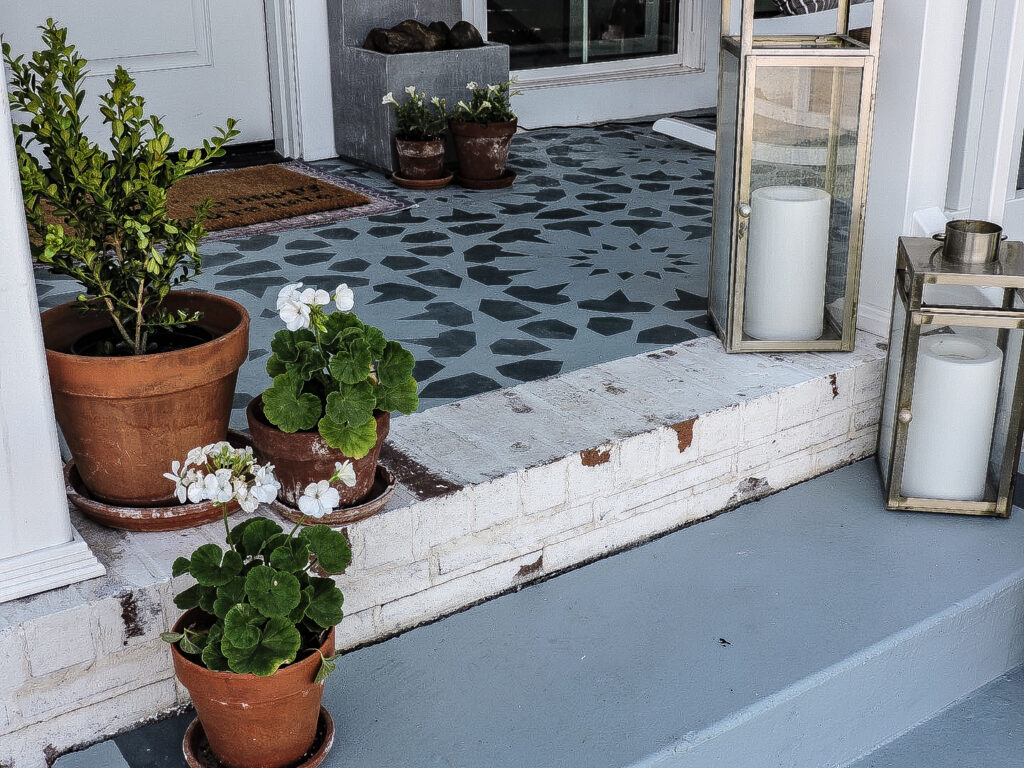
after
I chose to do a pretty blue color and darker blue for the stenciled part. I was a tad nervous because these colors are a little more bold than what I typically have done on the front porch but decided to go for it! And the longer I live with it, the more I like it!
supplies
- BEHR Porch & Patio Porch & Floor Paint in Low Lustre
- BEHR Concrete & Masonry Primer
- Marhaba Tile Stencil
- Roller Kit
- Paper Towels
- Tape
- Small paintbrush
Use a wire brush and scrape off any peeling paint from the cement. Remove the peeling paint by sweeping or even vacuuming it all up. Roll on the primer. Follow instructions and let dry accordingly.
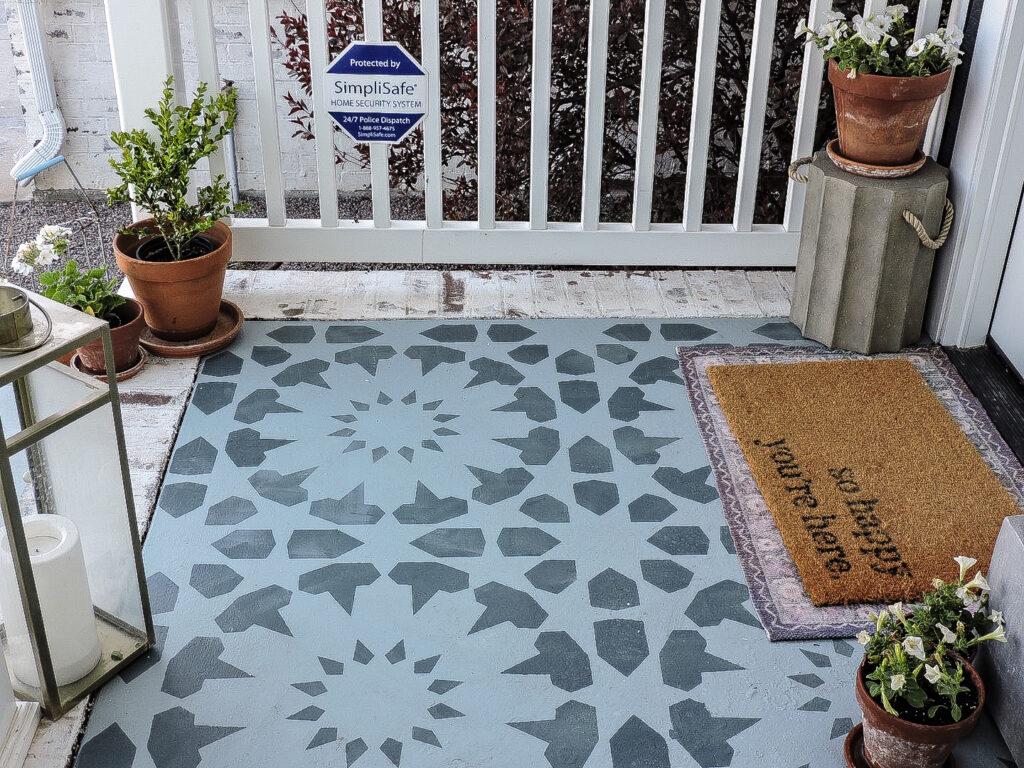
Roll on your paint color, use a paint brush for the edges, and let dry completely. Lay your stencil down, with the edges taped to hold it in place. Get a small amount of paint on your roller, roll off any excess on a couple paper towels and apply. Carefully remove and set in place. Repeat steps.

One of the things I really appreciated about this stencil was the large size of it which made painting go much quicker!
SIDENOTE: I decided to not use the primer this time around to see how the paint would do without it- in the past I’ve reapplied it every time I’ve painted the porch. I’m already noticing a few spots starting to peel a teeny tiny bit. Learn from me- USE THE PRIMER!
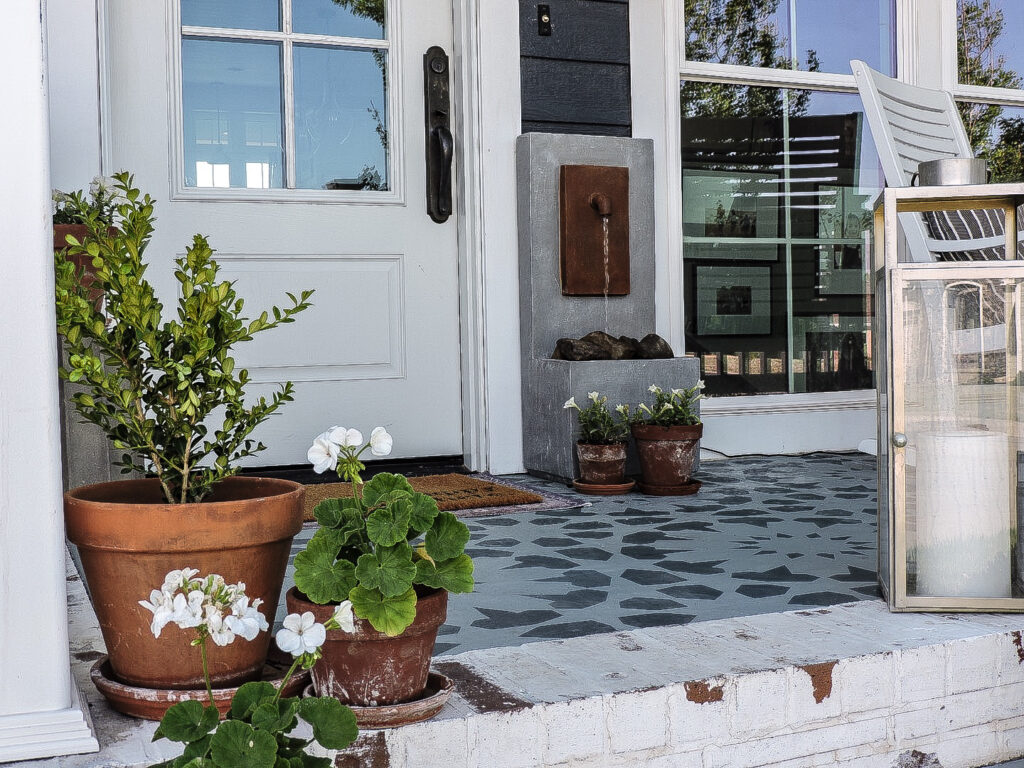
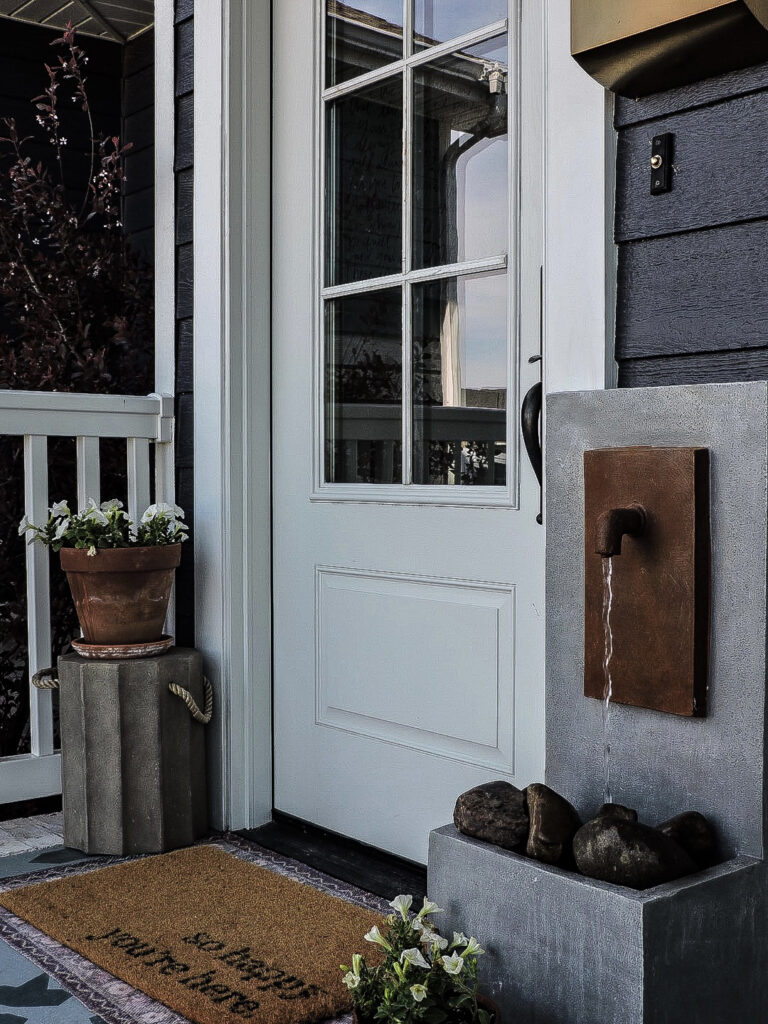
water fountain on front porch
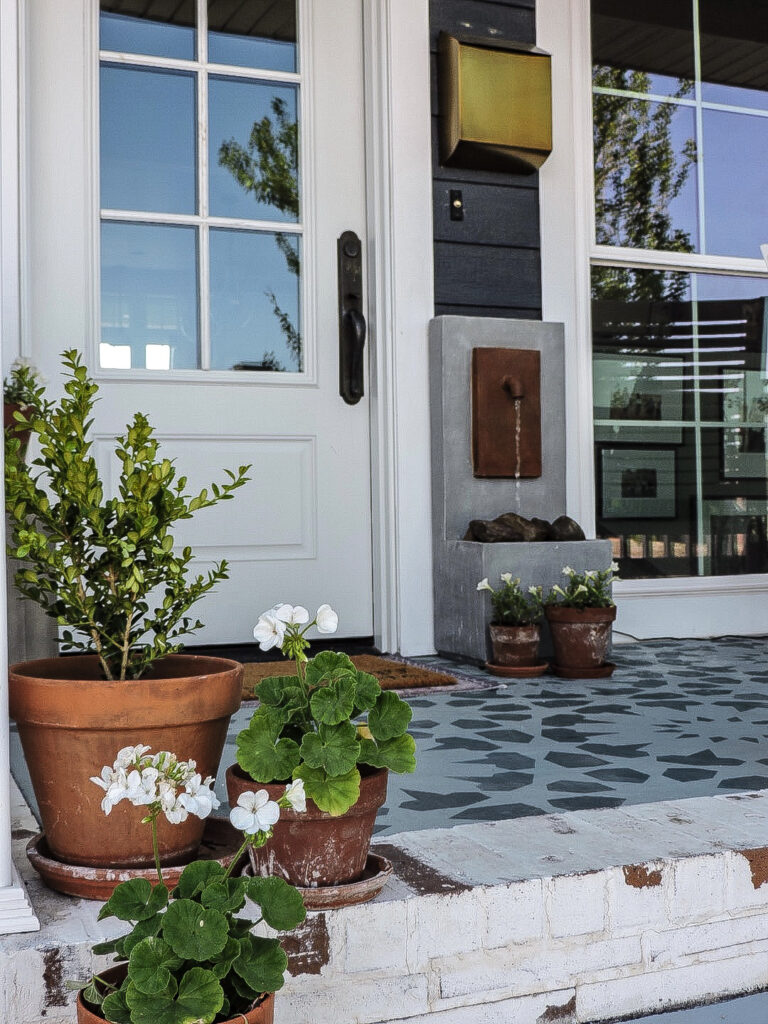
I’ve had lots of questions over on Instagram on where this fountain is from! You can purchase it here. Affordable and works very good; I love the rustic style of it. The one downfall is it can be a little loud. Since it’s right by our front door, I added some rocks in it which helps the water not be so noisy. Now it’s perfect!
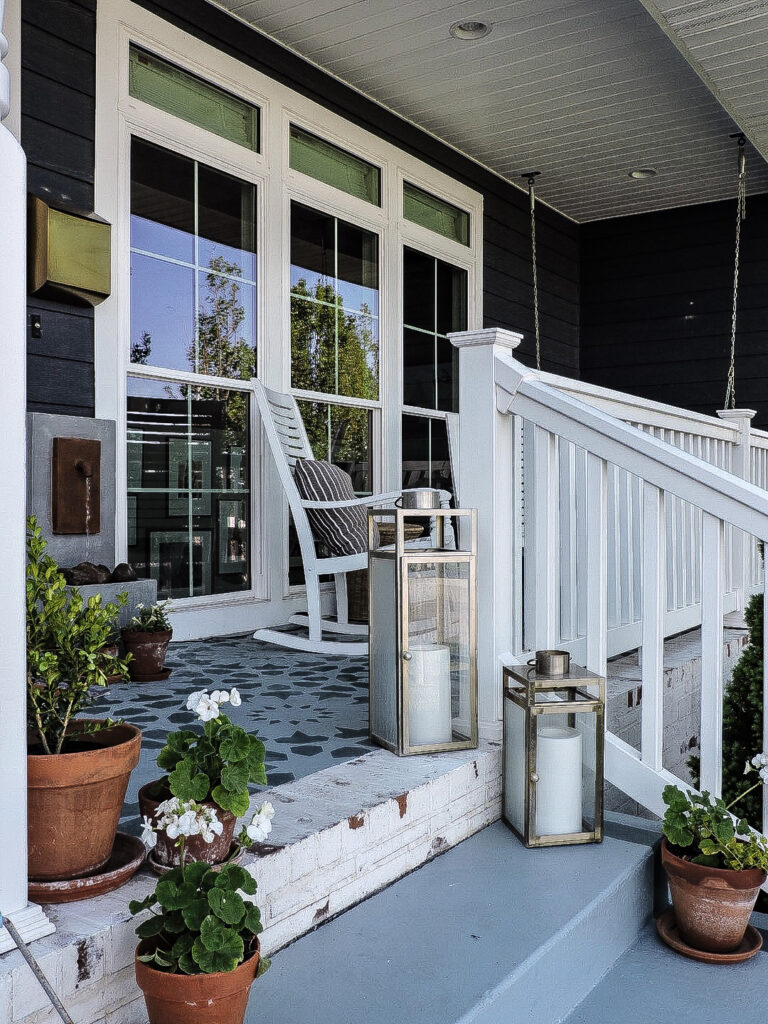
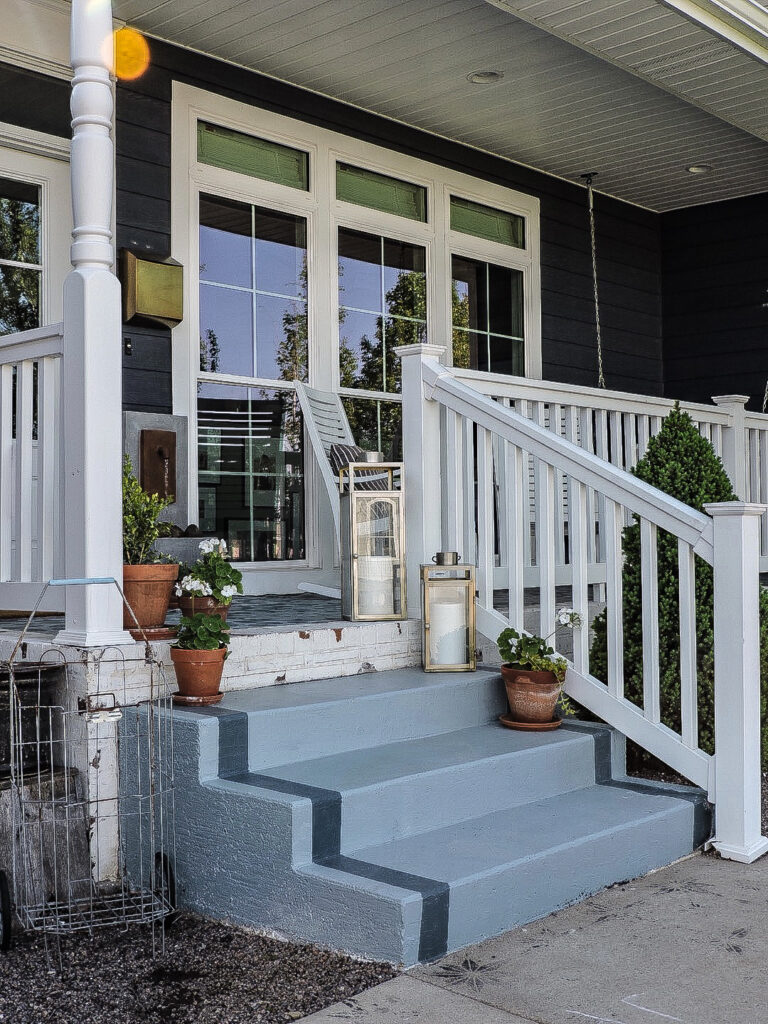
I did a version of my “stair runner” on the steps again- this time just added two lines on each side.
Overall I am very happy with how the porch turned out! I will definitely be using the primer next time I re-paint it as well as trying to find a sealant that wont be slippery when wet. Can’t wait to sit out here once the 78 mph wind stops blowing here!
xoxo,
Kayla