Wallpapered Beadboard Ceiling in Hallway
A few months ago I attempted a diy that was not a total fail in my book but not a total win either. Our ceilings are very textured which I’m not a big fan of- I tried to spread joint compound over the ceiling to smooth it out which is harder than it may seem. As well as drawing lines with a pencil to mimic shiplap. To see that post you can go HERE. In all reality, if you have a smooth texture to your ceiling- I totally think using a pencil to create “shiplap lines” would look good. But ever since the ceiling and hallway in general was driving me crazy so late Friday night I got to work on wallpapering our ceiling.
Wallpapered Beadboard Ceiling
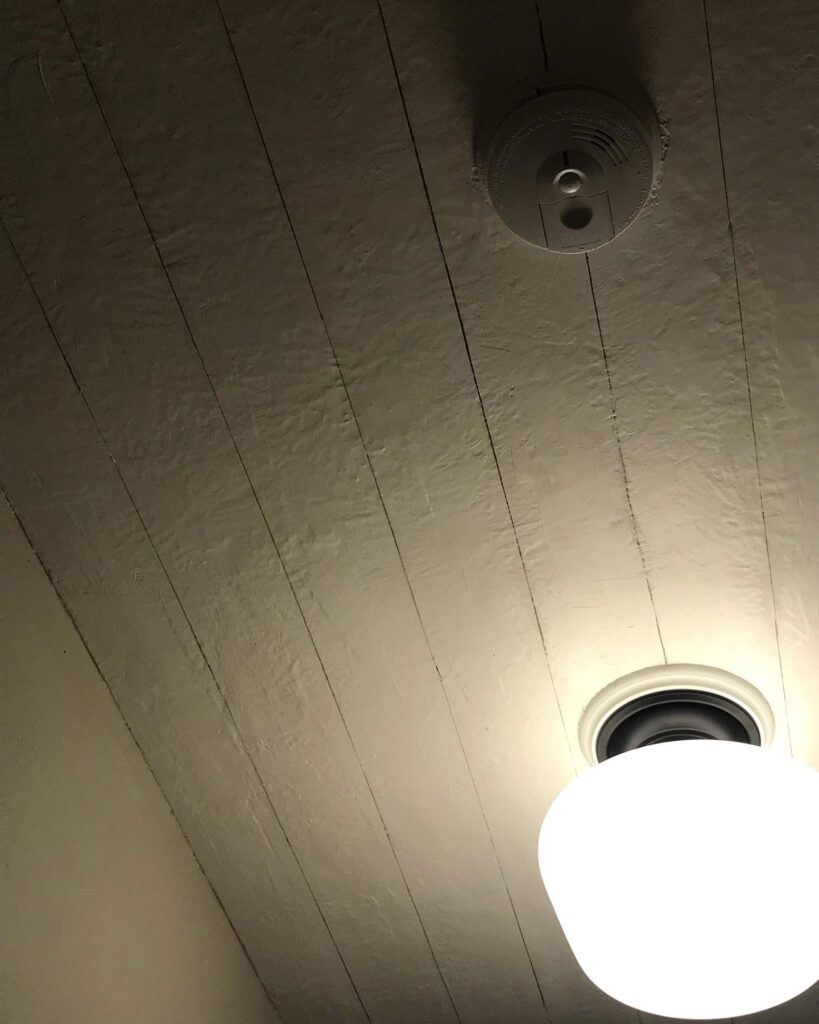
BEFORE
In this picture you can see there is still texture even with me trying to rid of it. Honestly, it probably looks worse than before since it’s so uneven. No bueno.
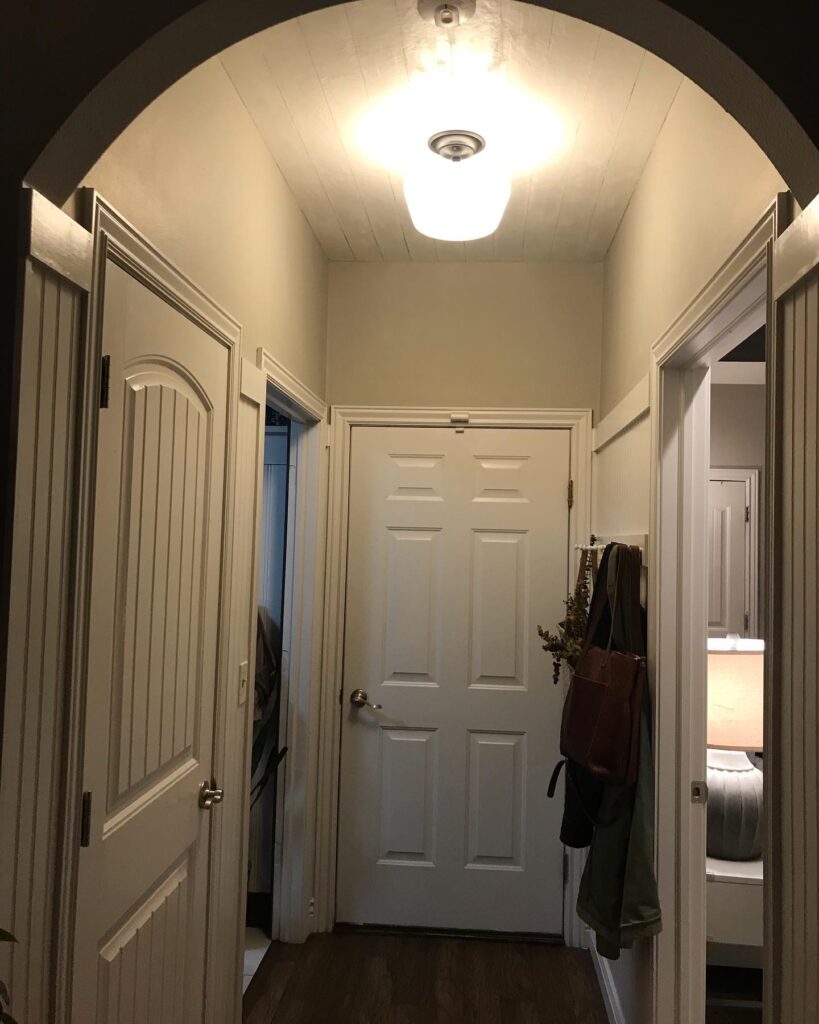
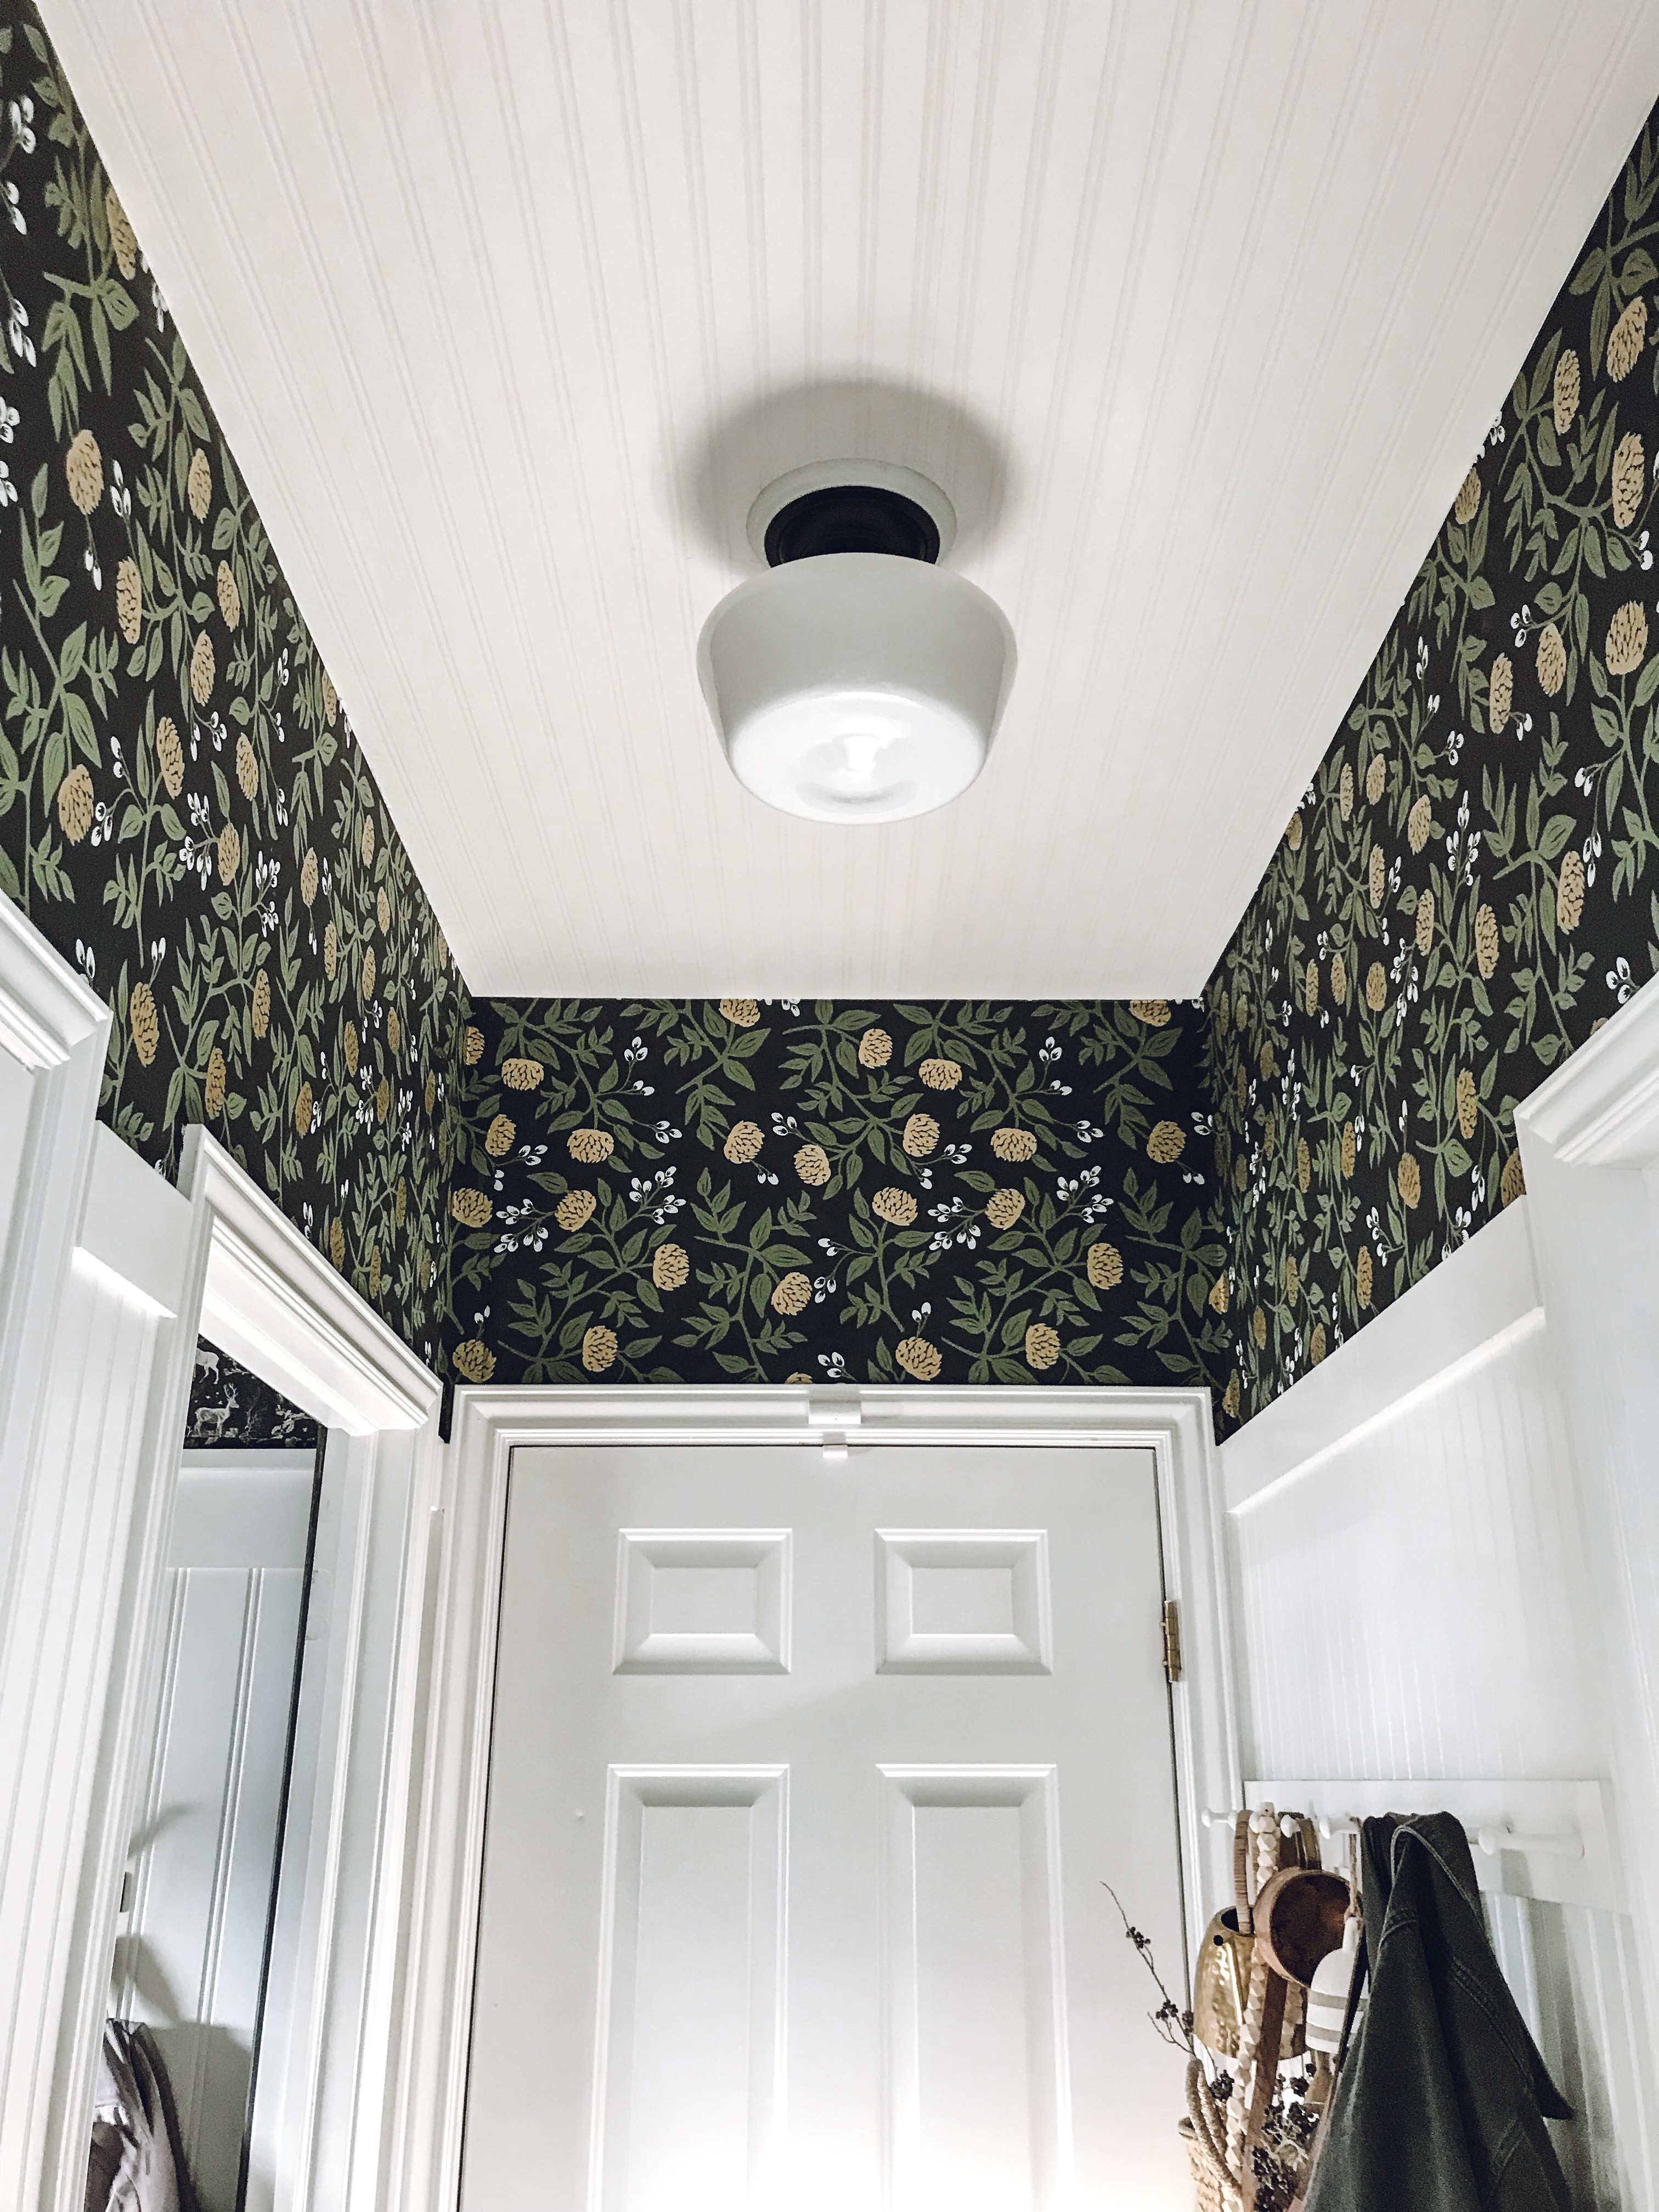
AFTER
While browsing the internet, I found this paintable beadboard wallpaper on Amazon, you can buy it HERE. I have never hung up actual wallpaper that is not peel and stick so wasn’t sure what to expect. I will say- hanging wallpaper on a ceiling is much easier with 2 people but I did this all on my own so it’s not impossible! You just have to be a little creative.
Even though the product stated it was pre-pasted (activated with water), I decided to still use a wallpaper paste after reading some reviews. I purchased THIS wallcovering adhesive and used a paintbrush (you can also use a roller) to apply it to the back. I bookended the pieces together, waited 5 minutes and then hung it up on the wall. In my experience- wallpaper that you use paste with is easier to apply than peel and stick. Obviously, not easier to remove so pick your poison.
Wallpaper Tips
- Use a sharp razor blade to make your cuts once it’s up on the wall- be sure to have replacements because that is the key to not getting jagged edges
- Always give yourself 6 extra inches when making your cuts- that way no falling short anywhere
- Buy a wallpaper smoother- I purchased this one– this will help you get any air bubbles out
- Use scissors to cut your paper before applying to the wall- I find you have more control this way
- Wipe off any excess glue off the paper with a damp towel after applying to the wall
- Use caulk to finish off around edges and light fixtures-gives it a much more finished look
Rifle Paper Co. Wallpaper on Walls
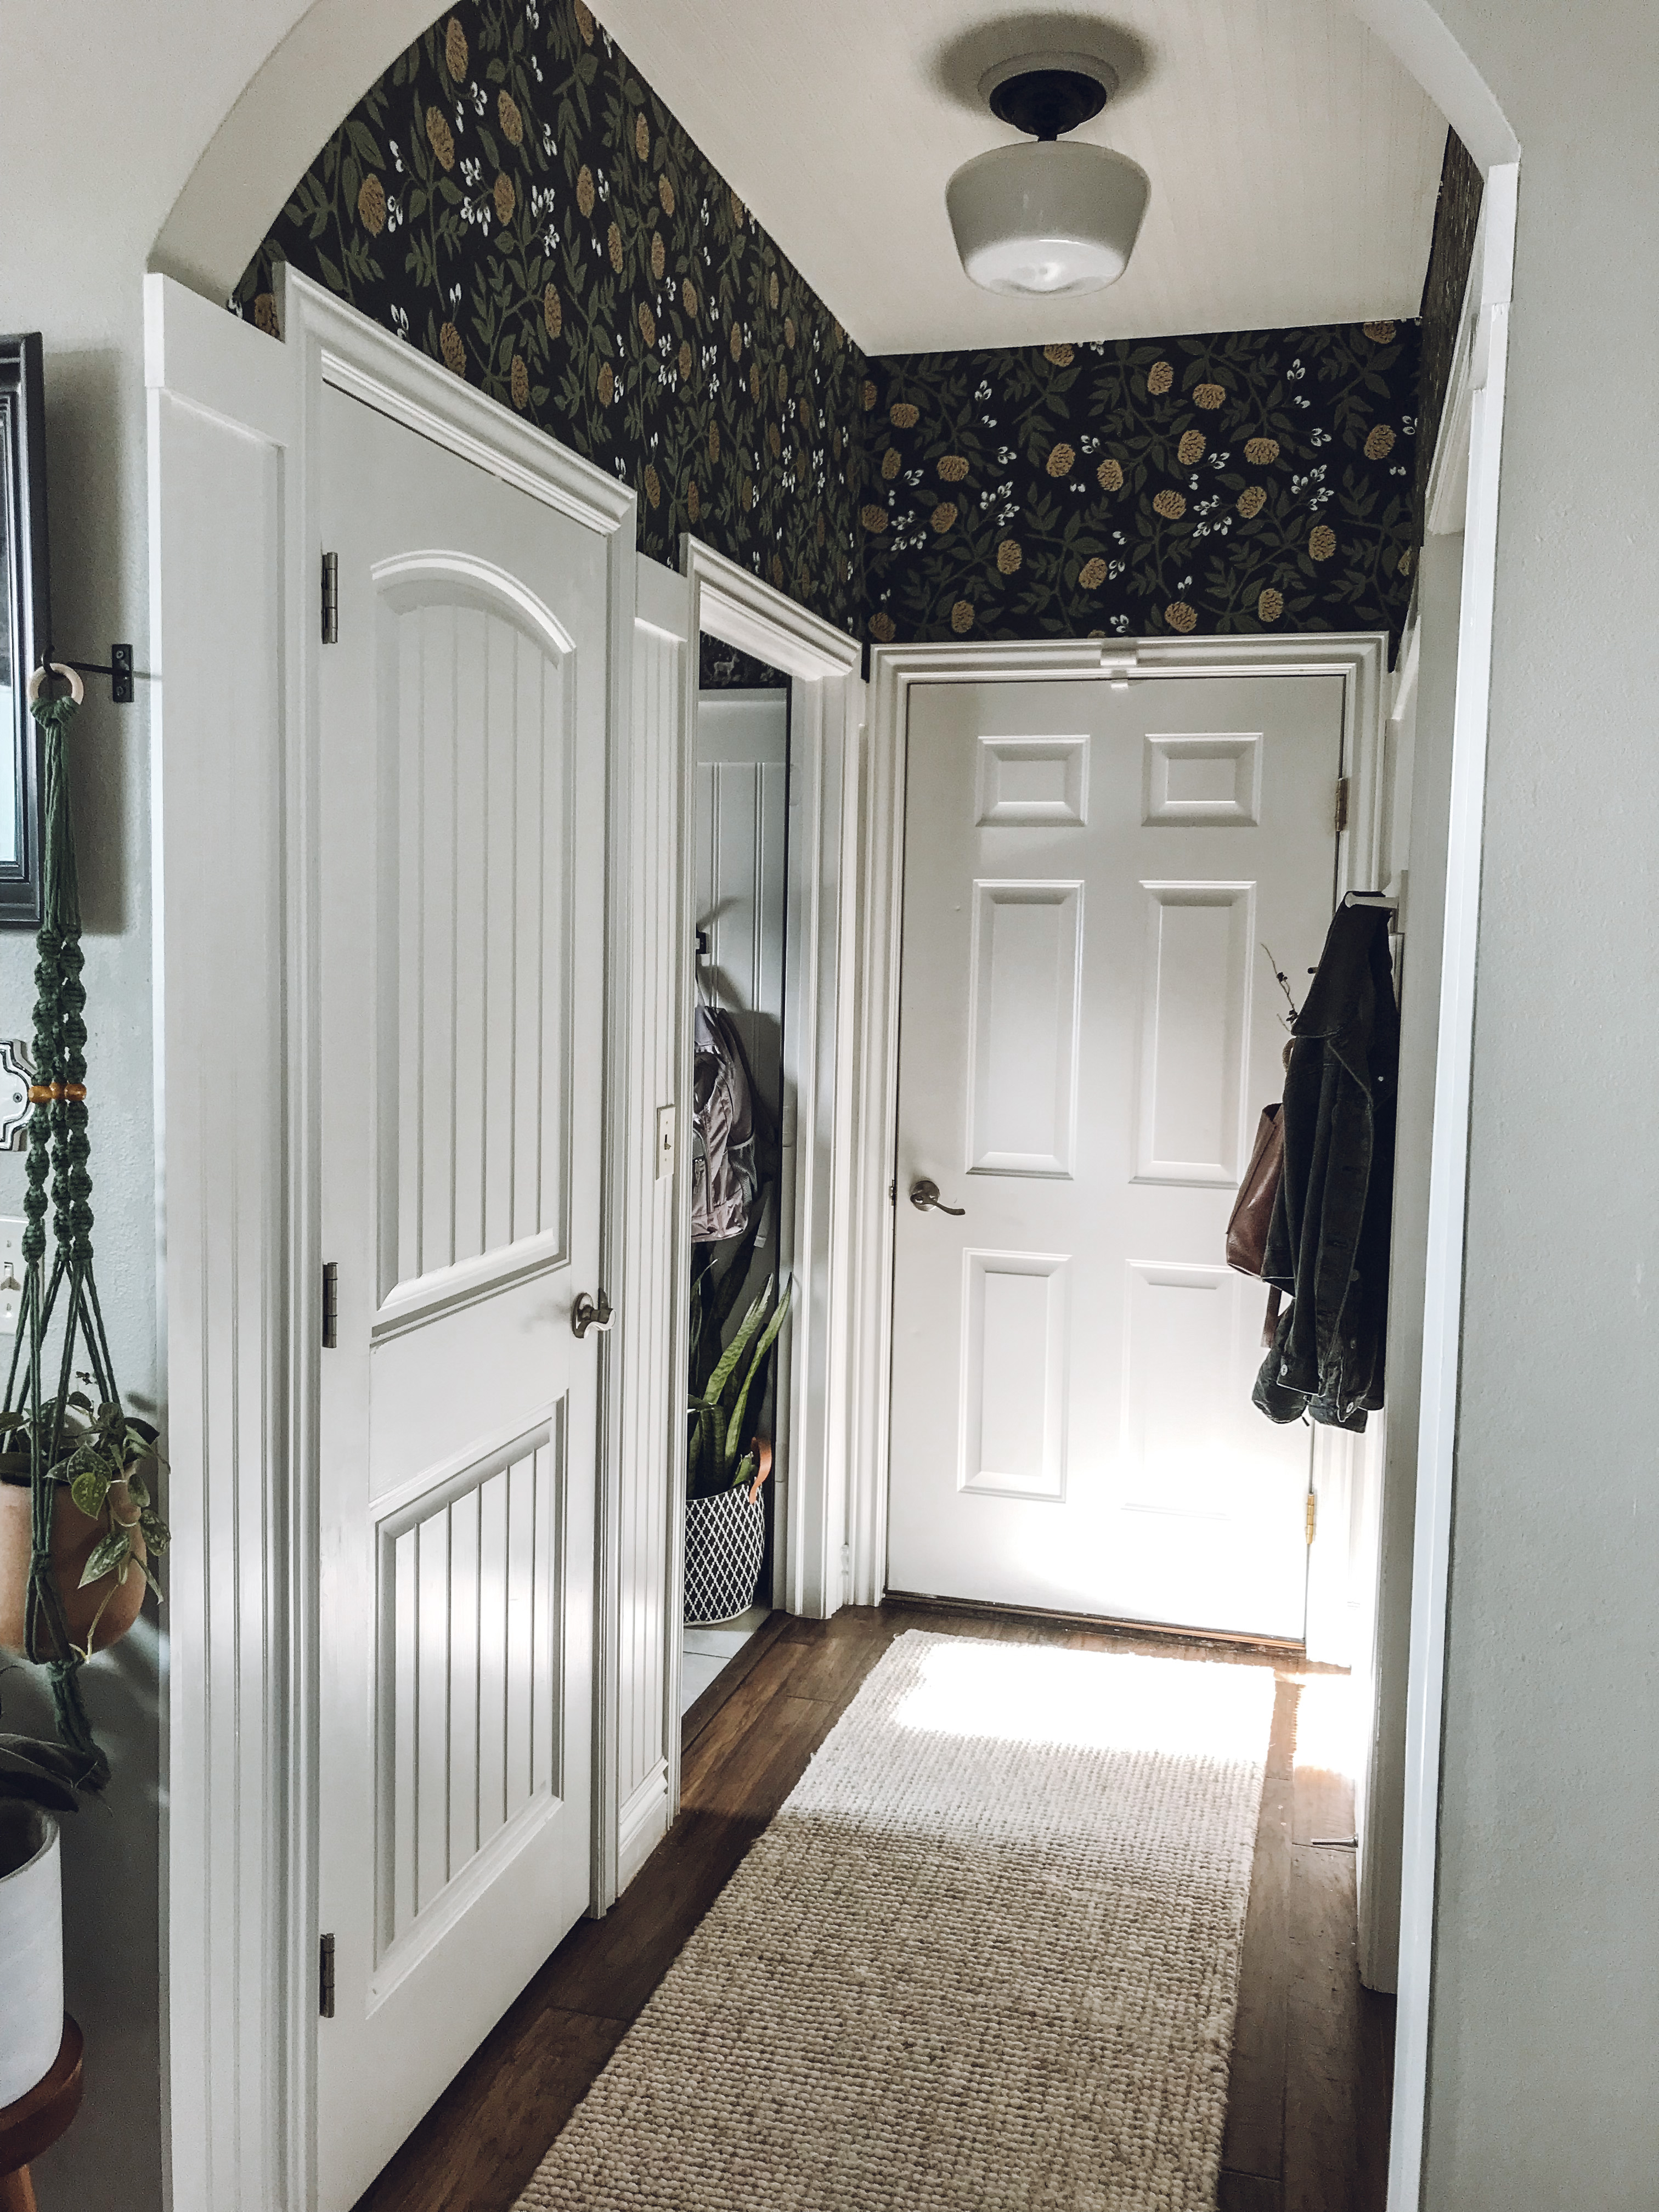
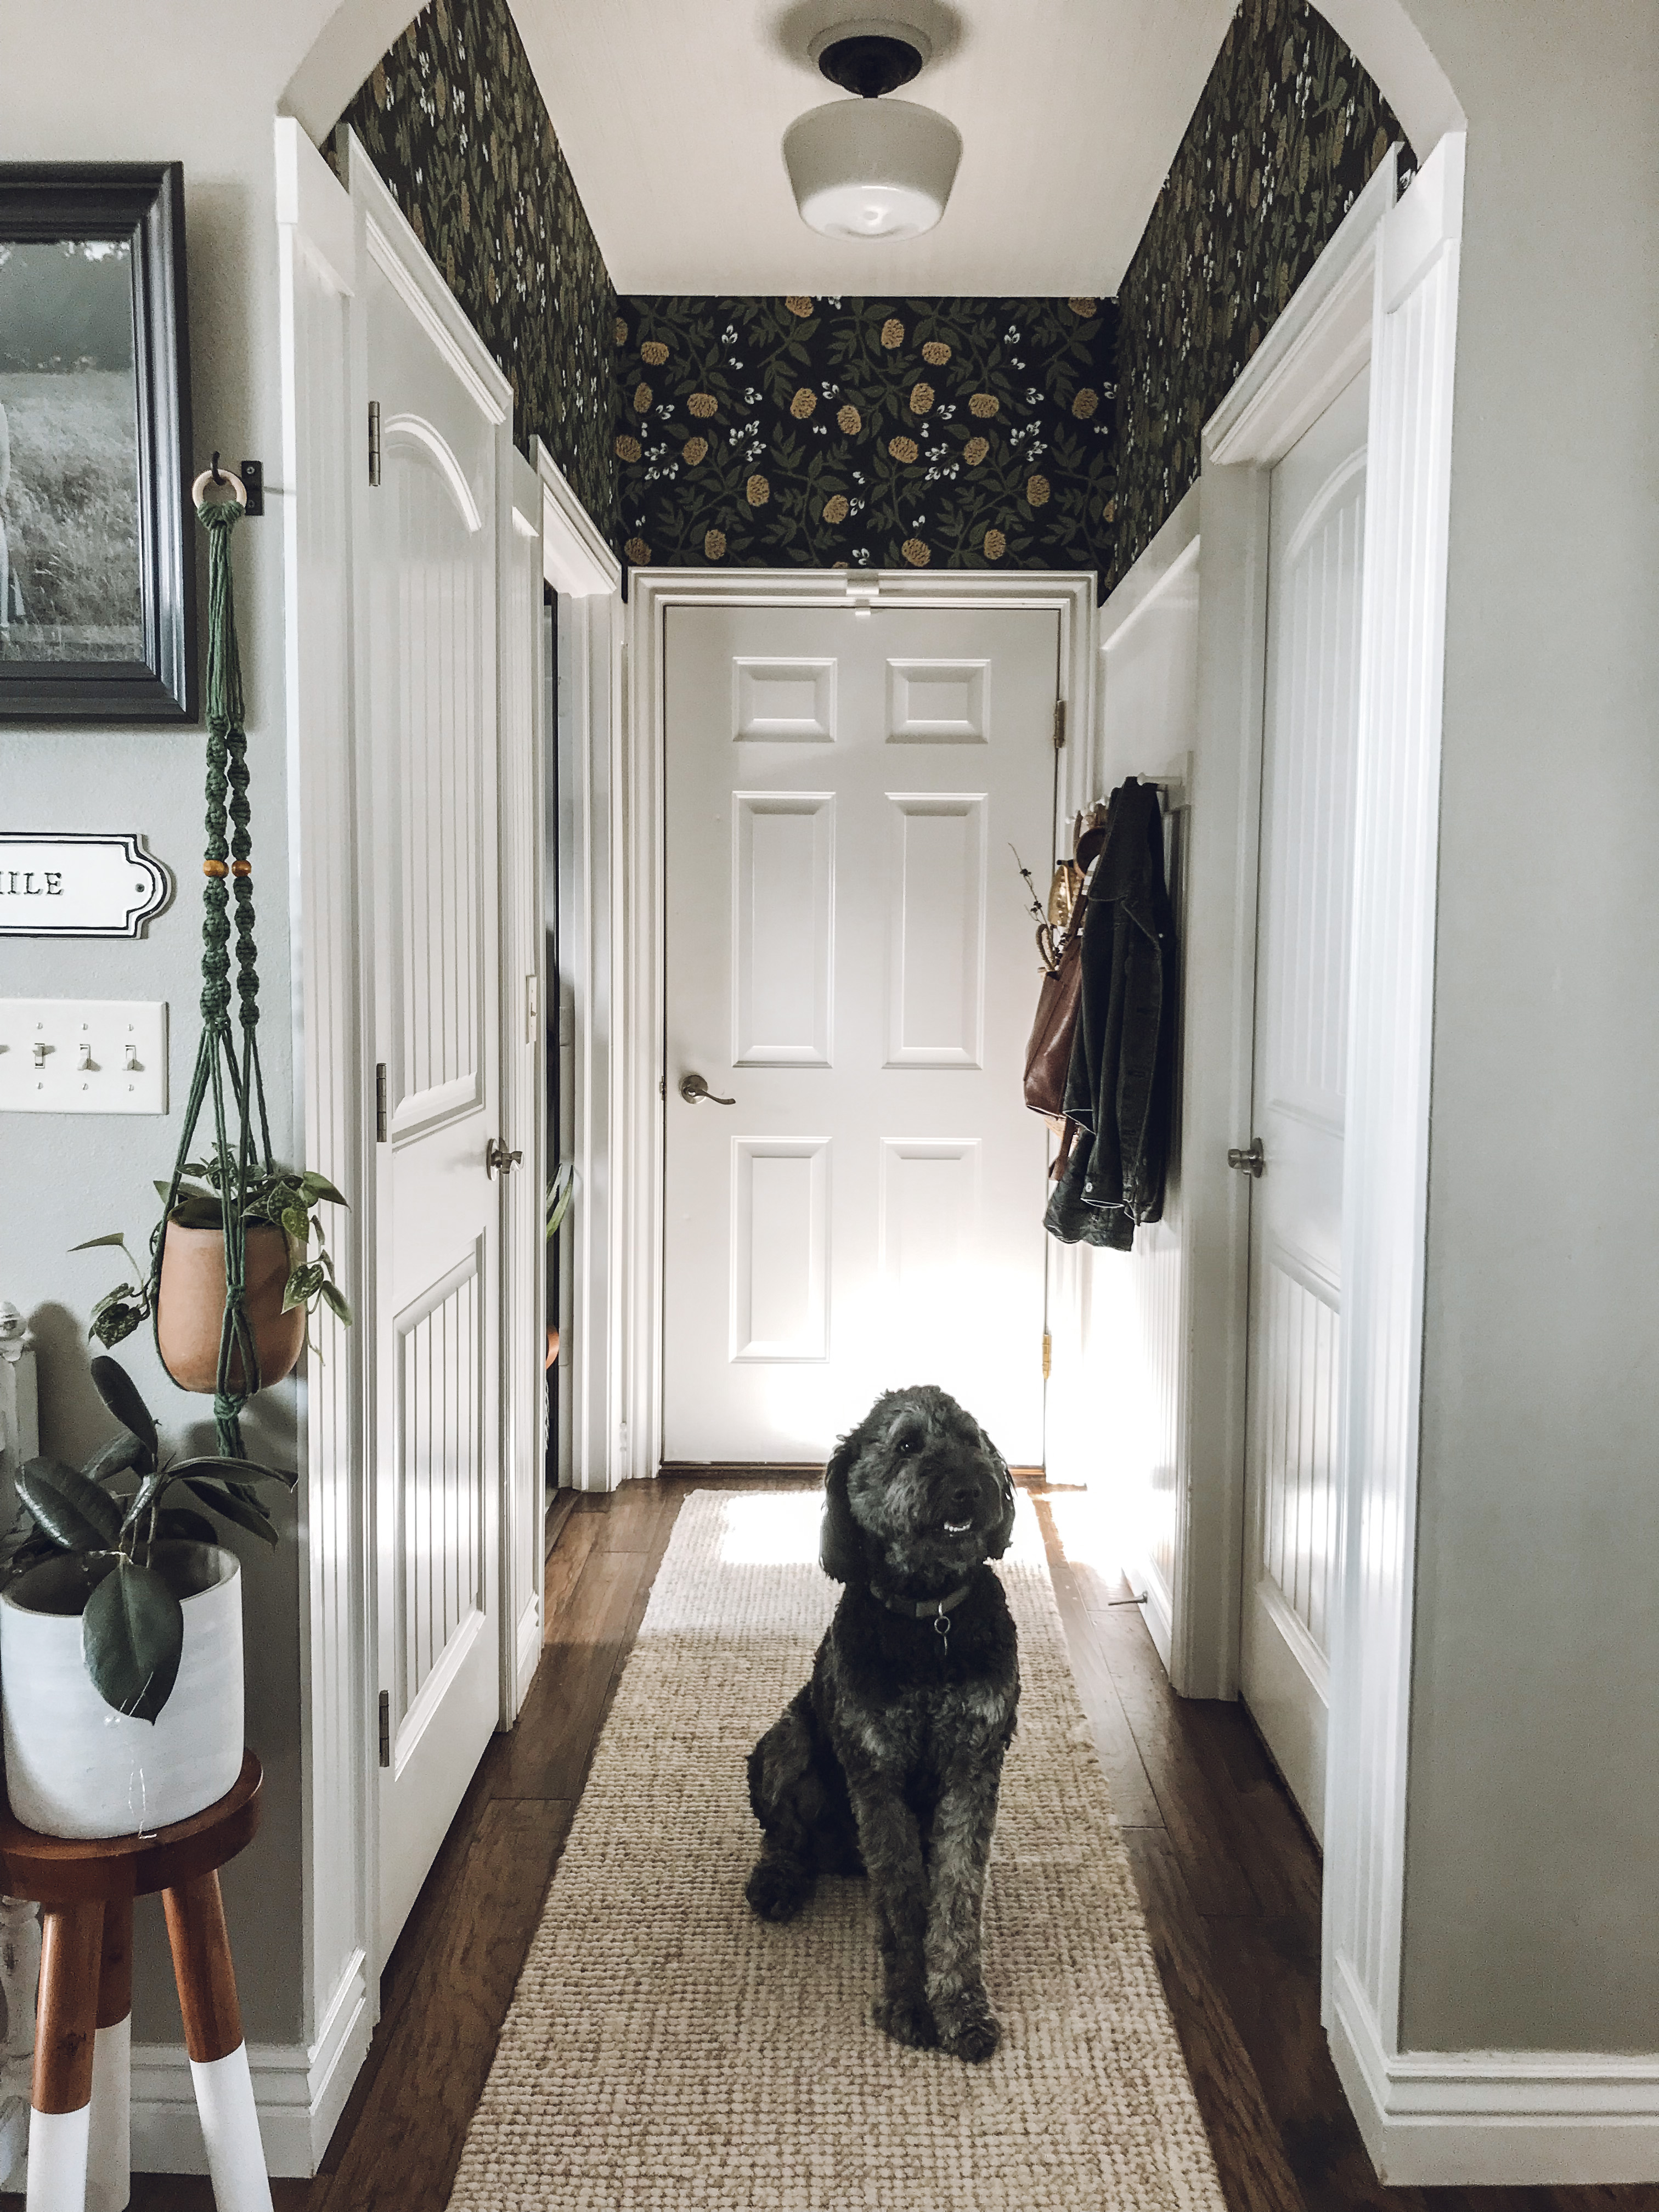
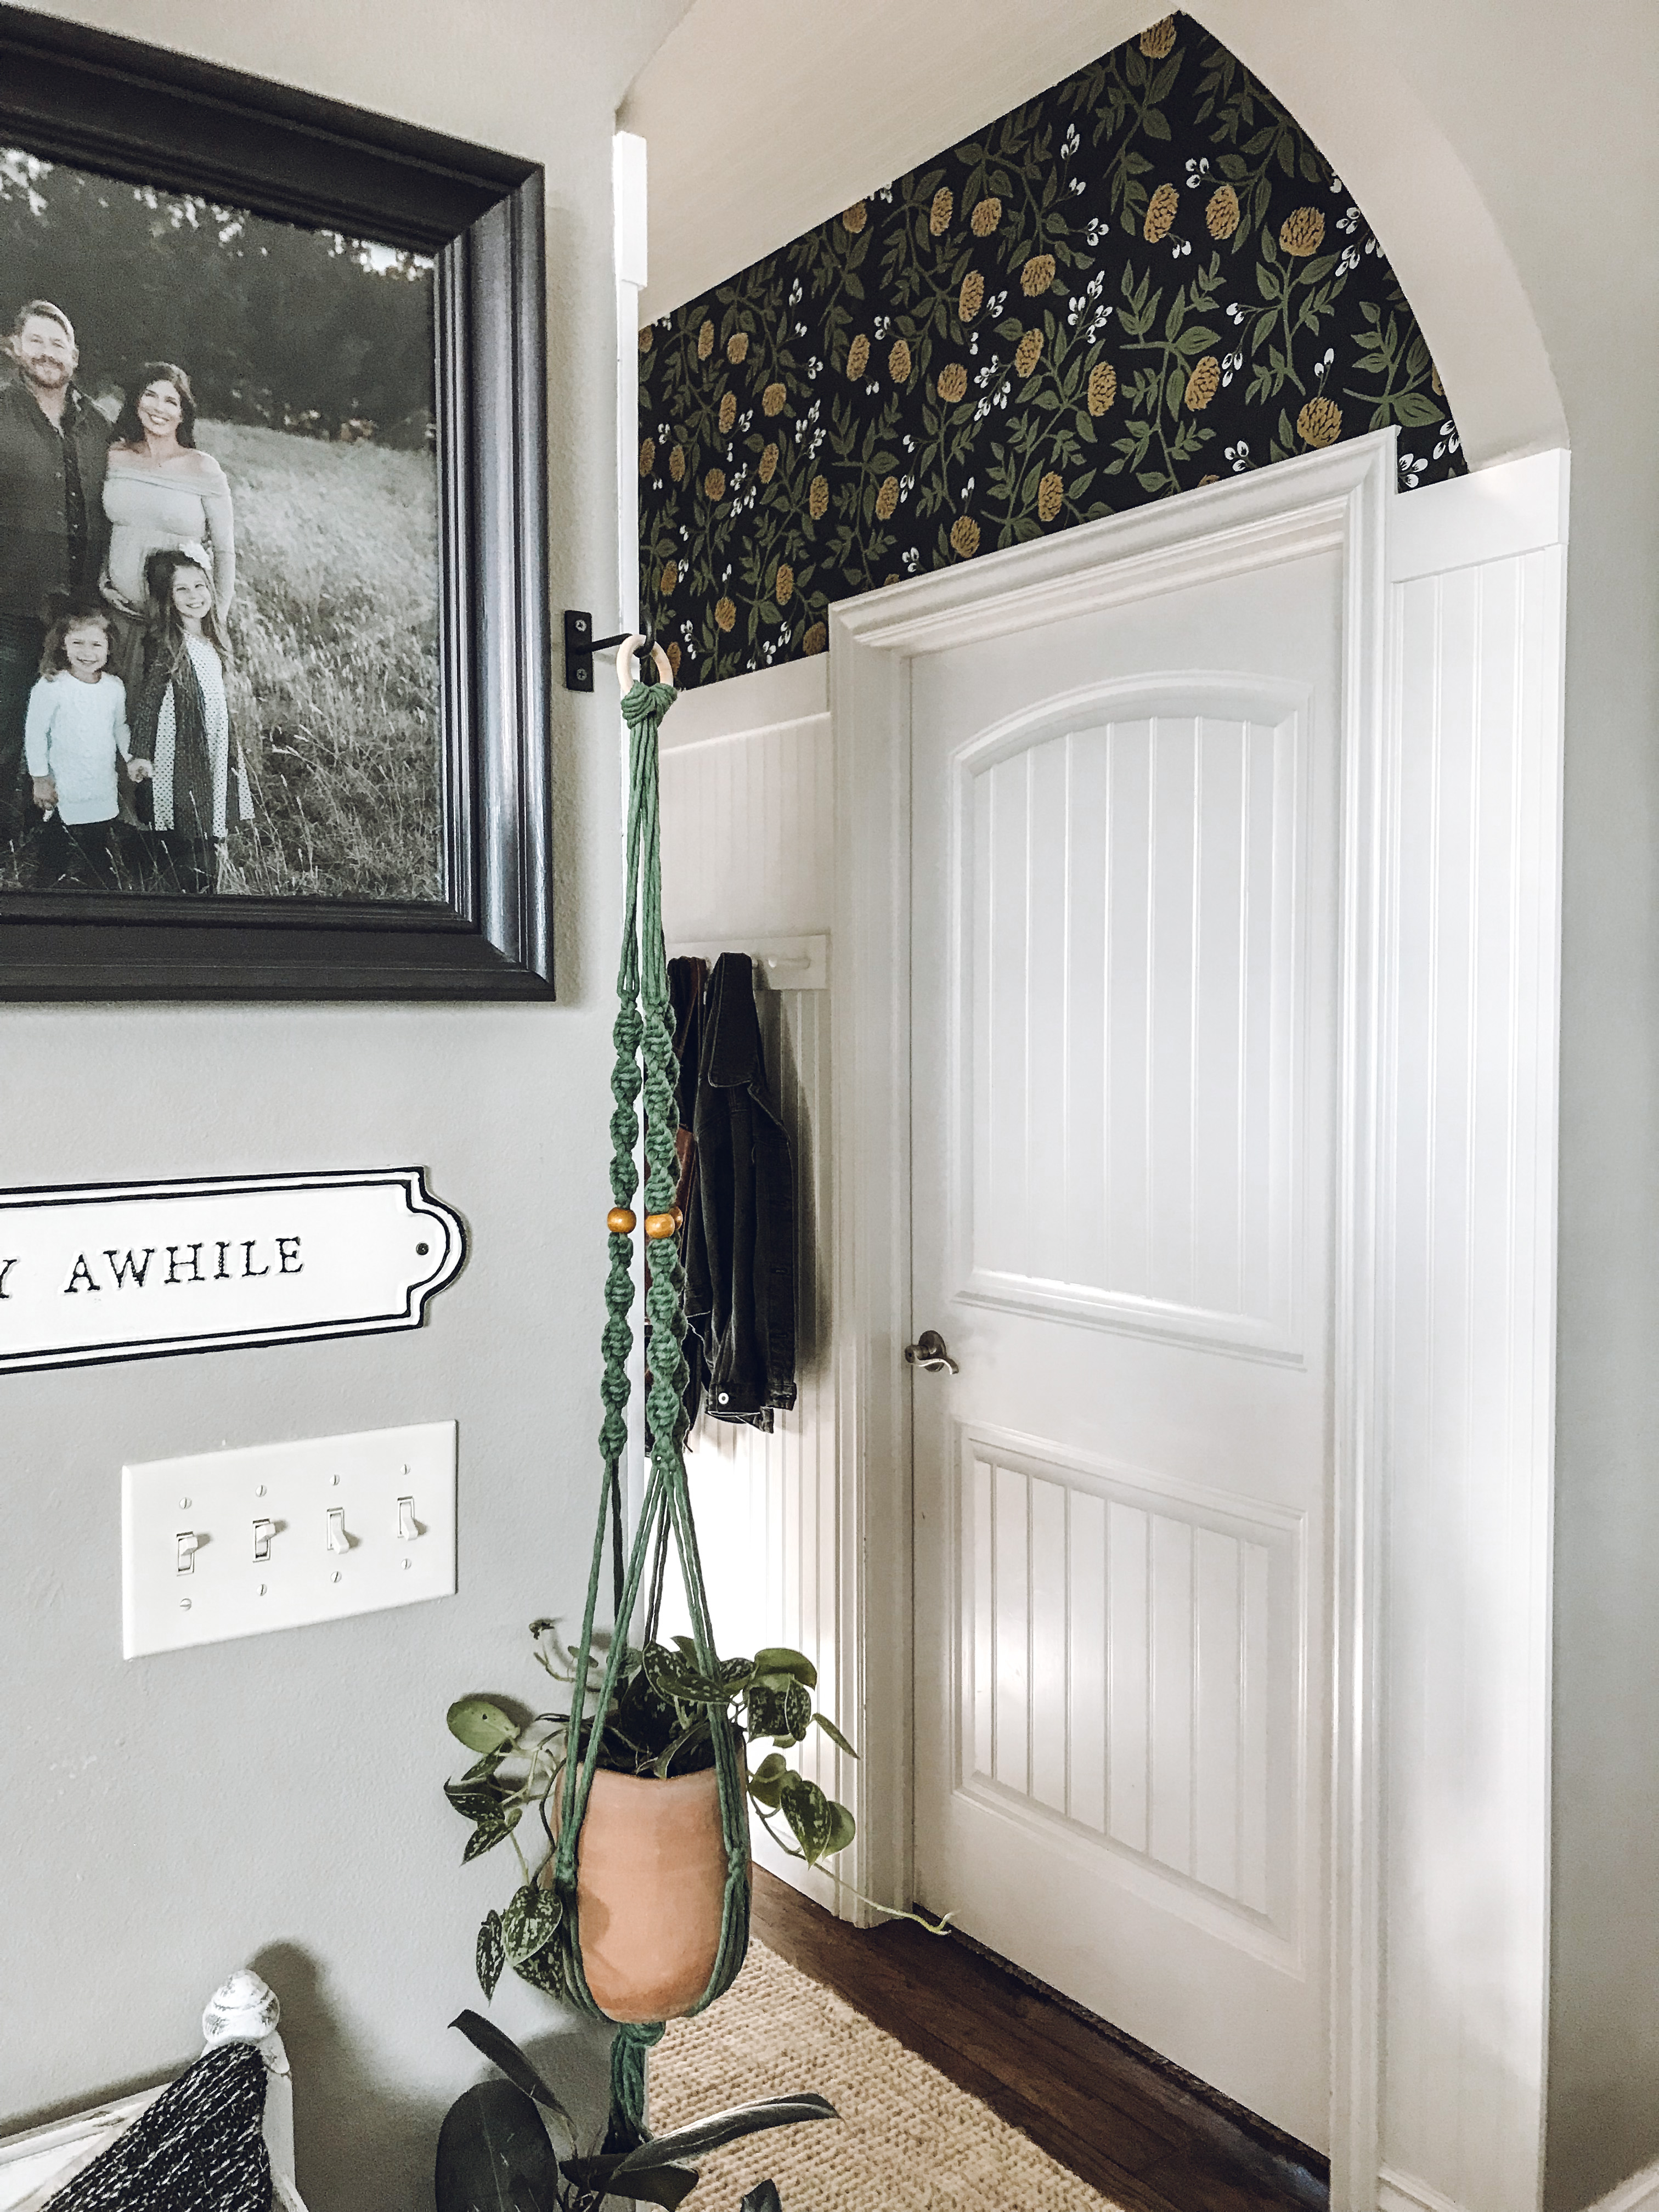
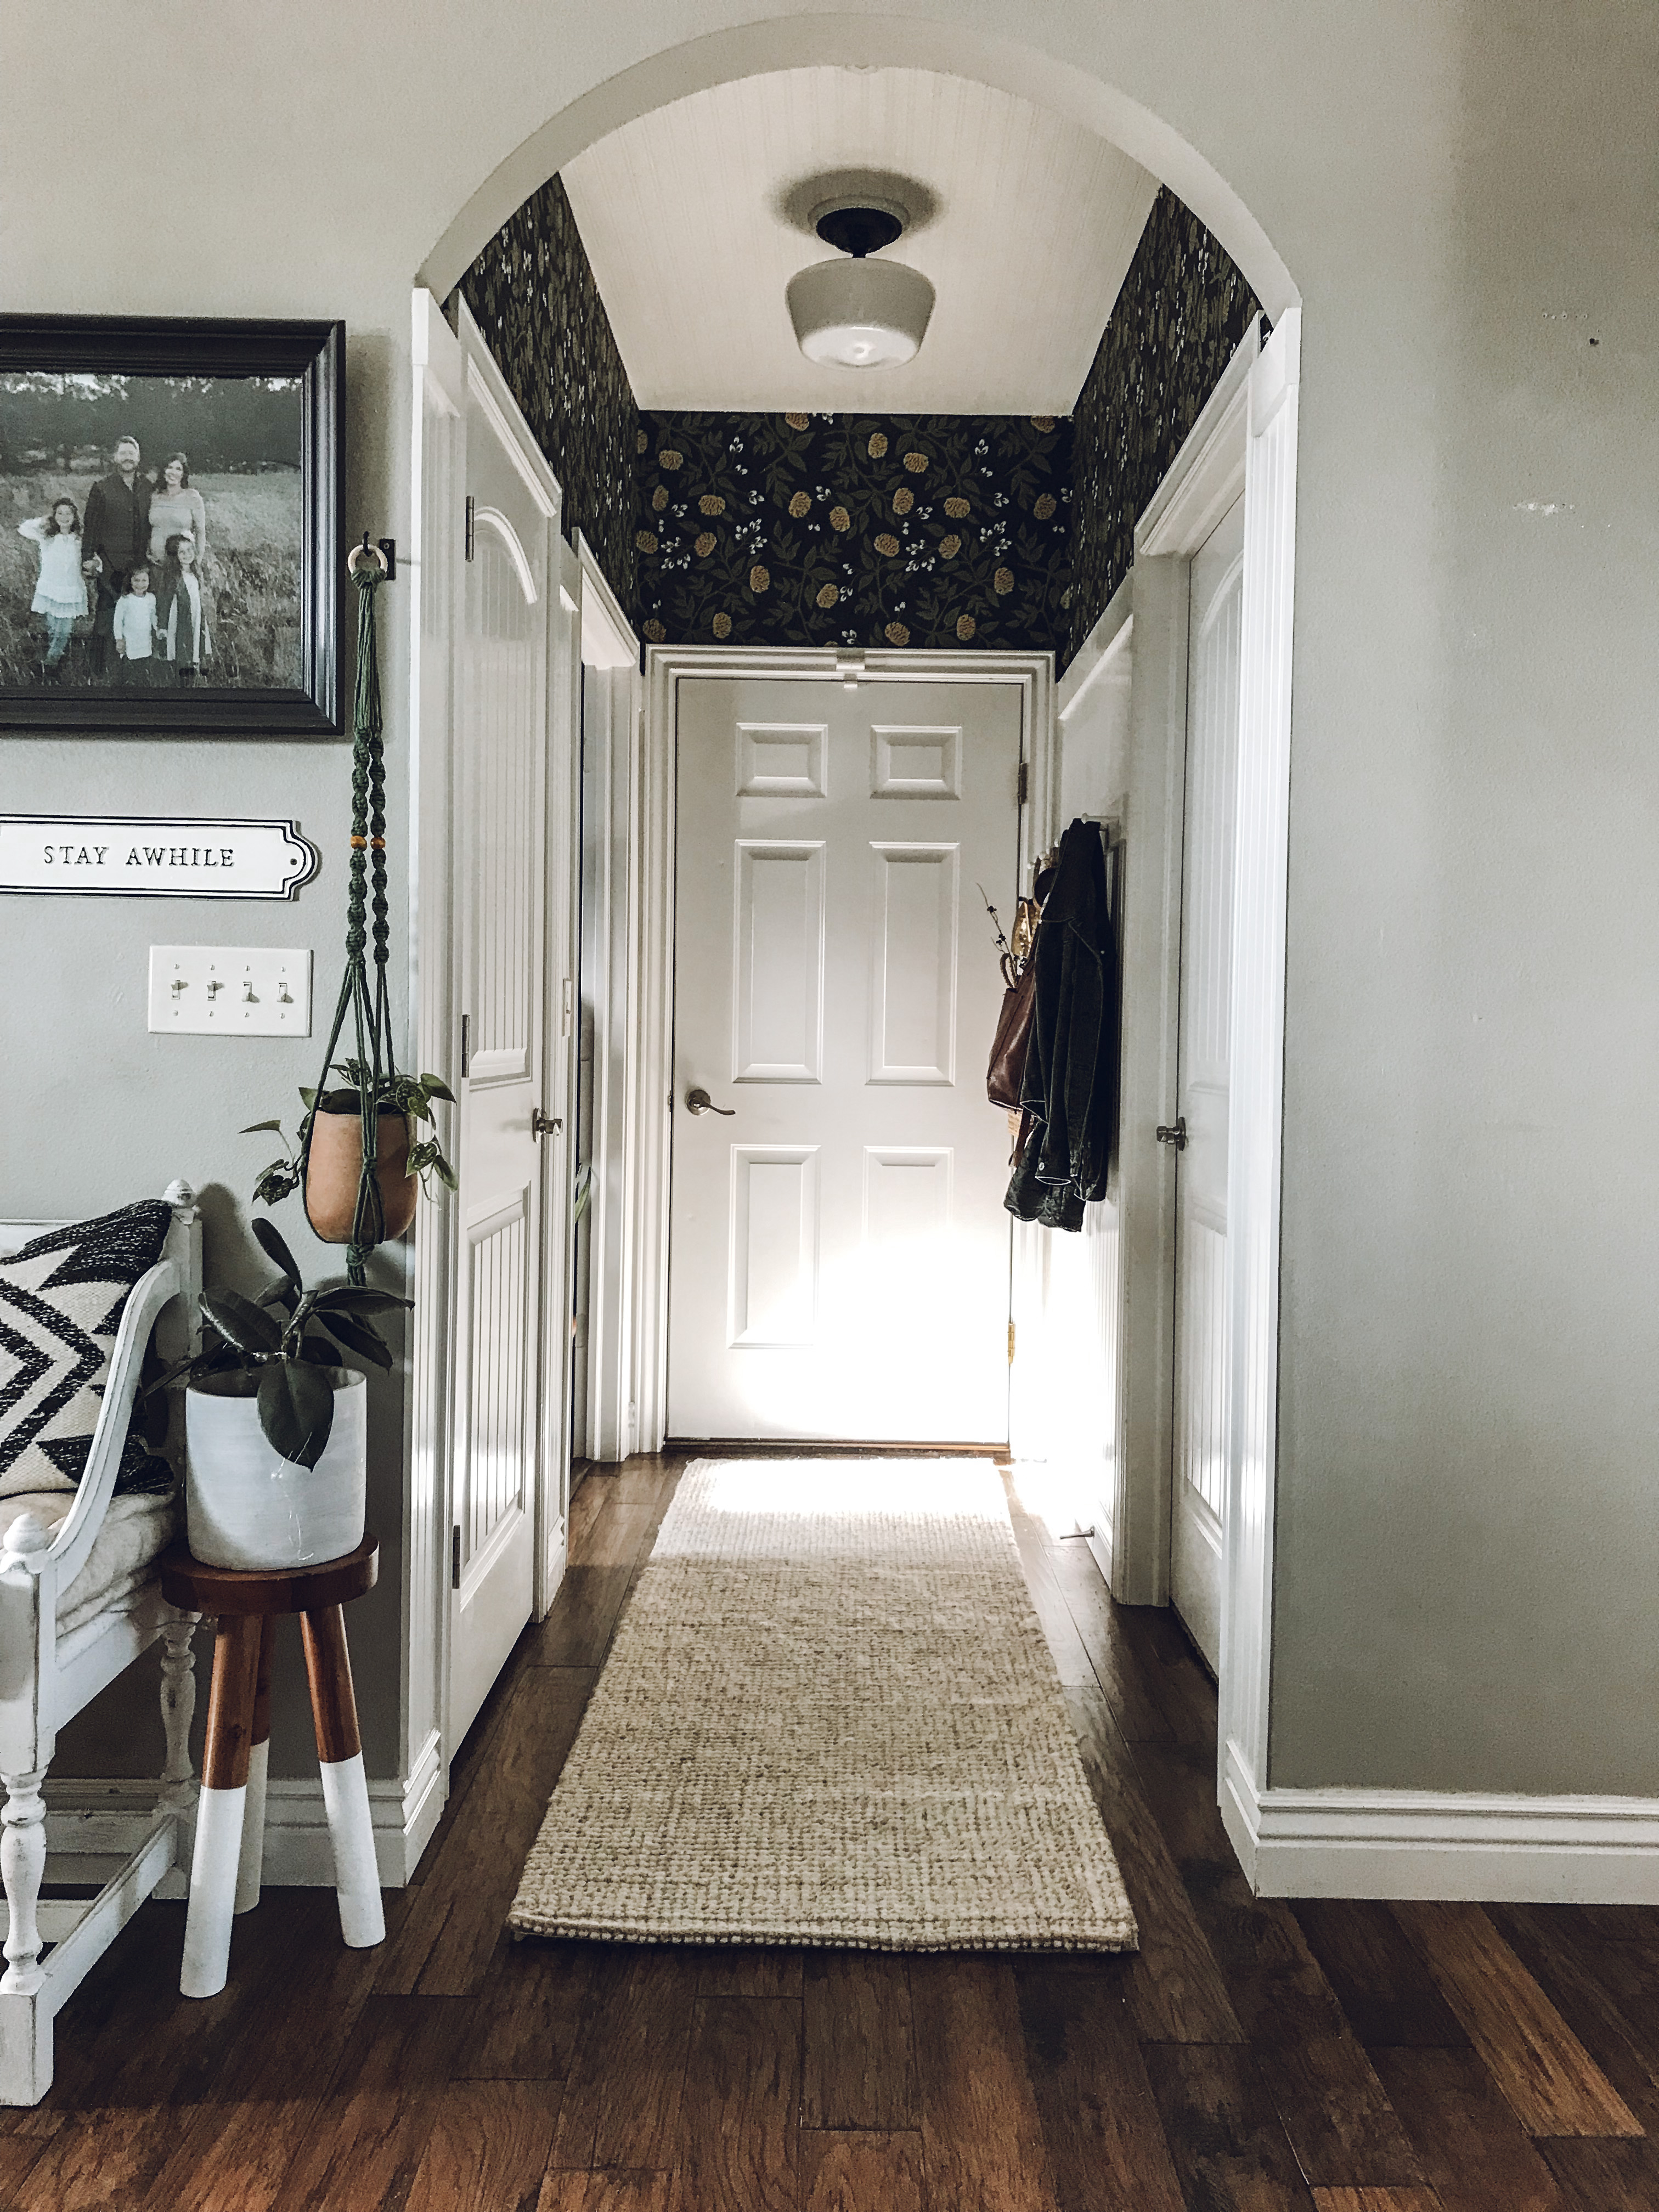
Our main area is painted a warm grey color which I love but not so much in these hallways. There’s not much natural light so the color reads more tan than grey which has been driving me crazy the last few months. I purchased 2 different types of wallpaper for this space and ended up going with this one which you can buy HERE. I LOVE how wallpaper transformed this space into something beautiful!

Hanging up wallpaper on a wall is much easier than on a ceiling, I will just say that much!
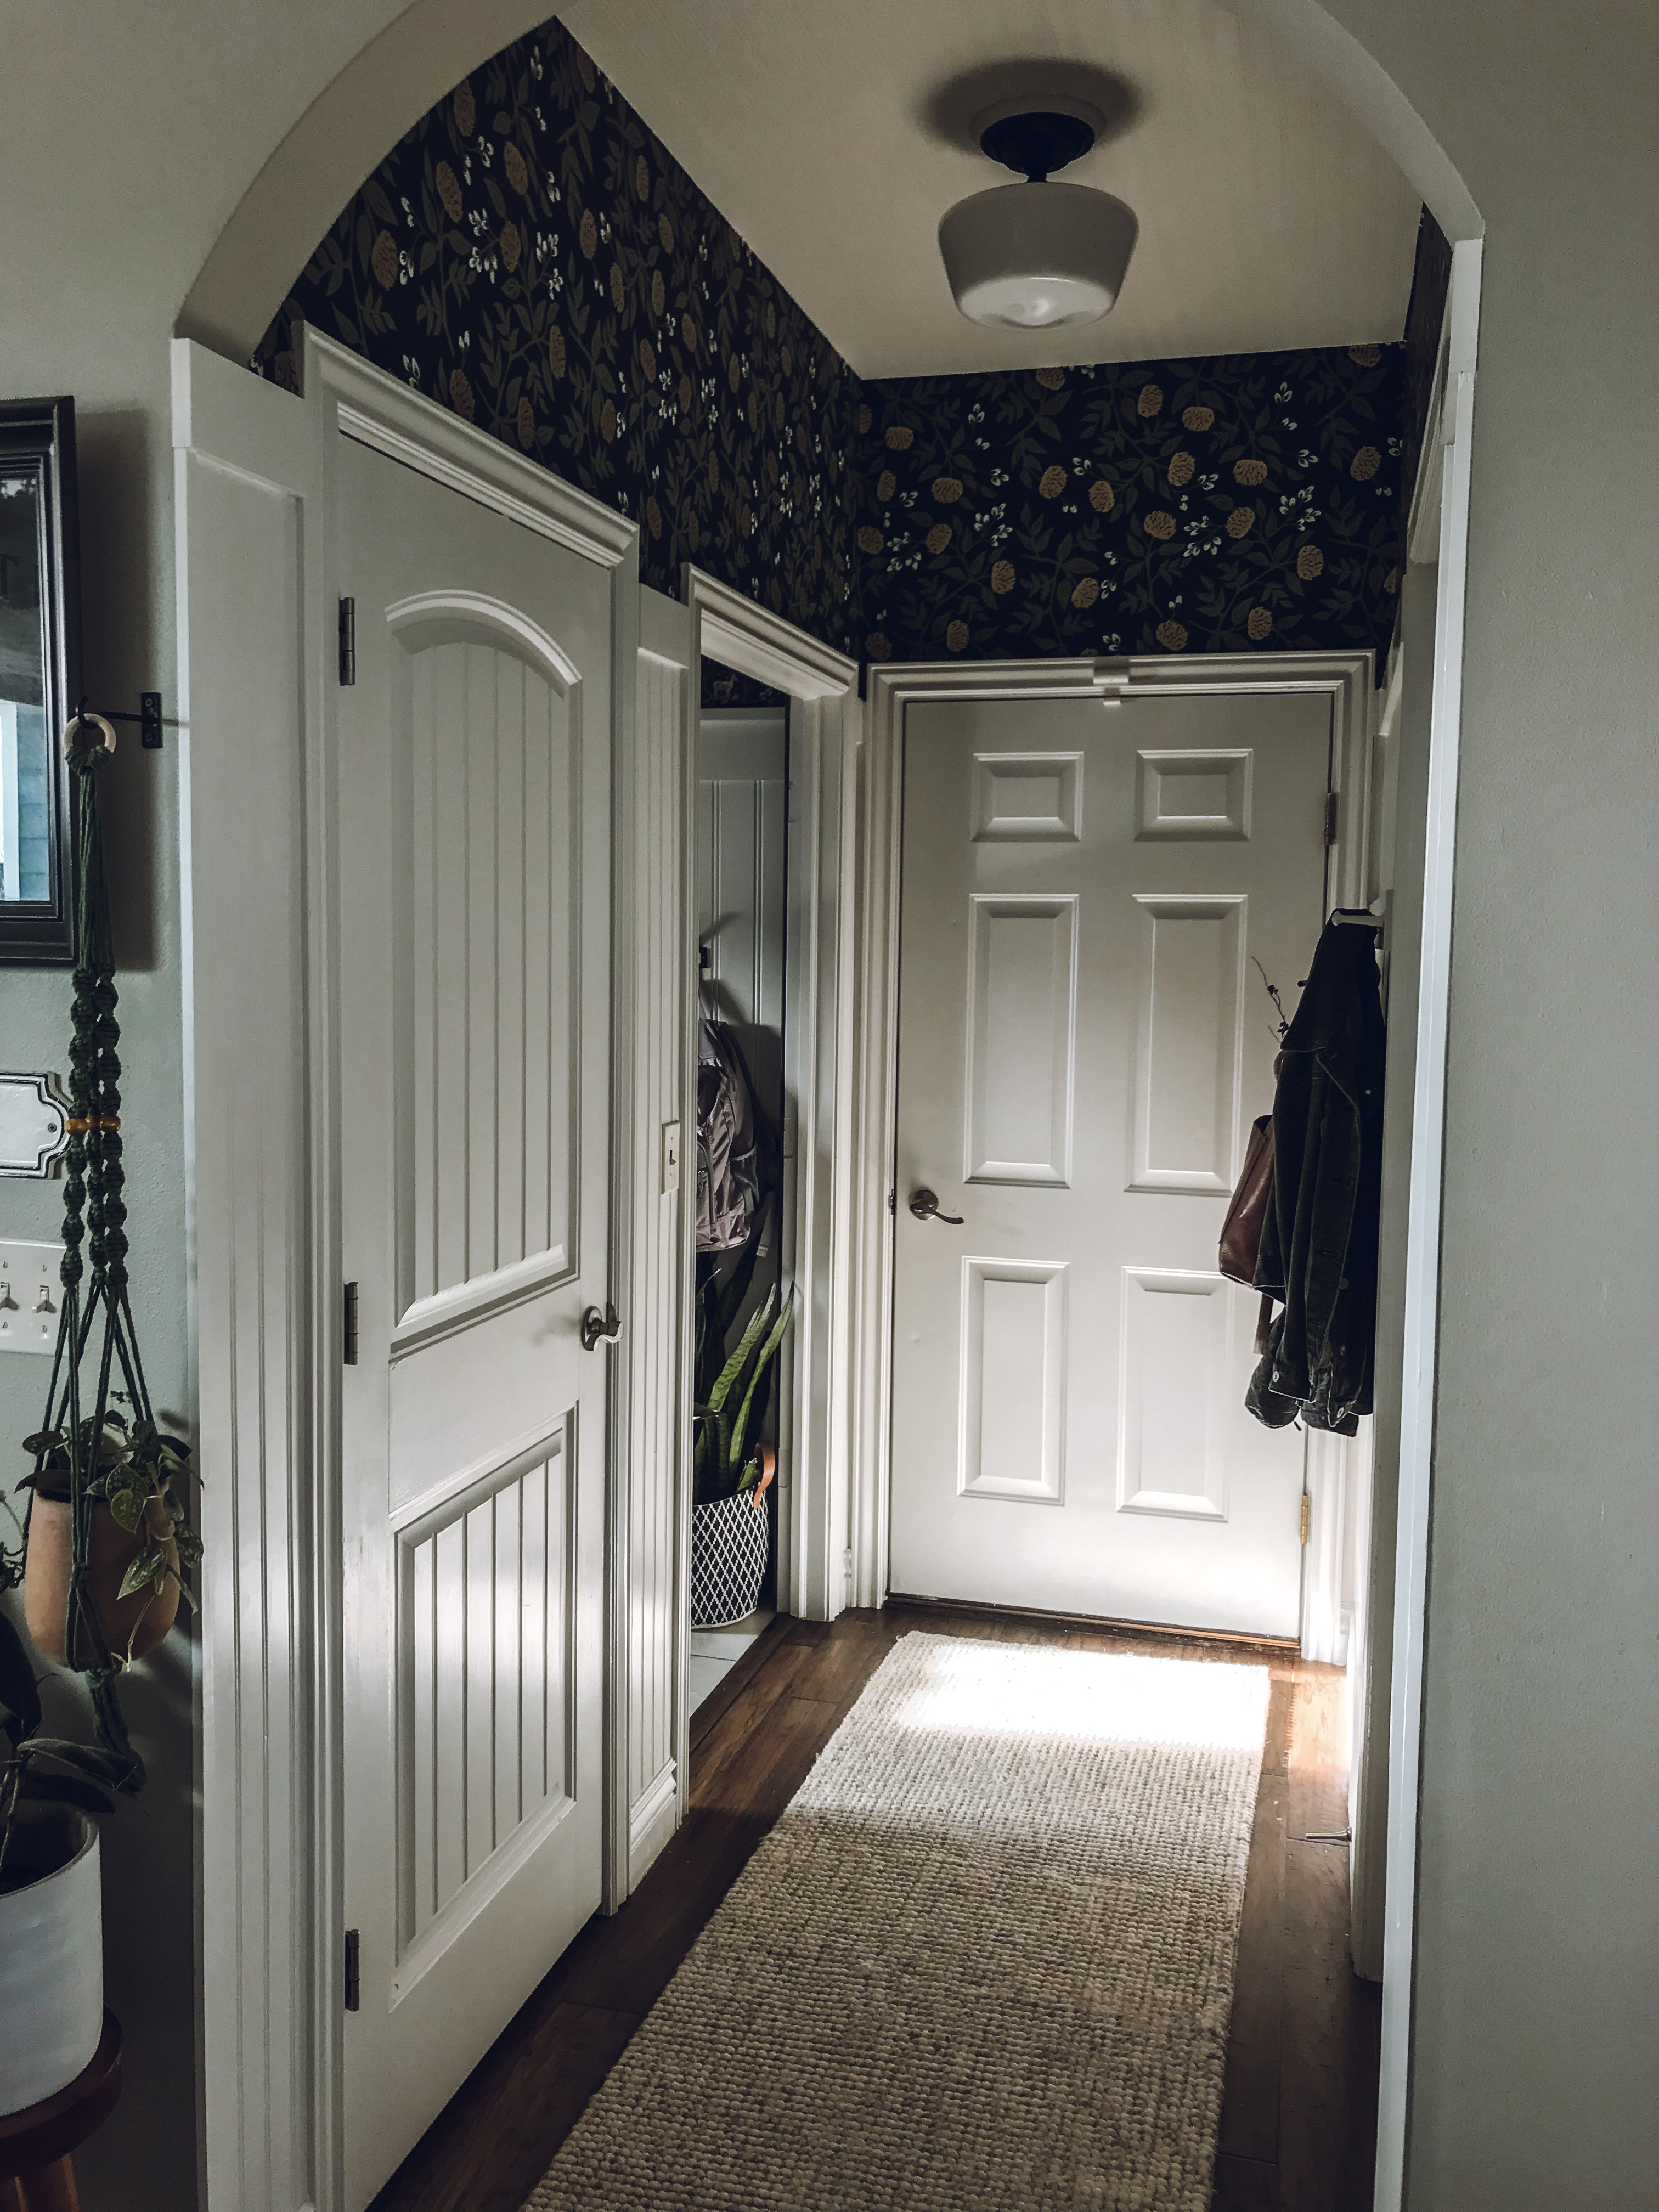
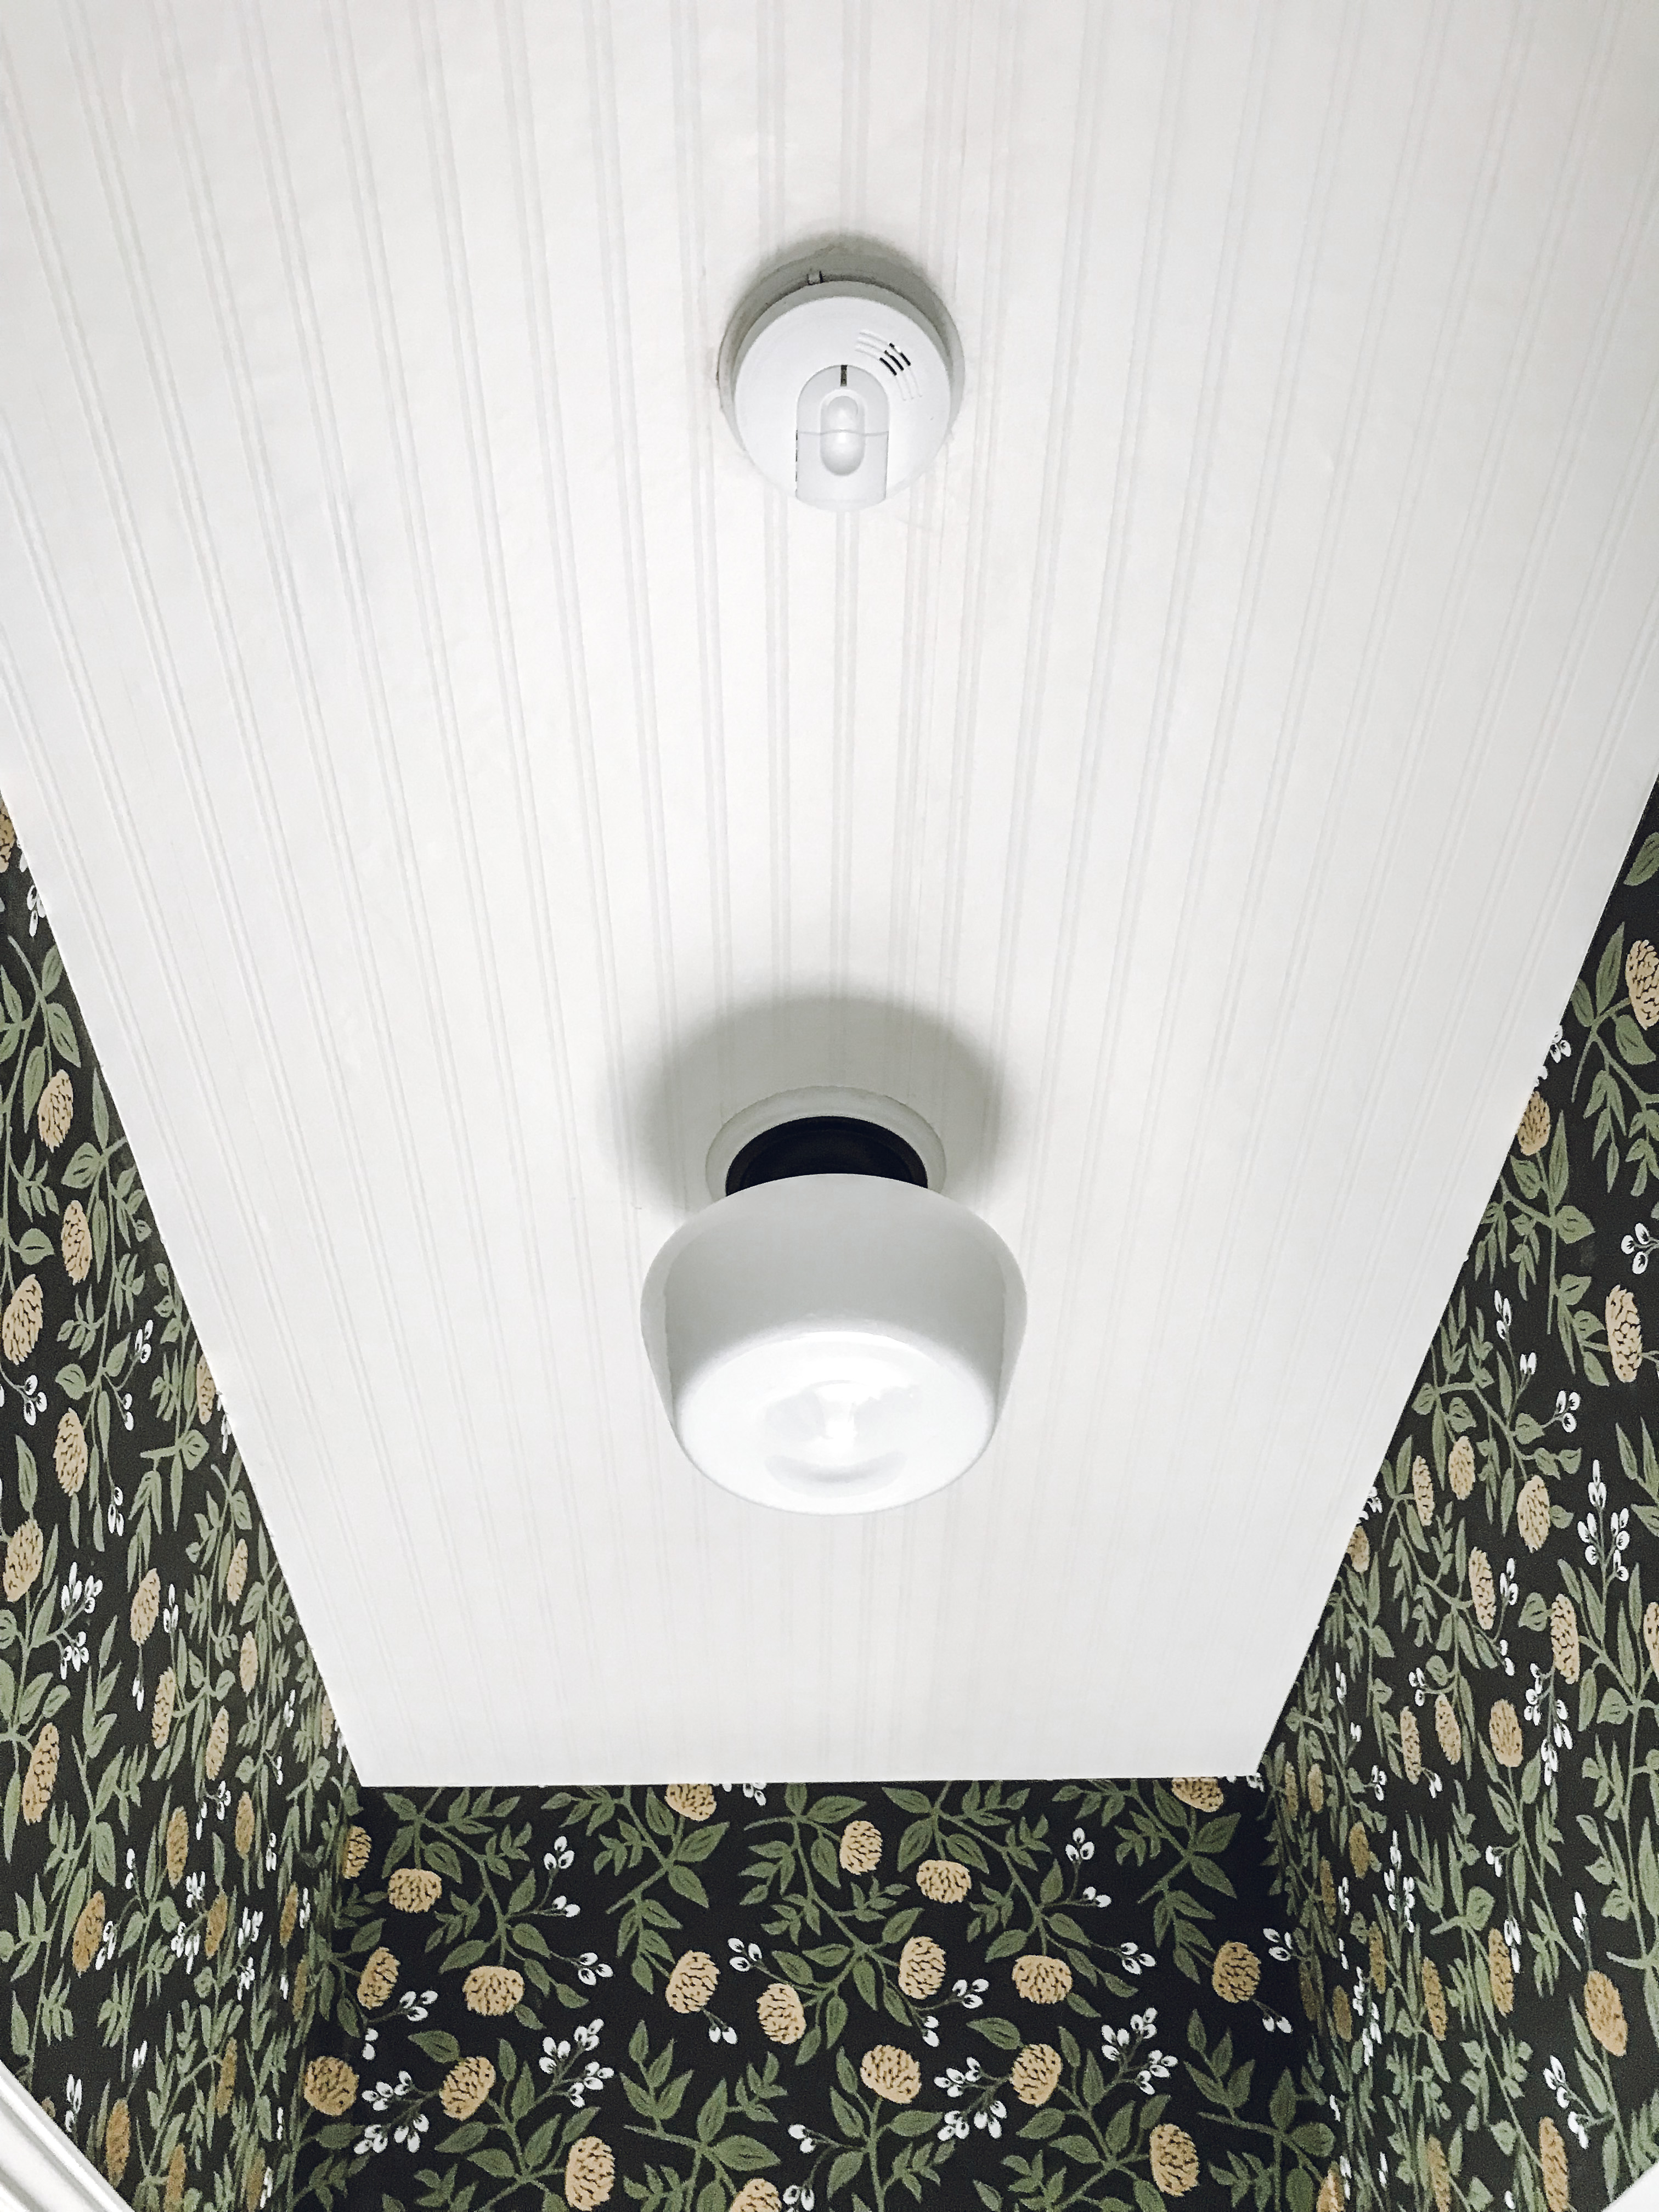
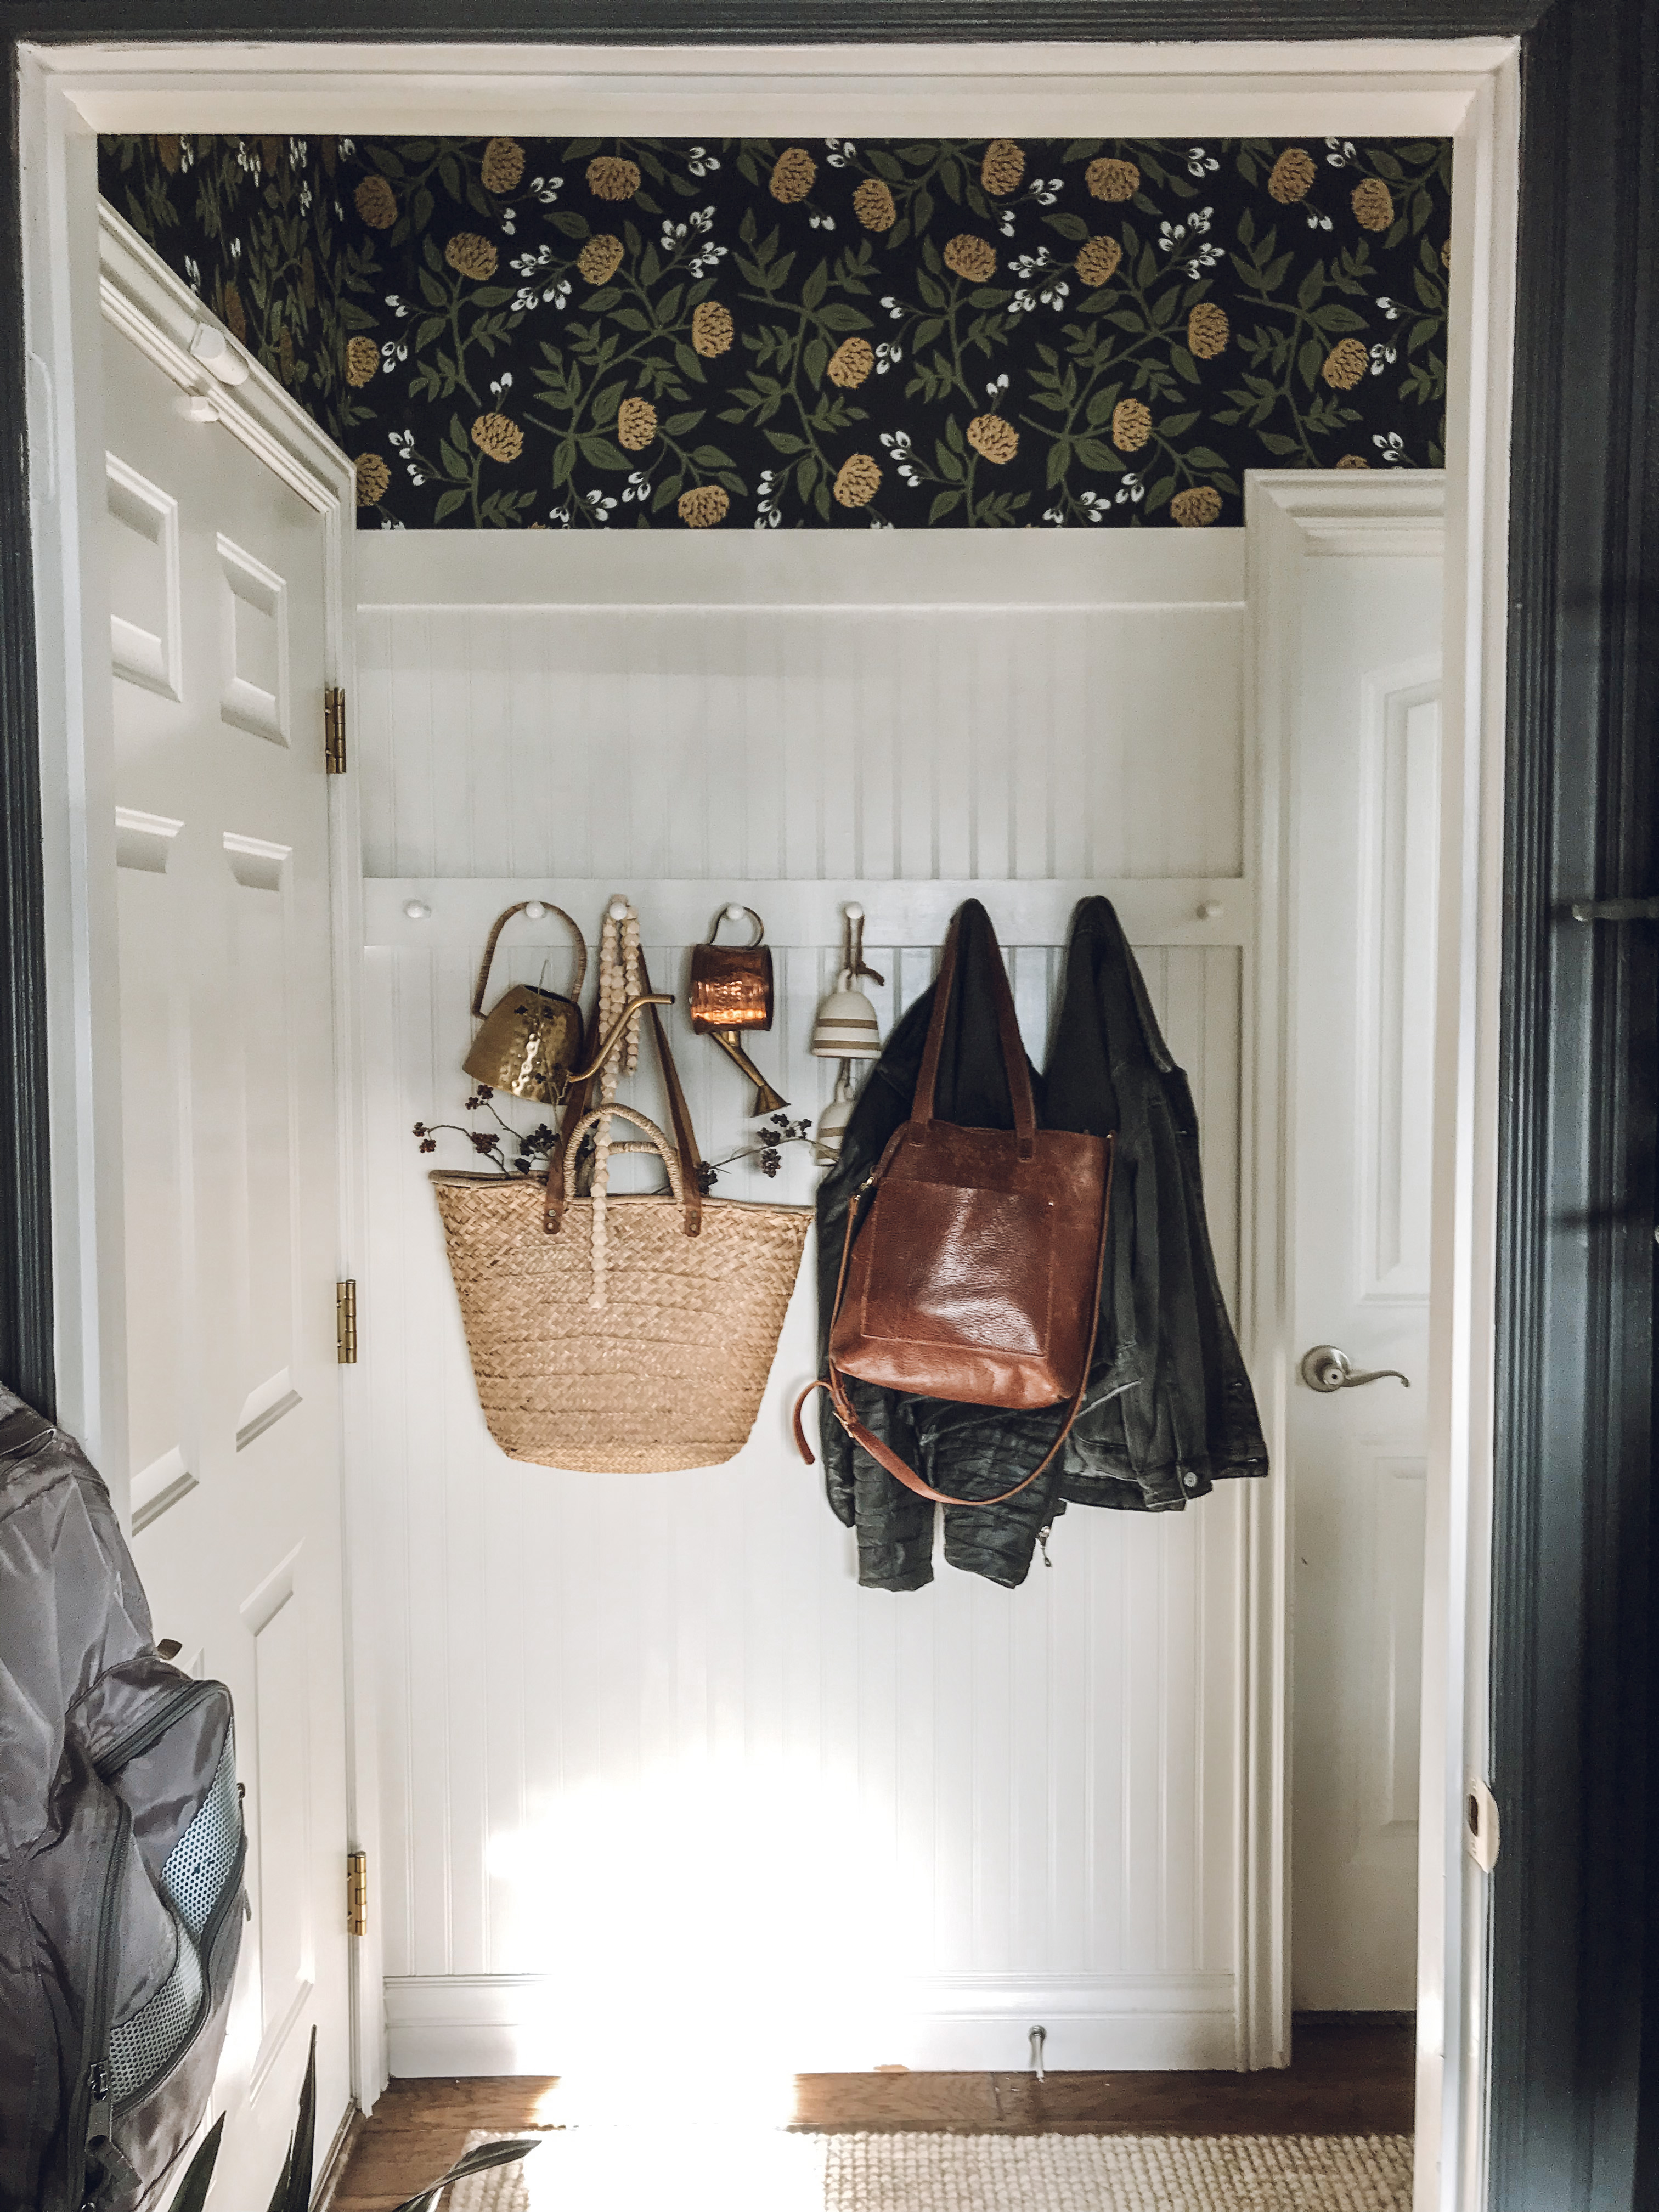
This dark wallpaper really helps the white beadboard walls and ceiling, as well as the light fixture, pop!
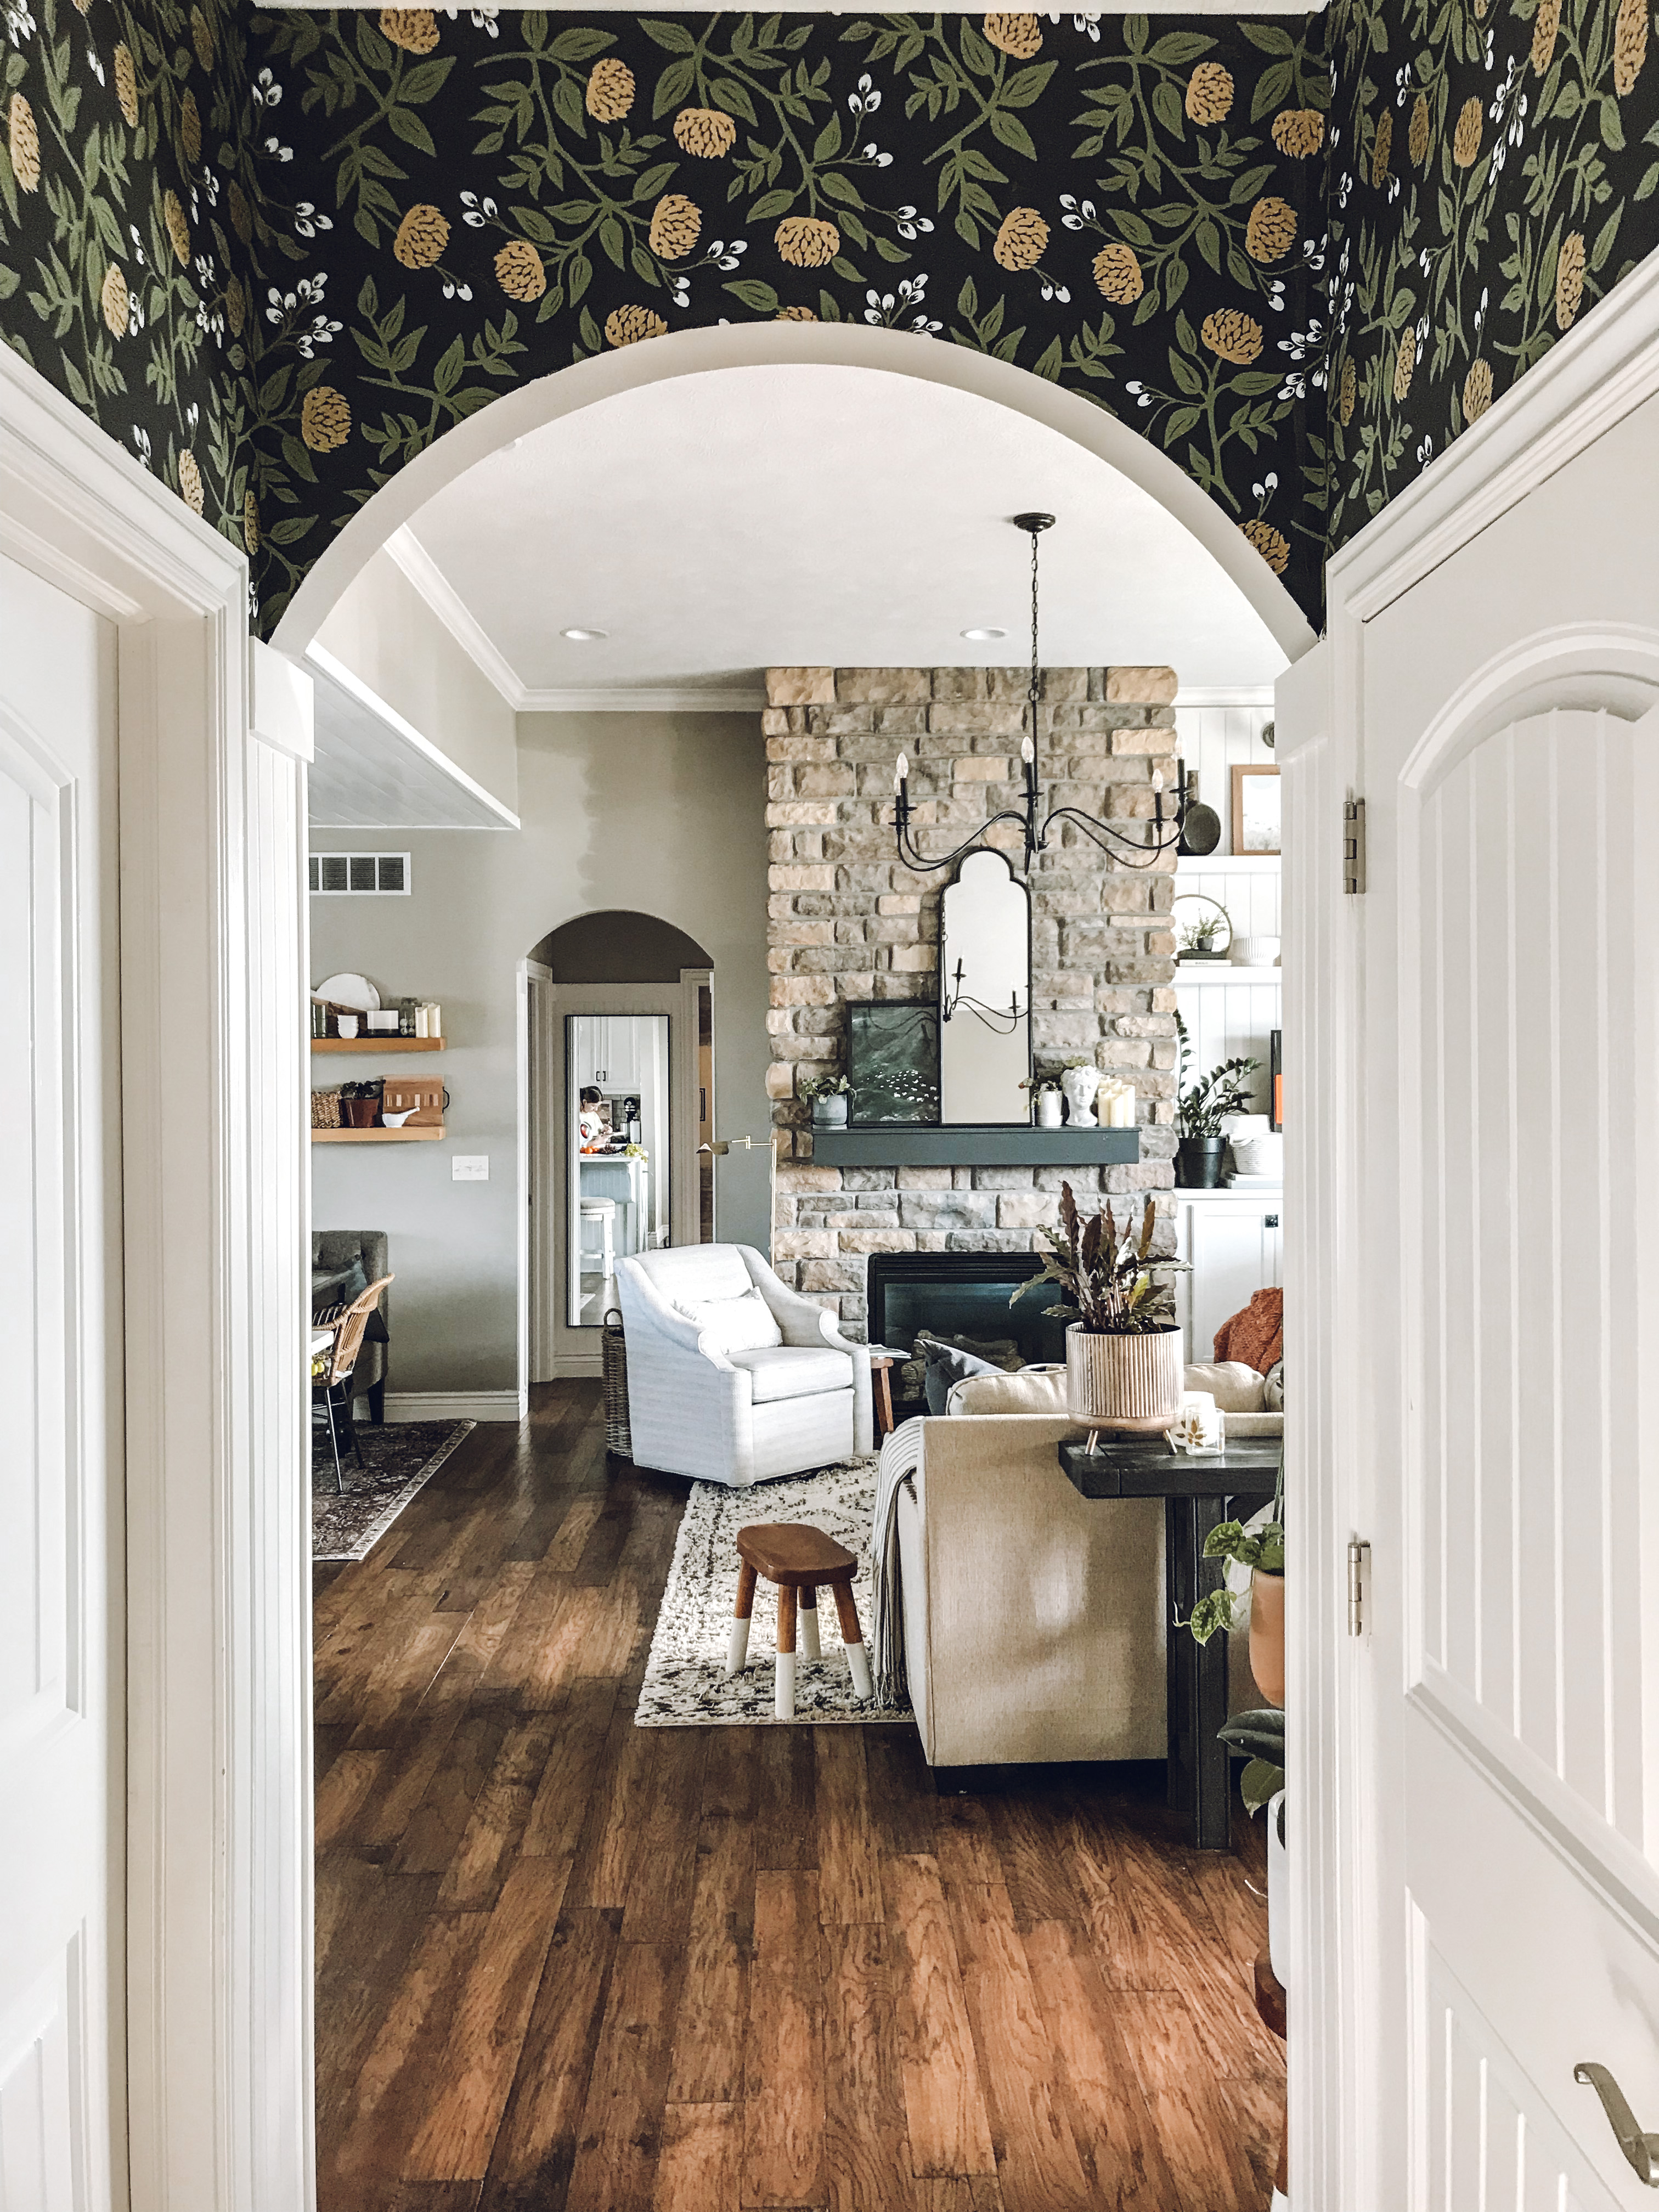
I wanted a statement in this area but also something that would go with the other decor in our home and I am well aware how much of a pain it is to take down pasted wallpaper. Therefore I really made sure that this was something I adored before putting it up.
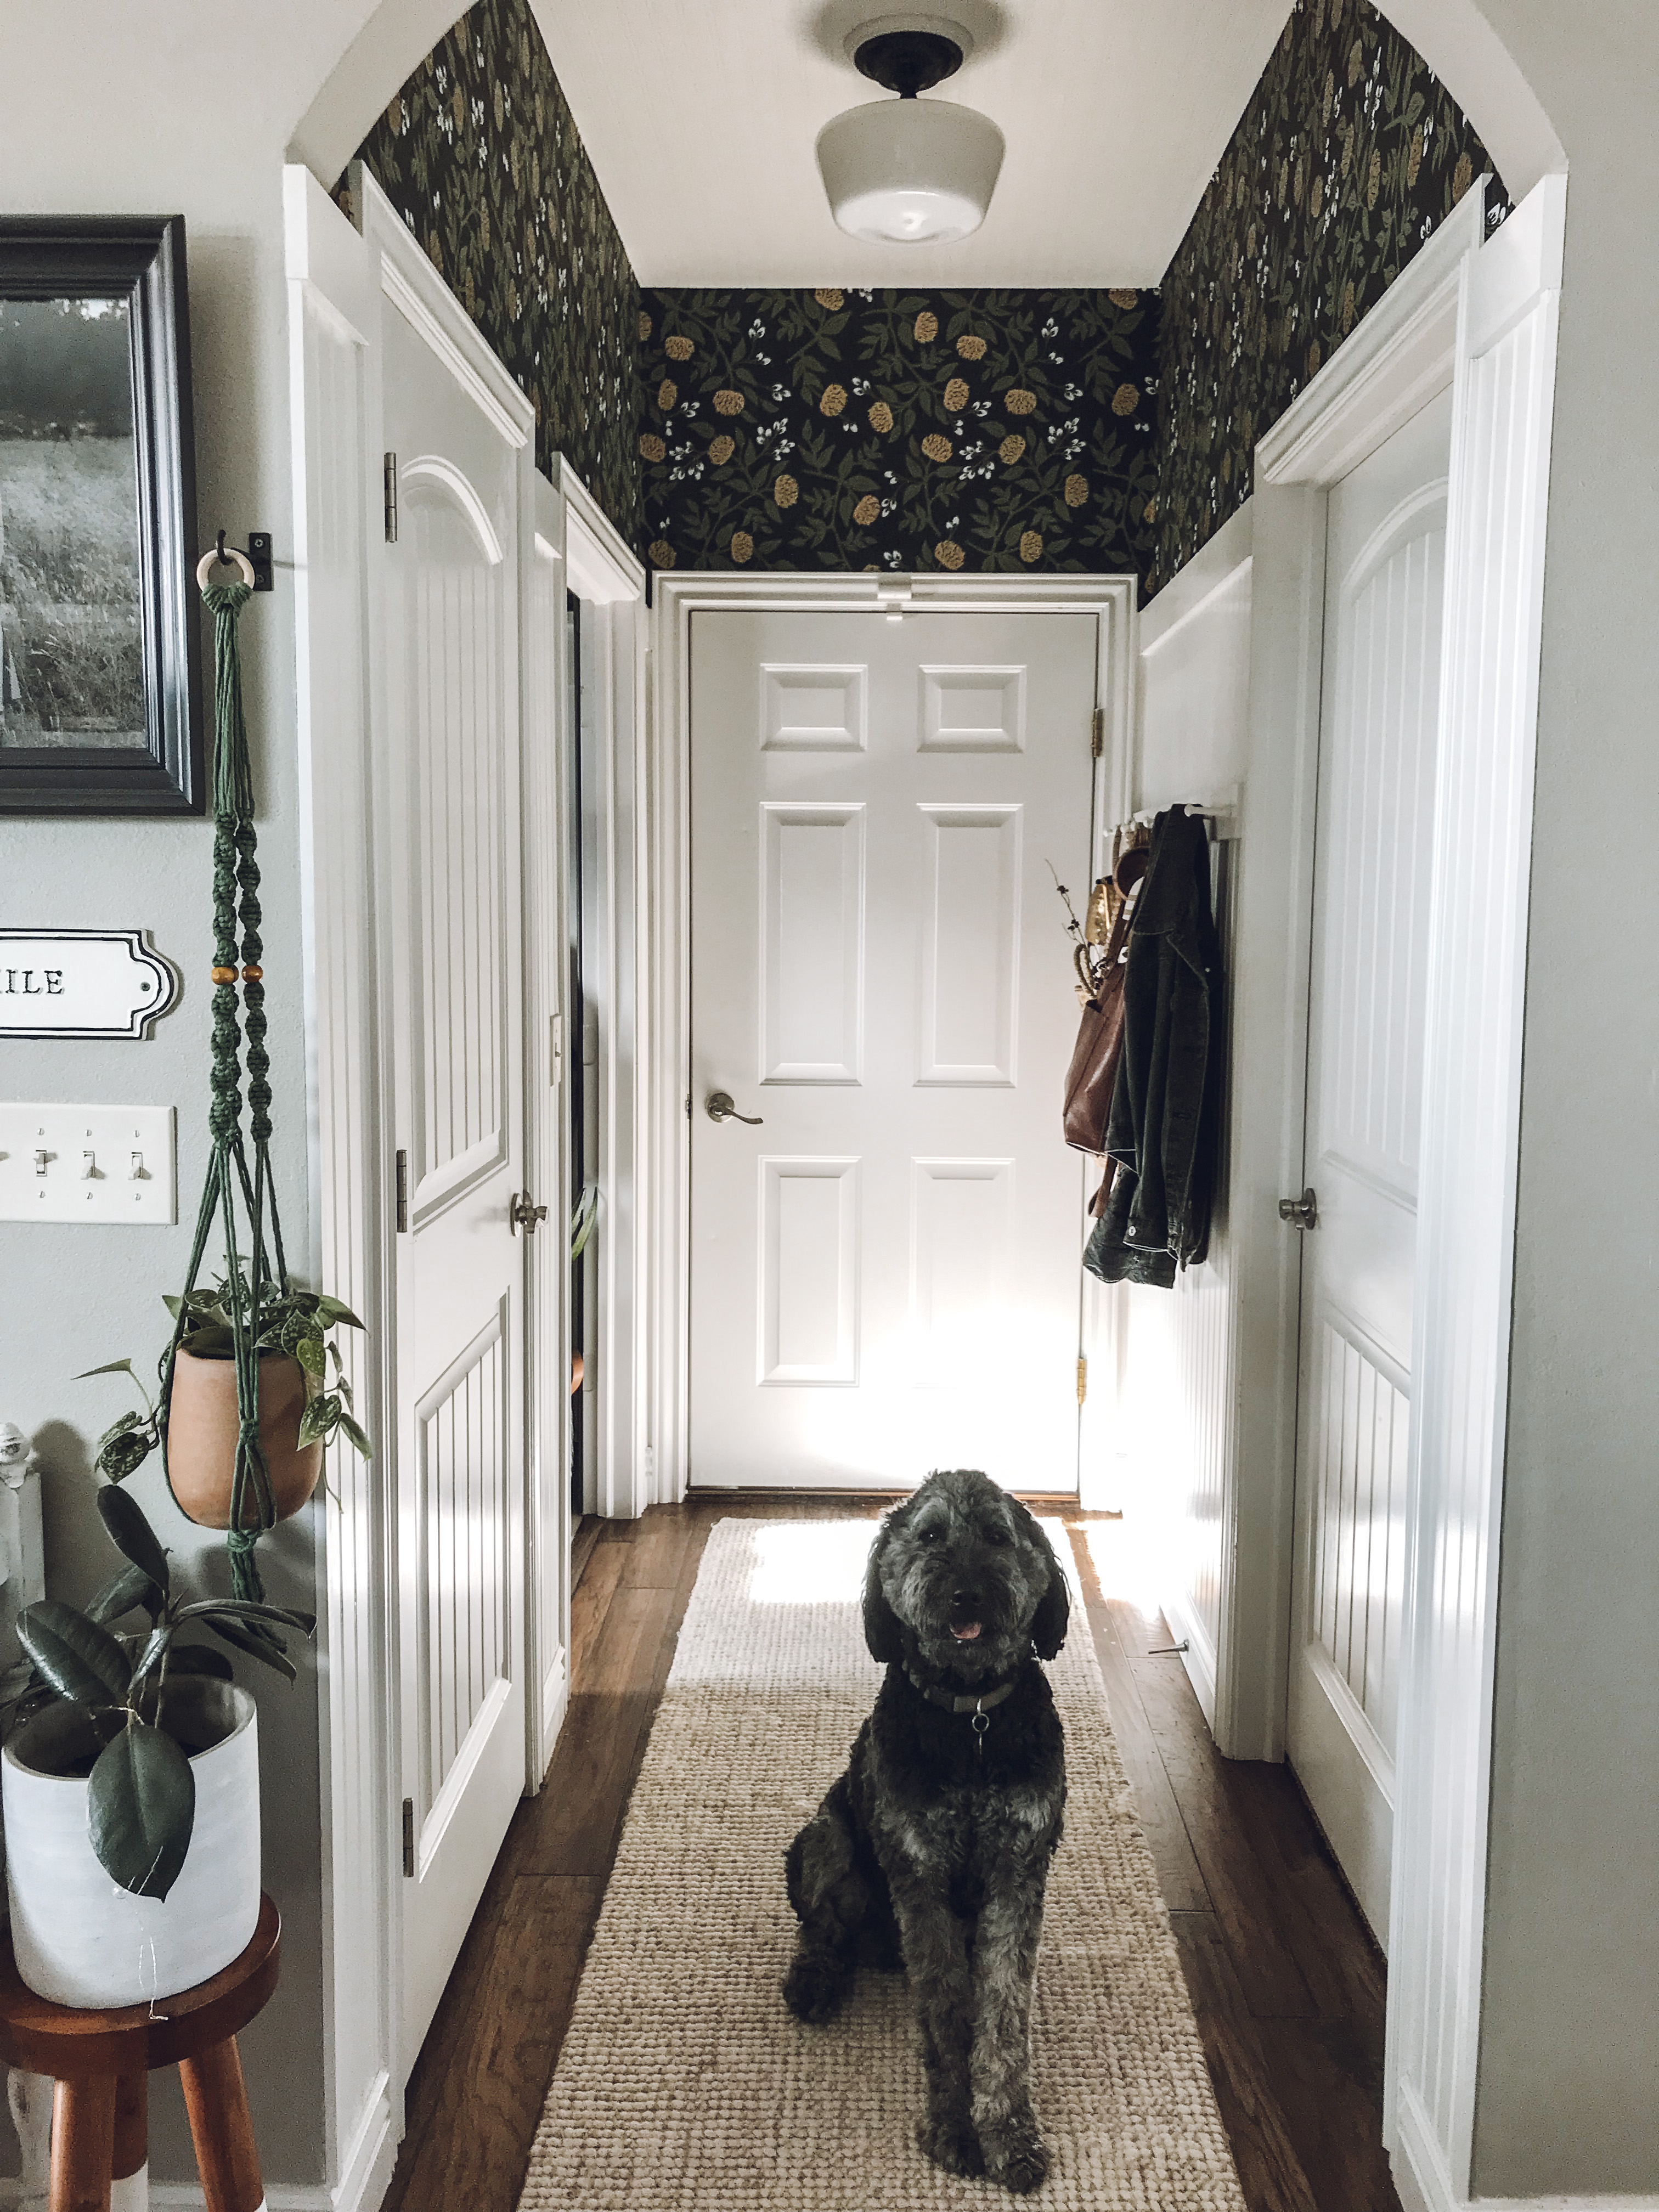
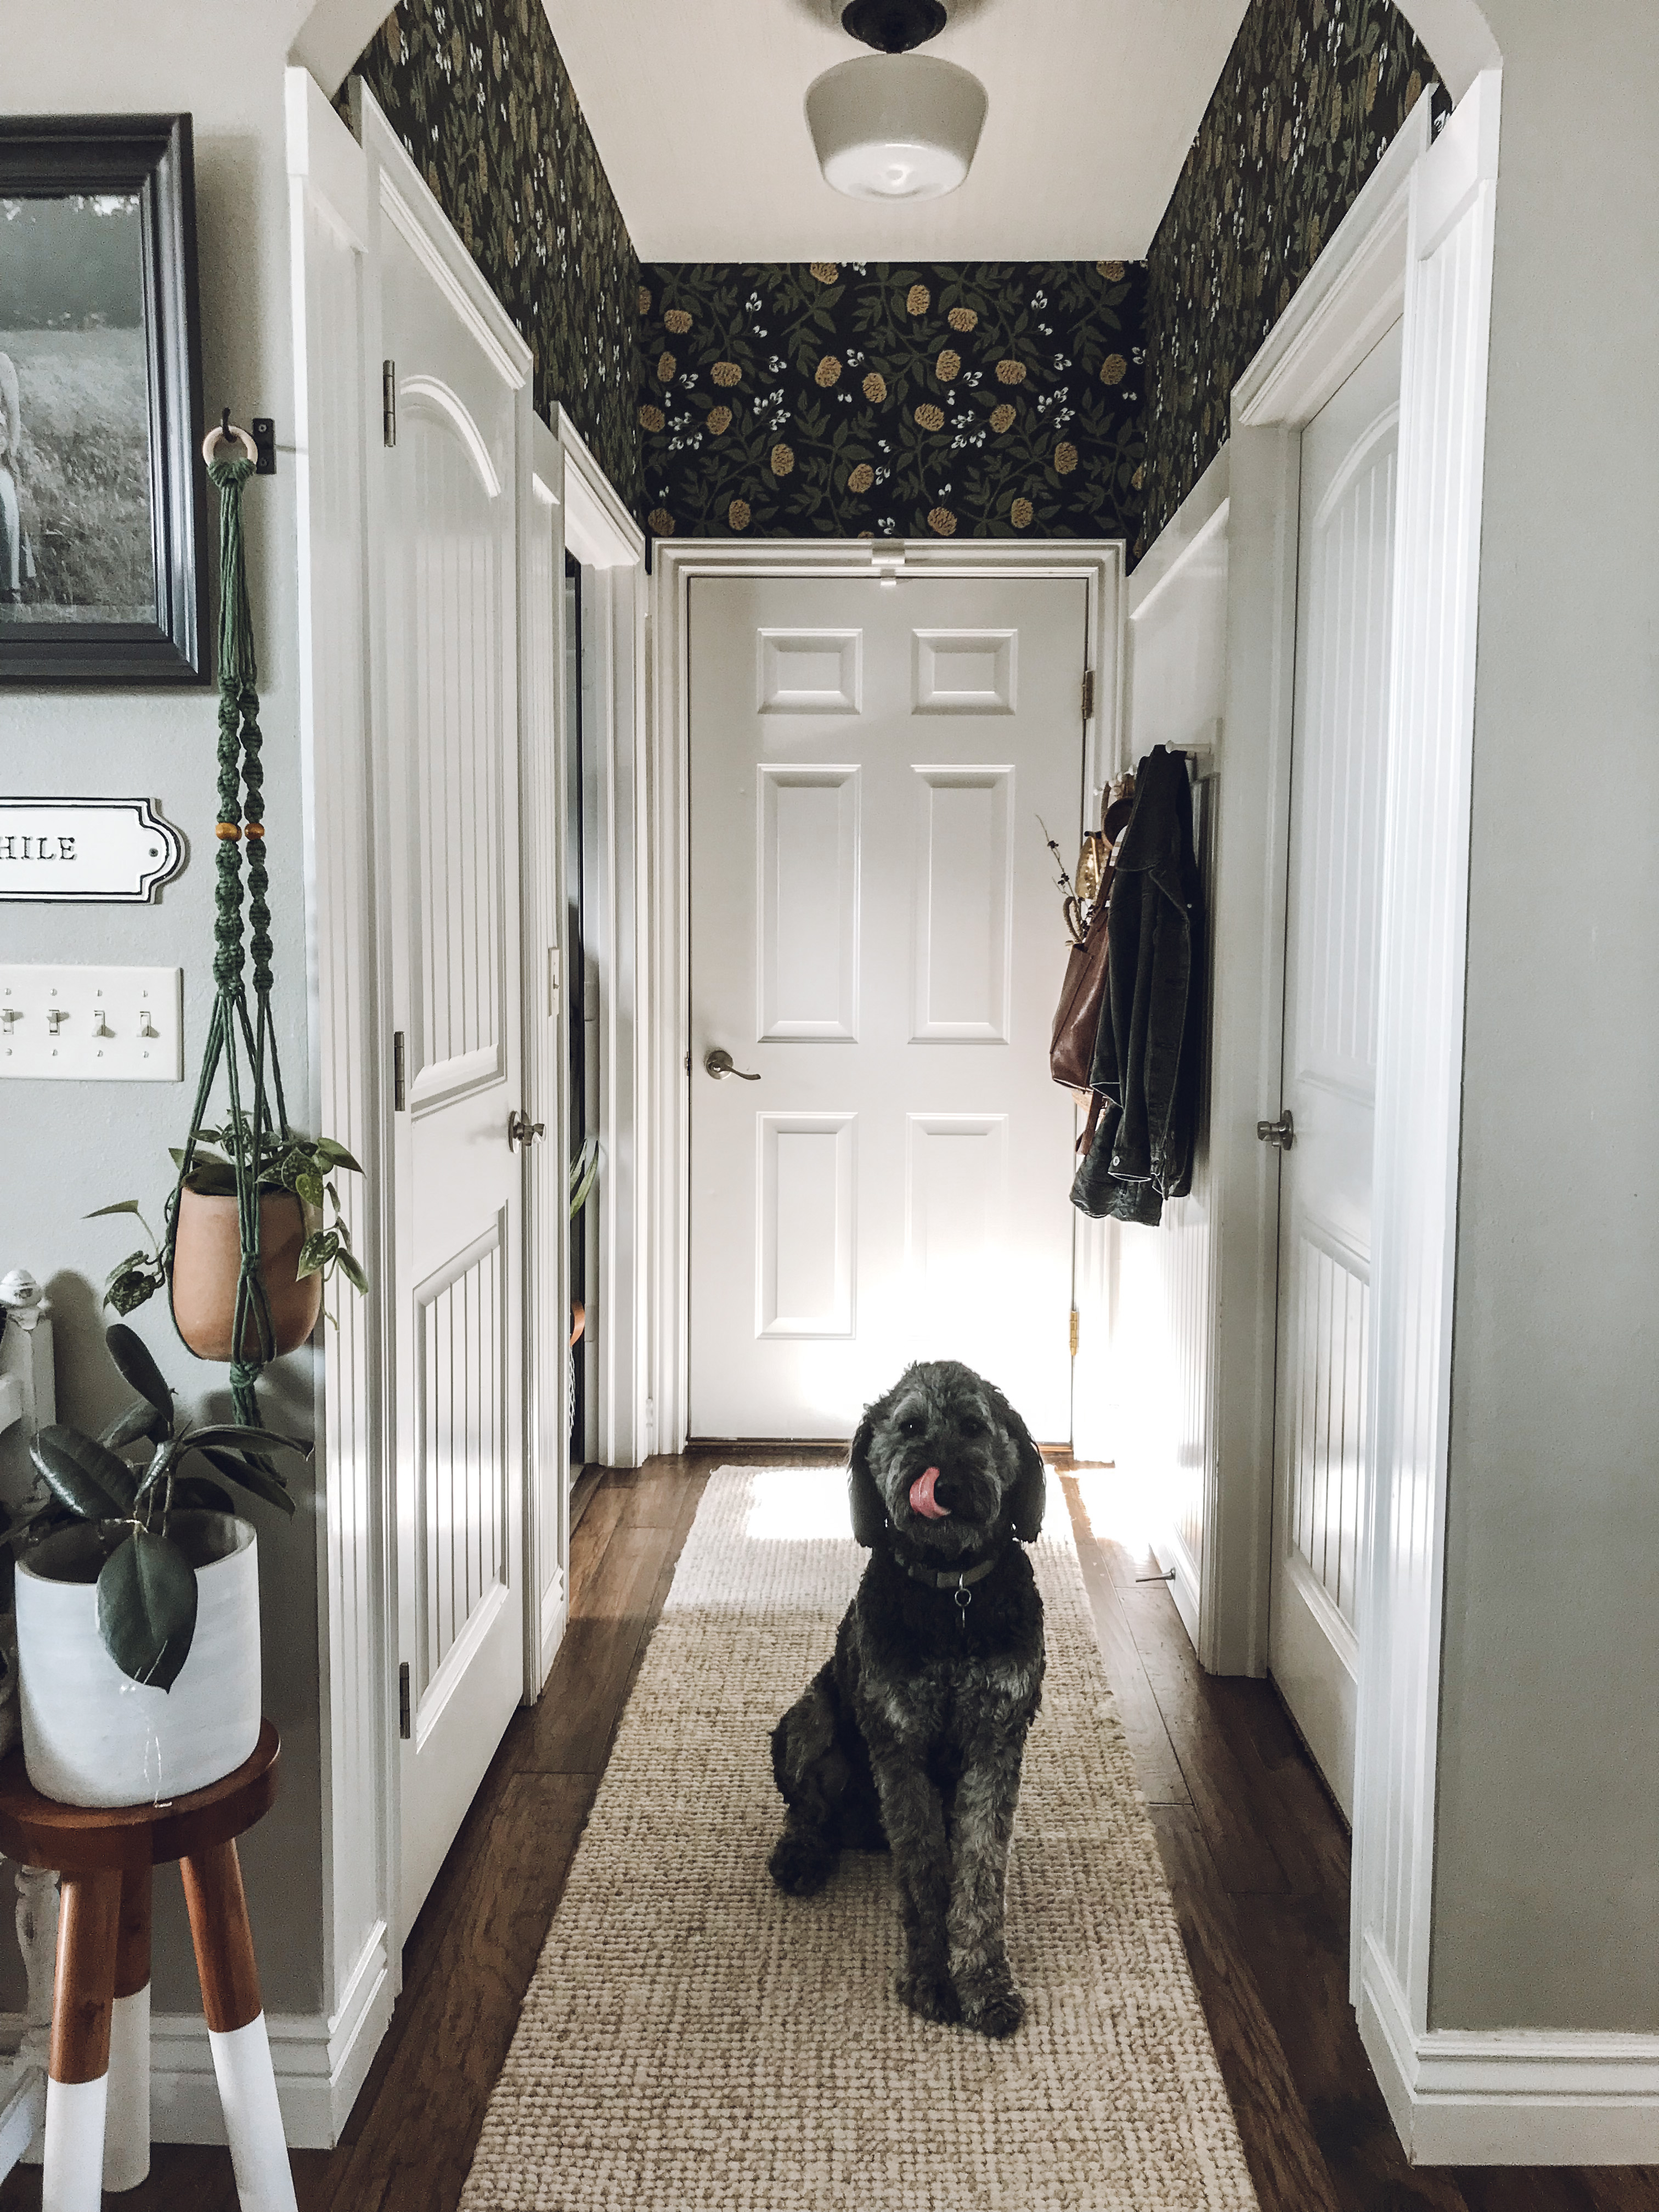
Shadow NEVER poses for me for pics- it’s usually a challenge- but this day- he sat so nicely and looked right at me while I snapped away! He matches quite nicely with this hallway. 🙂


One hallway done- one more to go! Thanks for stopping by!
xoxo Kayla