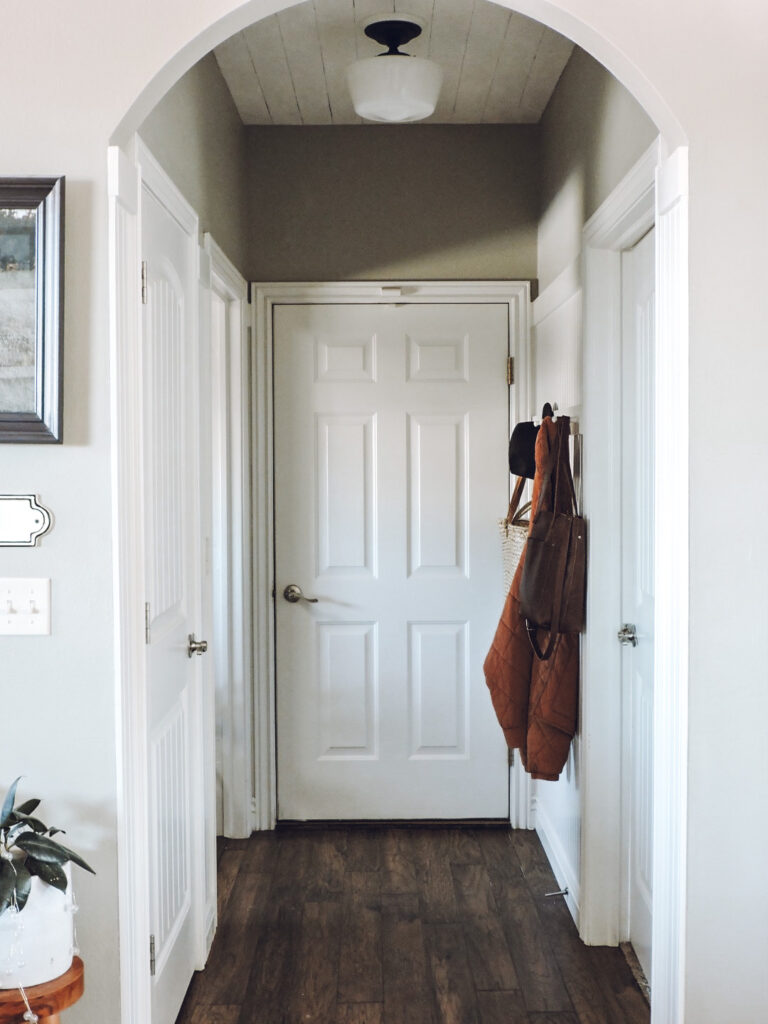
Friday Chit Chat: Faux Shiplap Ceiling, New Plants & My Favorite Finds & Hair Tool
Today I decided to bring back Friday chit chat! Woohoo! I wanted to share my faux shiplap ceiling I just did the other day, my new plant babies, as well as some of my favorite finds recently. I don’t know about your family but I swear we haven’t all been healthy at the same time since before Christmas. I AM OVER IT!!! Anyone else’s household this way lately?? I do all the things but at the end of the day if one of my girls brings a virus home- more than likely we are all getting it. The worst part is when it slowly spreads through everyone- I think I would rather have everyone get it all at once and just be done with it!
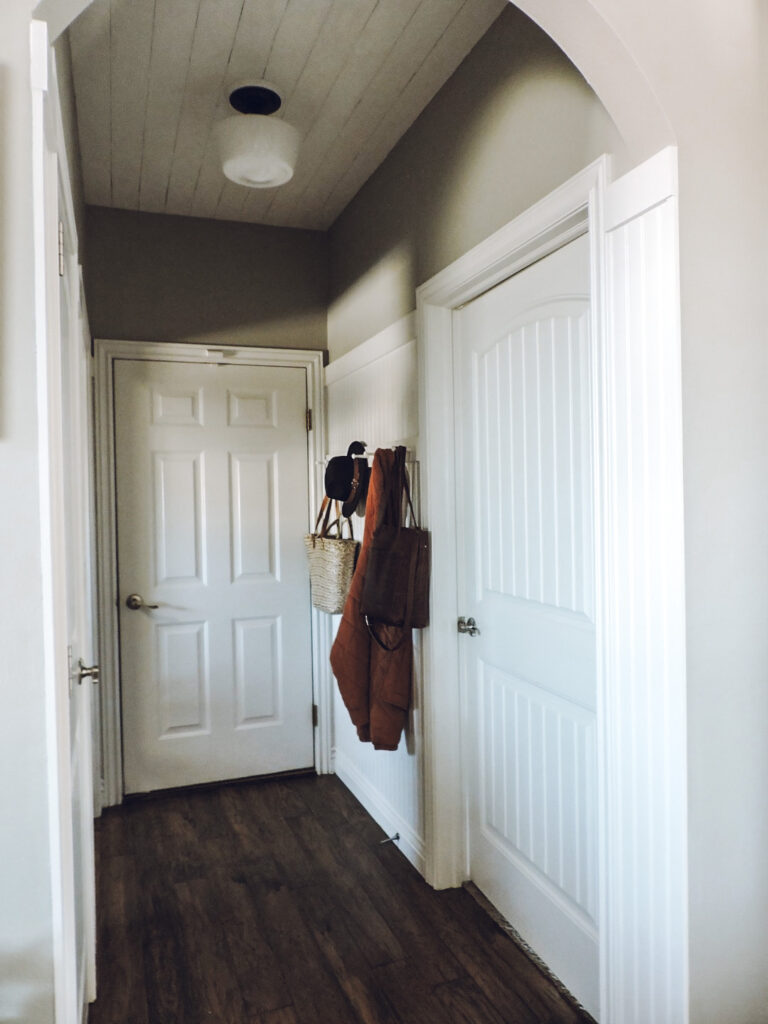
Faux Shiplap Ceiling
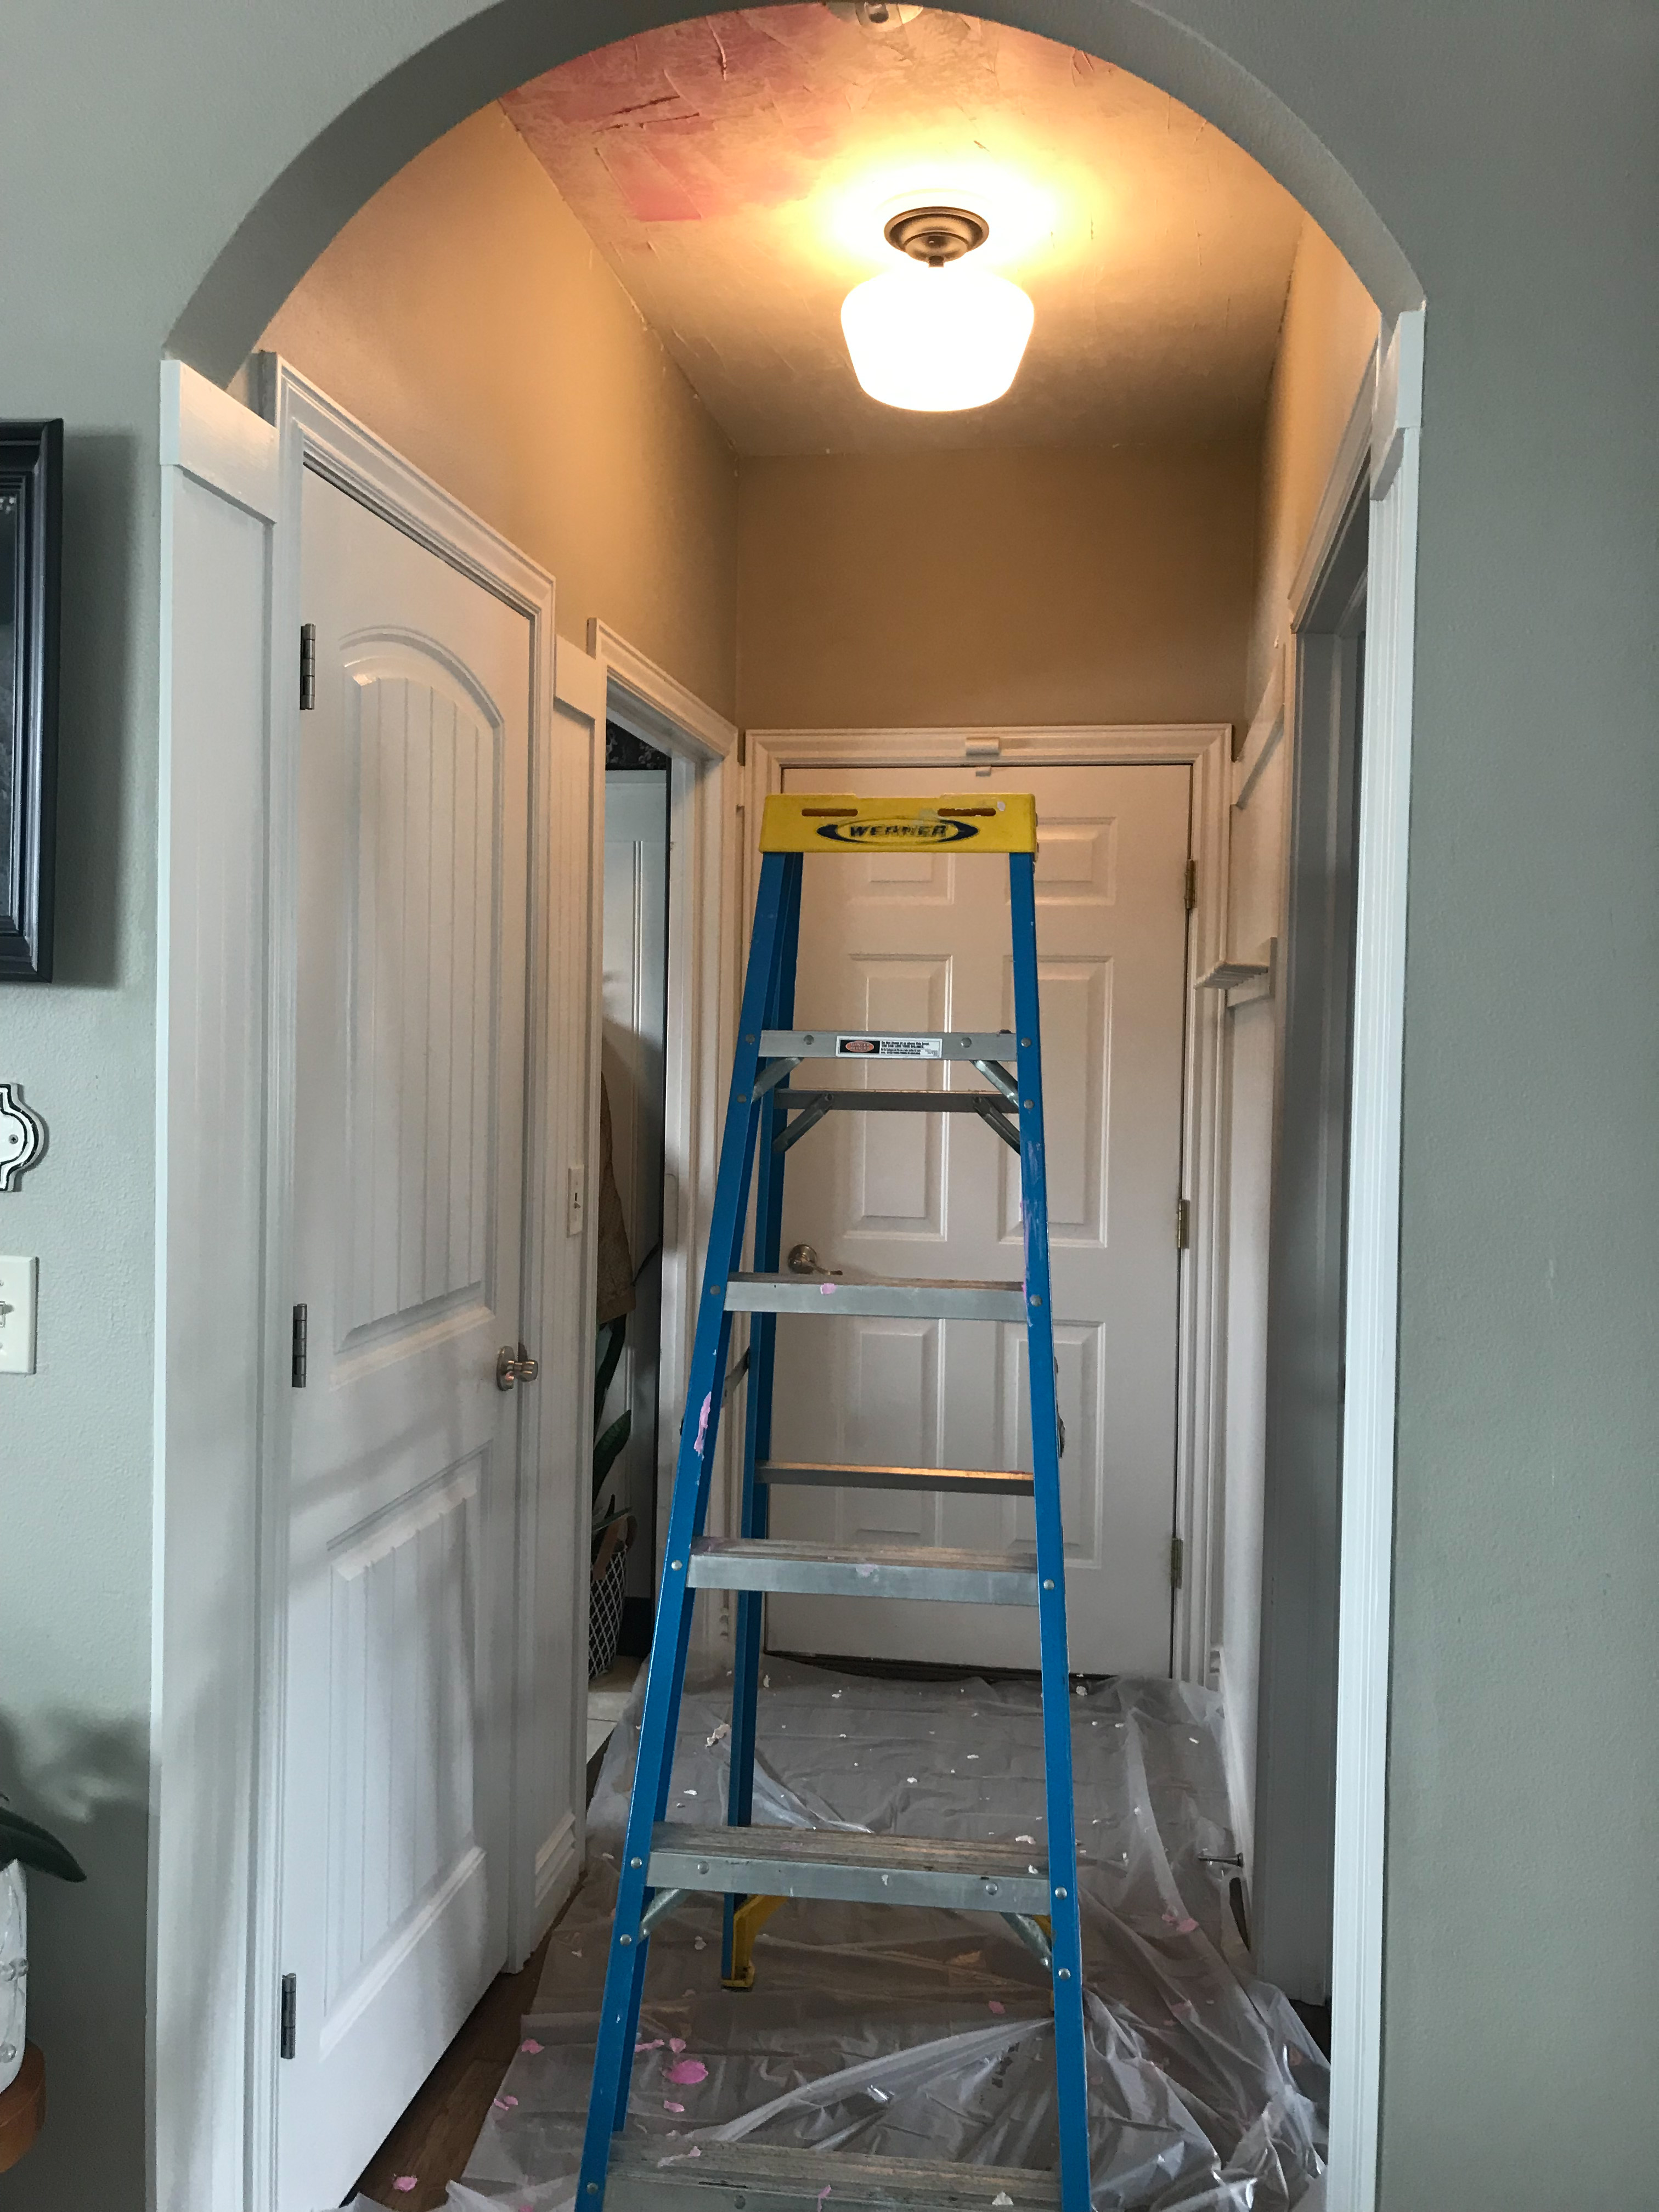
A few years ago I did a faux shiplap accent wall in the girl’s bedroom using a sharpie paint pen and was really happy with how that turned out. I’ve had multiple people think it was real! I LOVE the shiplap ceiling we did in our kitchen remodel and now want to shiplap every ceiling in our entire home. But my bank account tells me no. So therefore I decided to try to create a faux shiplap ceiling without spending any money. This diy wasn’t a complete fail but not a complete win in my eyes.
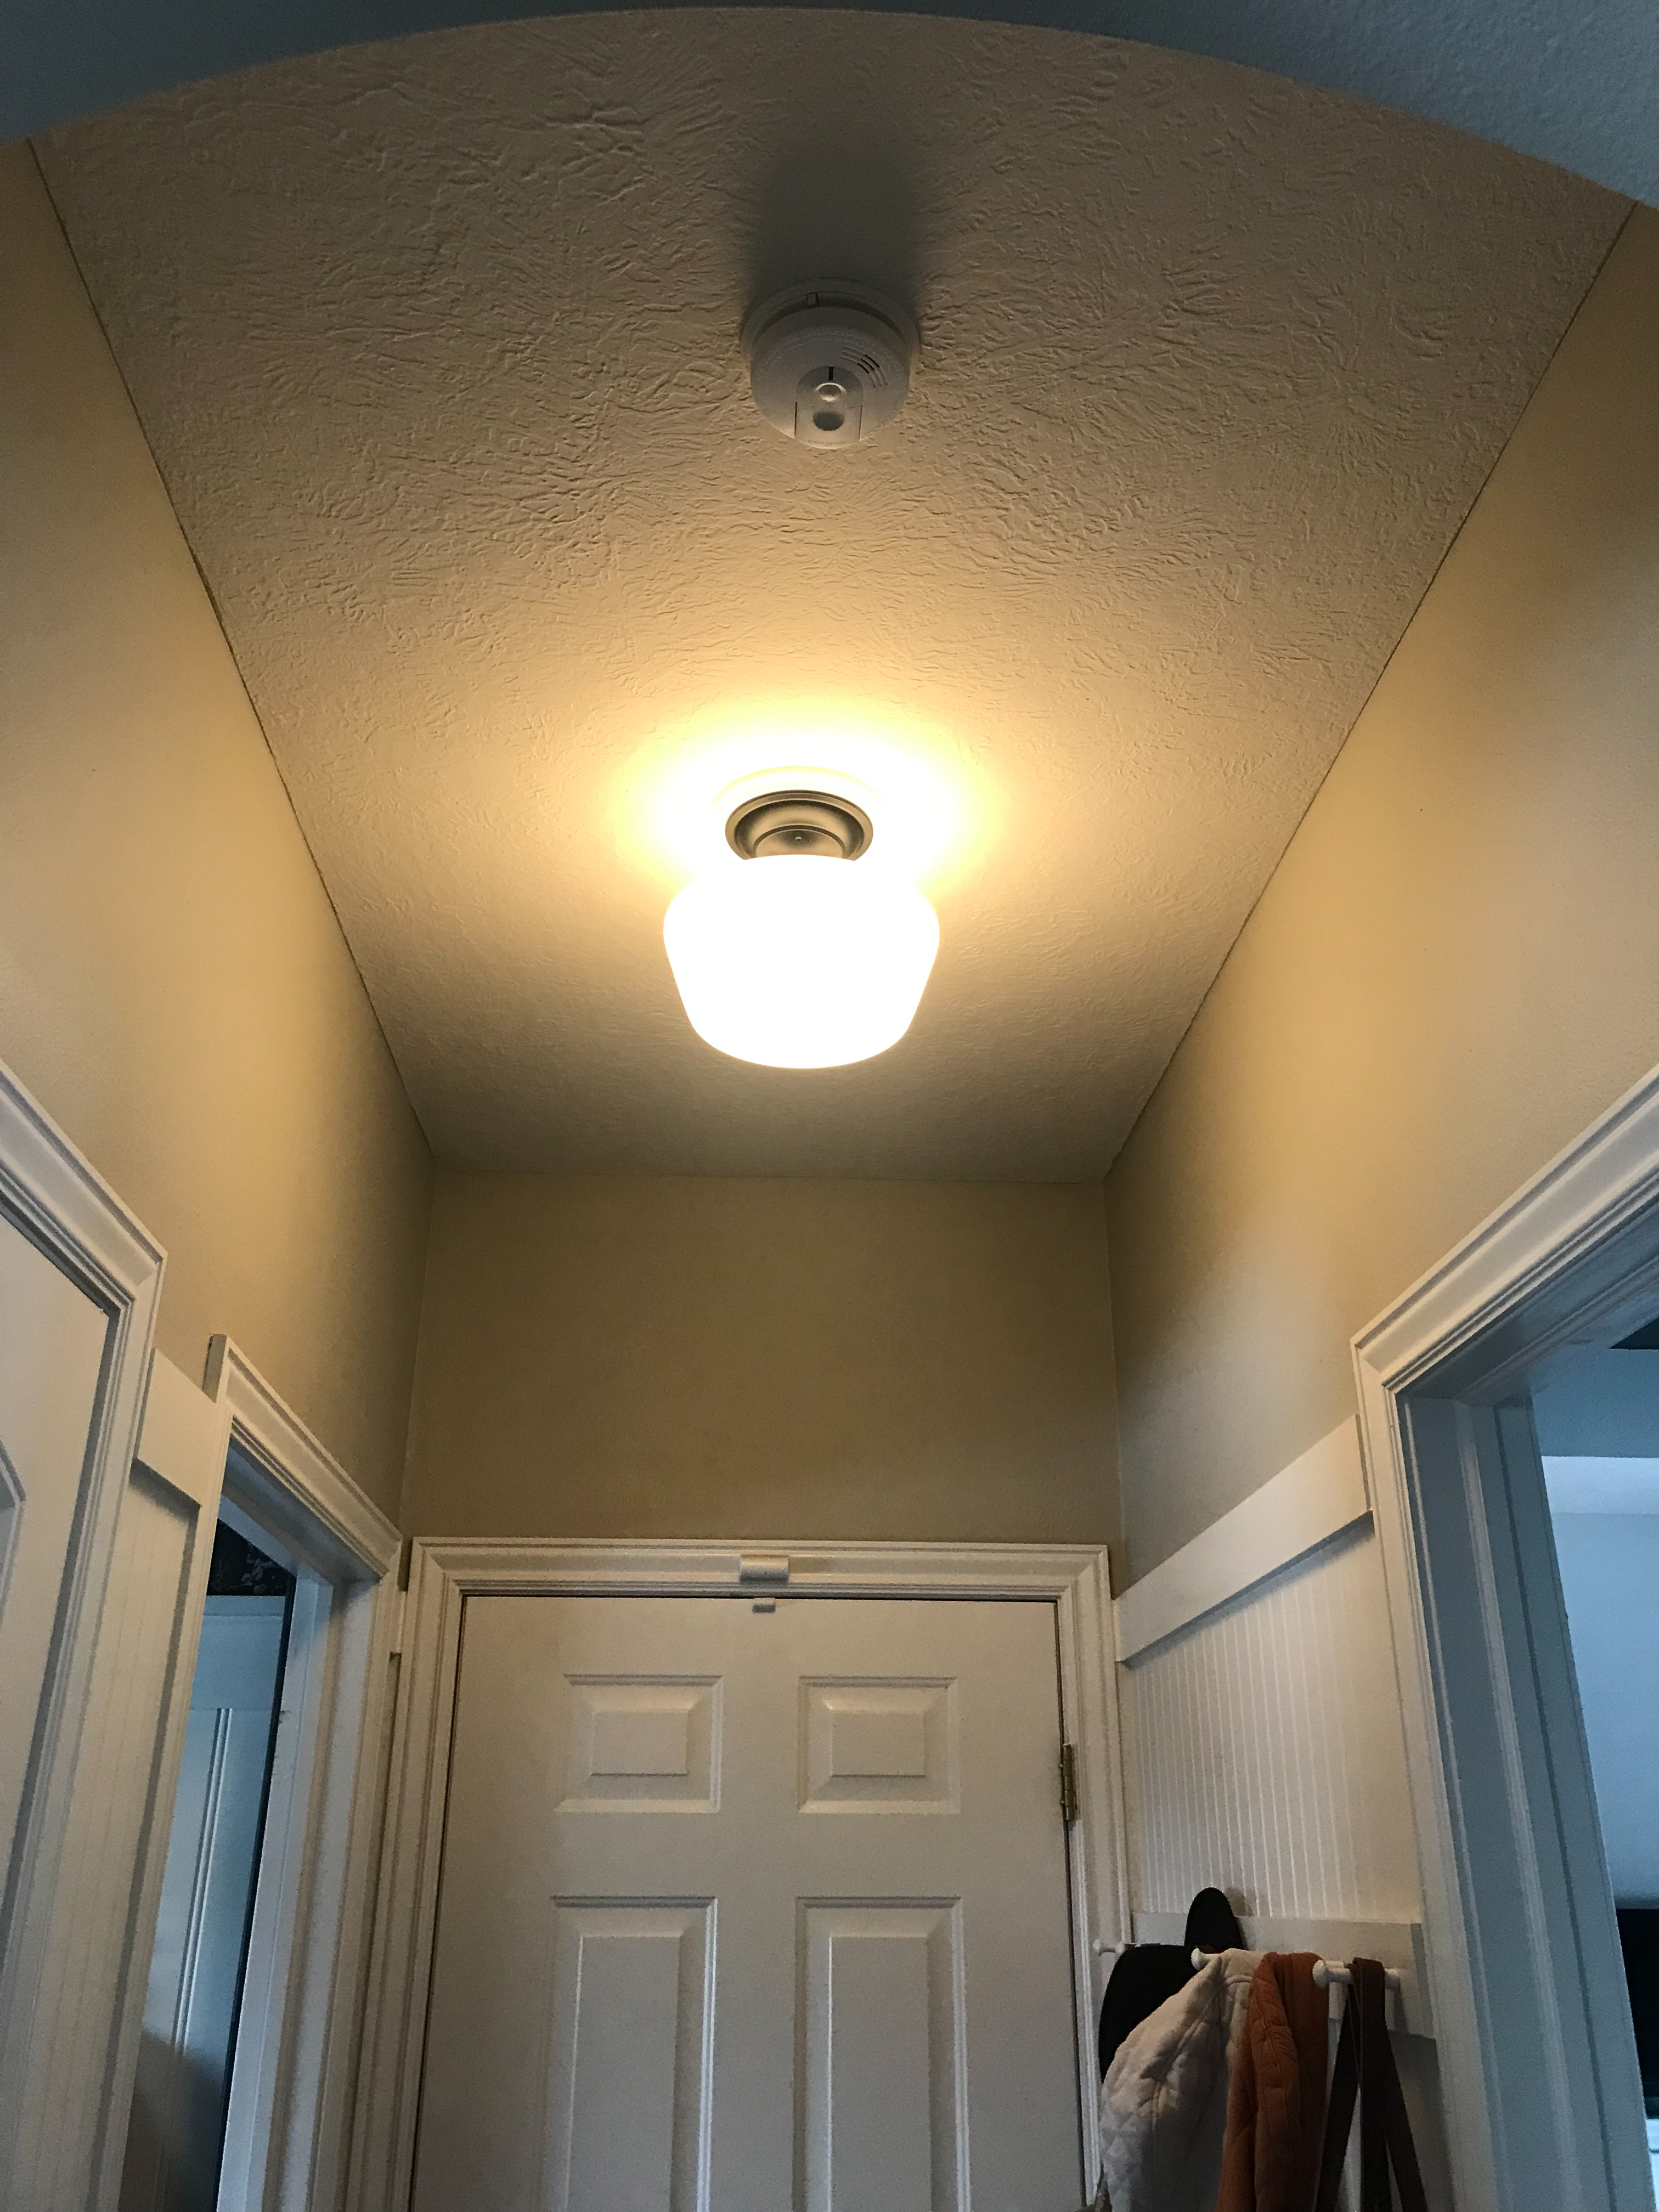
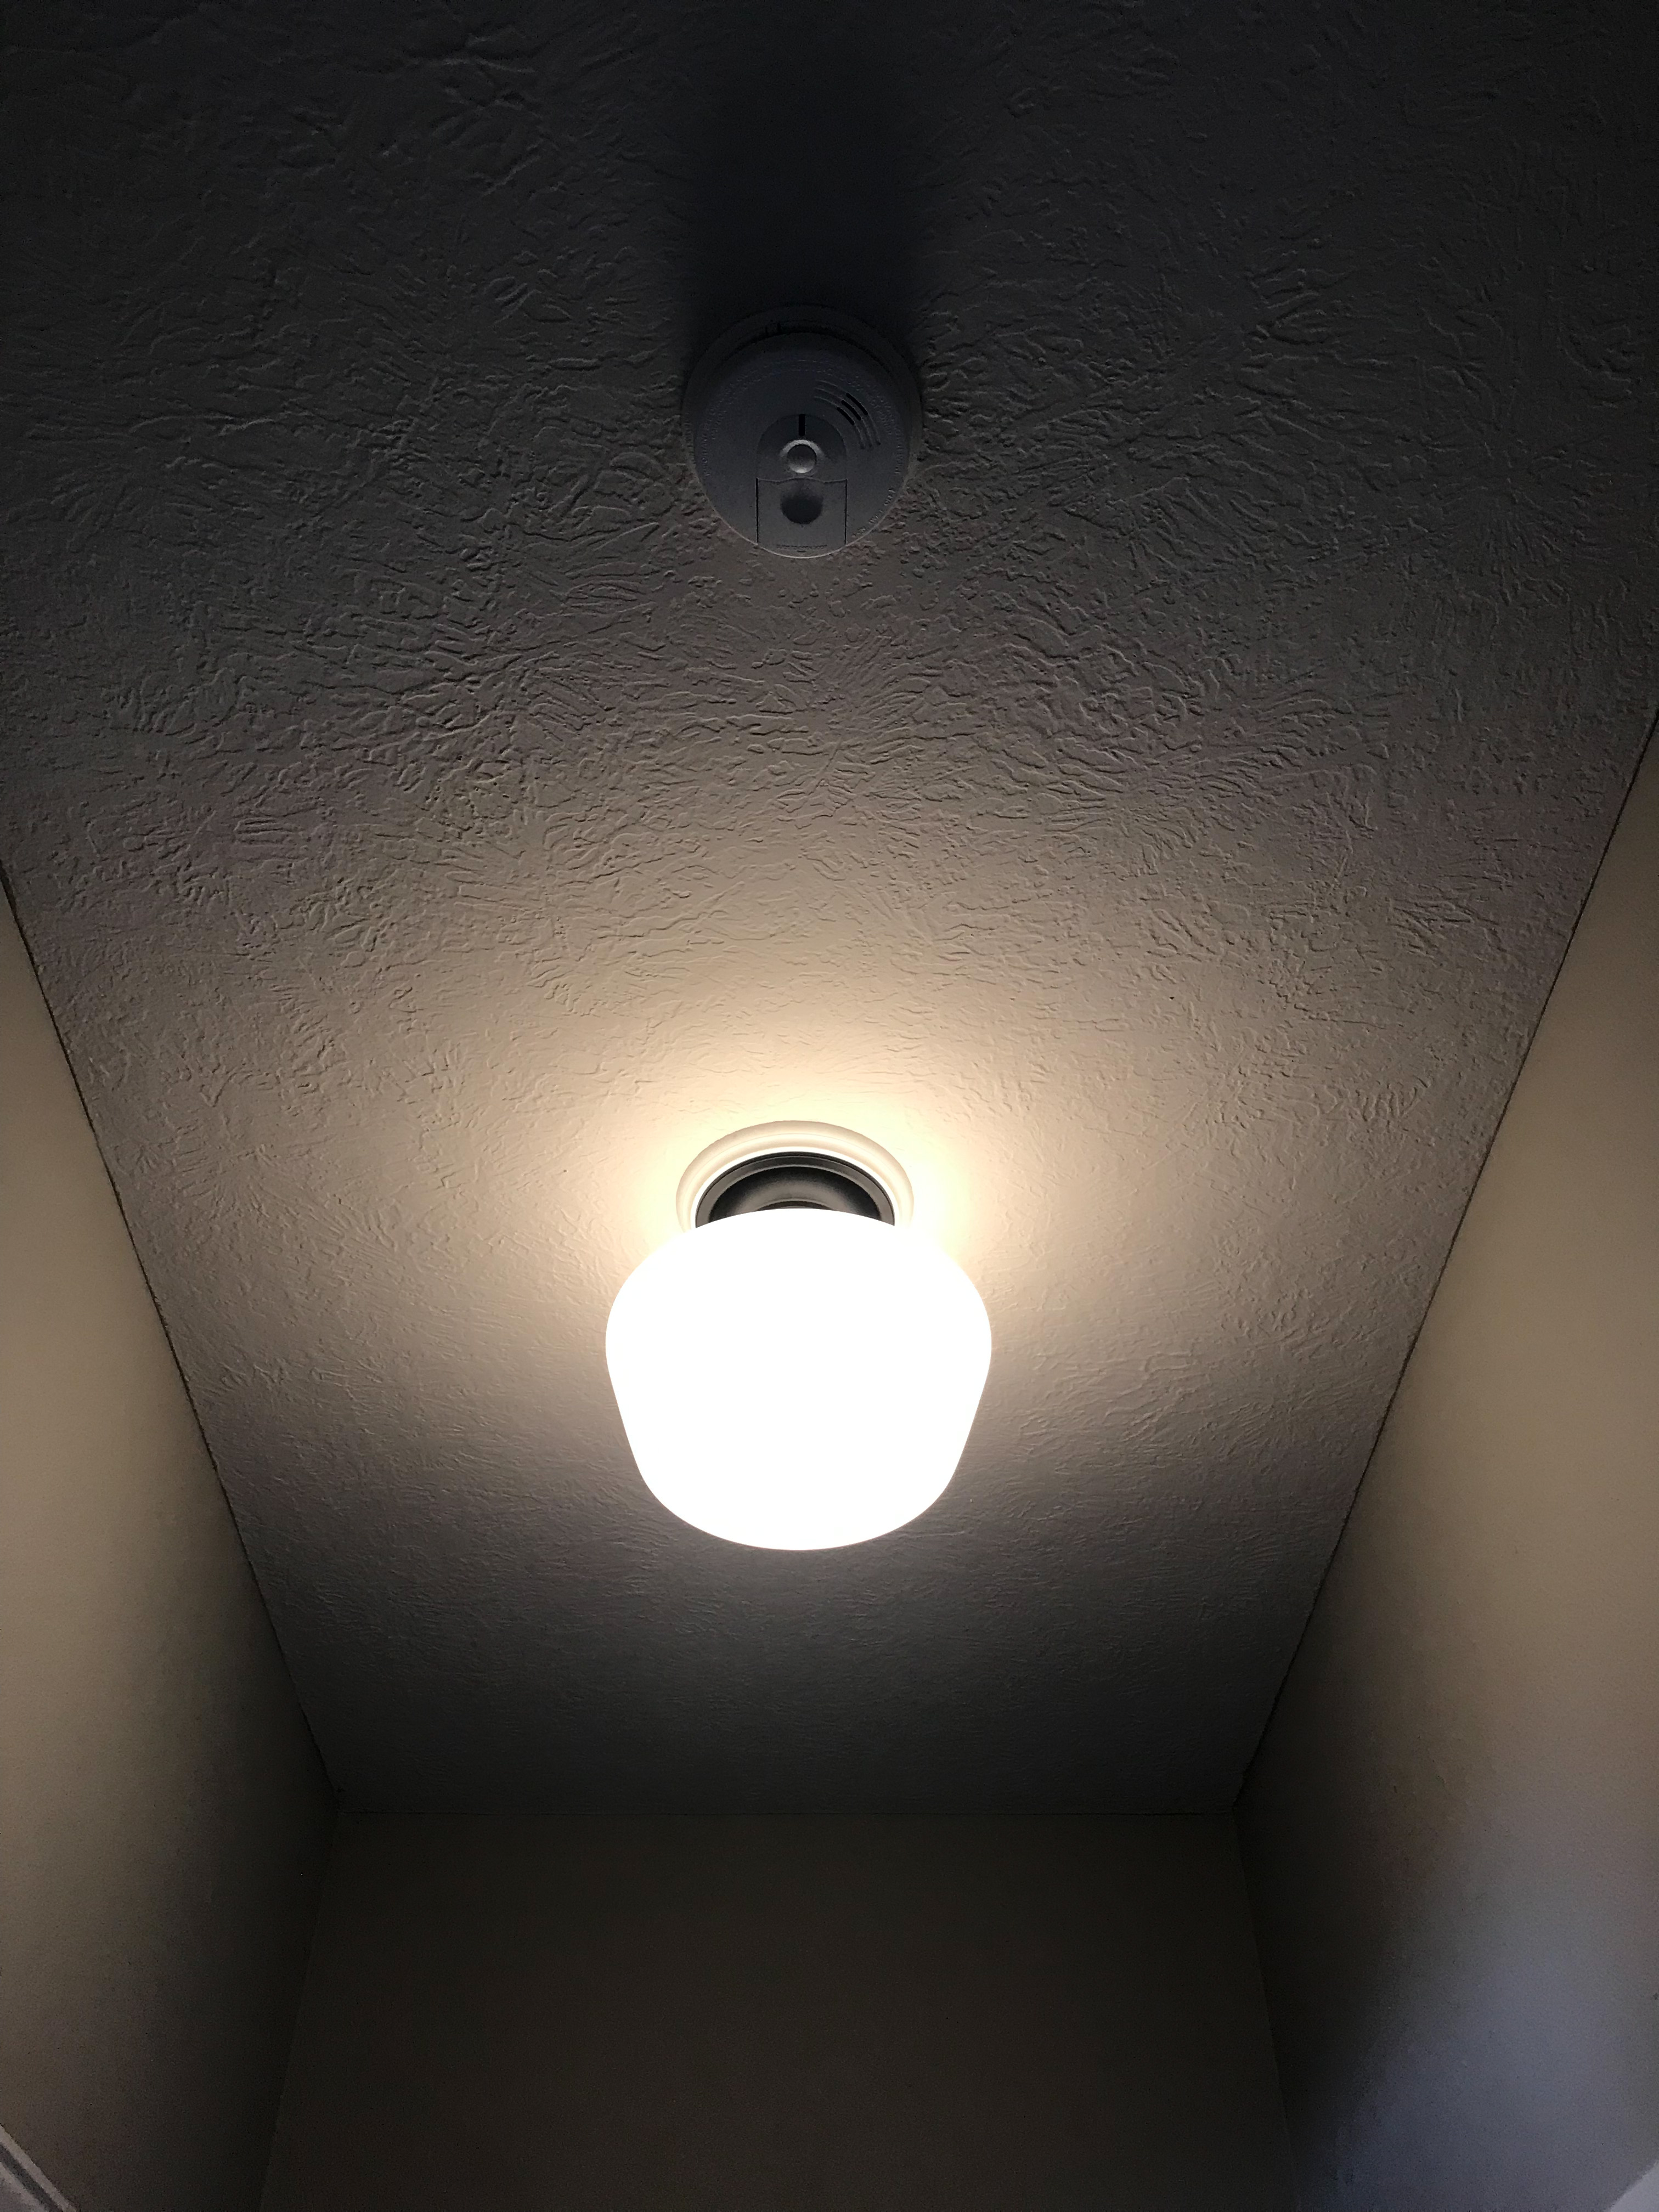
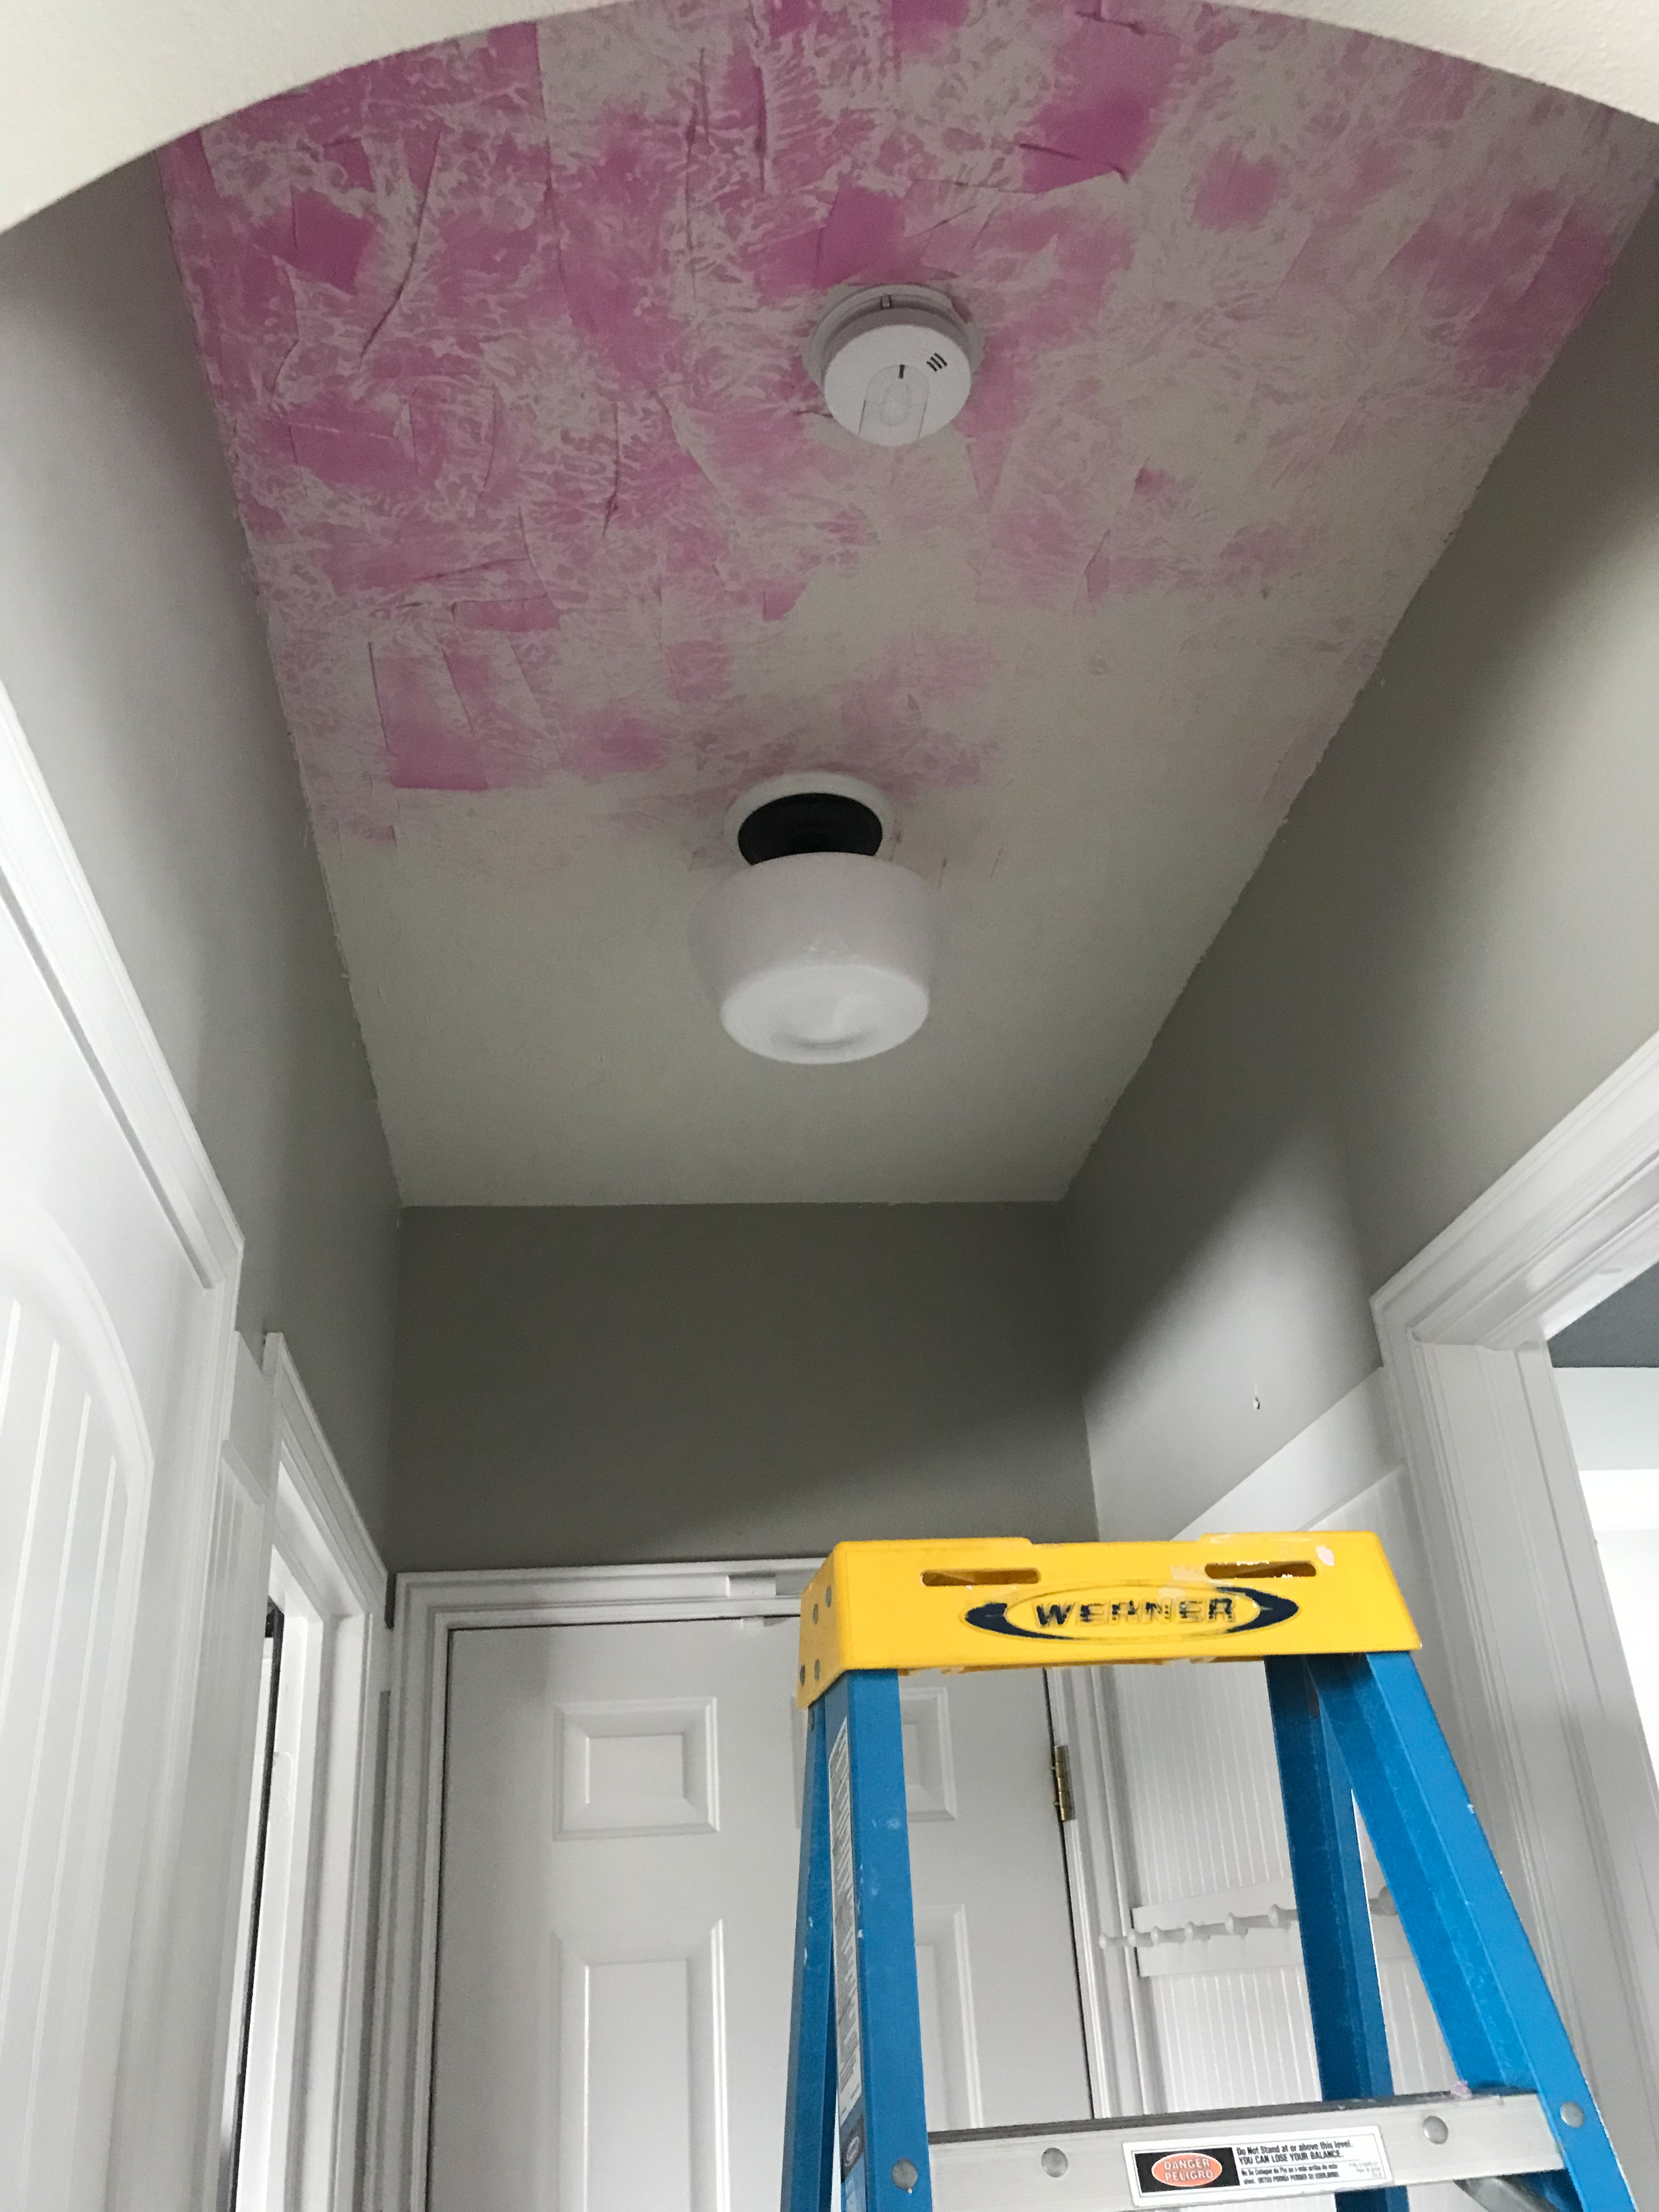
Our ceilings are VERY textured which I am not a fan of. After watching a You-tube video of someone smearing joint compound on a ceiling to give it a flat finish I grabbed my joint compound I had leftover from my faux brick in the laundry room and got to work. The video made it look quite easy. Was it? No. It was not easy and honestly if you look close you can tell it’s not an even, smooth finish. Luckily it’s a ceiling so it’s not super noticeable. I did use a damp sponge to help smooth things out when the compound was almost dry and that seemed to help a lot.
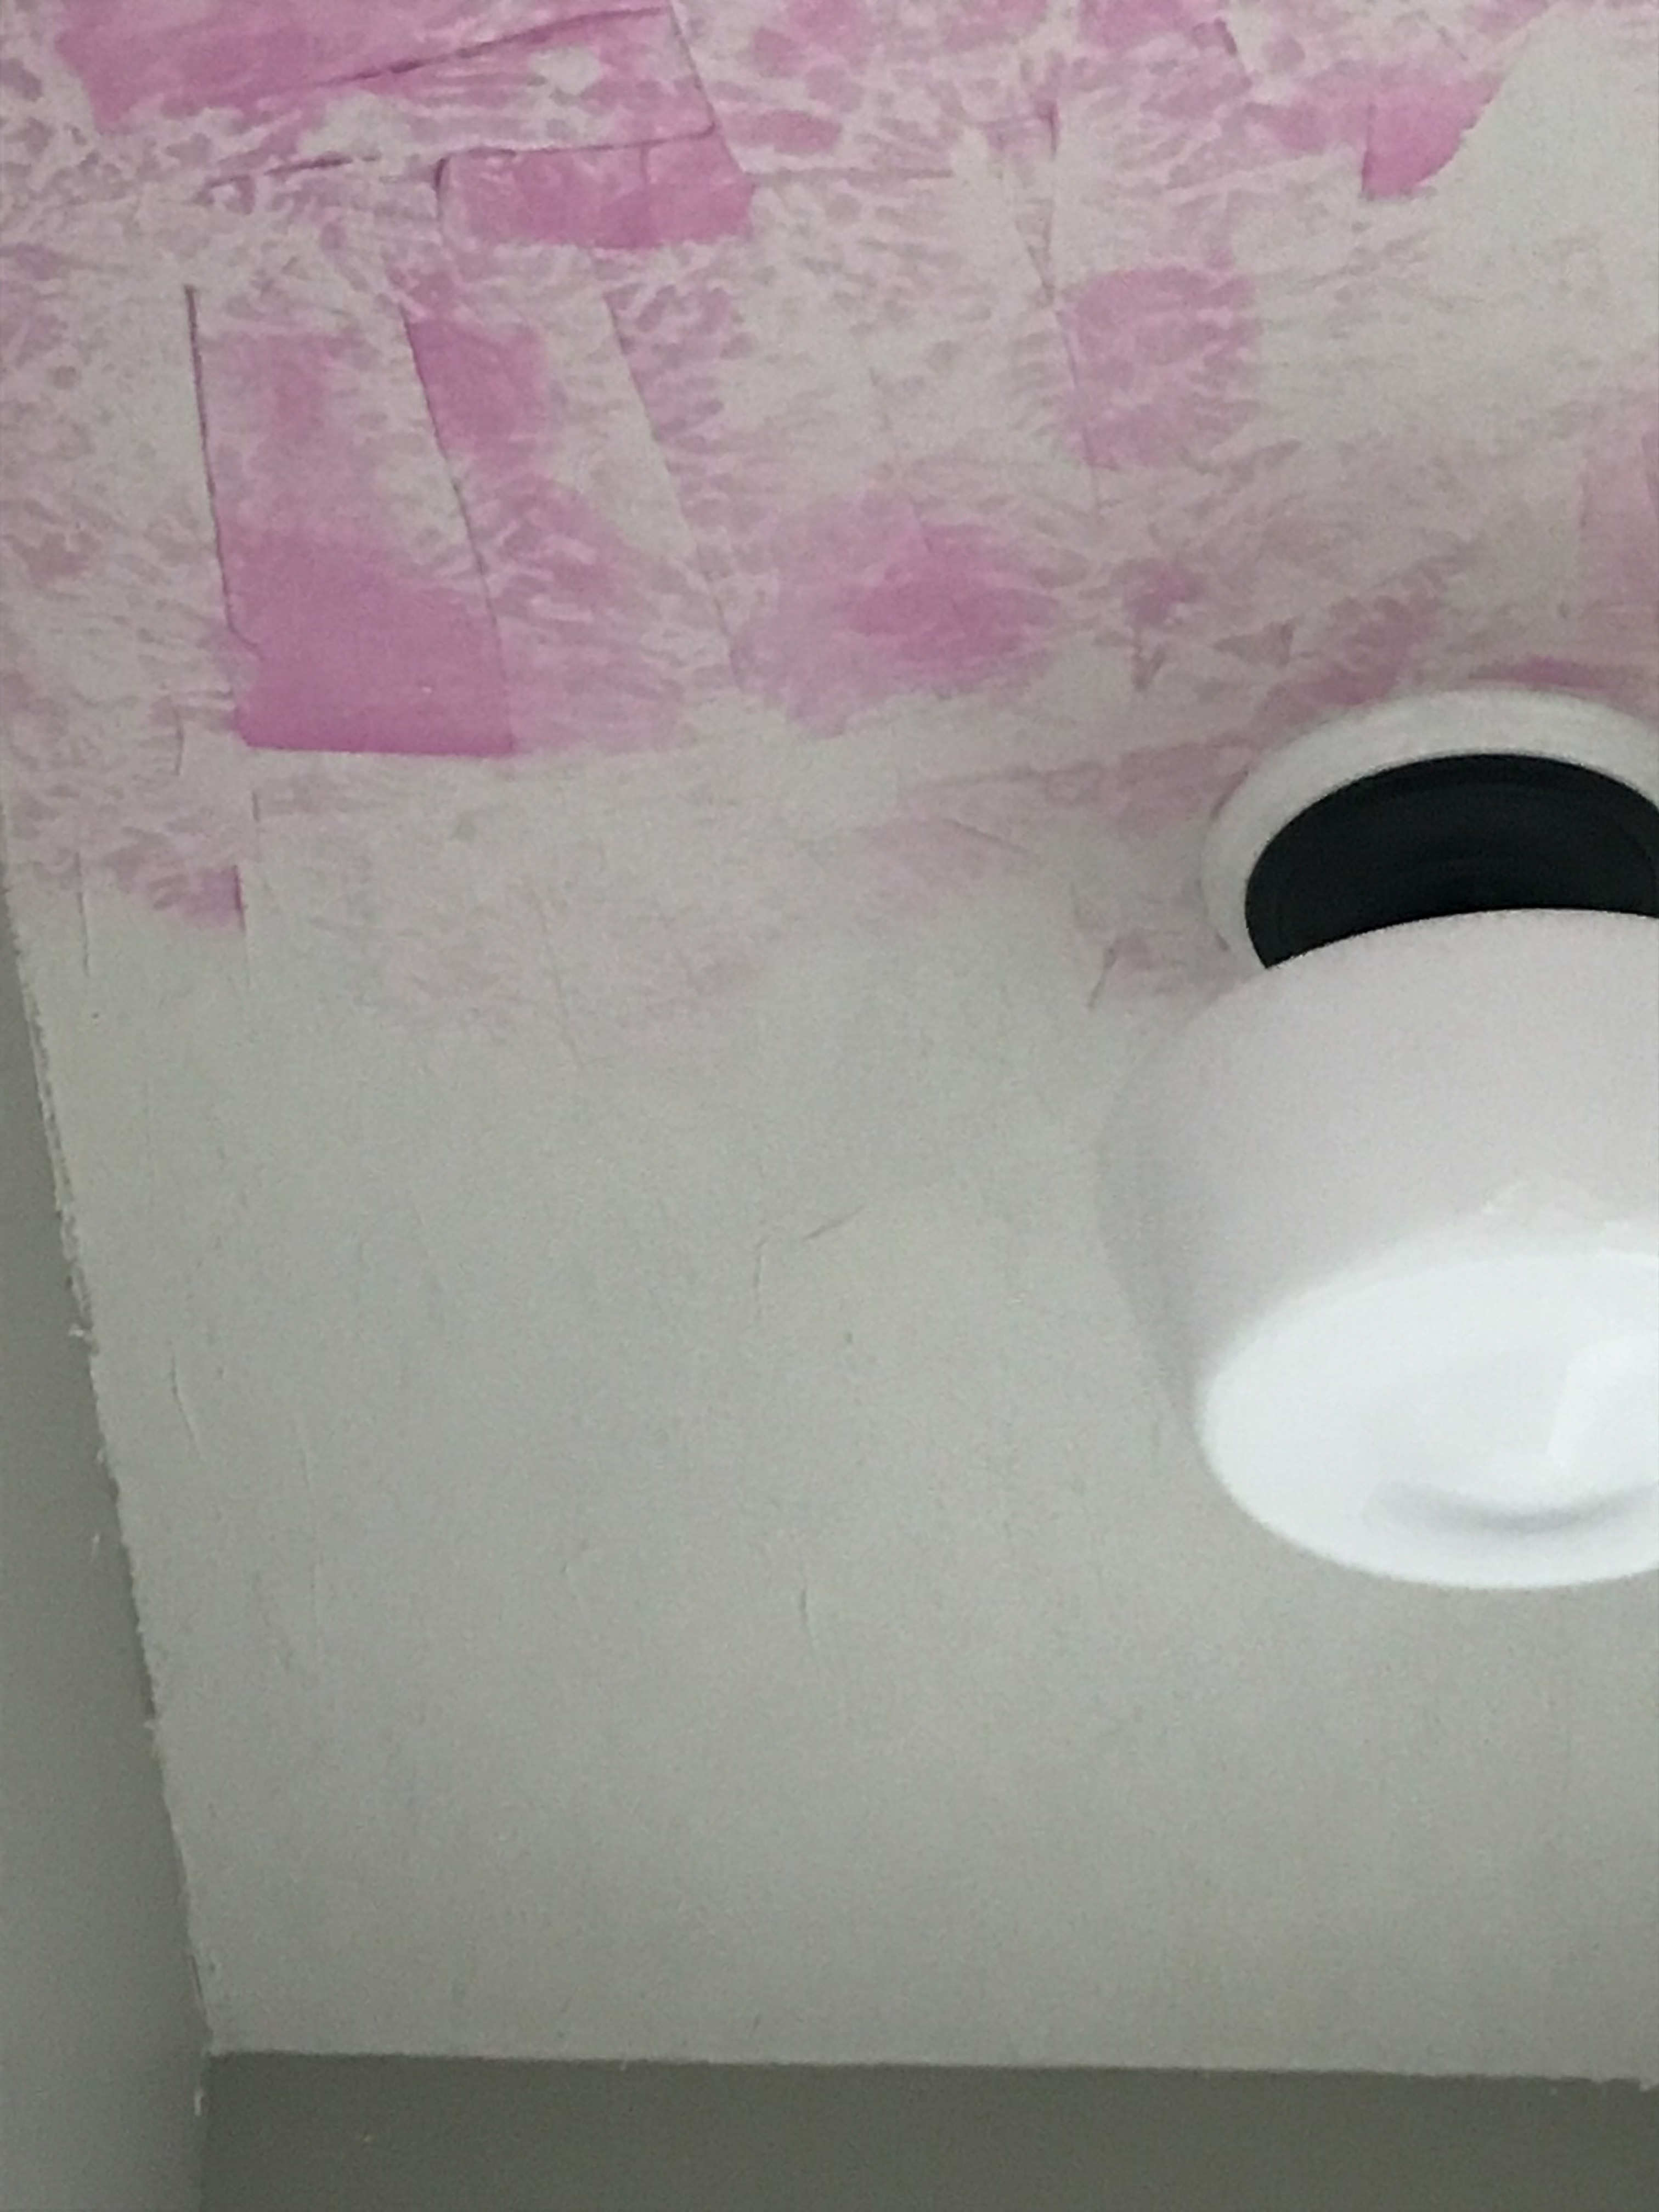
After my joint compound dried I painted it with a white paint I already had on hand. Once that dried I made my marks of shiplap- I did 4 1/2 inch “boards”, the same as in my kitchen. I used a pencil to make the lines with a yardstick and tape measure. My plan was to go back over the pencil lines with a sharpie pen but I decided to just stick with the pencil.
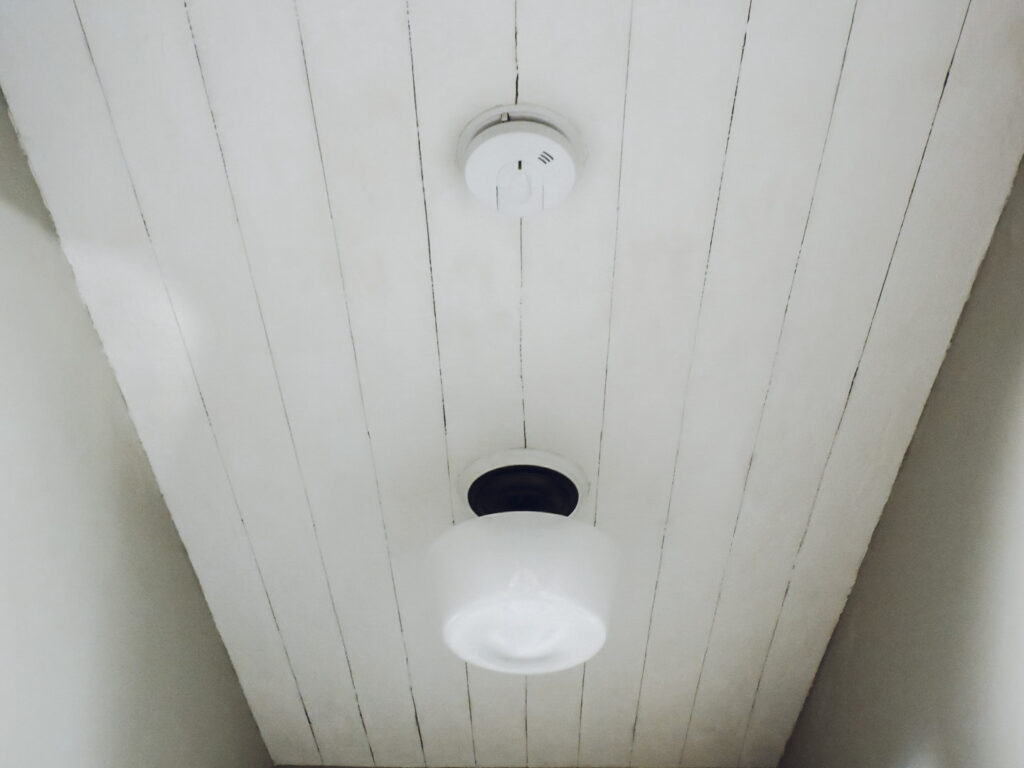
What do you guys think?! I don’t think this will be a permanent solution-someday I will want to do a different ceiling treatment but for now I think it works! Not my favorite diy I’ve ever done but not a fail either in my eyes! If I didn’t have to do the joint compound and had a flat surface to begin with; I know it would’ve turned out way better.
New Plants
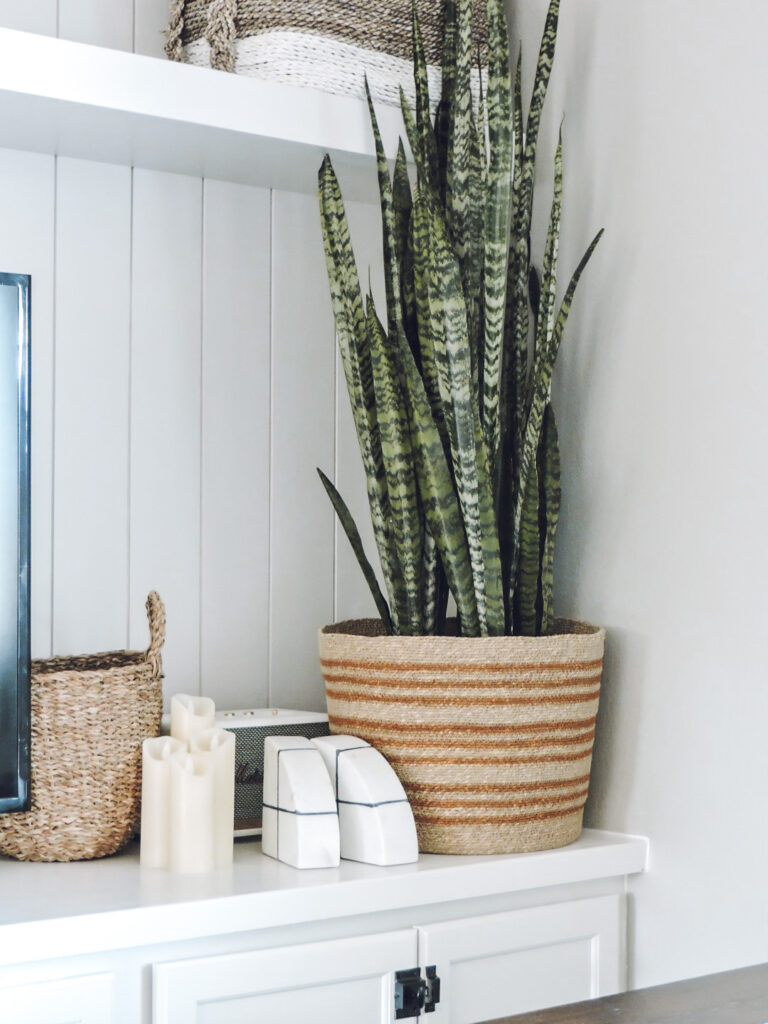
Last weekend, Matt and I went to Lawrence, KS for our yearly KU basketball game we go to. KU got creamed but it was still really fun! The atmosphere is always amazing and exciting-probably one of my favorite sporting venues I’ve ever gone to. Last year I came across The Jungle House online, a plant shop close to the college. I could literally spend hours in the shop and it also makes me kind of want to open up my own plant shop here since we have nothing like it. I made sure our first stop was there and we bought 3 new plants. I felt a little silly bringing this huge snake plant in with our luggage to our hotel room, lol. Gotta take care of those plant babies!
Snake plants are very easy to keep alive. I water mine once a week and they are golden. This is a great plant to start out with if you are a new plant mama! My favorite way to decorate with these is to place in a basket. This cute one is from Target and you can find it here.

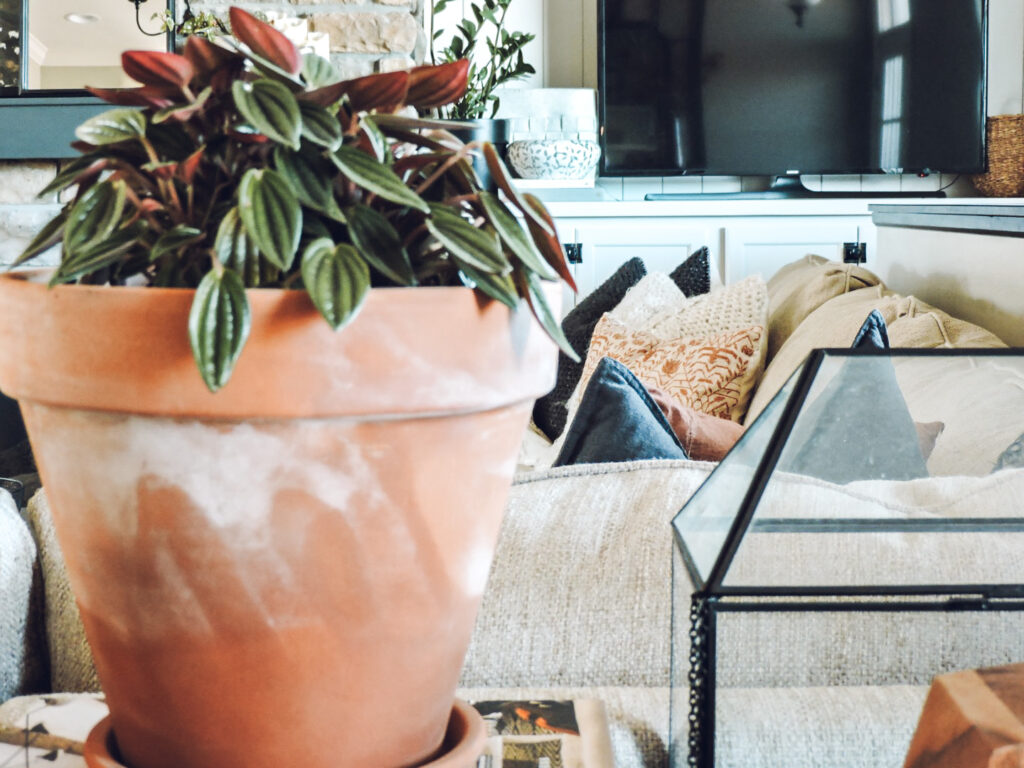
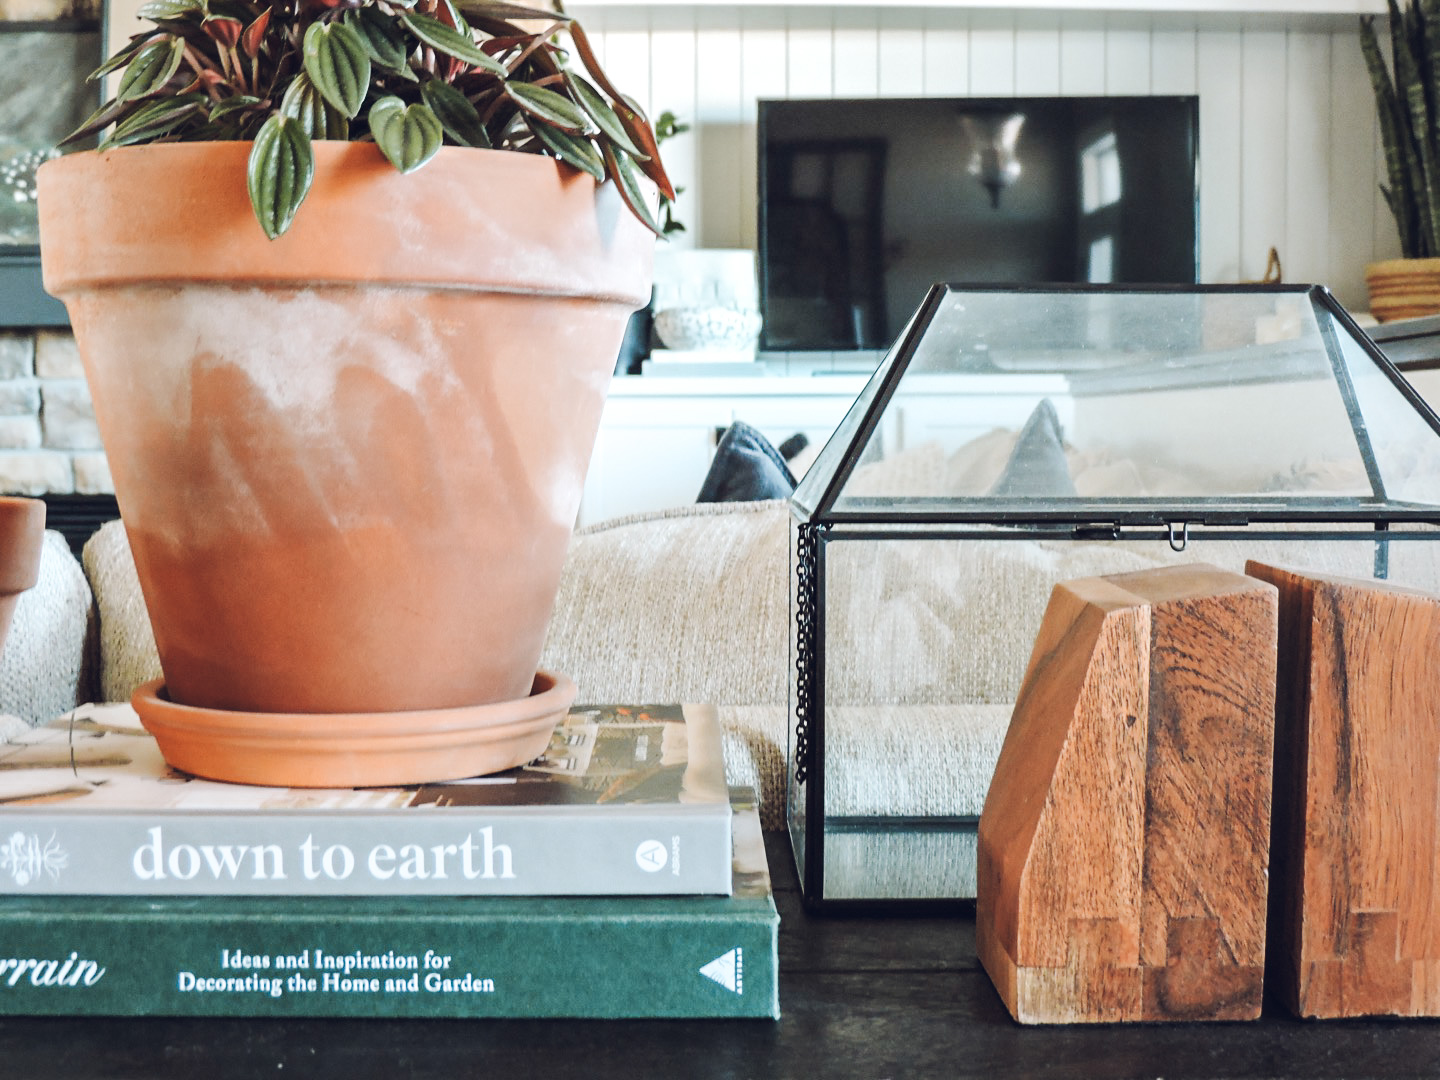
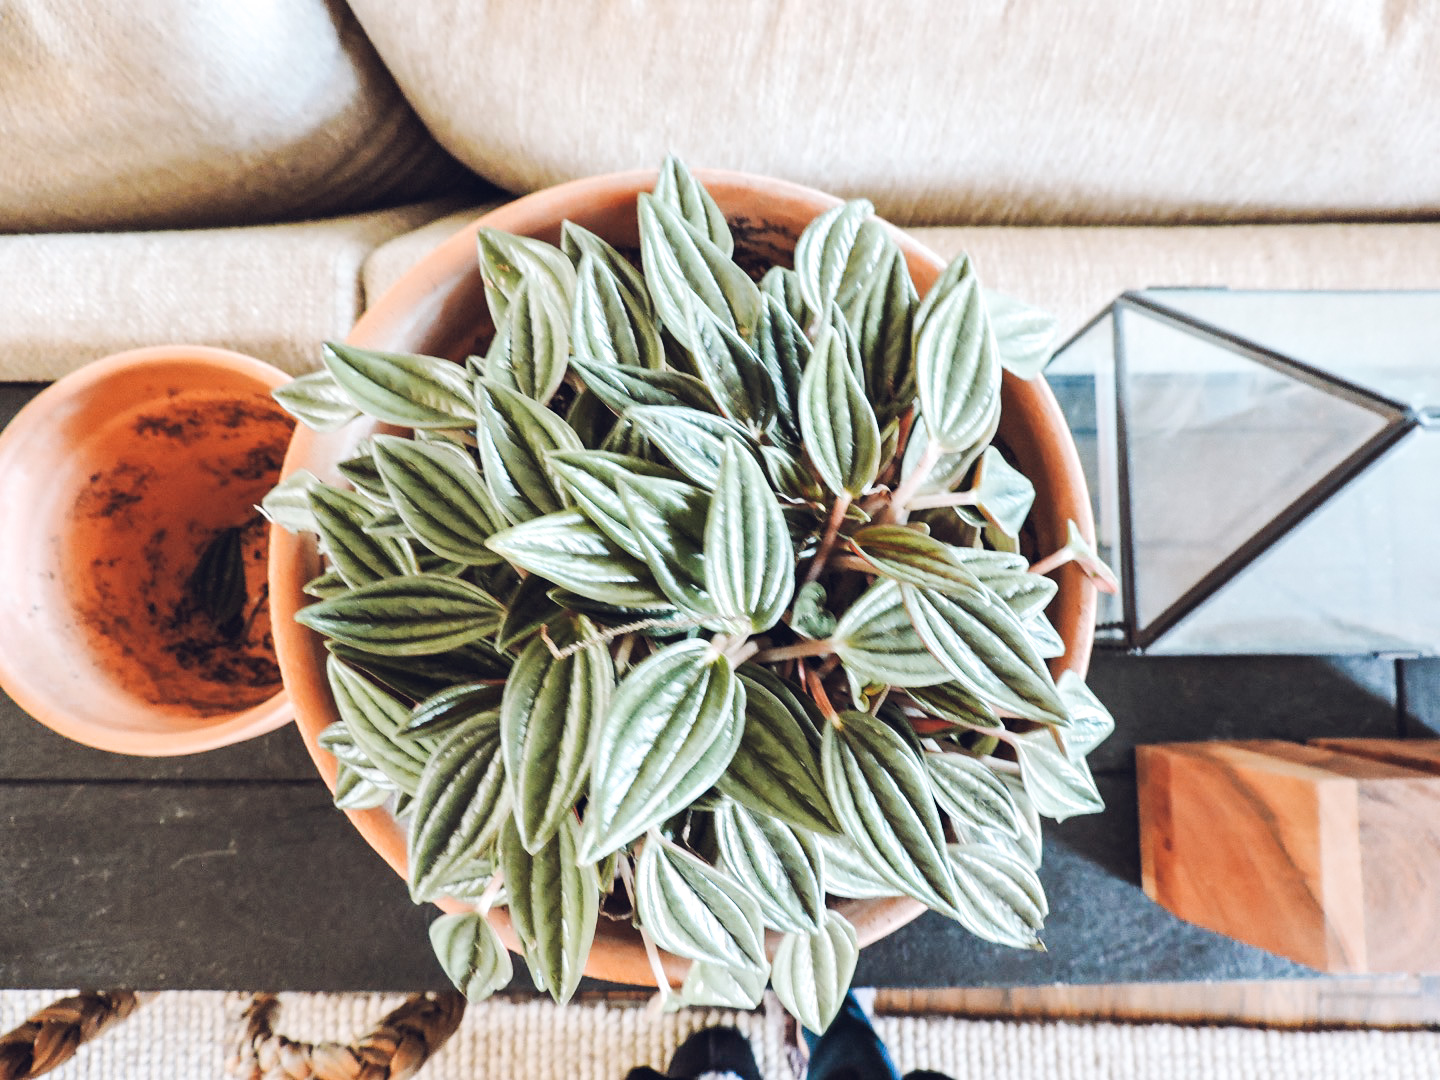
This was Matt’s favorite plant- the peperomia eden rosso. I placed it in one of my aged terracotta pots and I love it here right in our entryway.
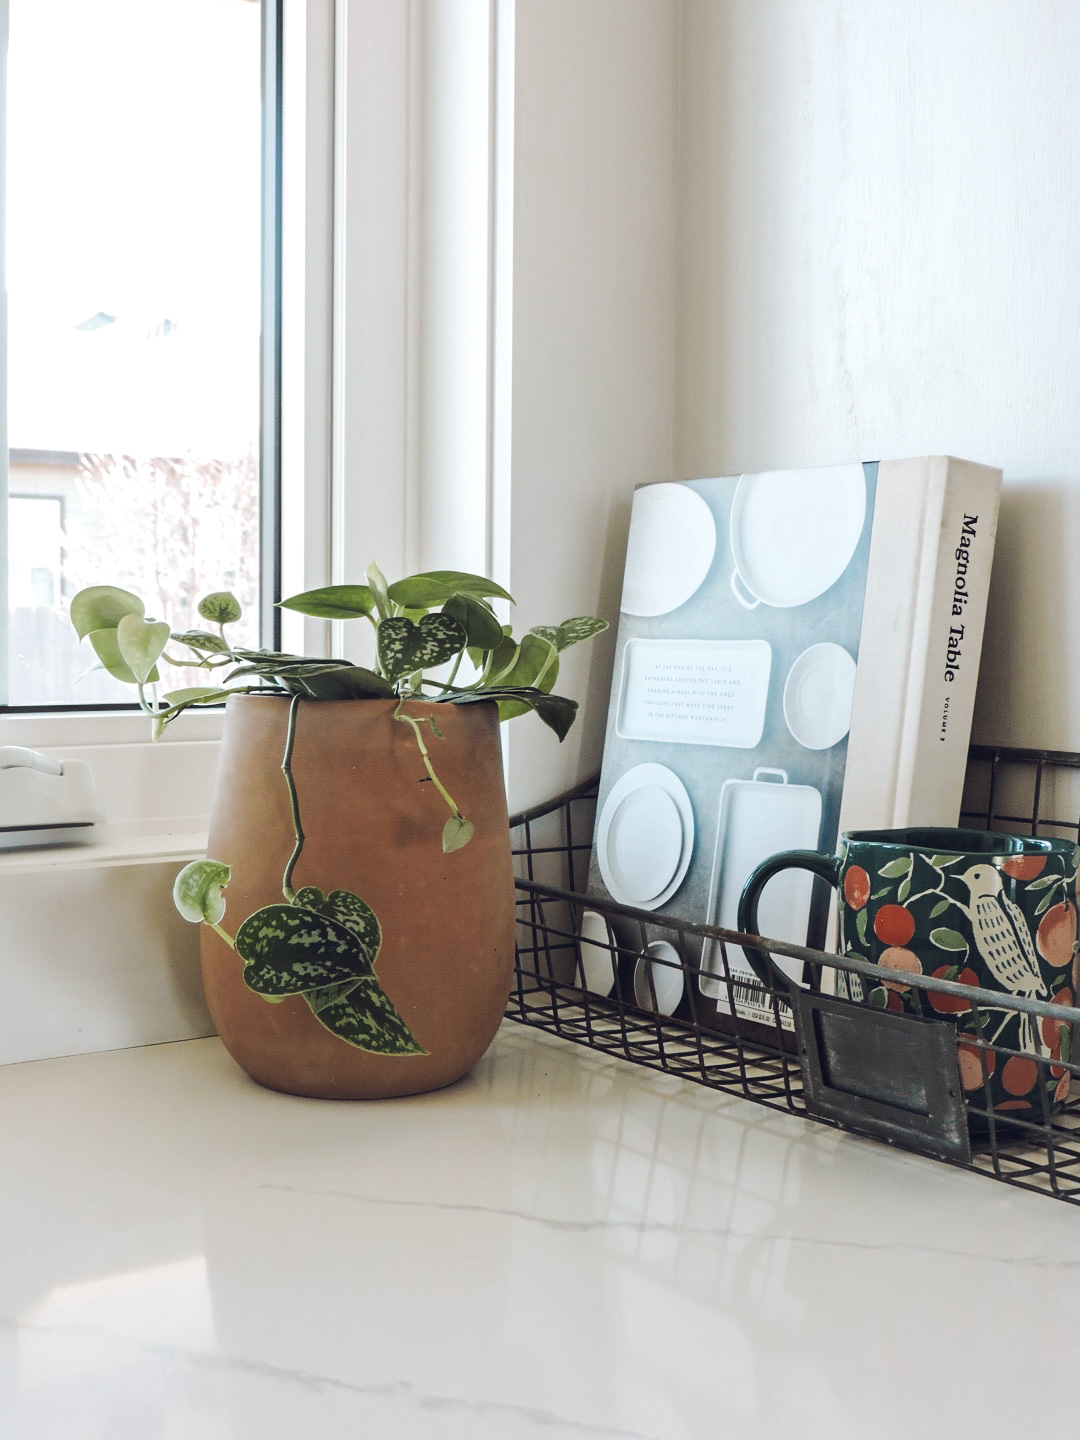
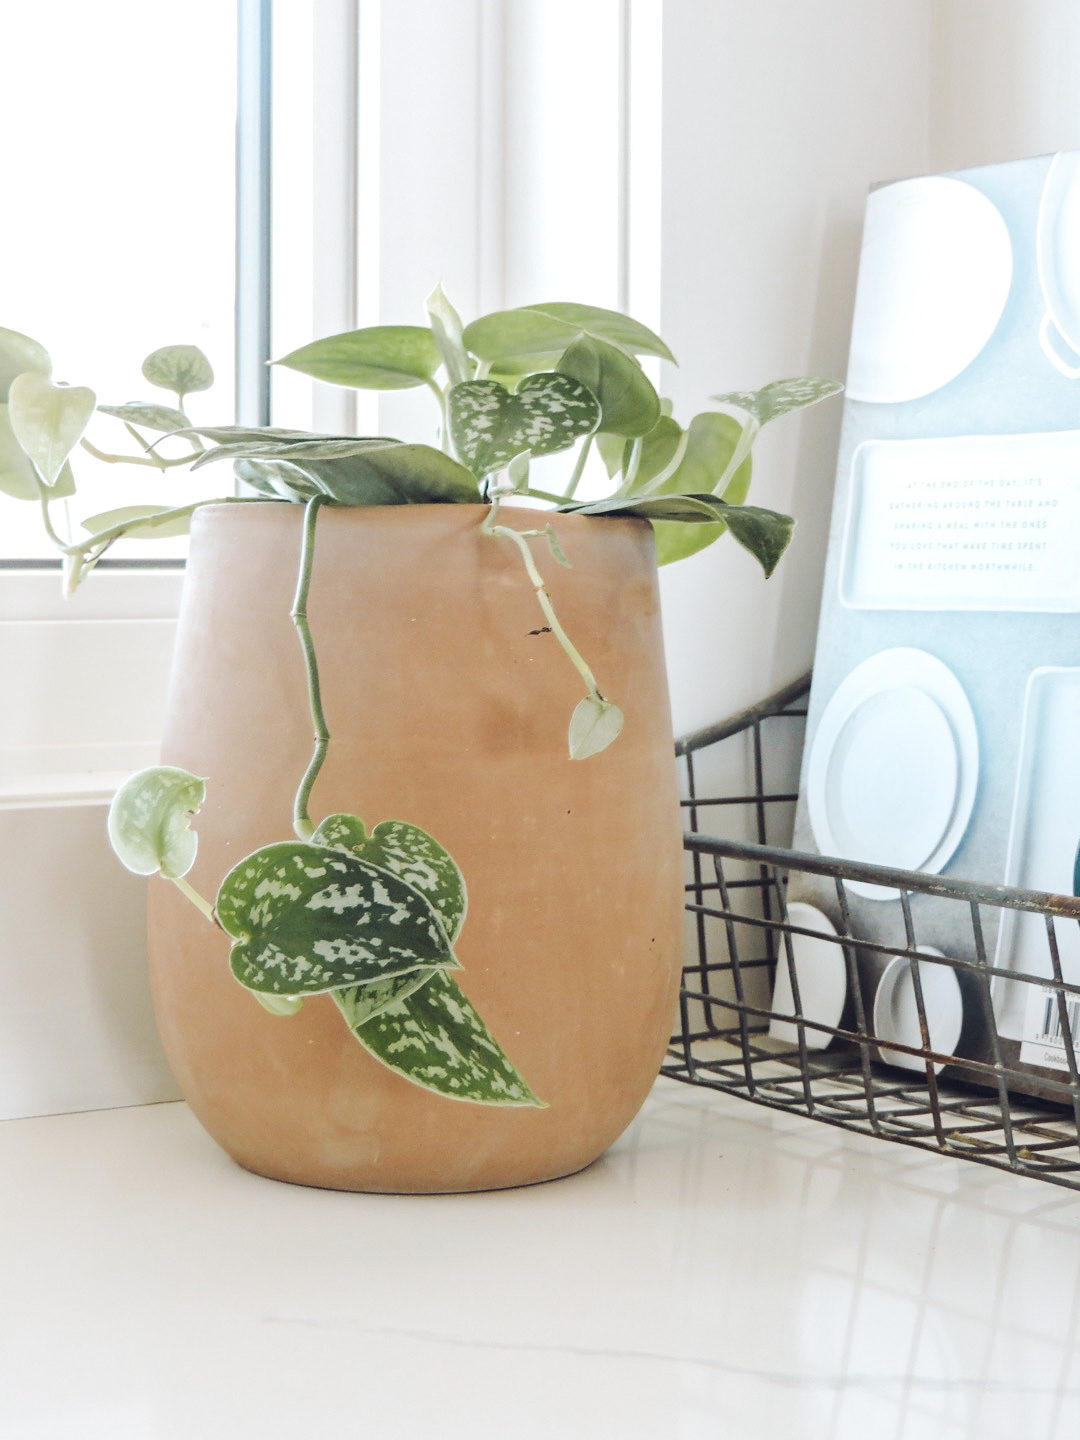
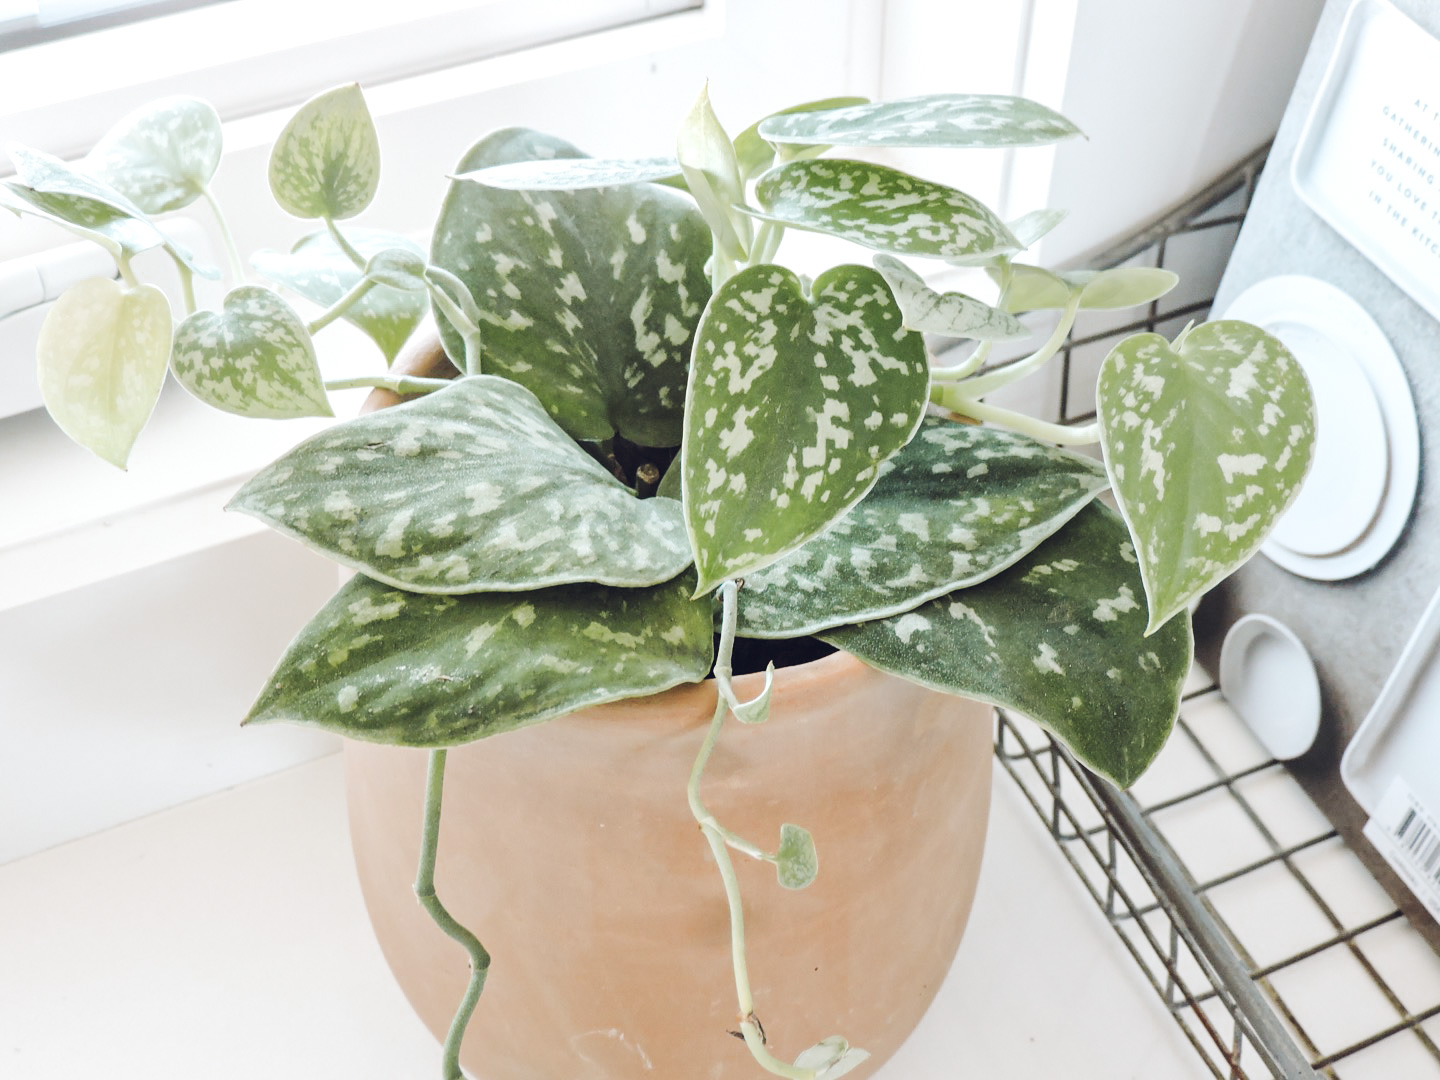
The last plant we purchased was this Scindapsus-Silver Argyraeus. I really love the leaves on this one and it looks super cute in this terracotta pot in our kitchen.
Cute Earring Cuffs
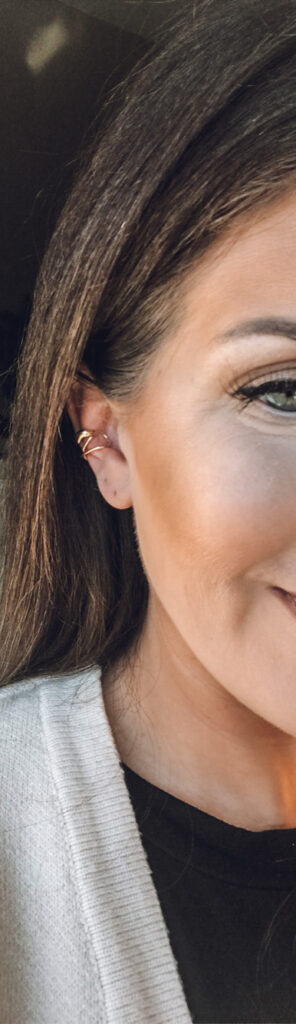
I am all about earring cuffs and I found some a super cute set on Amazon. I don’t like to spend a lot of money on these because I have been known to lose these quite easily. This set is a really good deal-you can purchase the set here.
My New Favorite Hair Tool

On Instagram I talked about my new favorite hair tool yesterday- something I’ve had for years but never really used. This round brush dryer is great EXCEPT I NEVER blow dry my hair because I simply just don’t have the patience. I always let my hair air dry and honestly, I think it’s healthier since I do that. Any who, yesterday morning I woke up with freshly washed hair and after spying the tool in the corner of my cabinet, I wondered if it would work on dry hair. And guess what? It did! Gave me lots of volume and helped me style my hair super quickly. It is under $40 and I think it’s so great. So excited to find a new way to do my hair that is quick and easy! Thought I would share since I never thought to use it on dry hair; maybe you haven’t thought of that either!

That’s all I got for this Friday chit chat. Next week I am planning on starting on a new project- can’t wait to share it with you all. I think it’s going to be super cute!
Thanks for stopping by!
xoxo Kayla