
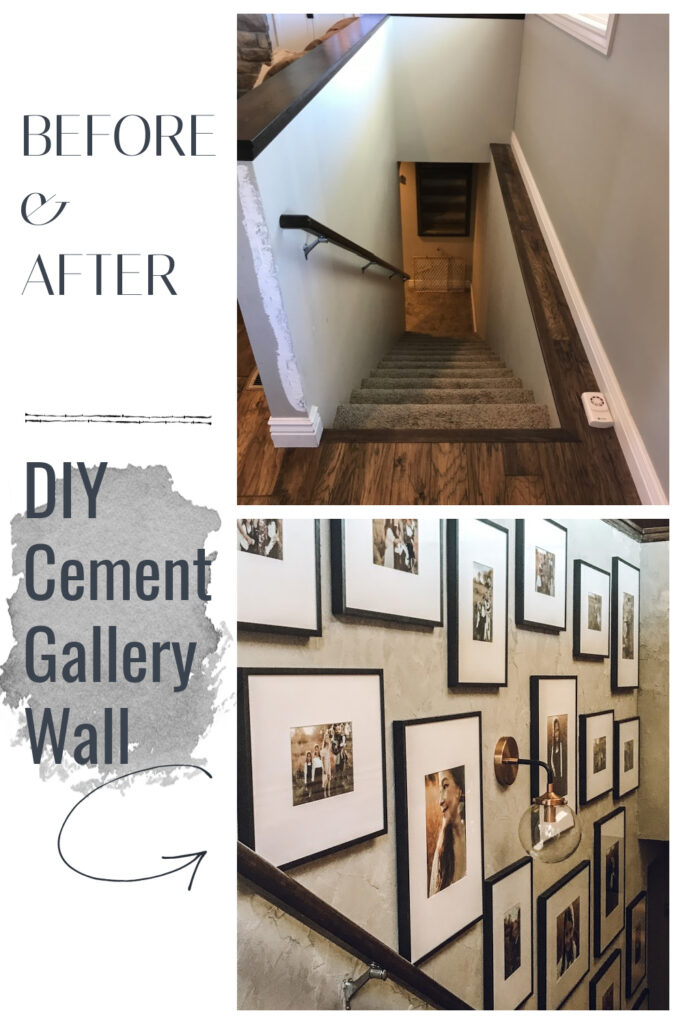
DIY Cement Gallery Wall
I’m pretty pumped to be sharing this post with you guys! For the last few months I have been brainstorming what to do with our wall going down our staircase, leading to our basement. It’s the first thing you see when you walk in the front door and I have literally not touched it since we’ve moved into our home.
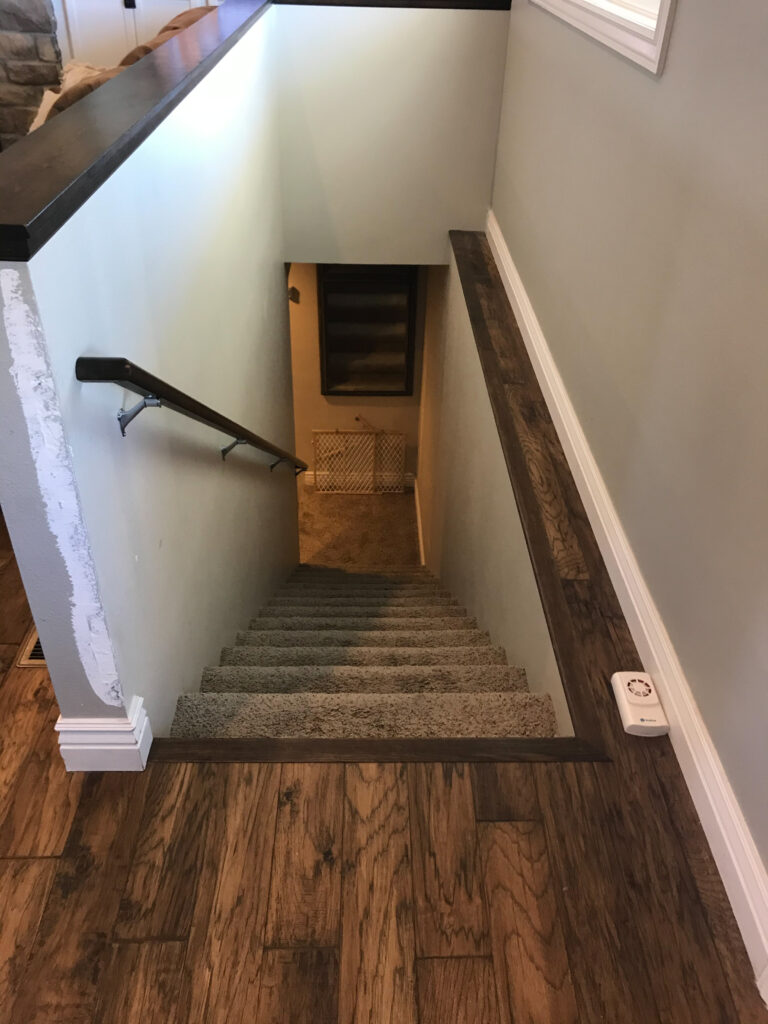
I didn’t want to pay someone to do shiplap to the wall and knew that was something I didn’t want to do myself. Wallpaper came to my mind but I wasn’t convinced of that idea. Painting it a different color would be the easiest, most obvious option, but I wanted it to make more of a statement. When I saw Kindred Vintage on Instagram share a diy cement fireplace they did, I immediately thought of the wall!
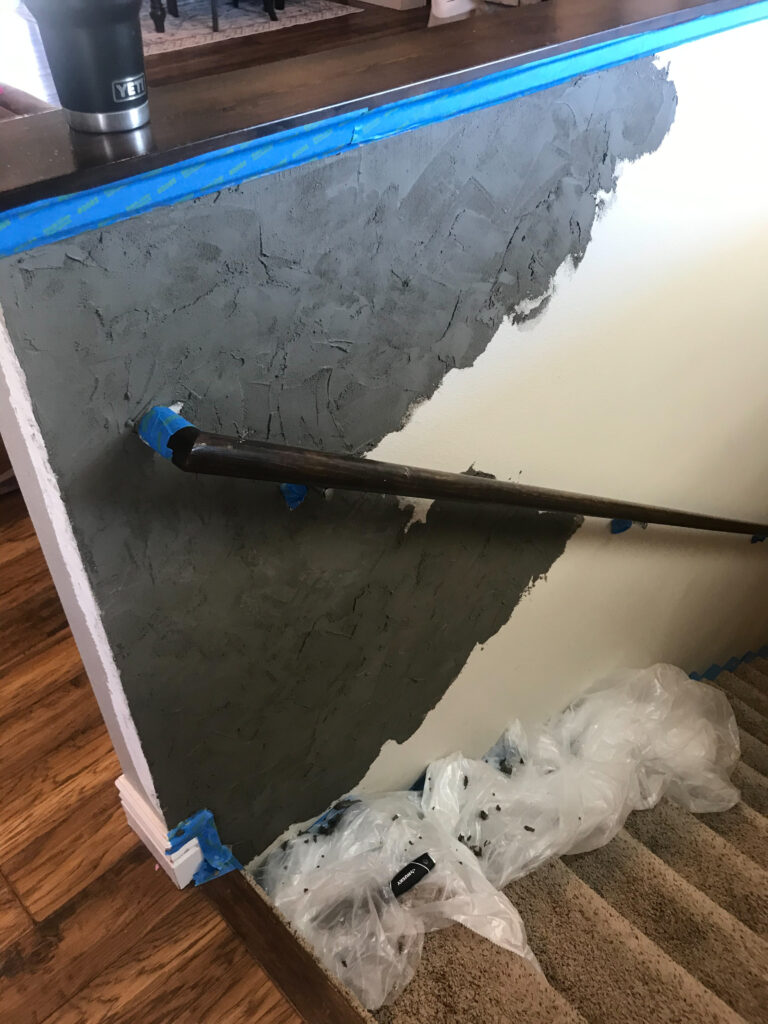
One of the words on my 2021 Inspiration Board is BOLD. To see that post you can go here. I definitely think smearing concrete on a wall in your home is bold, right?! First thing I did was tape along my carpet and trim. Someday we will rip this carpet out when Emmy gets older and install wood and a fun stair runner.
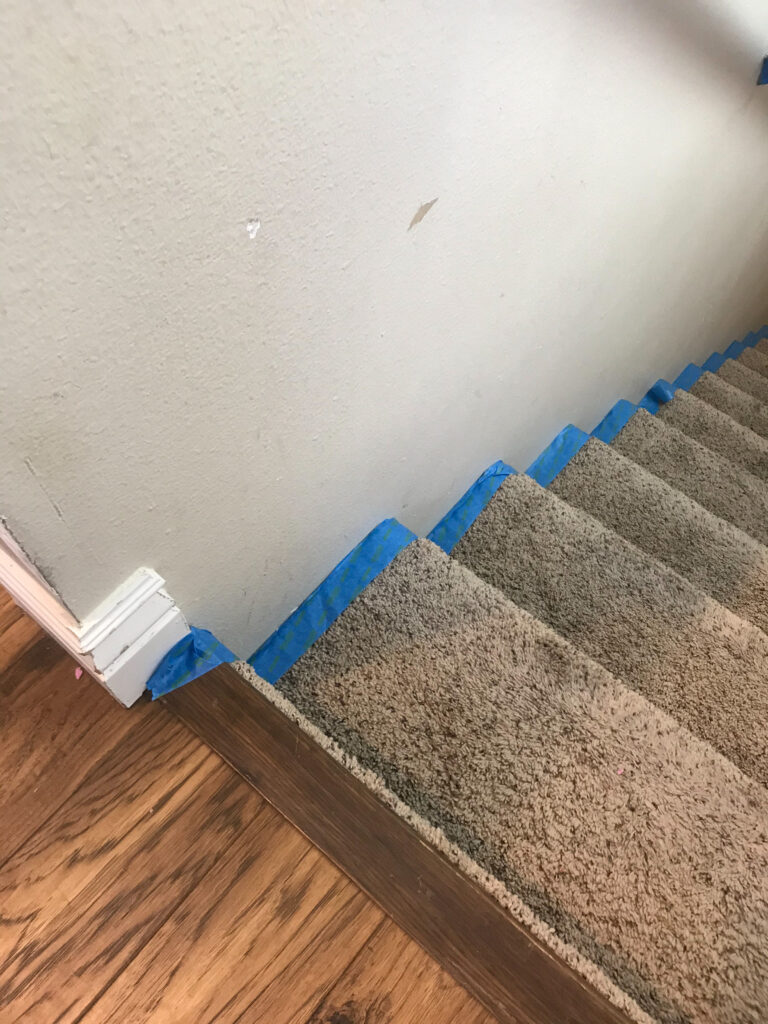
Make sure to also lay down a tarp. Trust me on this one. This is a messy project. Like real messy. I mixed up my concrete in a bucket; go HERE for the concrete I used. One and a half buckets did the job. And I used a putty knife to apply it to the wall.
Tips for Mixing Up Your Concrete
- Do small batches. The cement will harden up quickly and the thicker it gets, the more difficult it is to spread on your wall, and you end up wasting more.
- Go for the consistency of peanut butter. This was one of the tips Kindred Vintage shared. Simply add a few cups of powder and mix in water until it’s the consistency you desire.
- Keep in mind what finish you want on your wall. More textured? Then lay it on thick. Not as textured? Be sure to really spread out the concrete as well as you can then.
- I liked using a smaller putty knife because I felt like I had more control; so maybe buy a couple different sizes and see which size you like working with better.
- Clean out your bucket a few times during the process. Do this because as the concrete hardens up as you go along, you will start to get chunks of concrete in your bucket. When you go to spread your newly mixed concrete on the wall, the old chunks can get in the way and cause it not to spread on the wall easily.
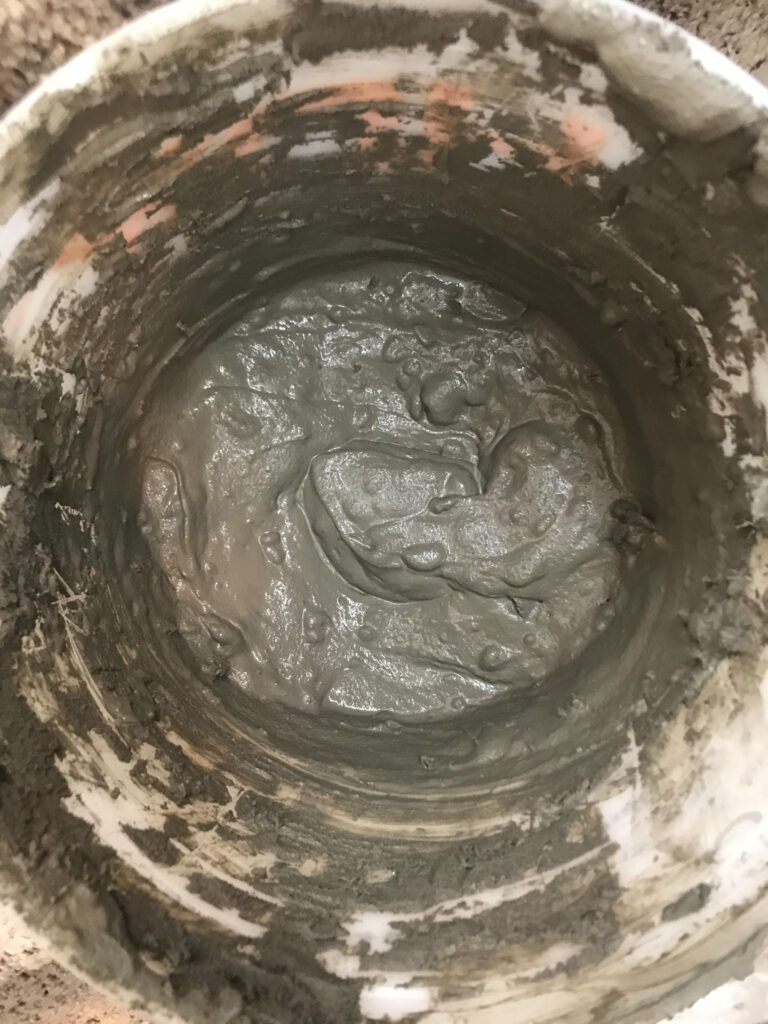
The concrete will look like a dark charcoal grey at first but once dry will be a more light grey.
At first I was like, “wow, this isn’t so bad!” And then I realized it was going to take a little longer than I thought. Also, working on a staircase did not make this project any easier. I had to get a little creative when it came time to reach the higher parts.

So, now for the lesson learned part. Once done, I let the cement dry over night. The next day I grabbed my orbital sander, some high grit sanding paper, thinking I could easily sand off the more textured parts. Mmmmm… this was by far the worst part. I mean, it’s cement. It’s hard. And not easy to sand. I went through a whole pack of sanding pads, had dust EVERYWHERE in my home, and was happy I had a mask on hand (the one thing I can thank COVID for). To be frank, this part really actually was terrible. If you are outside then it would be perfectly fine! But inside, not so much. And that’s why I say, if you want a less textured look, make more of a point to smooth out your concrete as you go along. Don’t think you can just sand it off like me. Lesson learned.
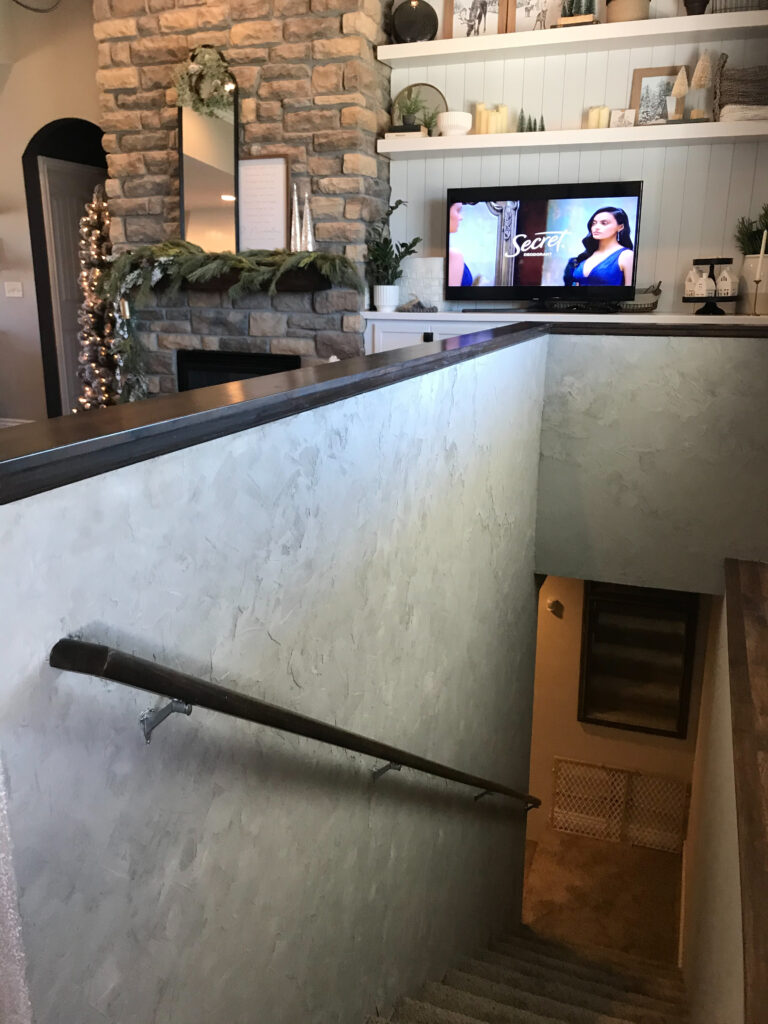
Even though I may of had concrete in places I never thought I would….. would you look at how cool that wall is?!?!
I really do love how it turned out! Different? Yes. But that’s what I wanted. I think it’s the prefect touch of vintage/modern with a little bit of industrial sprinkled in.
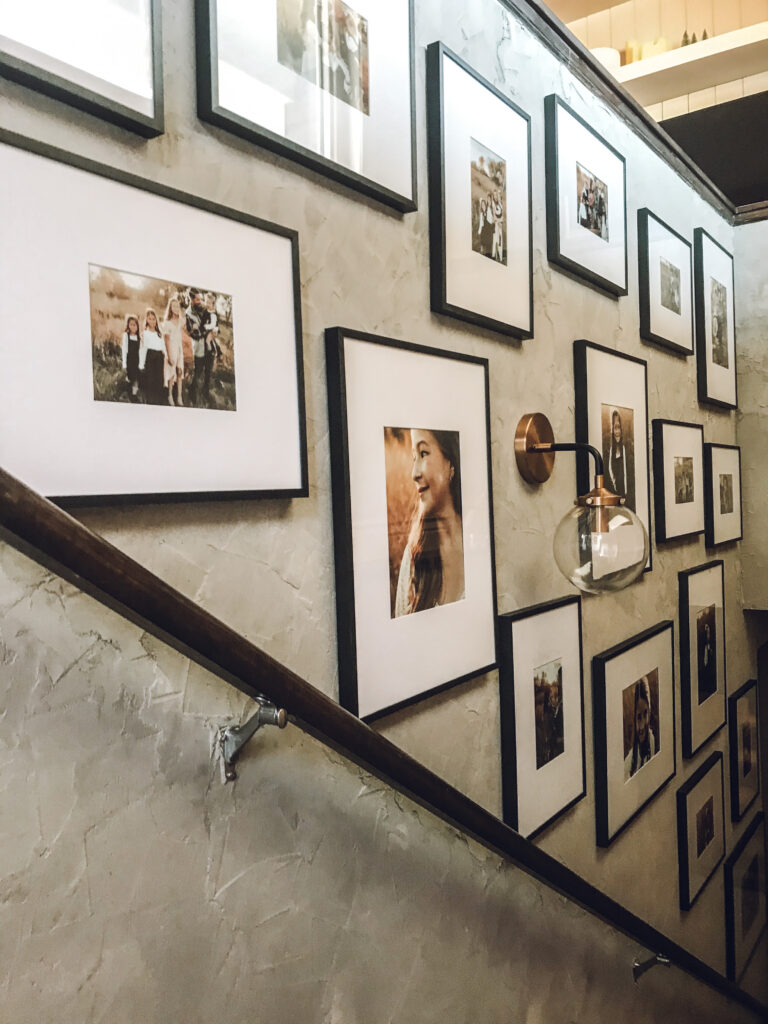
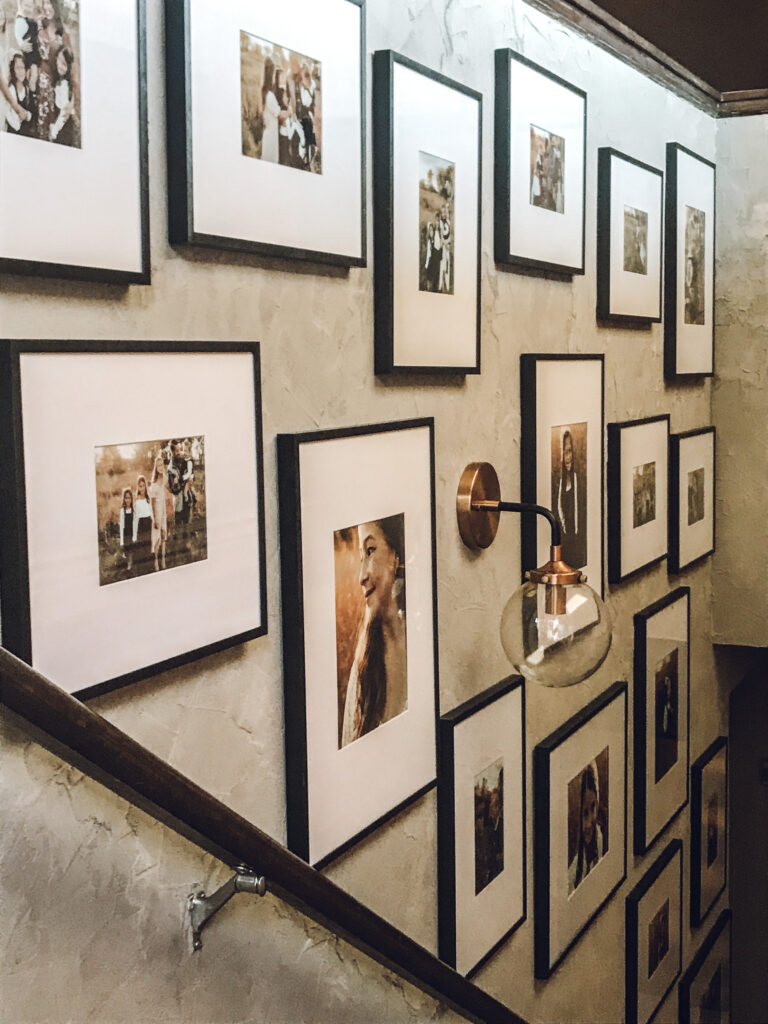
I had a bunch of these frames on hand from another project that I never ended up using them for. These are really good quality frames and I love the classic feel to them. You can purchase them here. For my gallery wall, I personally just kind of went for it! I’ve done some gallery walls in the past and I don’t really have a plan when I start. The top of the staircase was my starting point and I just worked my way down the wall, placing the frames where I thought they looked good. I’m also someone who is not afraid to make some holes along the way… just ask Matt! 😛
And would you check out all that texture?!
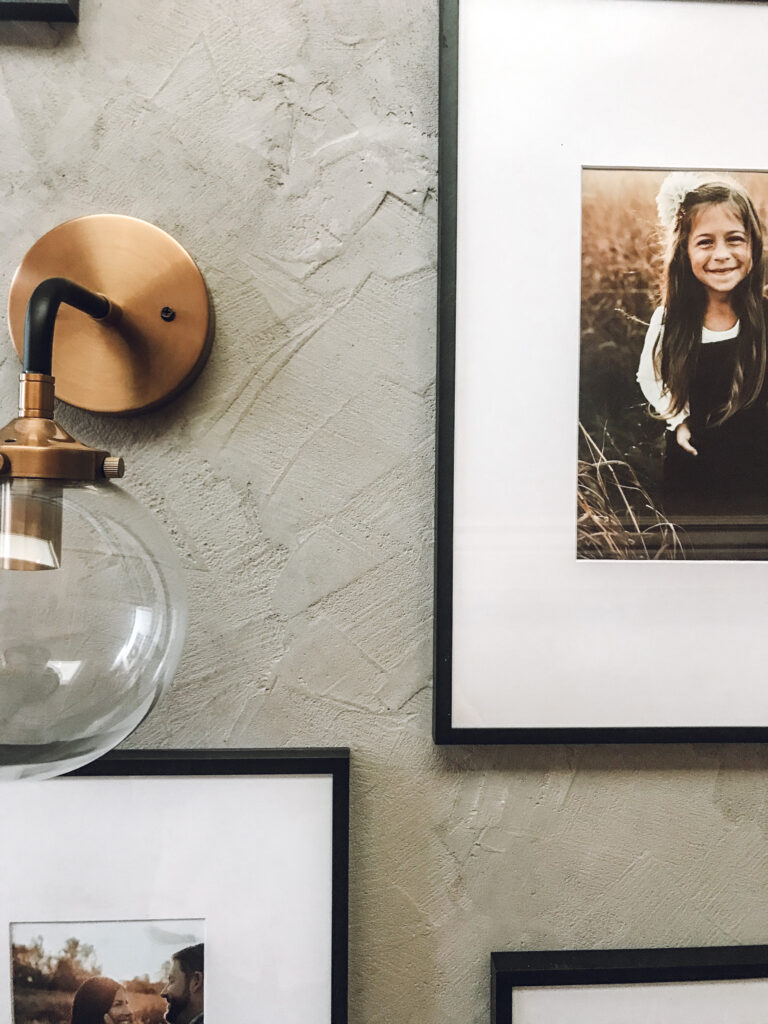
I added this light fixture because I felt like the wall needed a little, unexpected surprise. You can buy this sconce here. The puck light trick would be great here but the opening was too small on the glass globe to put the light in there. I might change it up down the road so I’m able to get a puck light in there; but for now I really just like it as is!
Now when you walk into our home, you are greeted with this, rather than a boring, blank beige wall.
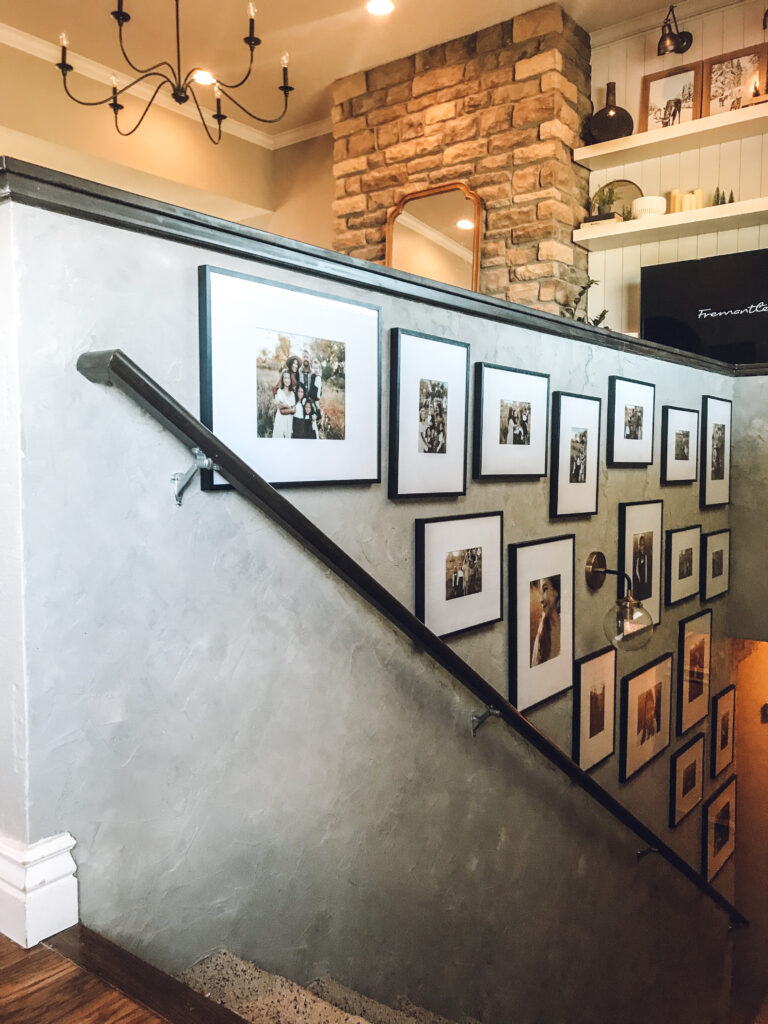
Every time I’ve gone down these stairs I at least always glance at the pictures to the left of me. I love having pictures of our family displayed in our home.
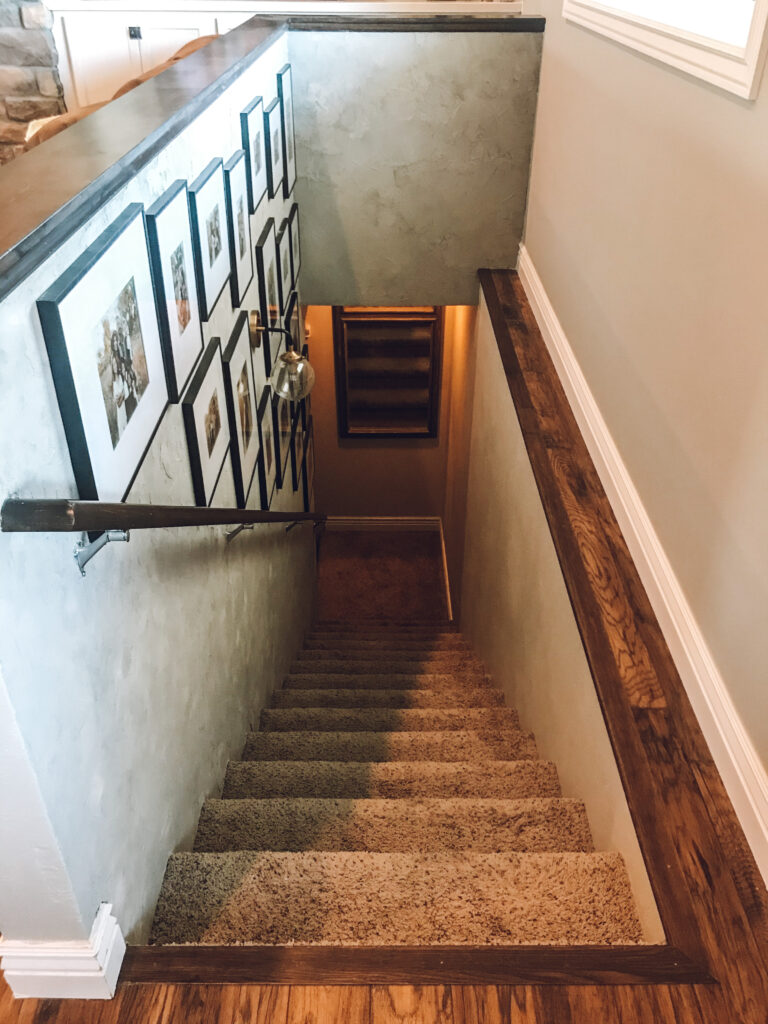
This space still needs a little bit of loving. Like I said earlier, in the future we will rip out the carpet and install a cool stair runner. That will really help modernize it in itself. I plan on painting the adjacent wall white to help brighten the area up a little more and have some plans to re-do the landing area.
Would you all be bold enough to try a concrete wall in your home?!
Thanks for stopping by!
Kayla