Our Kitchen Reveal
I am SO excited to be typing out this post!! Our kitchen makeover is finally completed and I can’t wait to show you all what it looks like now! The kitchen is truly the heart of the home; I’ve always enjoyed cooking and baking (as well as eating) so the kitchen is truly my happy place. Meals around a table, treats on the counter waiting to be devoured, cooking dinner while the girls do their homework on the island are all times and things that I treasure. As time goes on and life gets busier I treasure these moments even more than what I used to.
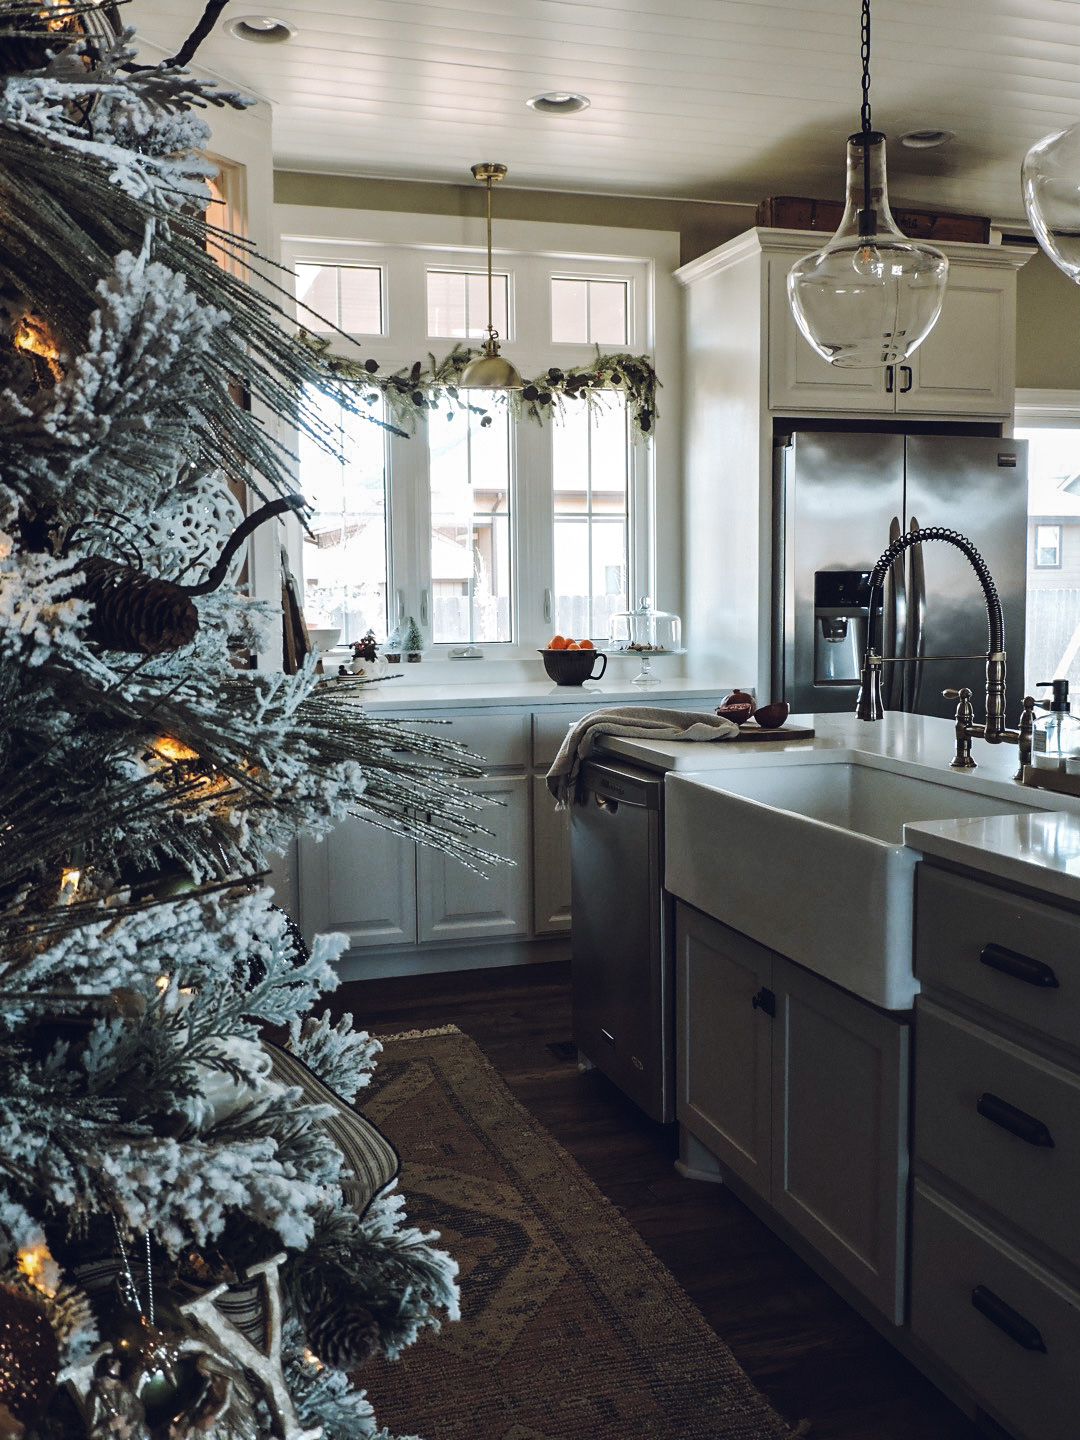
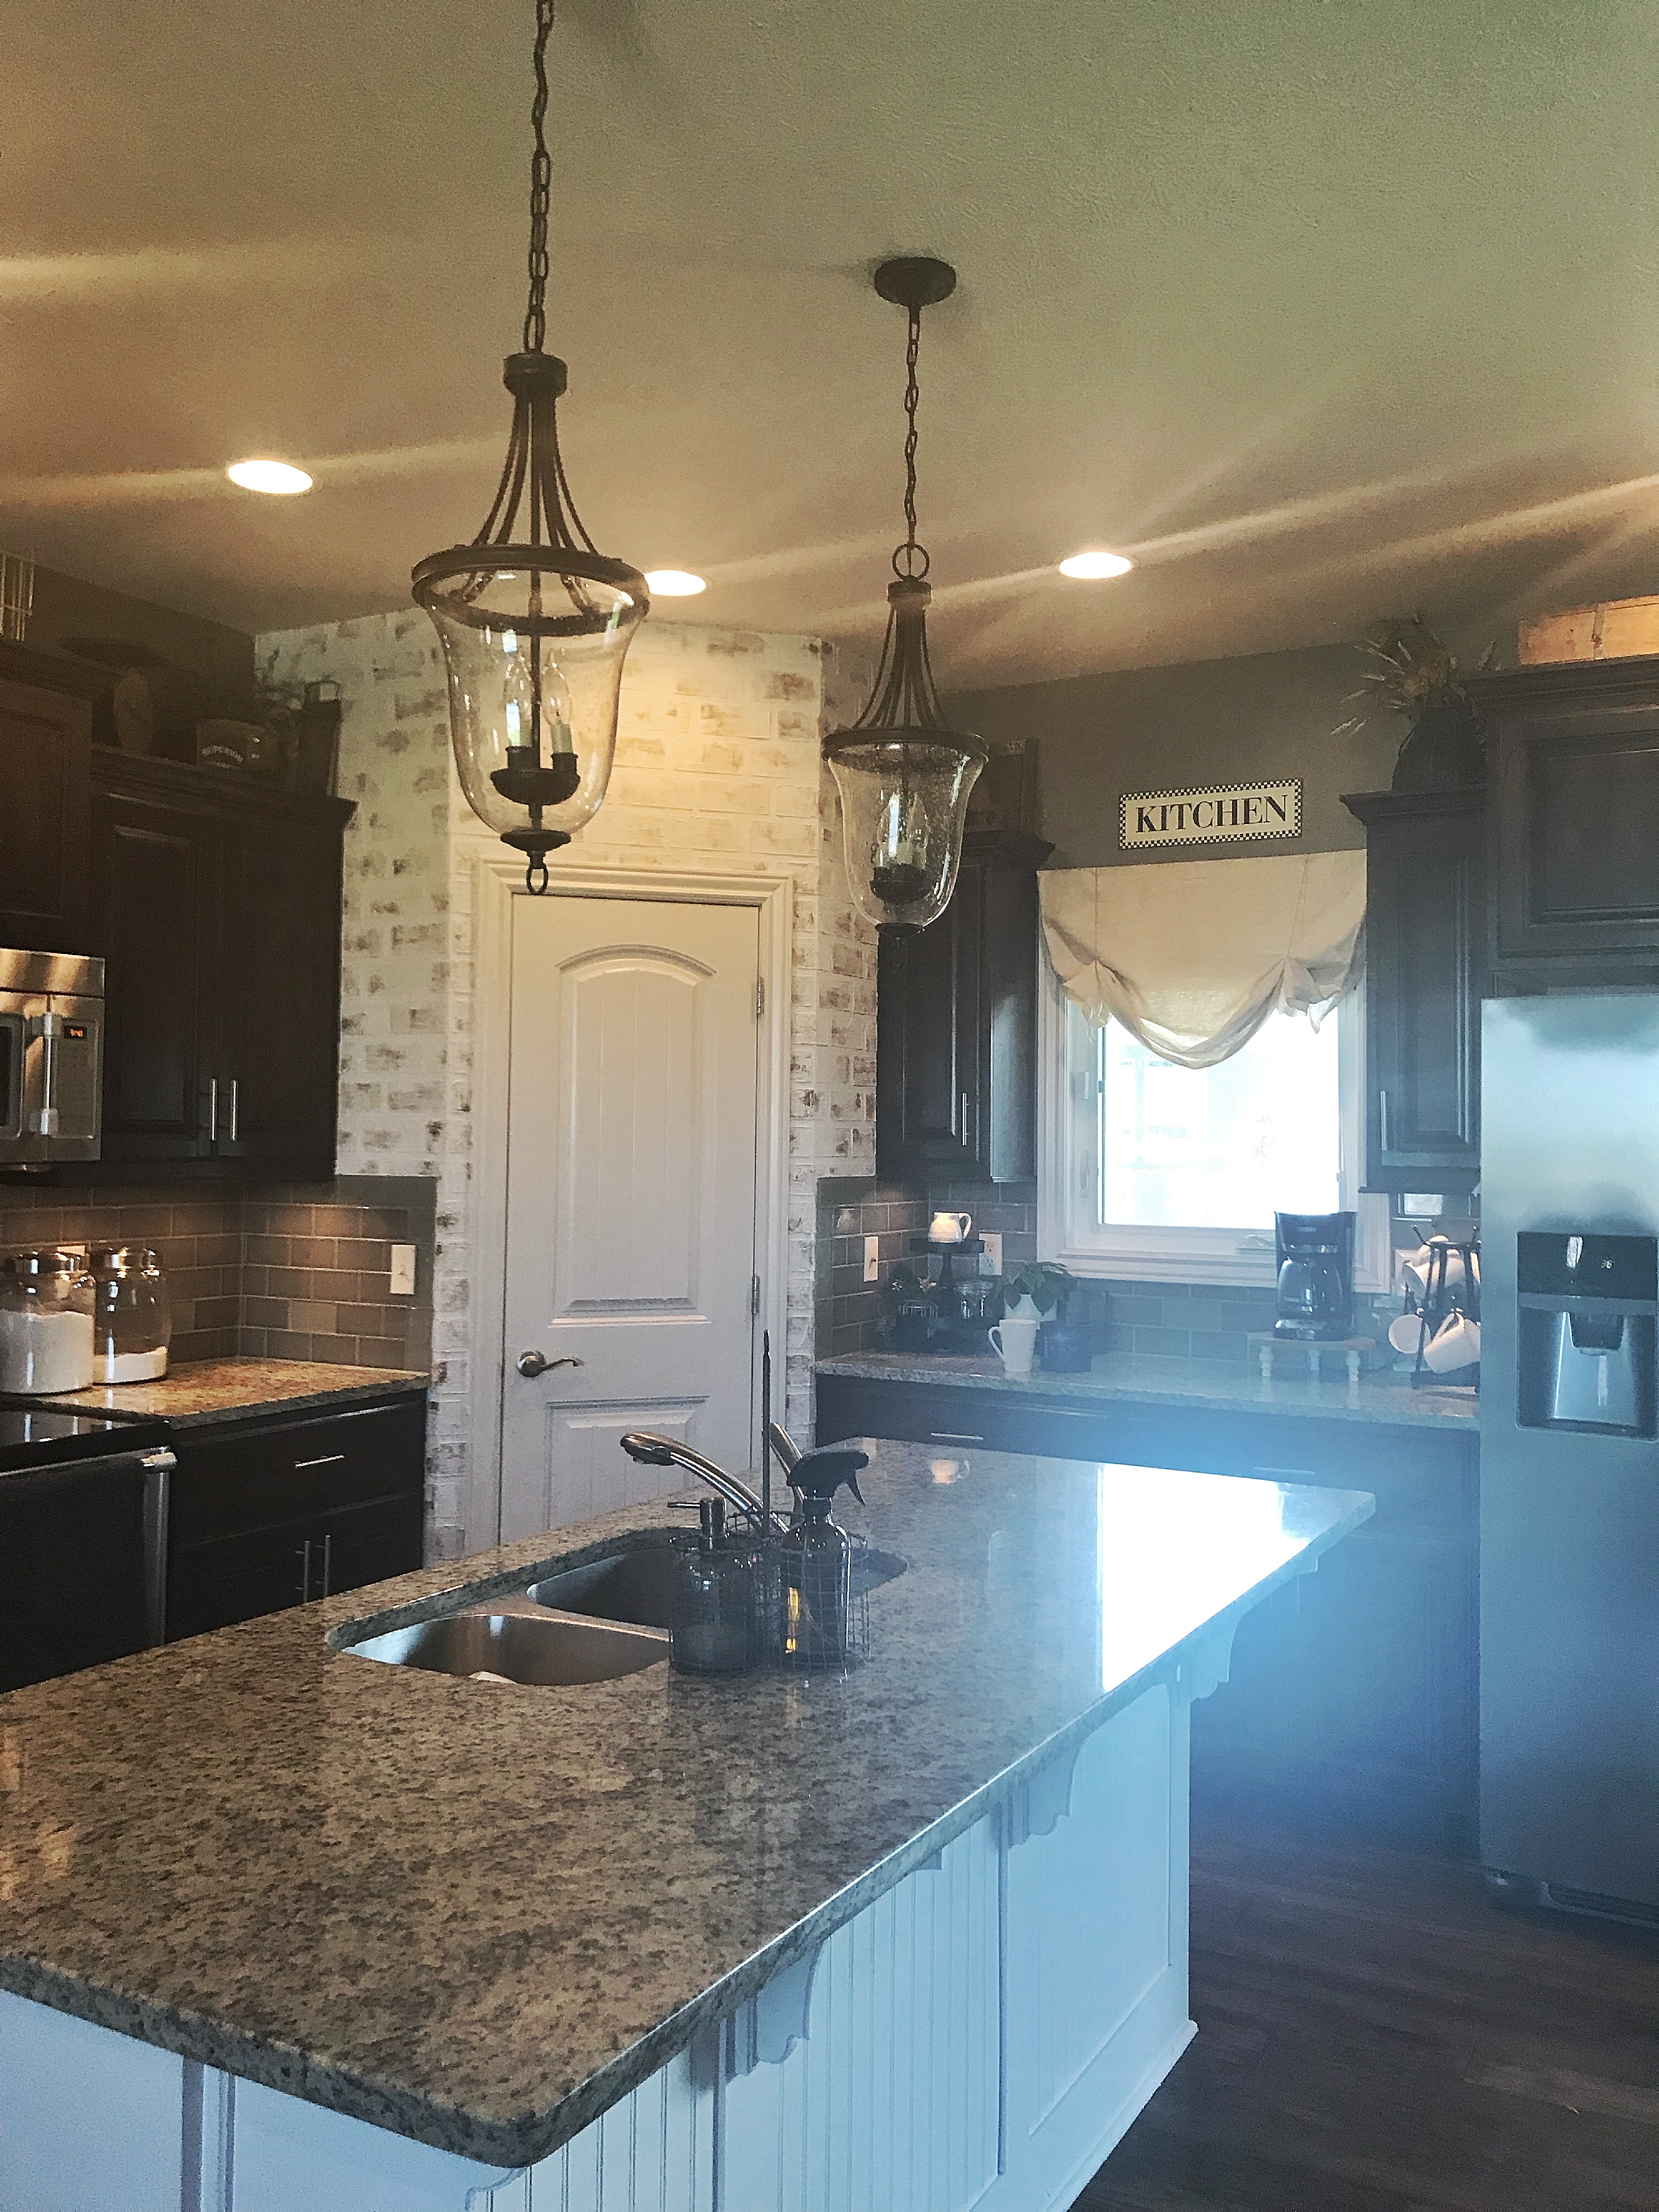
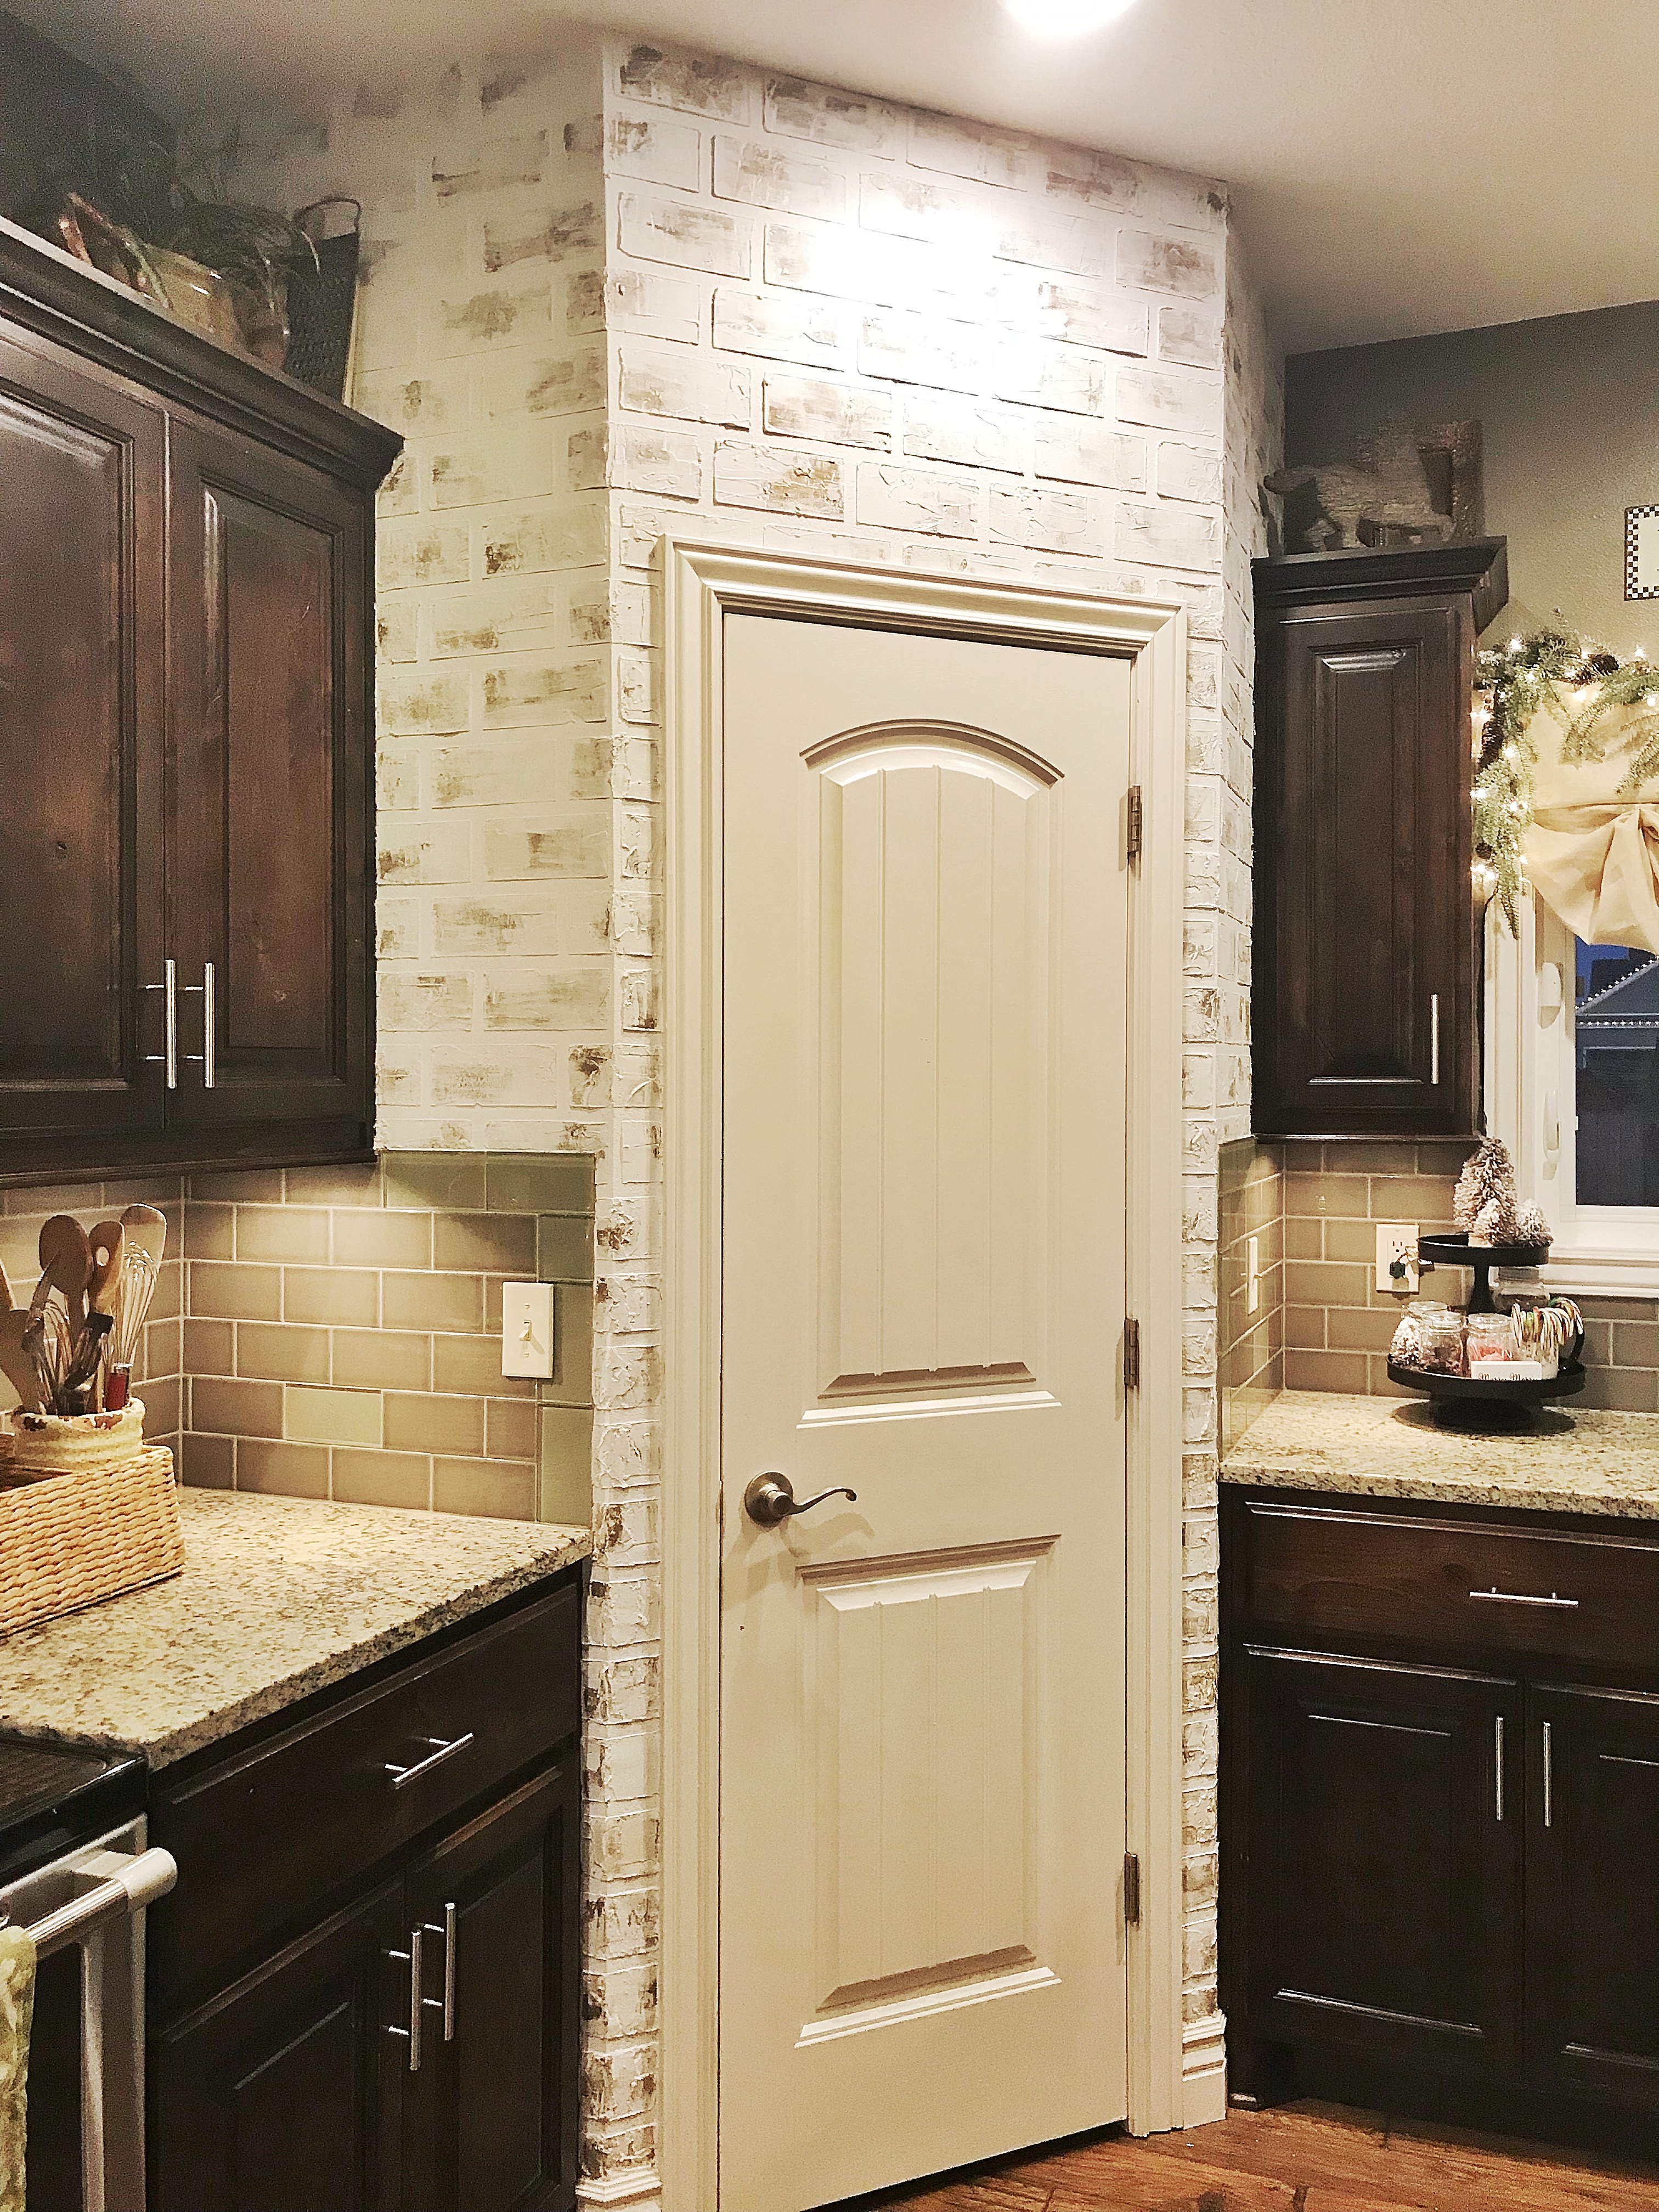
Lets remind you of what our kitchen looked like before:
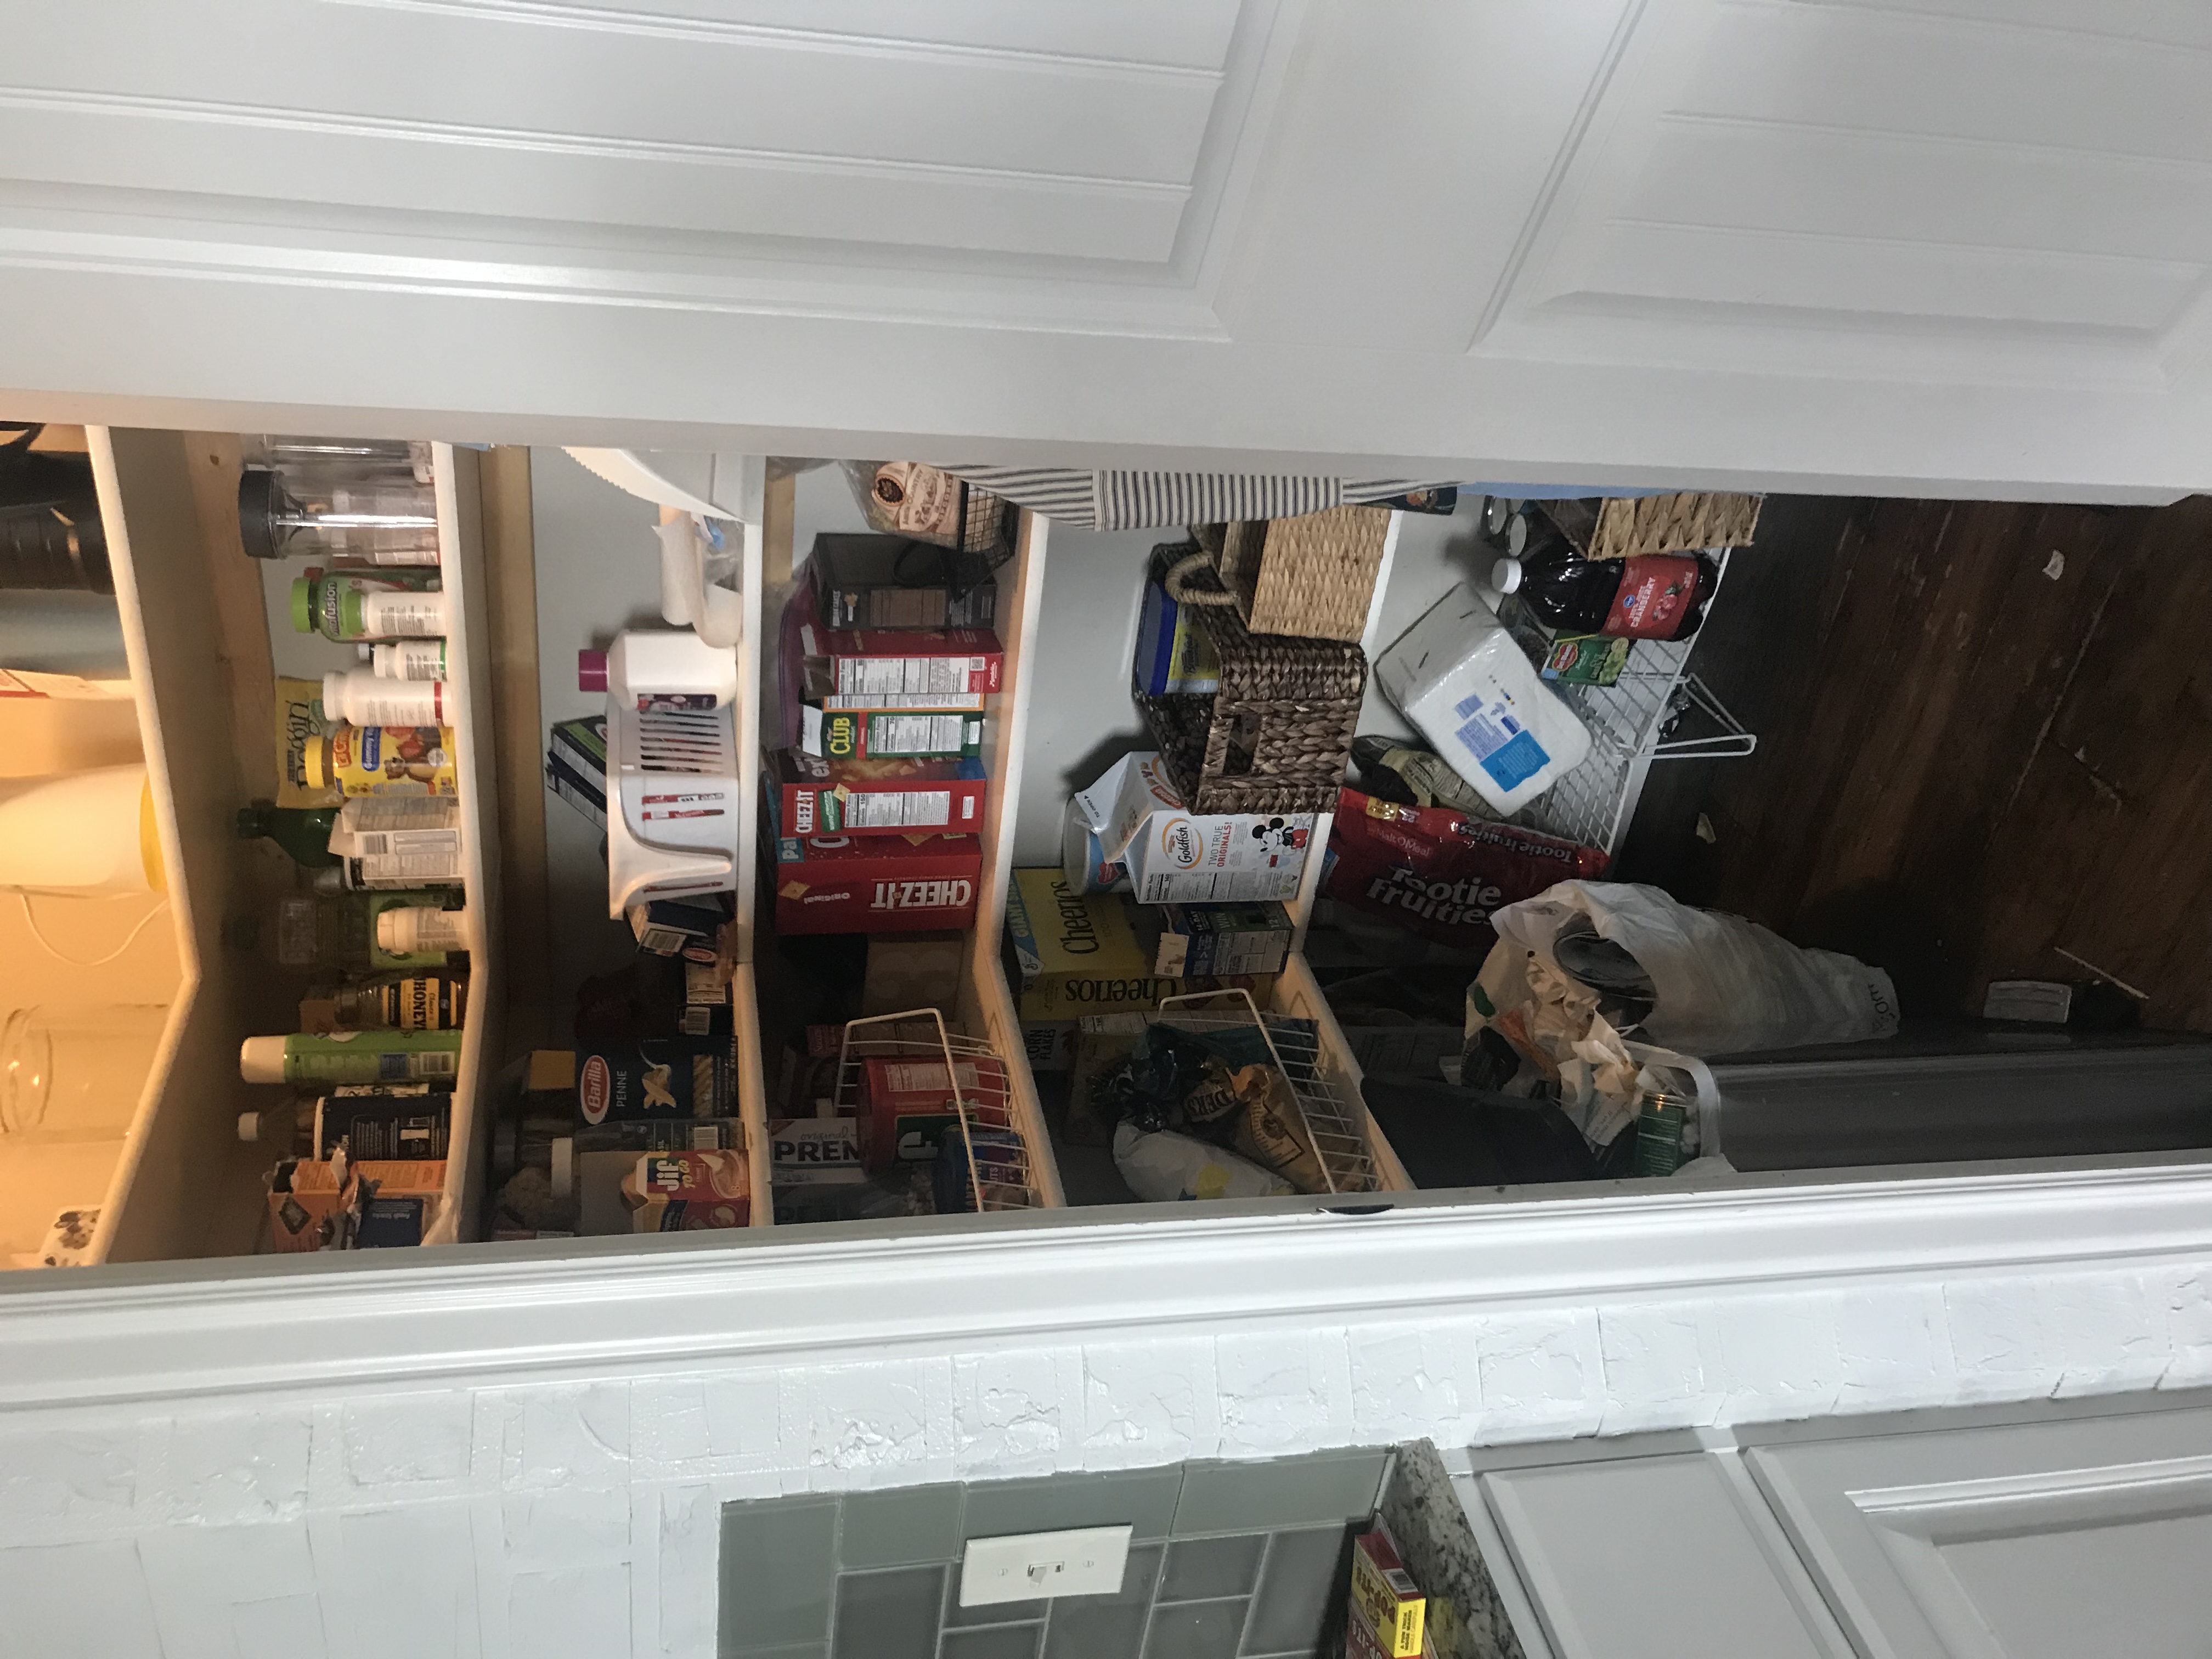
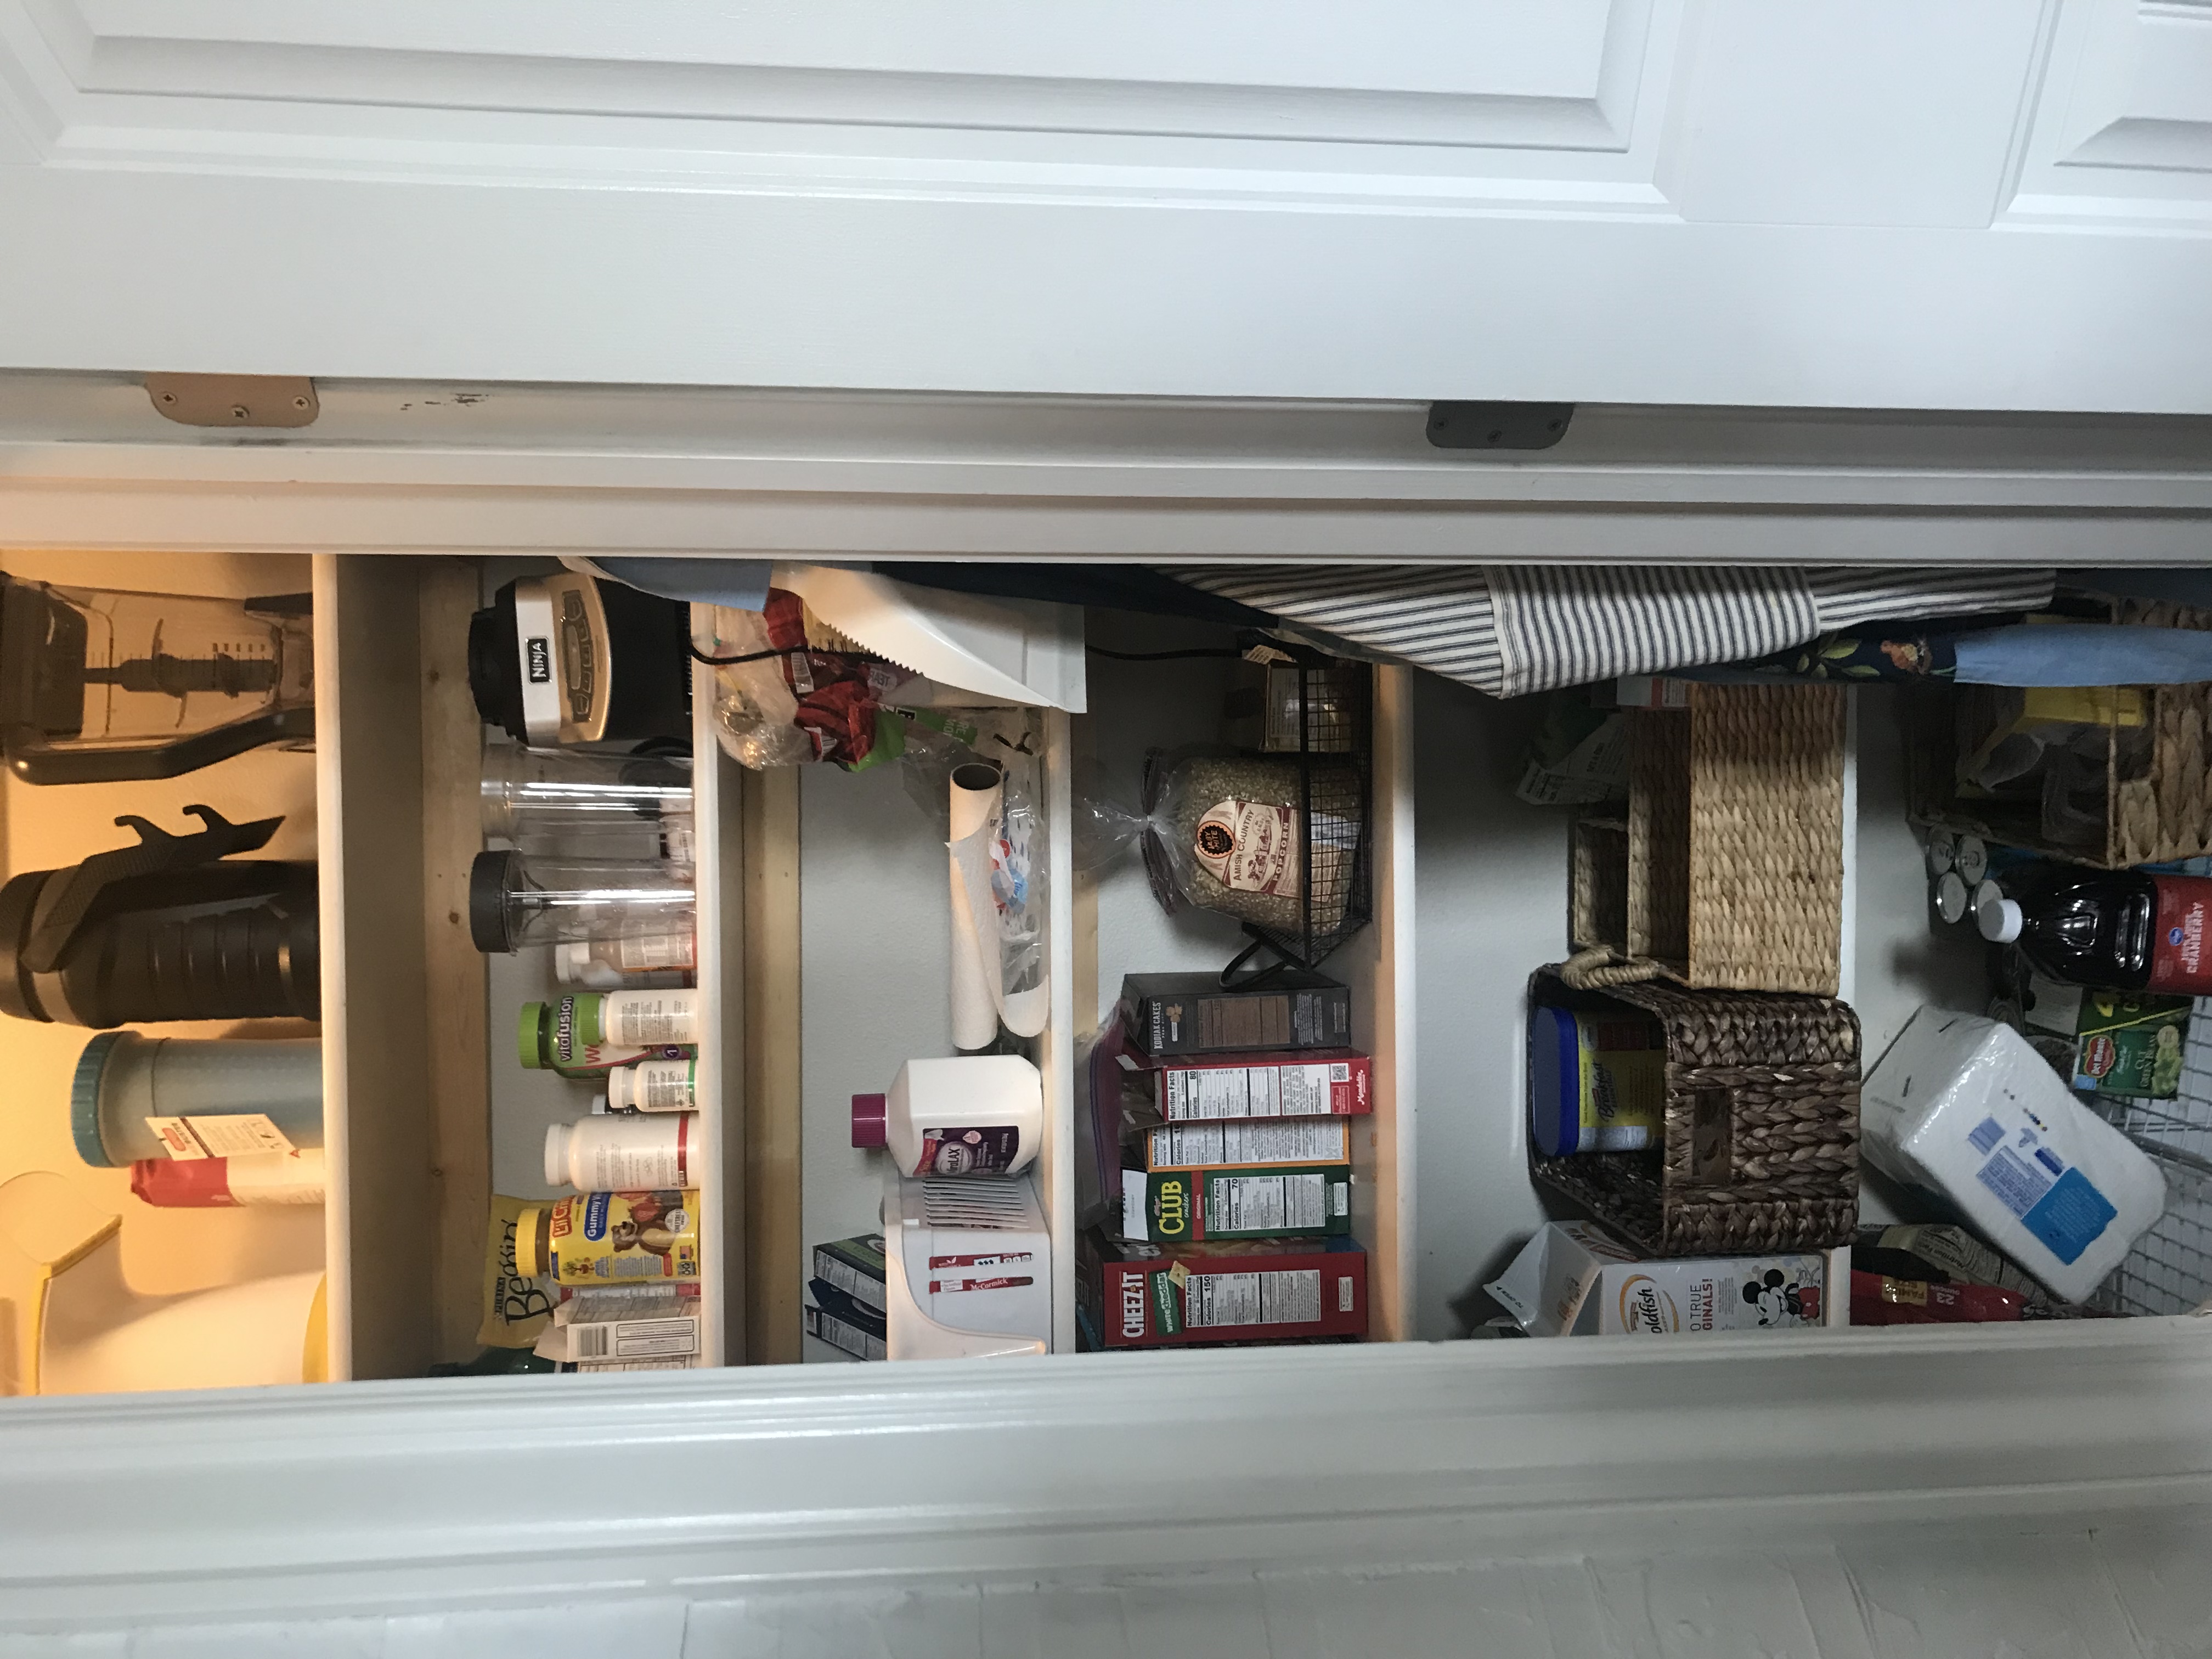
Our very messy, unorganized pantry. A tad embarrassing showing these photos but it was our reality for many years. I never took any time or put any money into organizing this space- as you can clearly tell! Our trashcan was always overflowing in here which drove me bonkers.
We always knew we would make over the kitchen at some point in time when we bought our home; the kitchen was nice but just not my style.
Kitchen Reveal
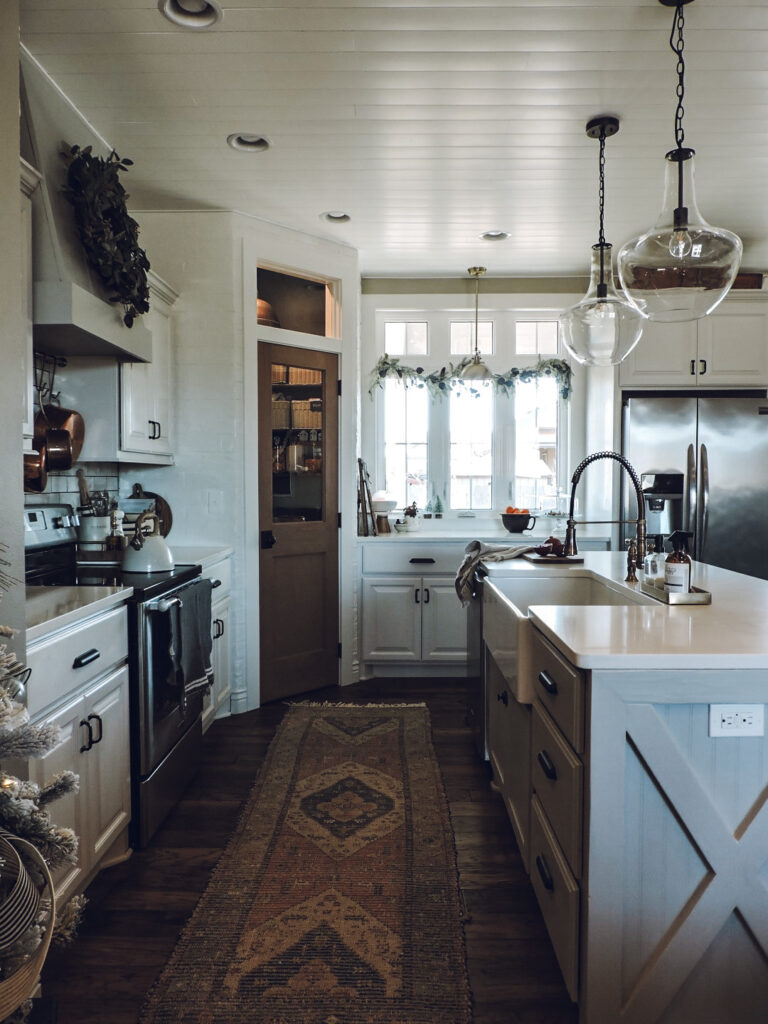
Kitchen Window & Shiplap Ceiling
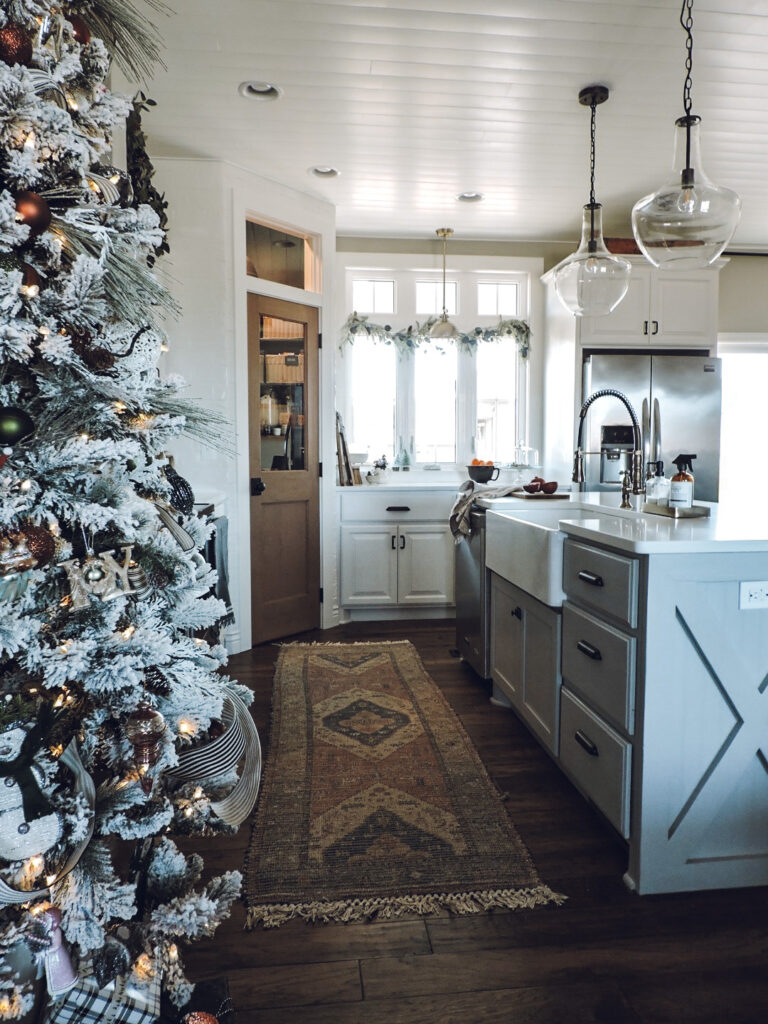
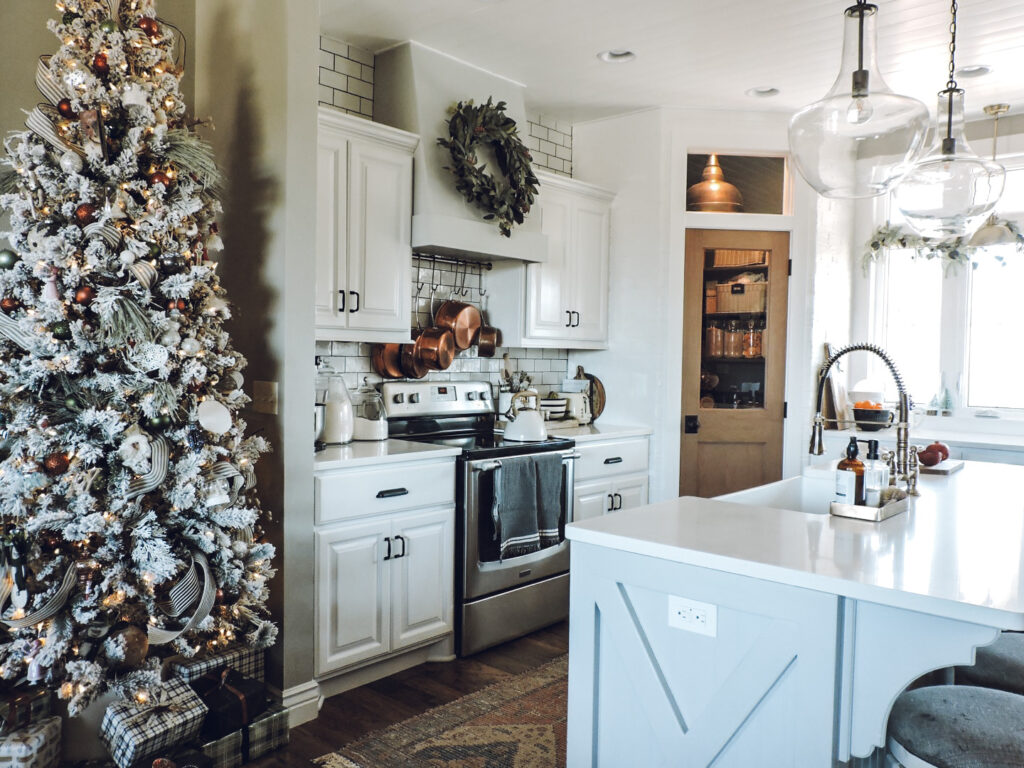
I am beyond happy with how our kitchen makeover turned out! You wouldn’t think for this small of an area that much thought or time would go into it but I put so much energy into this space. We are planning on this being our forever home so I wanted to make sure I didn’t look past any little detail. We added shiplap to our ceilings and it made a HUGE difference. The only problem is now I want to shiplap every ceiling in every room of our home!
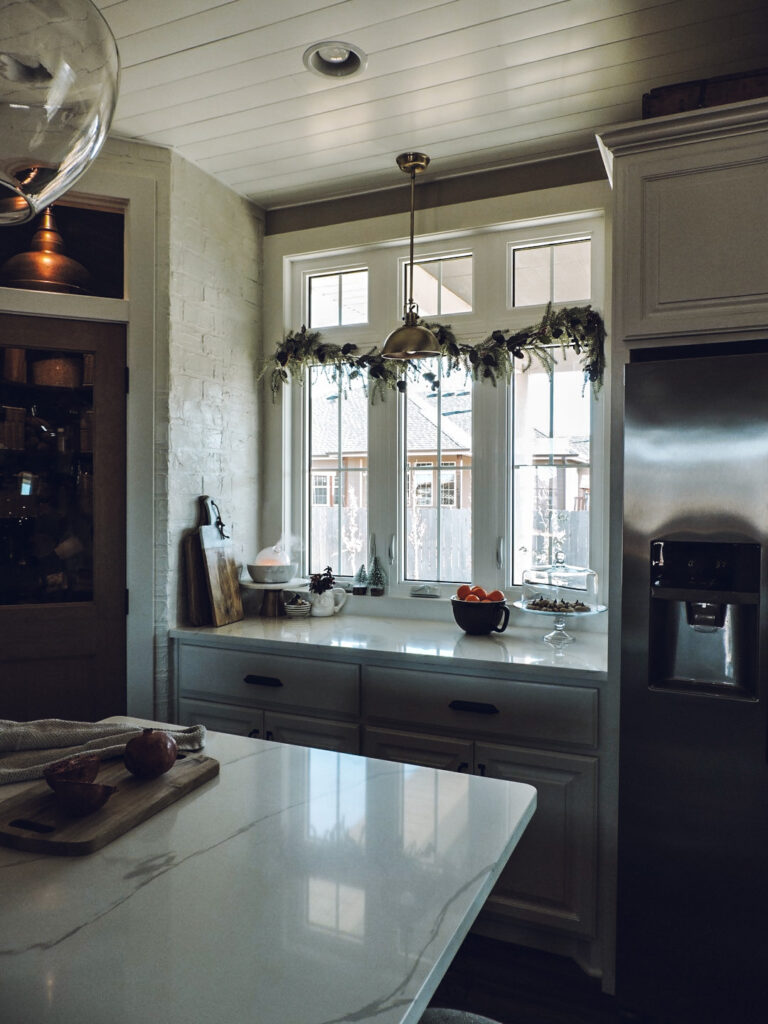
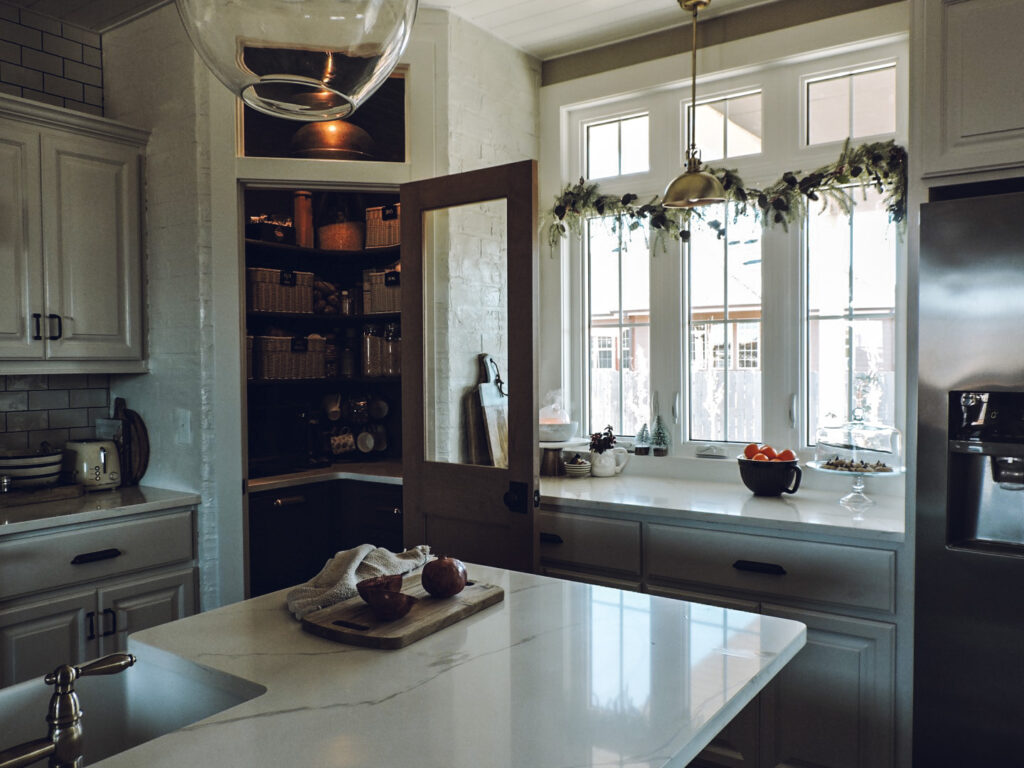
My most favorite part of the makeover is this window right here. Natural light is extremely important to me and our kitchen did not have a ton of it before. We took out the 2 smaller cabinets in this space, the smaller window and had this beautiful window installed. With the help of our contractor, we had this window designed and it is everything I imagined it to be.
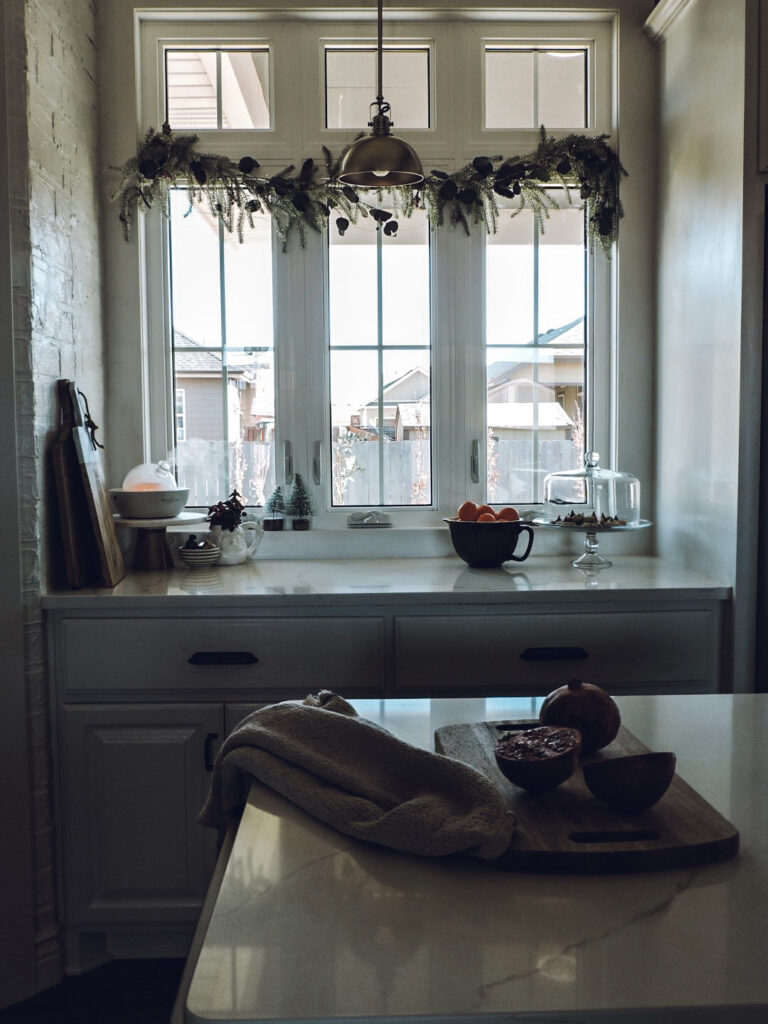

I had this pendant light in here before but there was no actual electricity to it; I used the magic puck light trick! We had this light hardwired in and it is now a full functioning light. You can find it here. In the evenings I usually turn this light on and it gives such a pretty warmth to this space.
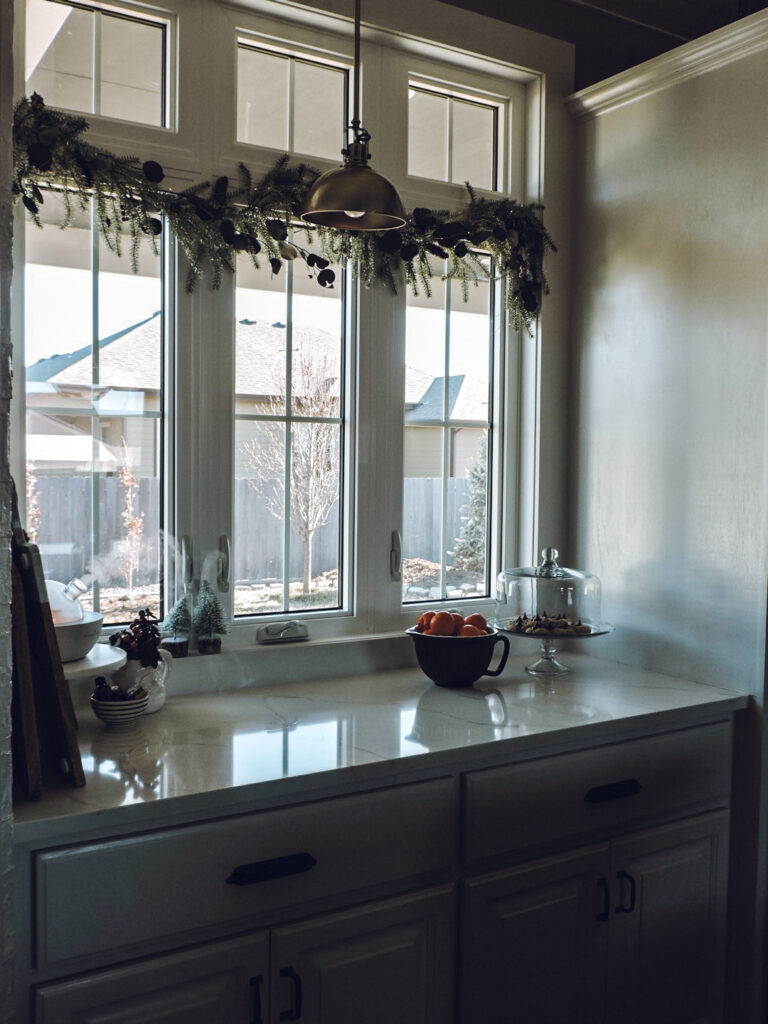
I also had our contractor enclose our refrigerator to help it look a little more finished instead of having the side of the refrigerator showing.
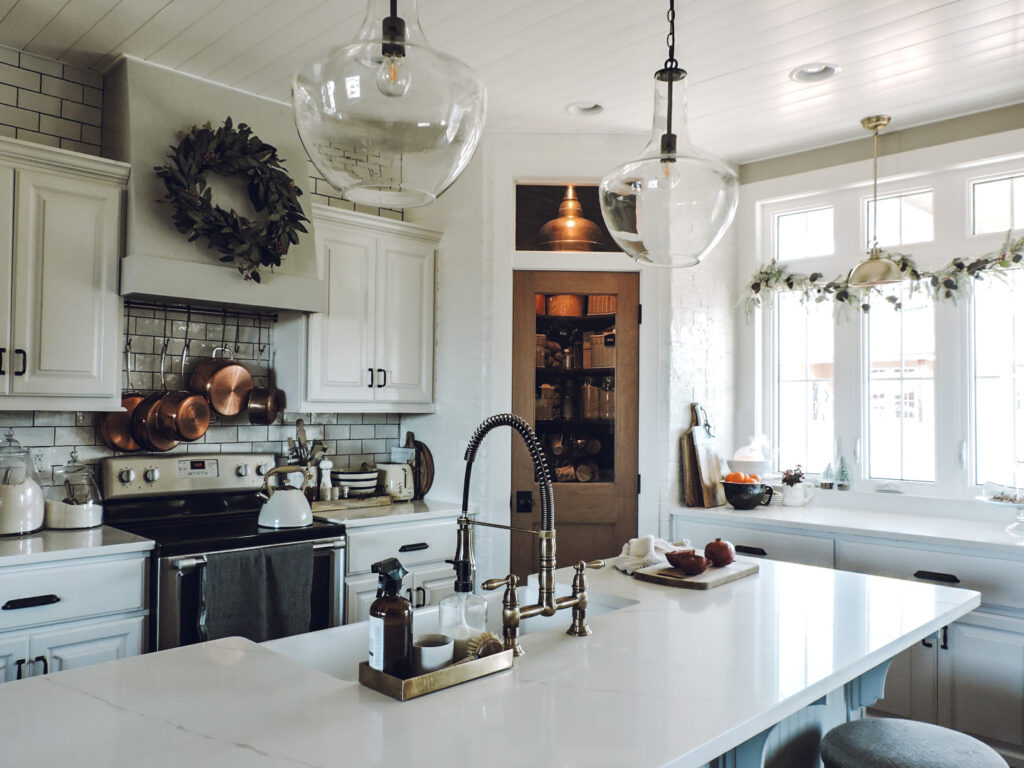
Countertops
For our countertops we went with a white quartz. I’ve dreamed of white countertops for years now and I am really happy with the quality of them. There is some light veining which I really like; not too much but just enough to create some interest and movement. I feel like white countertops are classic and will never go out of style.
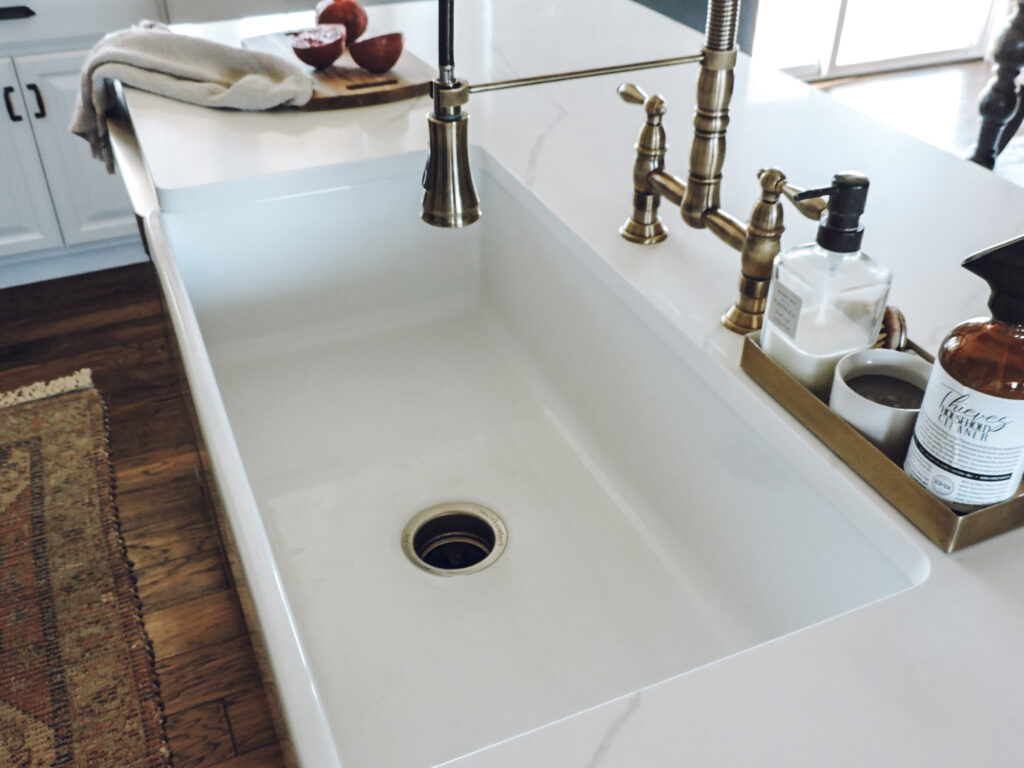
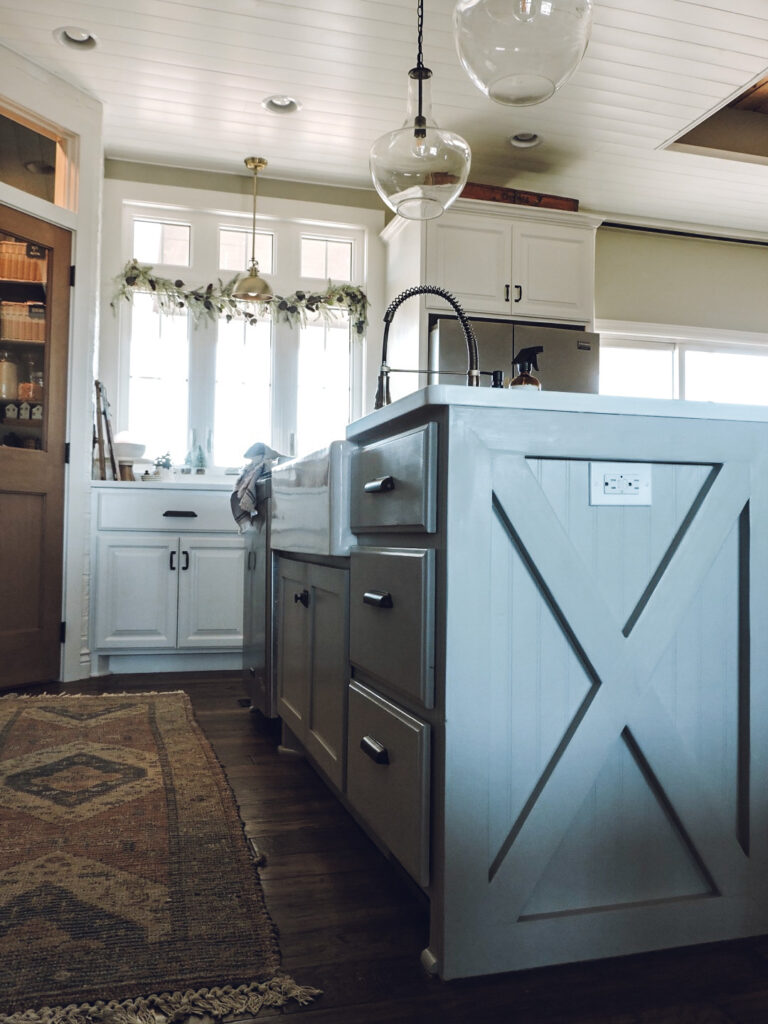
Kitchen Island & Farmhouse Sink
A farmhouse sink was another item on my wish list for many years now! We went with the Sinkology Harper Farmhouse 36 inch Fireclay Kitchen Sink. This thing is HEAVY! I love how big this sink is; can fit lots of dishes in here!

I went with black hardware on the cabinets but wanted to do an aged brass faucet. I found this one well before our kitchen makeover started and snagged it up. To me this feels a little farmhouse but also has a classic vibe to it which I really like. And it matches our pendant light in front of our window perfectly!
For the kitchen island I had our contractor add this “X” design to the ends and then I painted it a cooler toned grey color, the same as our faux hood. After many tries I found sonic silver from BEHR to be exactly the color I was looking for. I kept the rest of our kitchen cabinets the same white I painted them last year and just touched them all up.

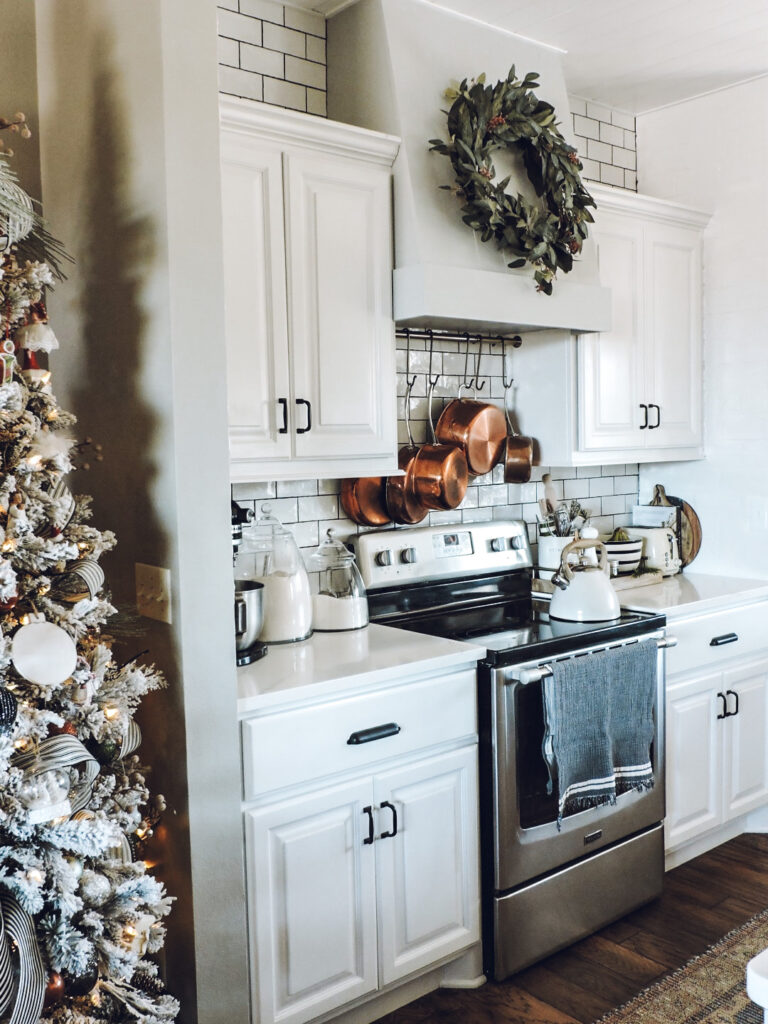
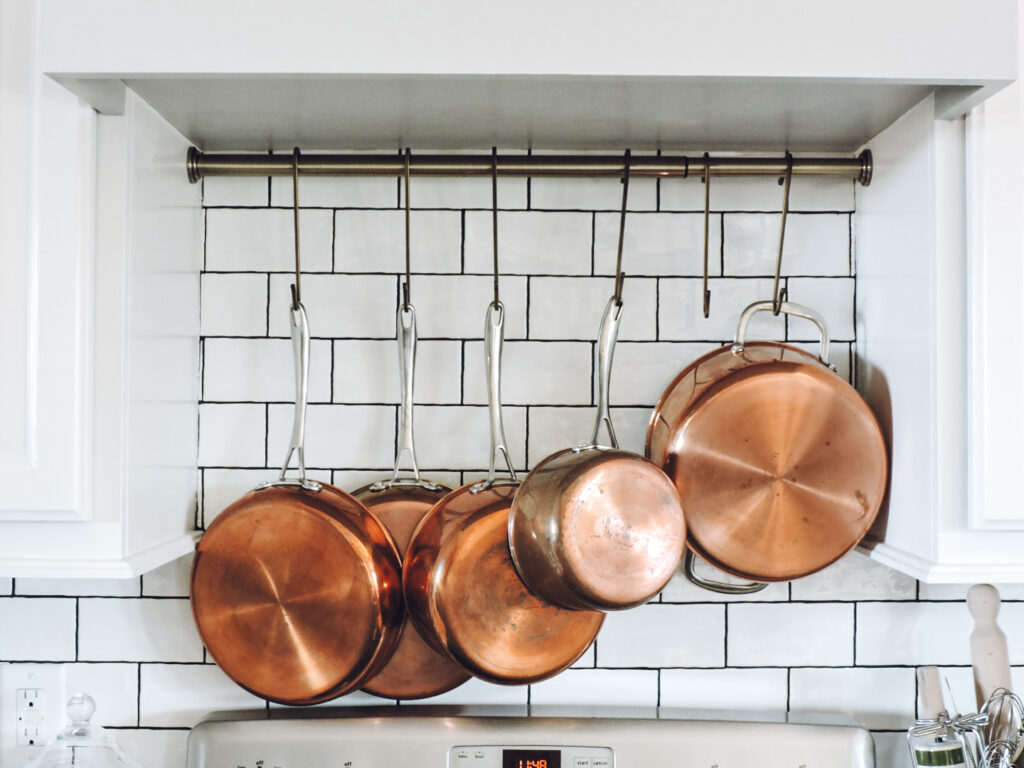
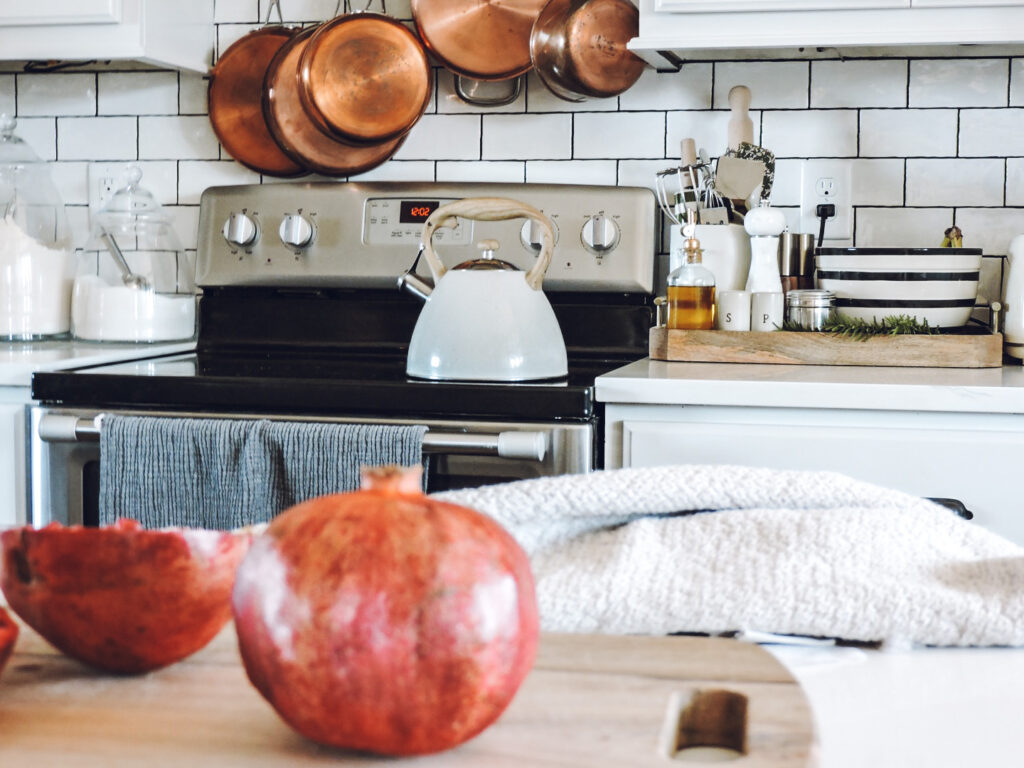
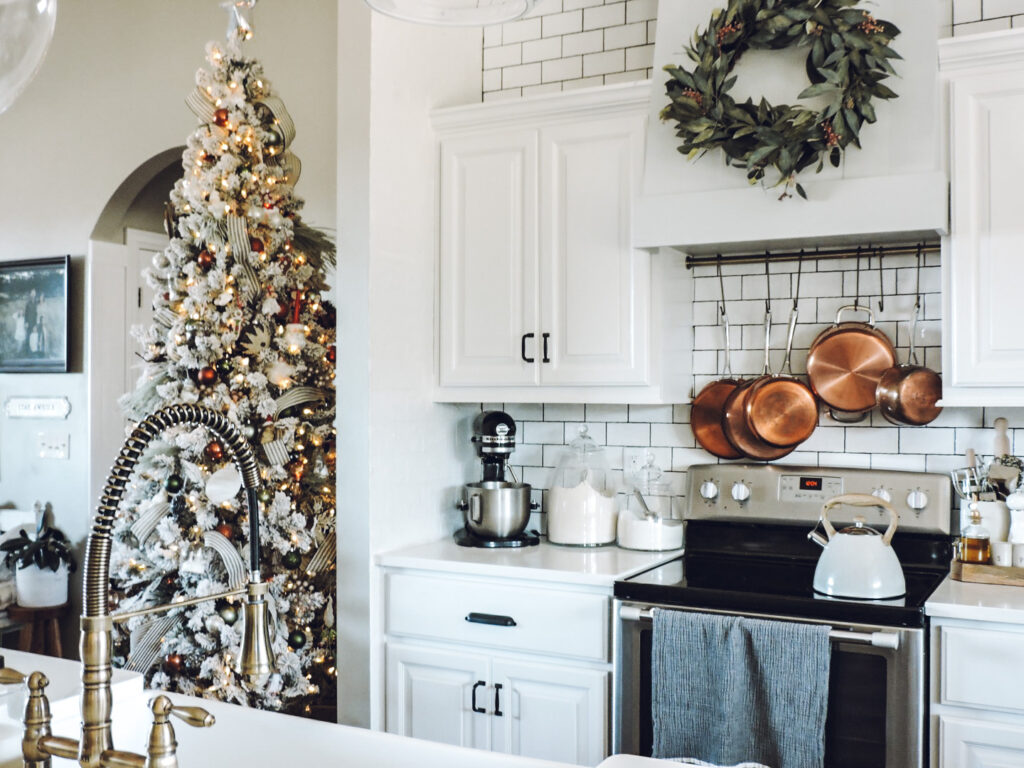
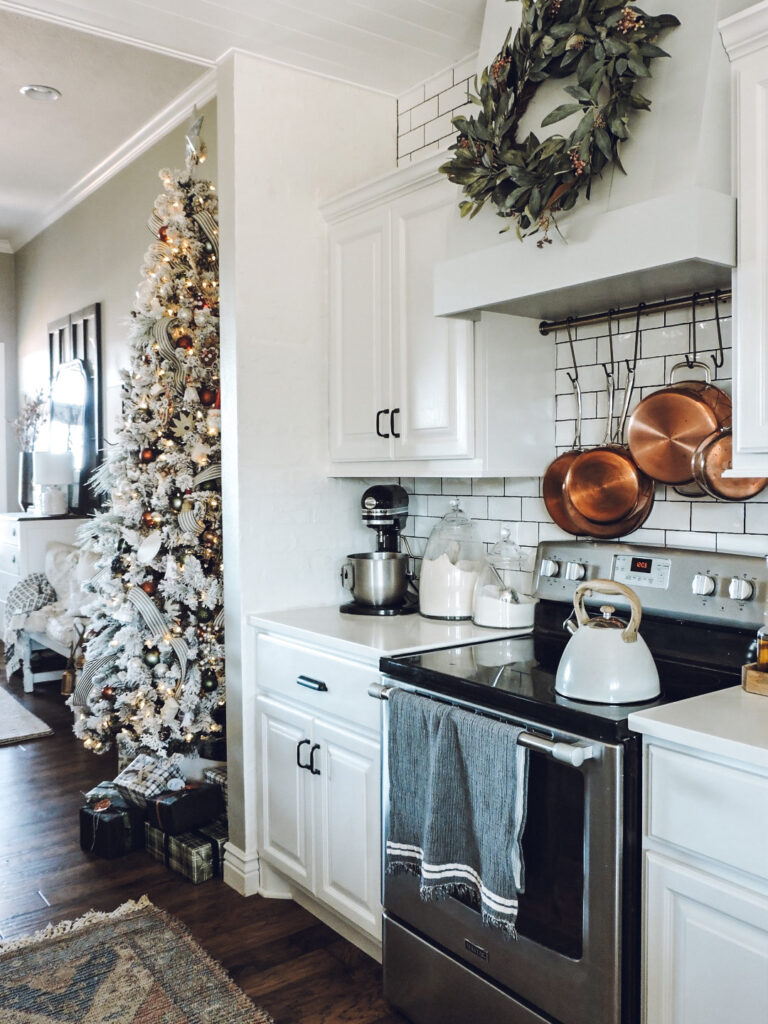
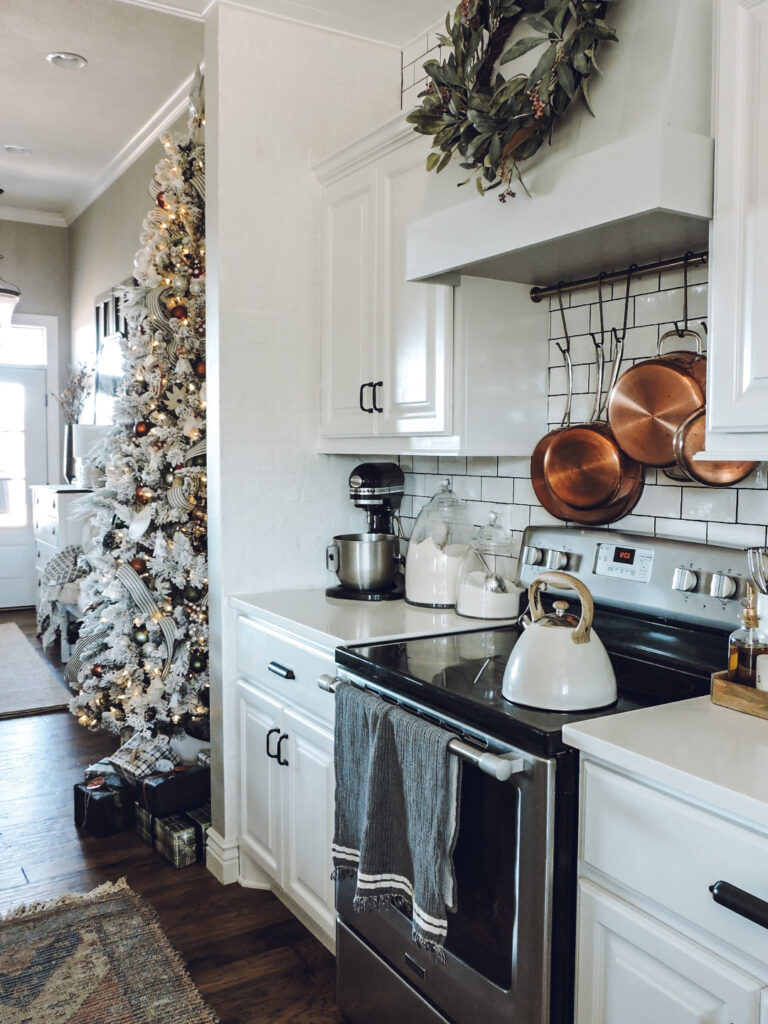
Faux Hood & Pot Rack
Our contractor installed this faux hood for us a year or so ago but there used to be the microwave under it. We had him take that out and I toyed with the idea of doing a pot filler but after talking to a lot of people decided I wouldn’t use it as much as what I thought. I opted to do a pot rack instead by simply installing a tension rod between the cabinets.
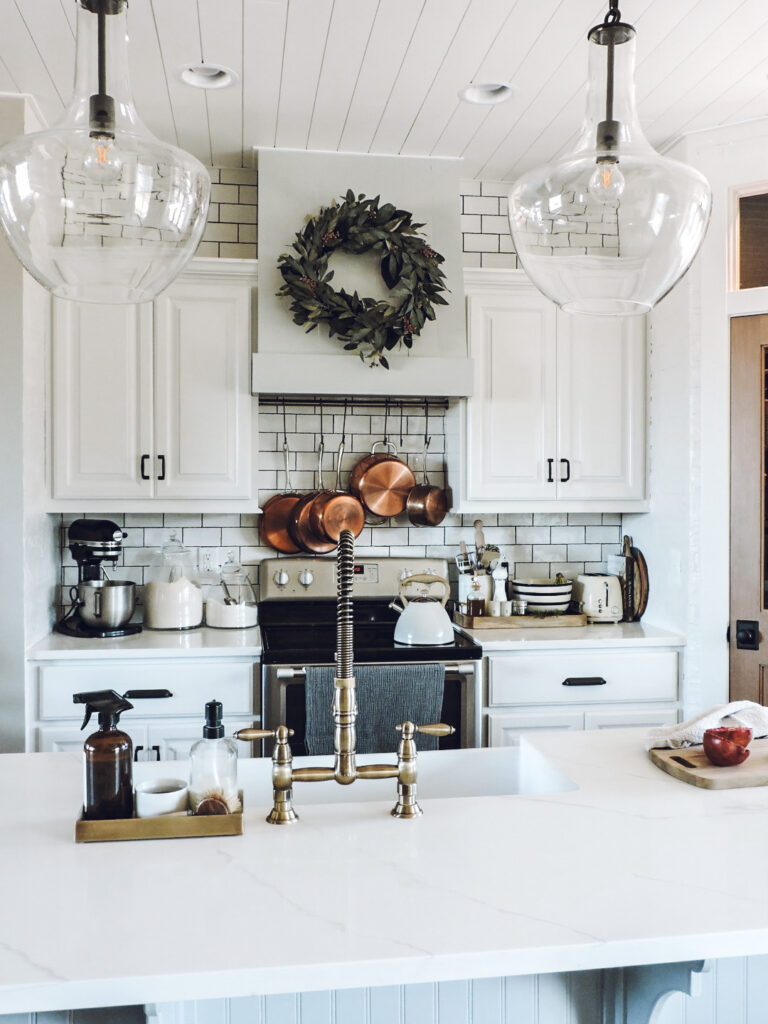
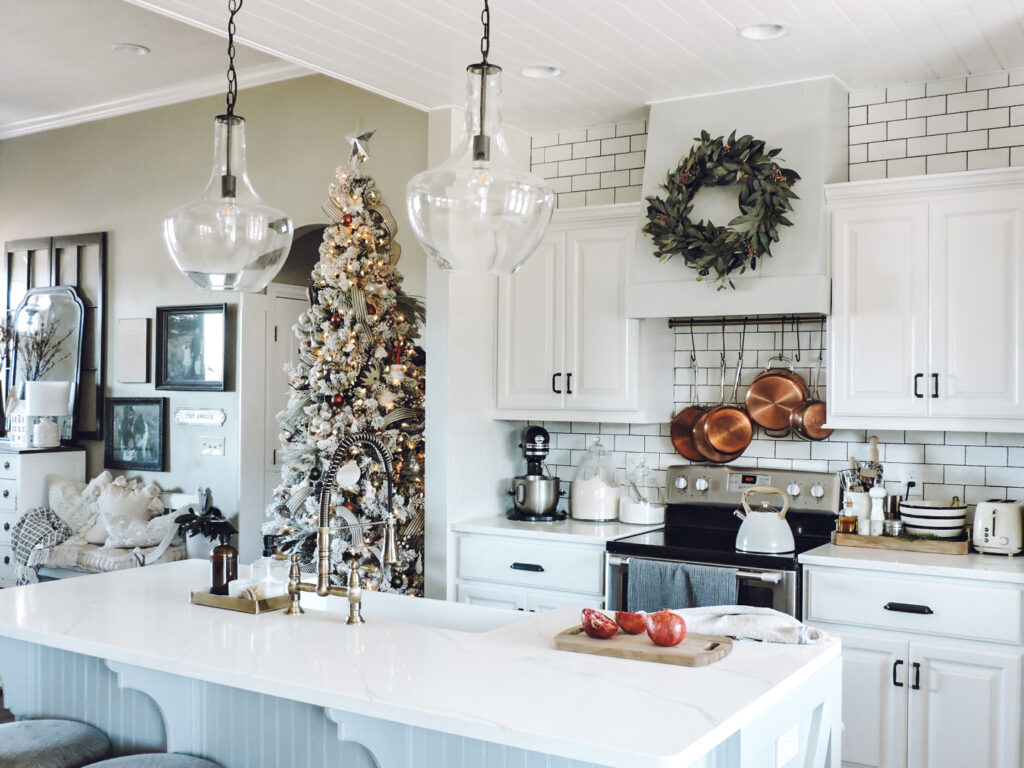
Pottery Barn Pendant Light Dupes
My eyes were on these Pottery Barn pendant lights but I just couldn’t bring myself to spend that much money on them. I found these dupes for way less money!
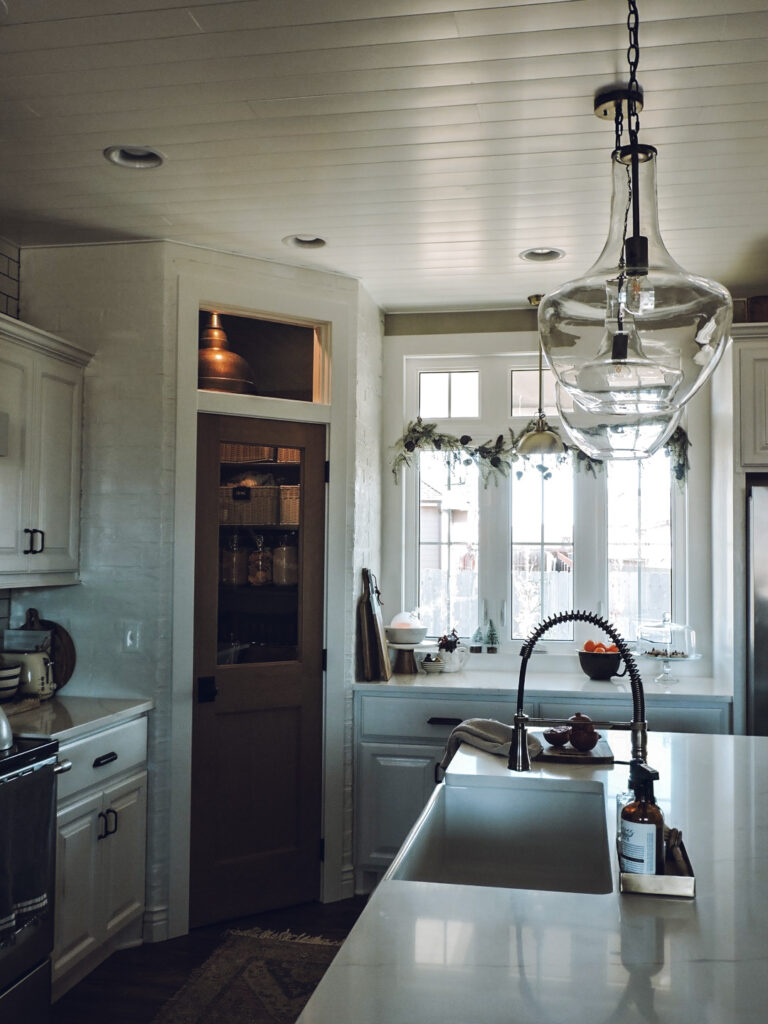
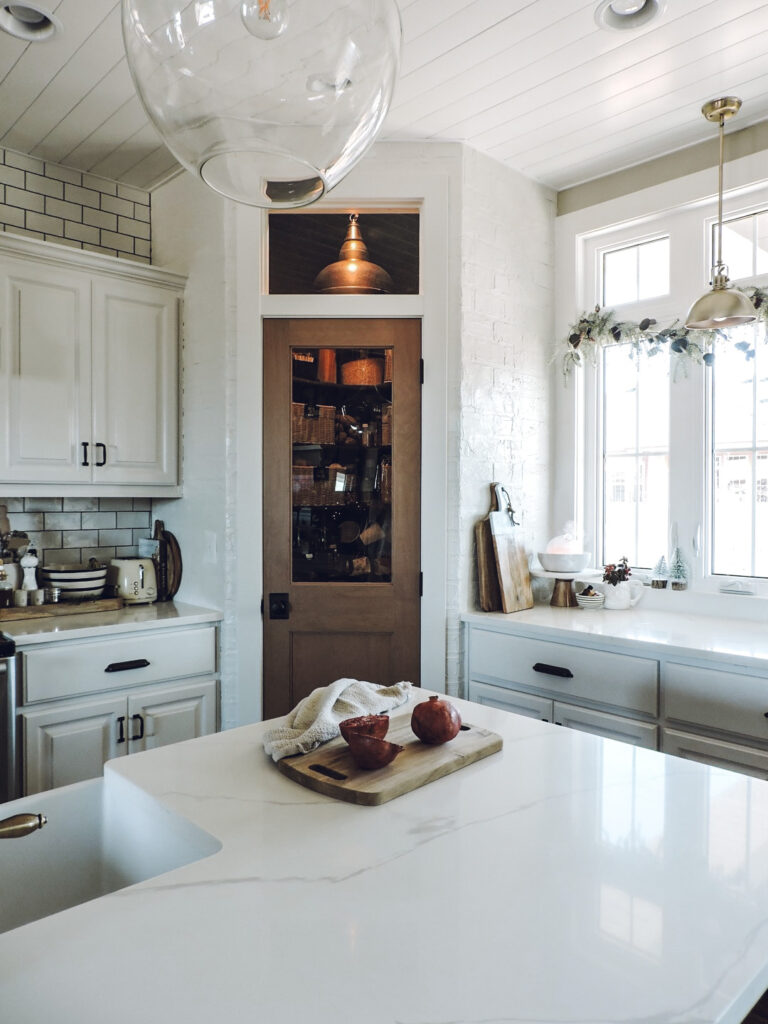
Pantry
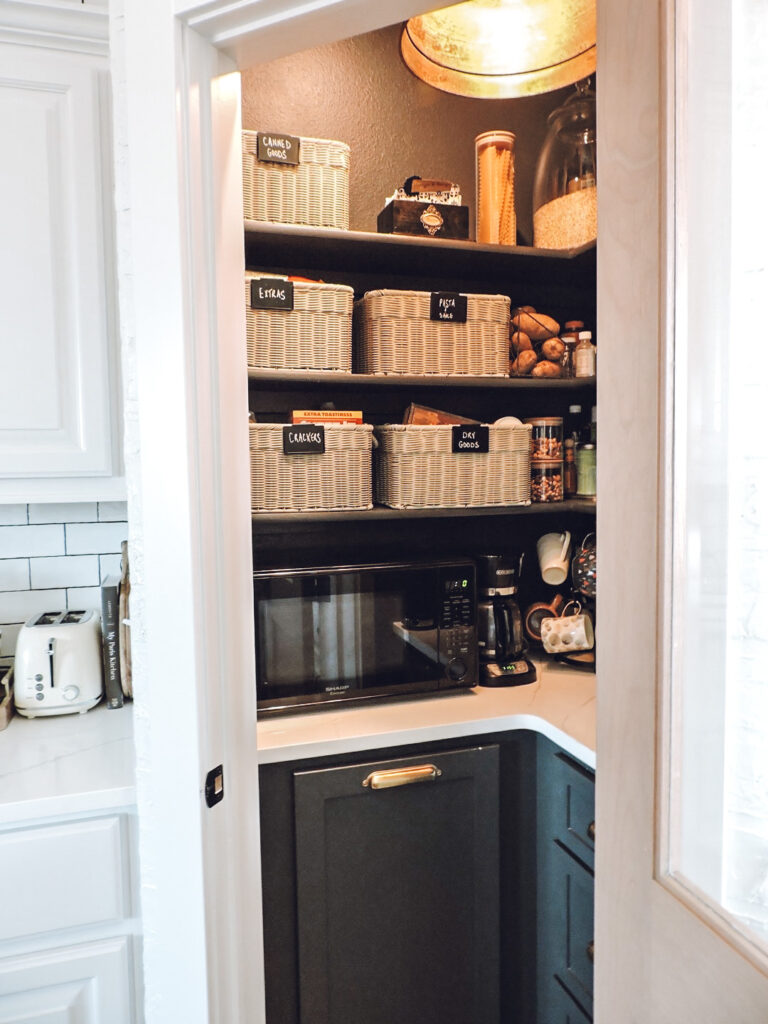
As you can see in the before pictures our pantry was a huge mess before. This tiny little area went through a major transformation and is so much prettier and functional now!

We had this door custom made; our contractor and myself could not find anything that was already manufactured. I had him install a transom window above to show this beautiful aged brass light fixture and to match our window. I wanted to add some warmth to this space and really wanted a stained wood door. This stain color is custom made and is exactly what I had in mind!
When I told Matt about my plans for the pantry I am pretty positive he was skeptical about it working out. Our pantry is pretty small but you would be surprised what you can do with a smaller space! To the left is a pull out trash can. Can I get a hallelujah for our trash being hidden!!! On the right side is a bank of drawers that holds bread, canned items, etc.
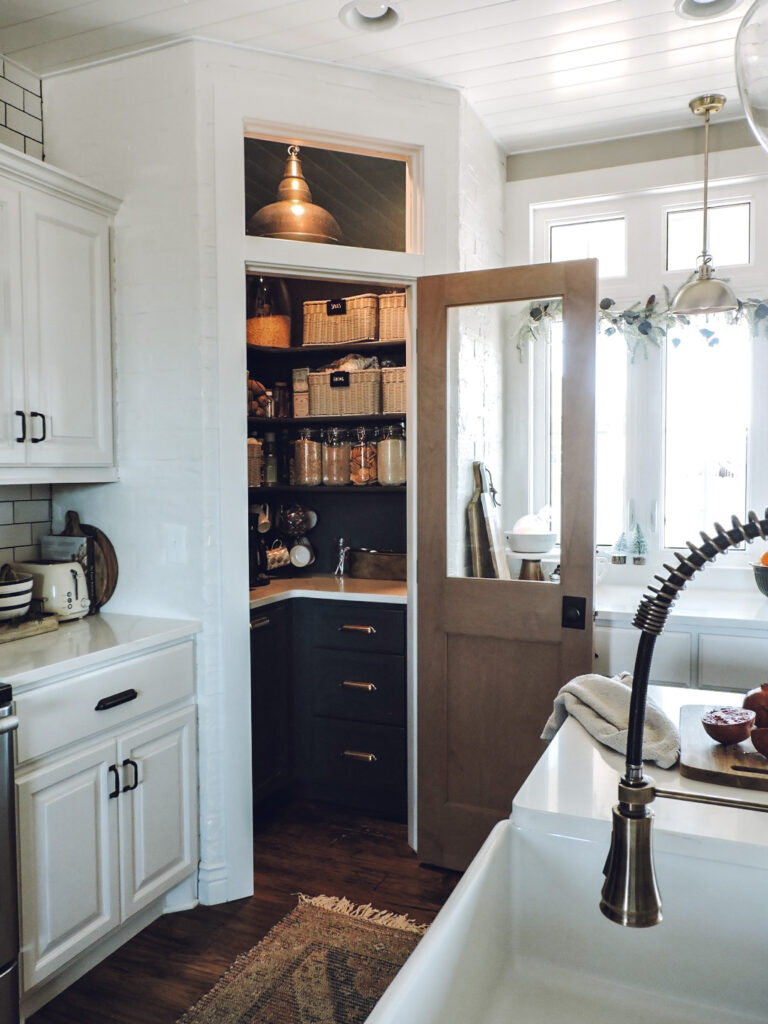
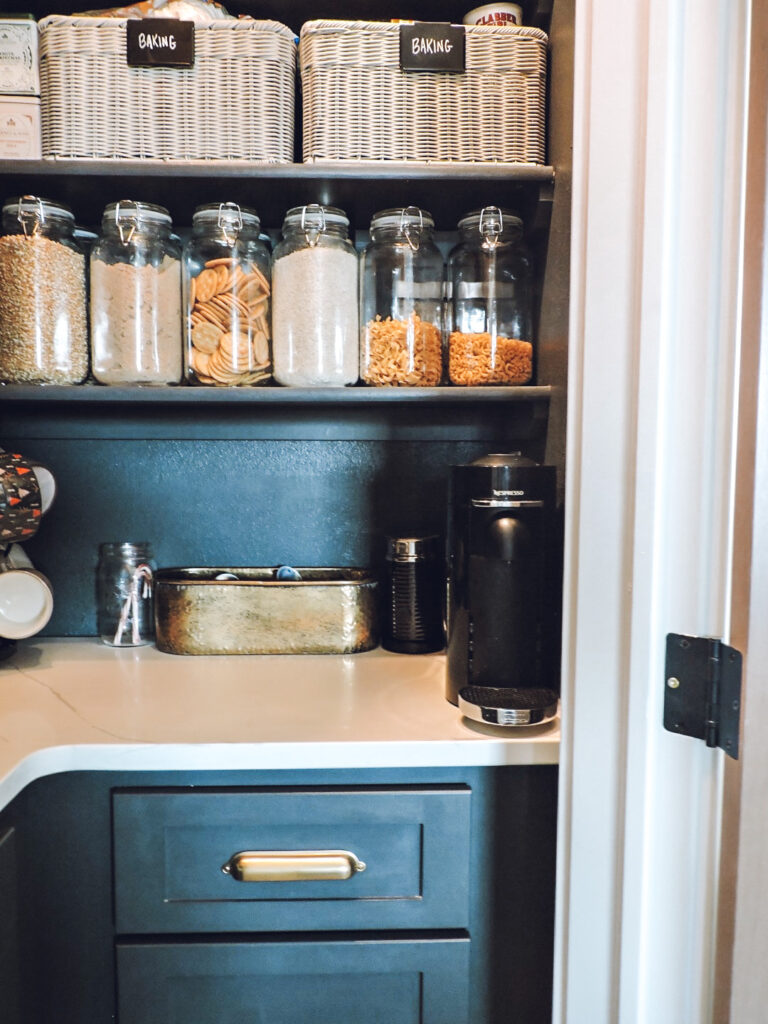
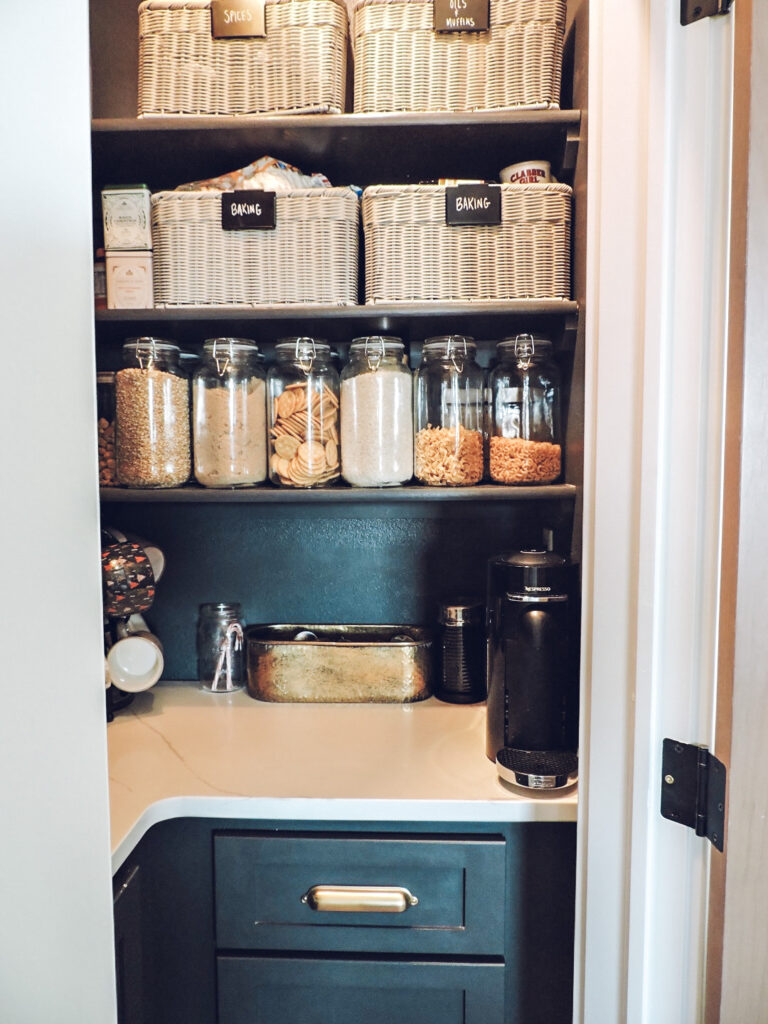
Our pantry has the same countertops as our kitchen and it houses our microwave now (love having the microwave hidden away) as well as our coffee bar!
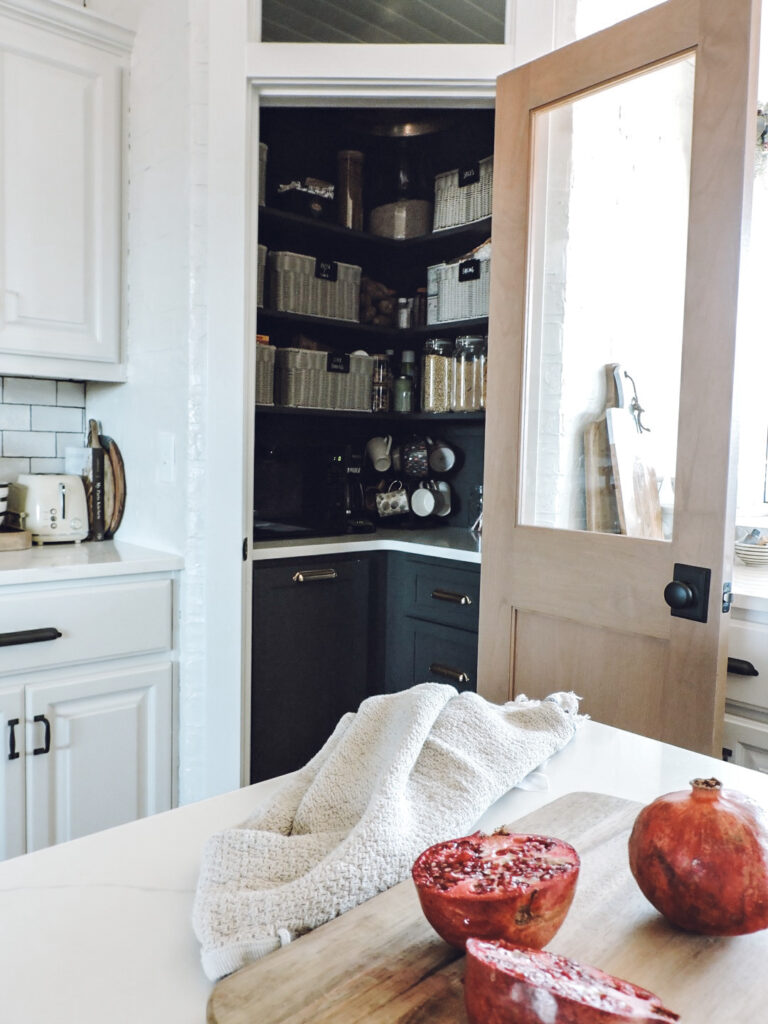
In here I painted everything wrought iron by Benjamin Moore. This brass hardware really pops against this color.
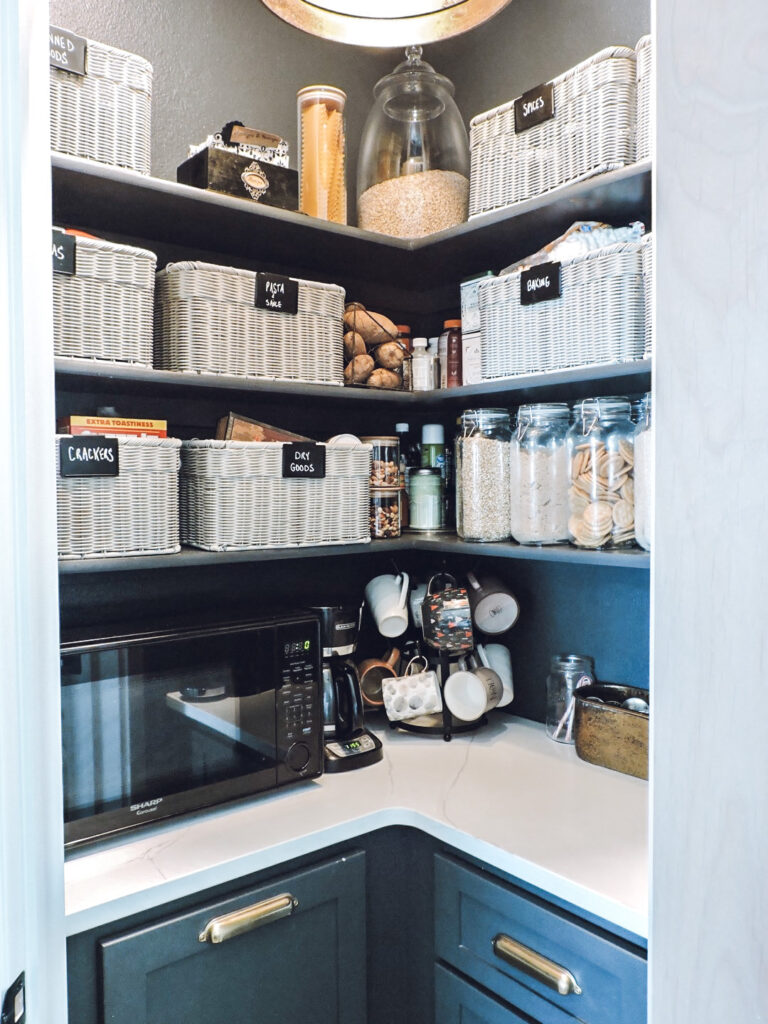
These baskets are so perfect! You can find them here. I knew I did not want baskets that shed their fibers, I had some of those before in here and it annoyed me that there was always stuff all over the place. These baskets are plastic, are very well made and the color stone is perfect. And they don’t shed! I also grabbed these chalk marker labels from The Container Store and am really impressed with the quality.
Backsplash
For our backsplash I chose this white backsplash and a charcoal grout. The tile has uneven edges which makes it look a little more hand made.

At the last minute I decided to bring the backsplash all the way to the ceiling. I love how it ties the whole wall together.
Faux Brick
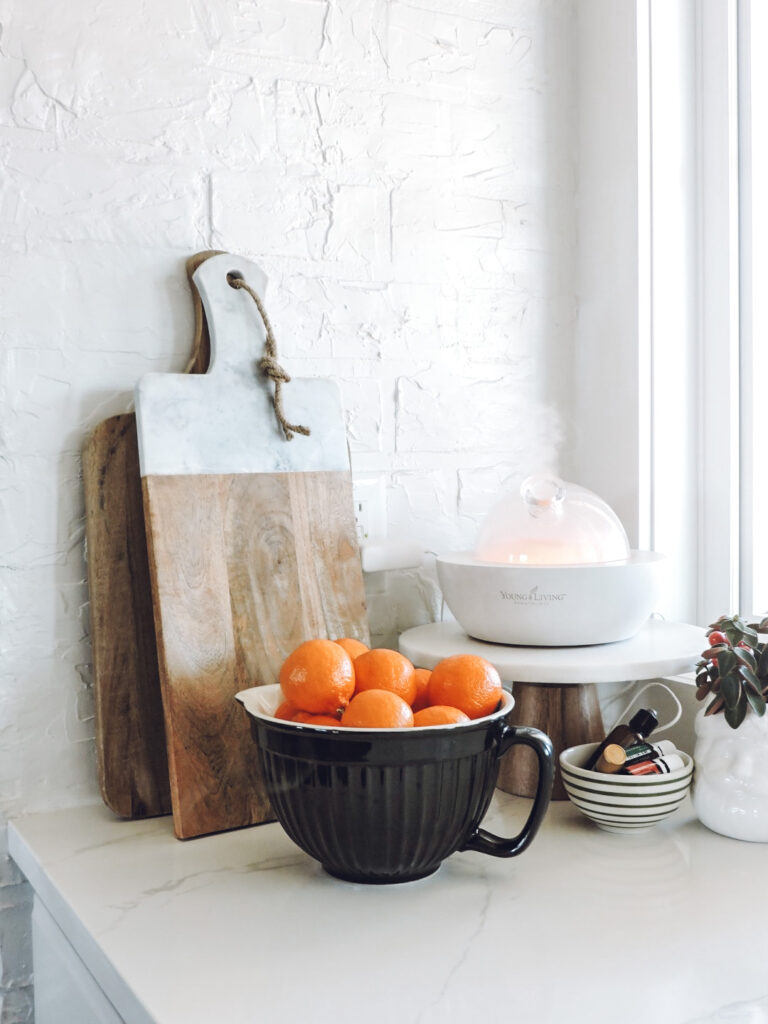
To see how I did this faux brick using joint compound you can go to this post. This technique adds such a nice texture to the walls, I am really happy I added this in more areas of the kitchen.

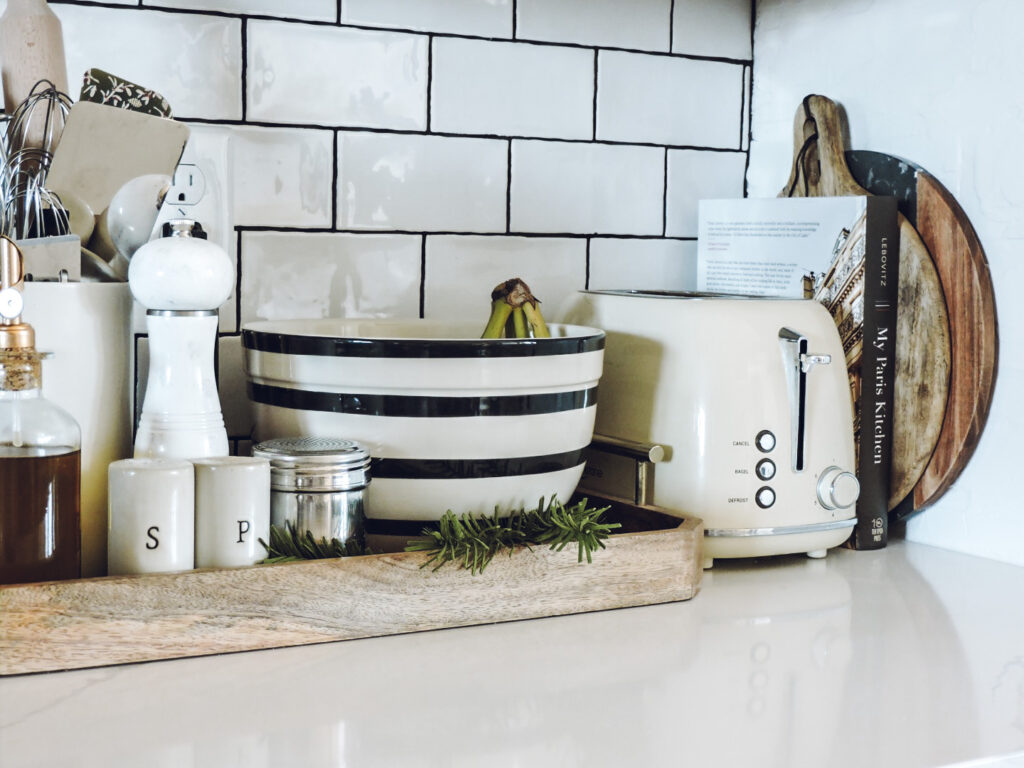
This project took many months of slow and steady work and it was completely worth it! We are so happy with the outcome!