
Stone Planter Boxes
The last few months we have been slowly working on the landscaping on the side of our house. We have done brick pavers; go here to see how we saved hundreds of dollars on these by using a $30 product! Along with the pavers, we installed a flagstone path, added new trees and some plants. Go here to see those projects. I was so excited for Matt to build the stone planter boxes and he finally found some time last weekend.
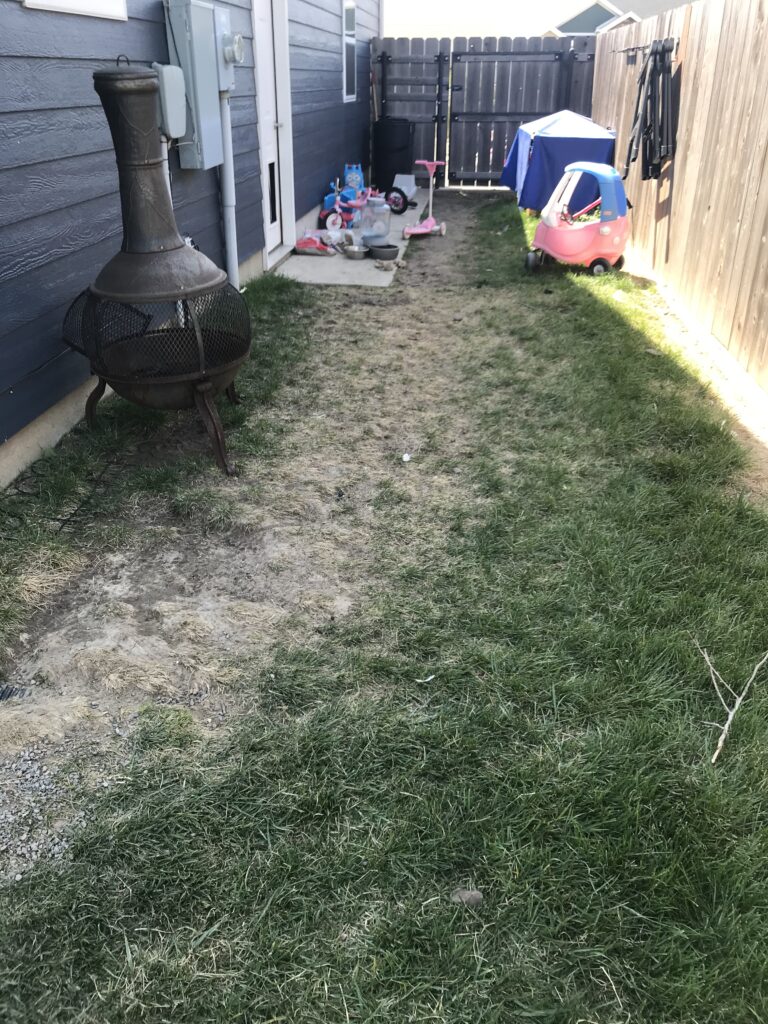
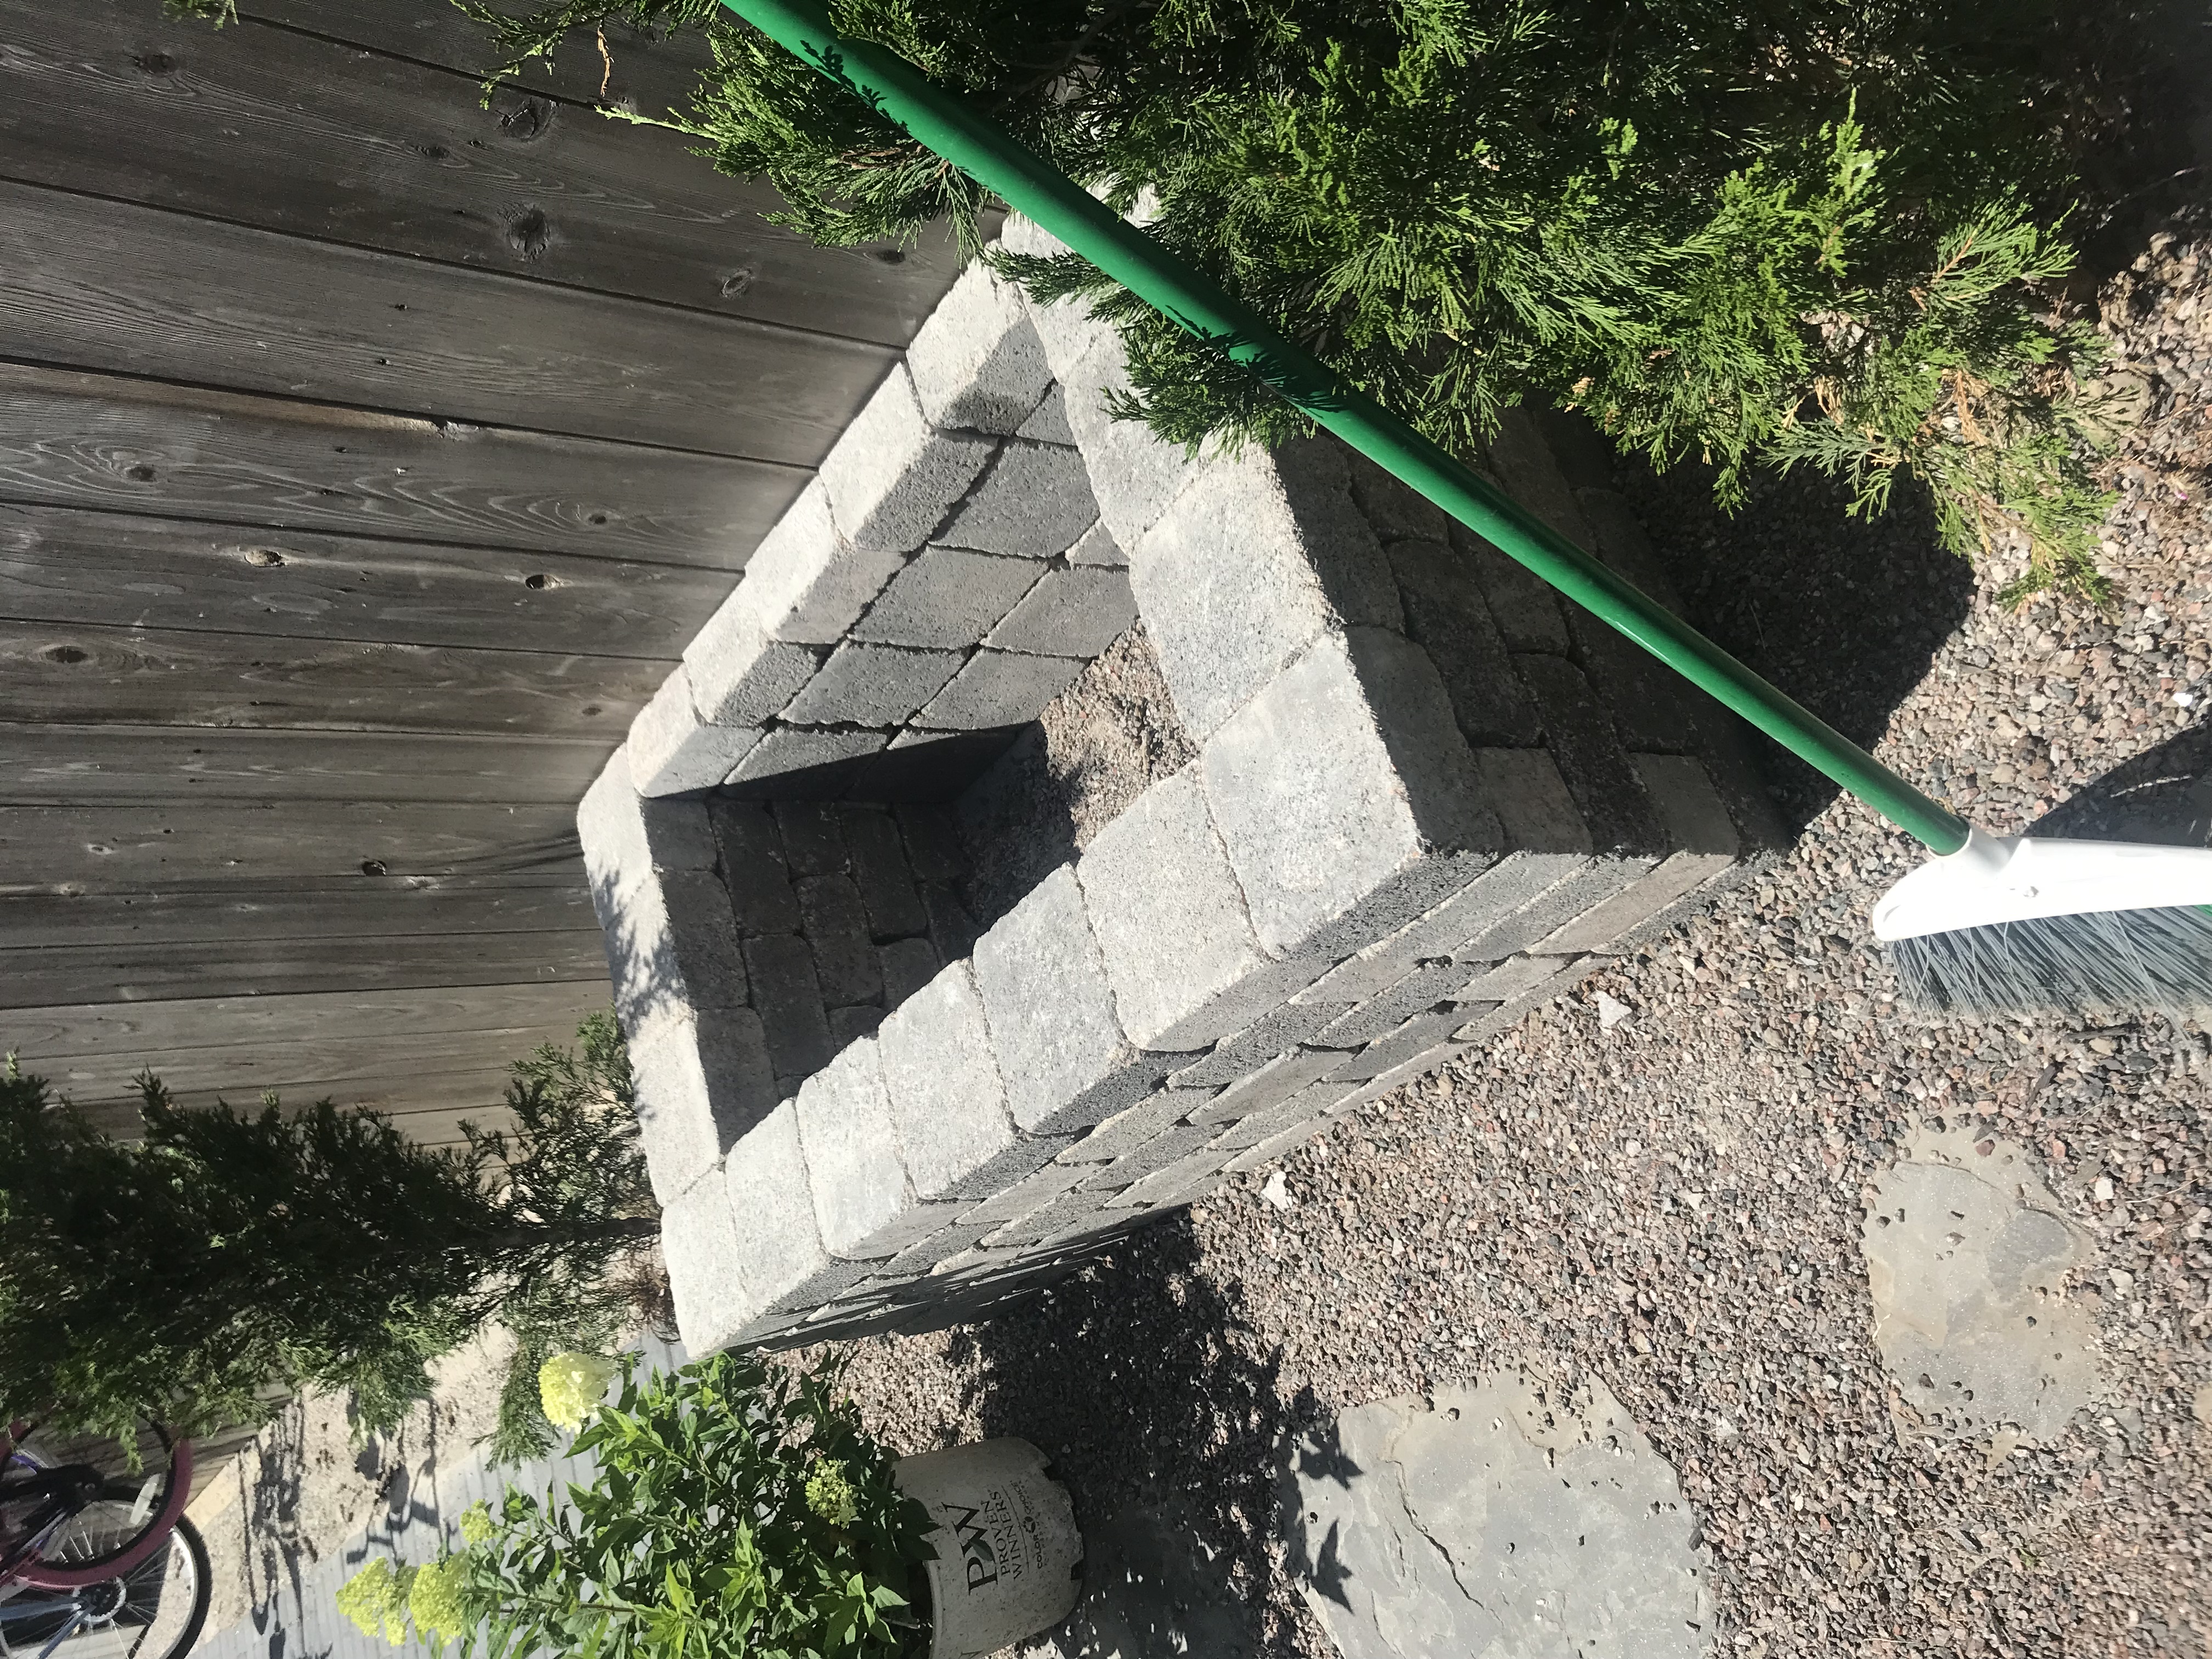
Here is a before picture of this space.
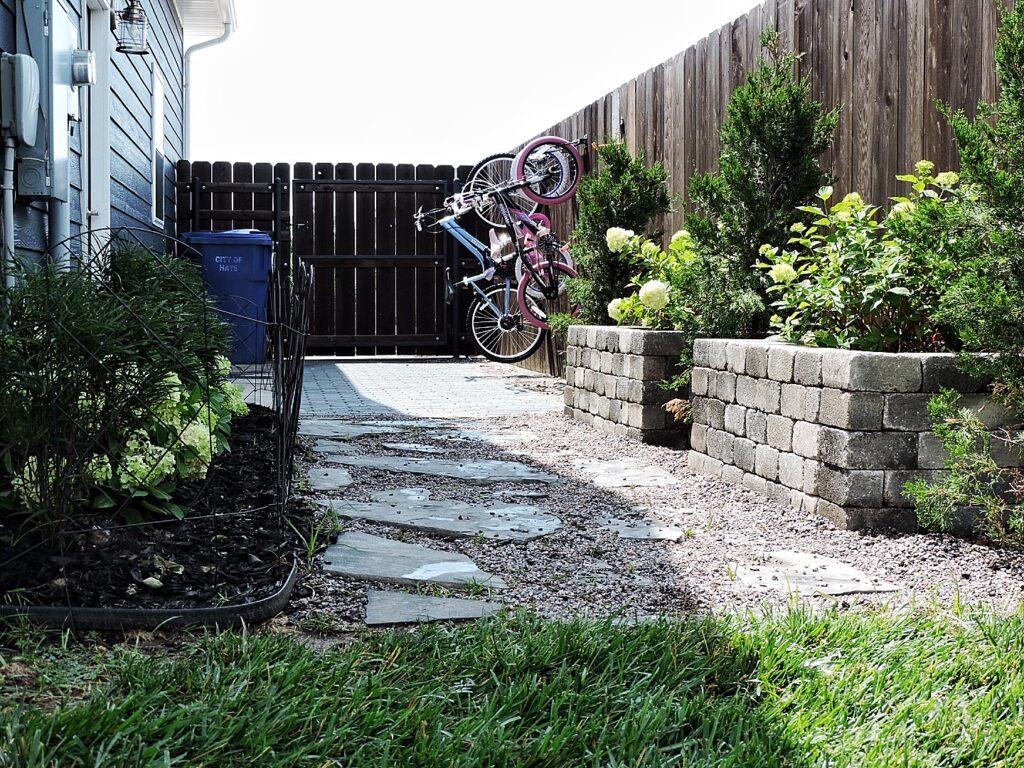
And after!
DIY Stone Planter Boxes
Supplies Needed
- Stones
- Wet Tile Cutter
- Landscaping Glue
- Level
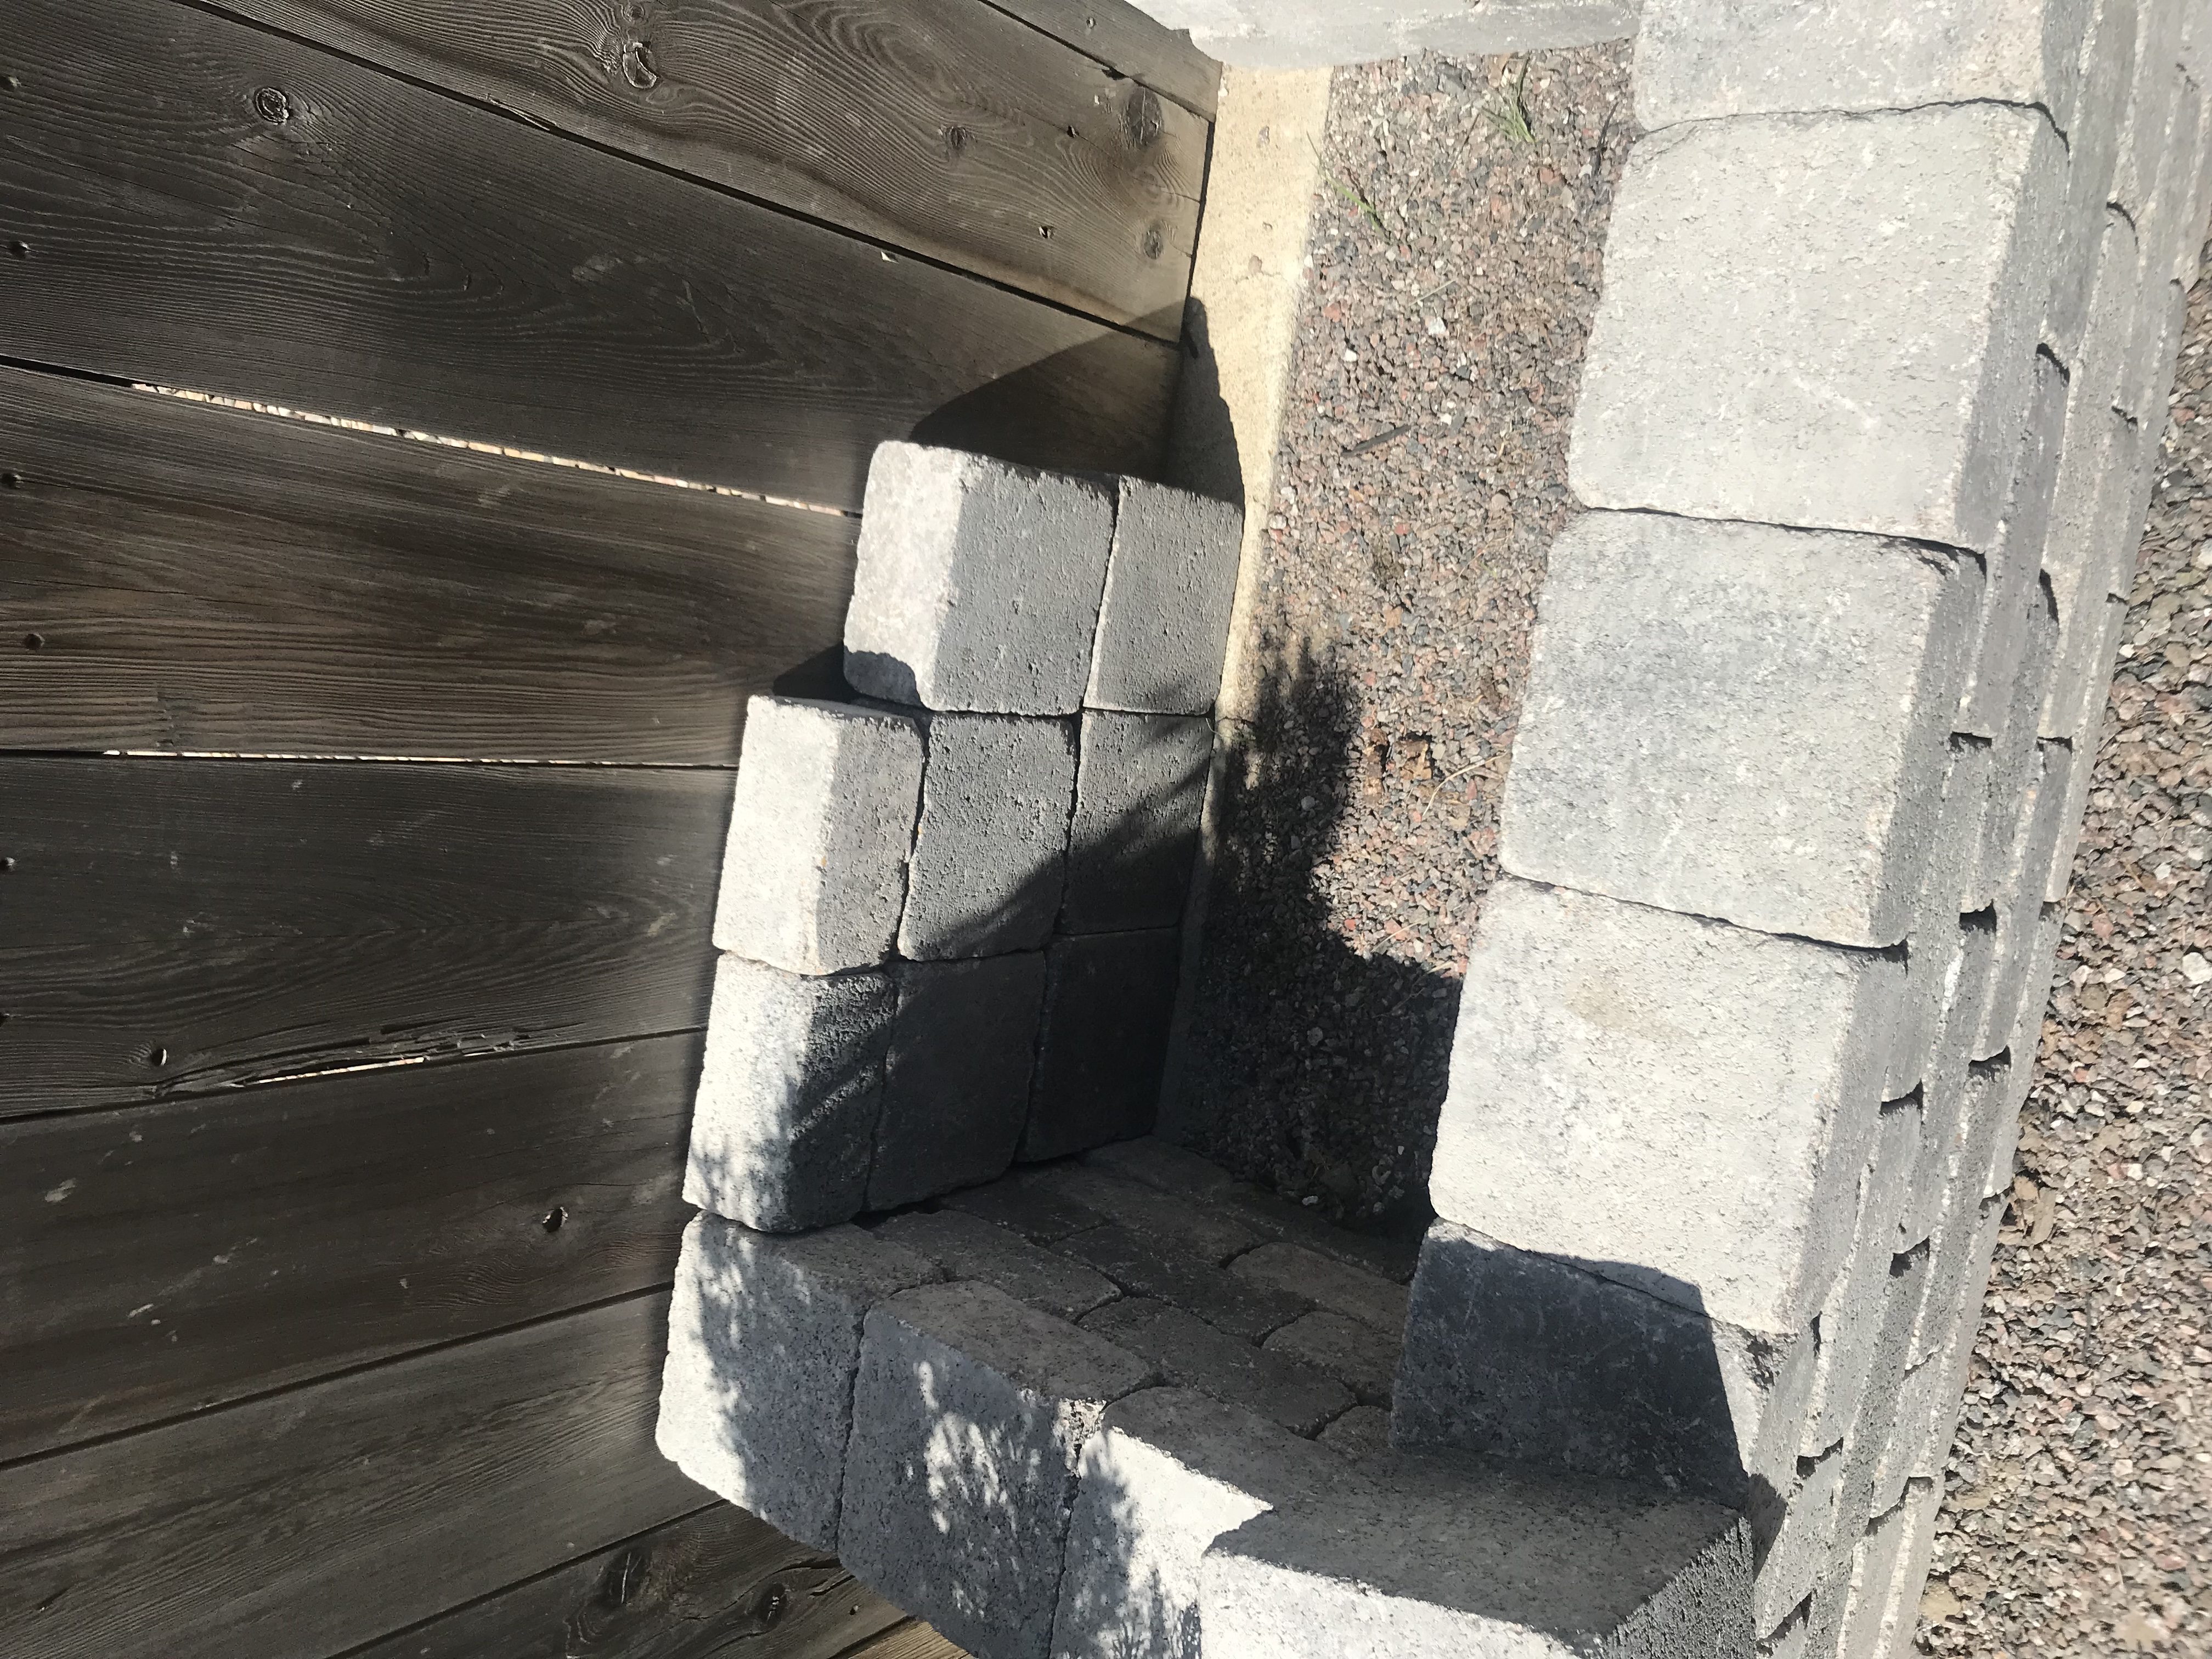
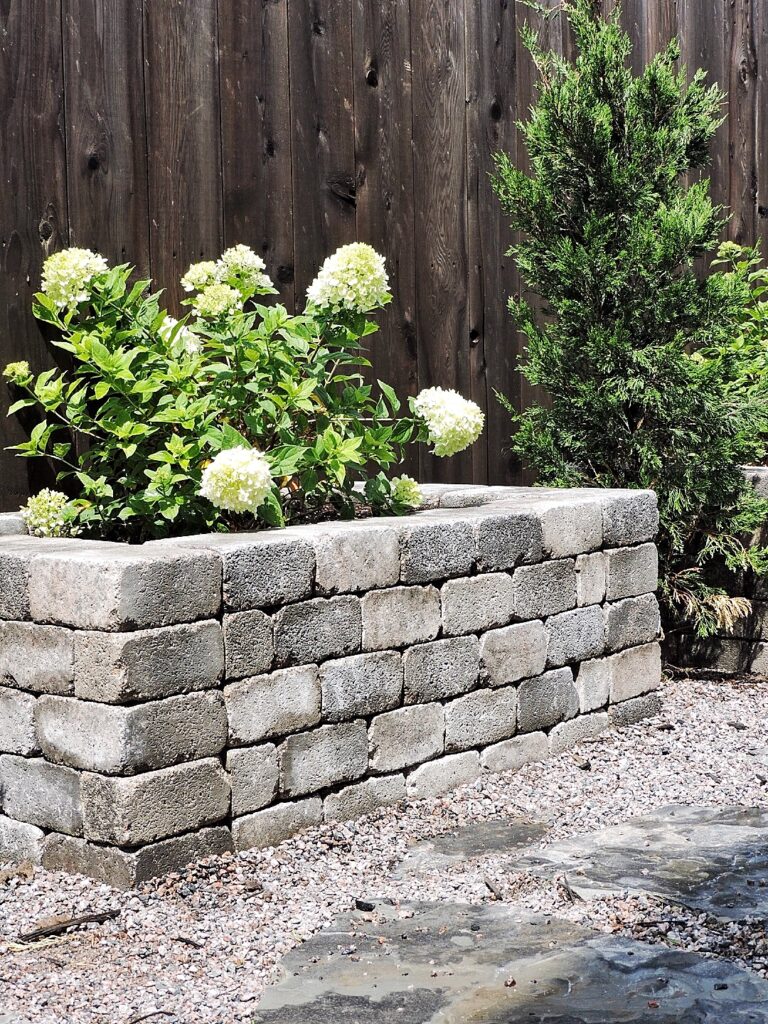
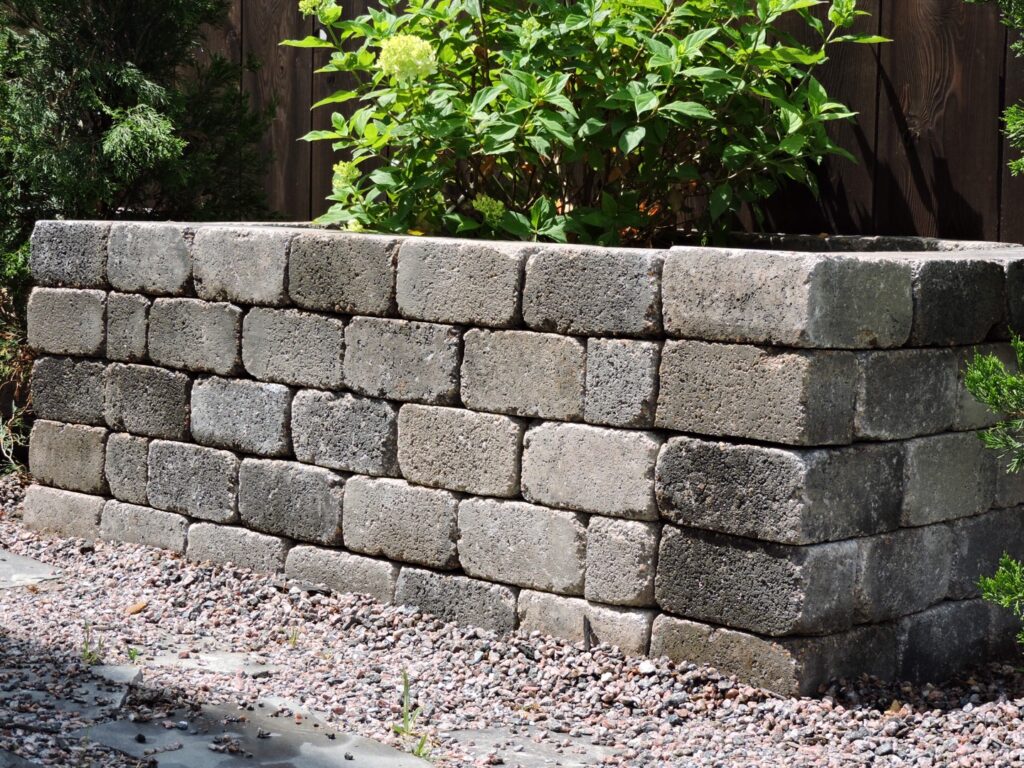
We purchased our stones from Home Depot, we both liked the color, texture and “chunkiness” of them. You will need to cut some of your stones in half so they are staggered and the seams do not line up. Keep in mind, the bottom and top layer will be all full size stones. Simply put some landscaping glue on each layer so your planter box stays in-tact for years to come. Use your level to make sure everything is nice and straight.
For the back side, I came up with the idea to stack the stones lengthwise, which allowed us to use less stone which equals less money. On the top side of the back, we finished it off with the half cut stones.
Stone Planter Boxes
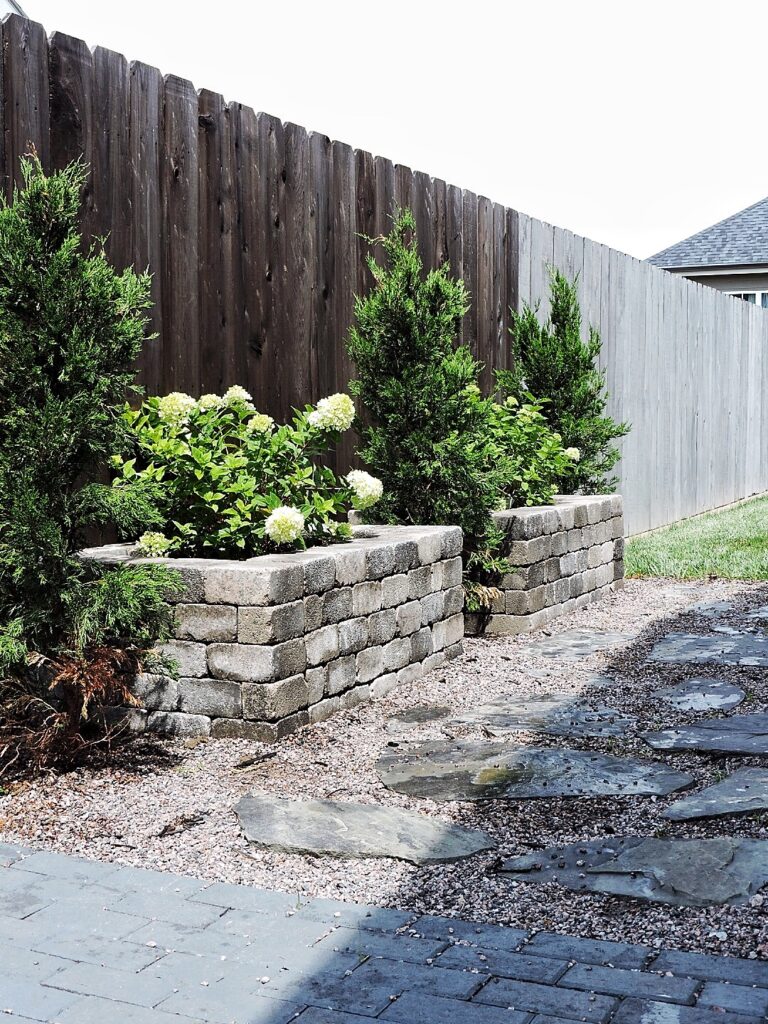
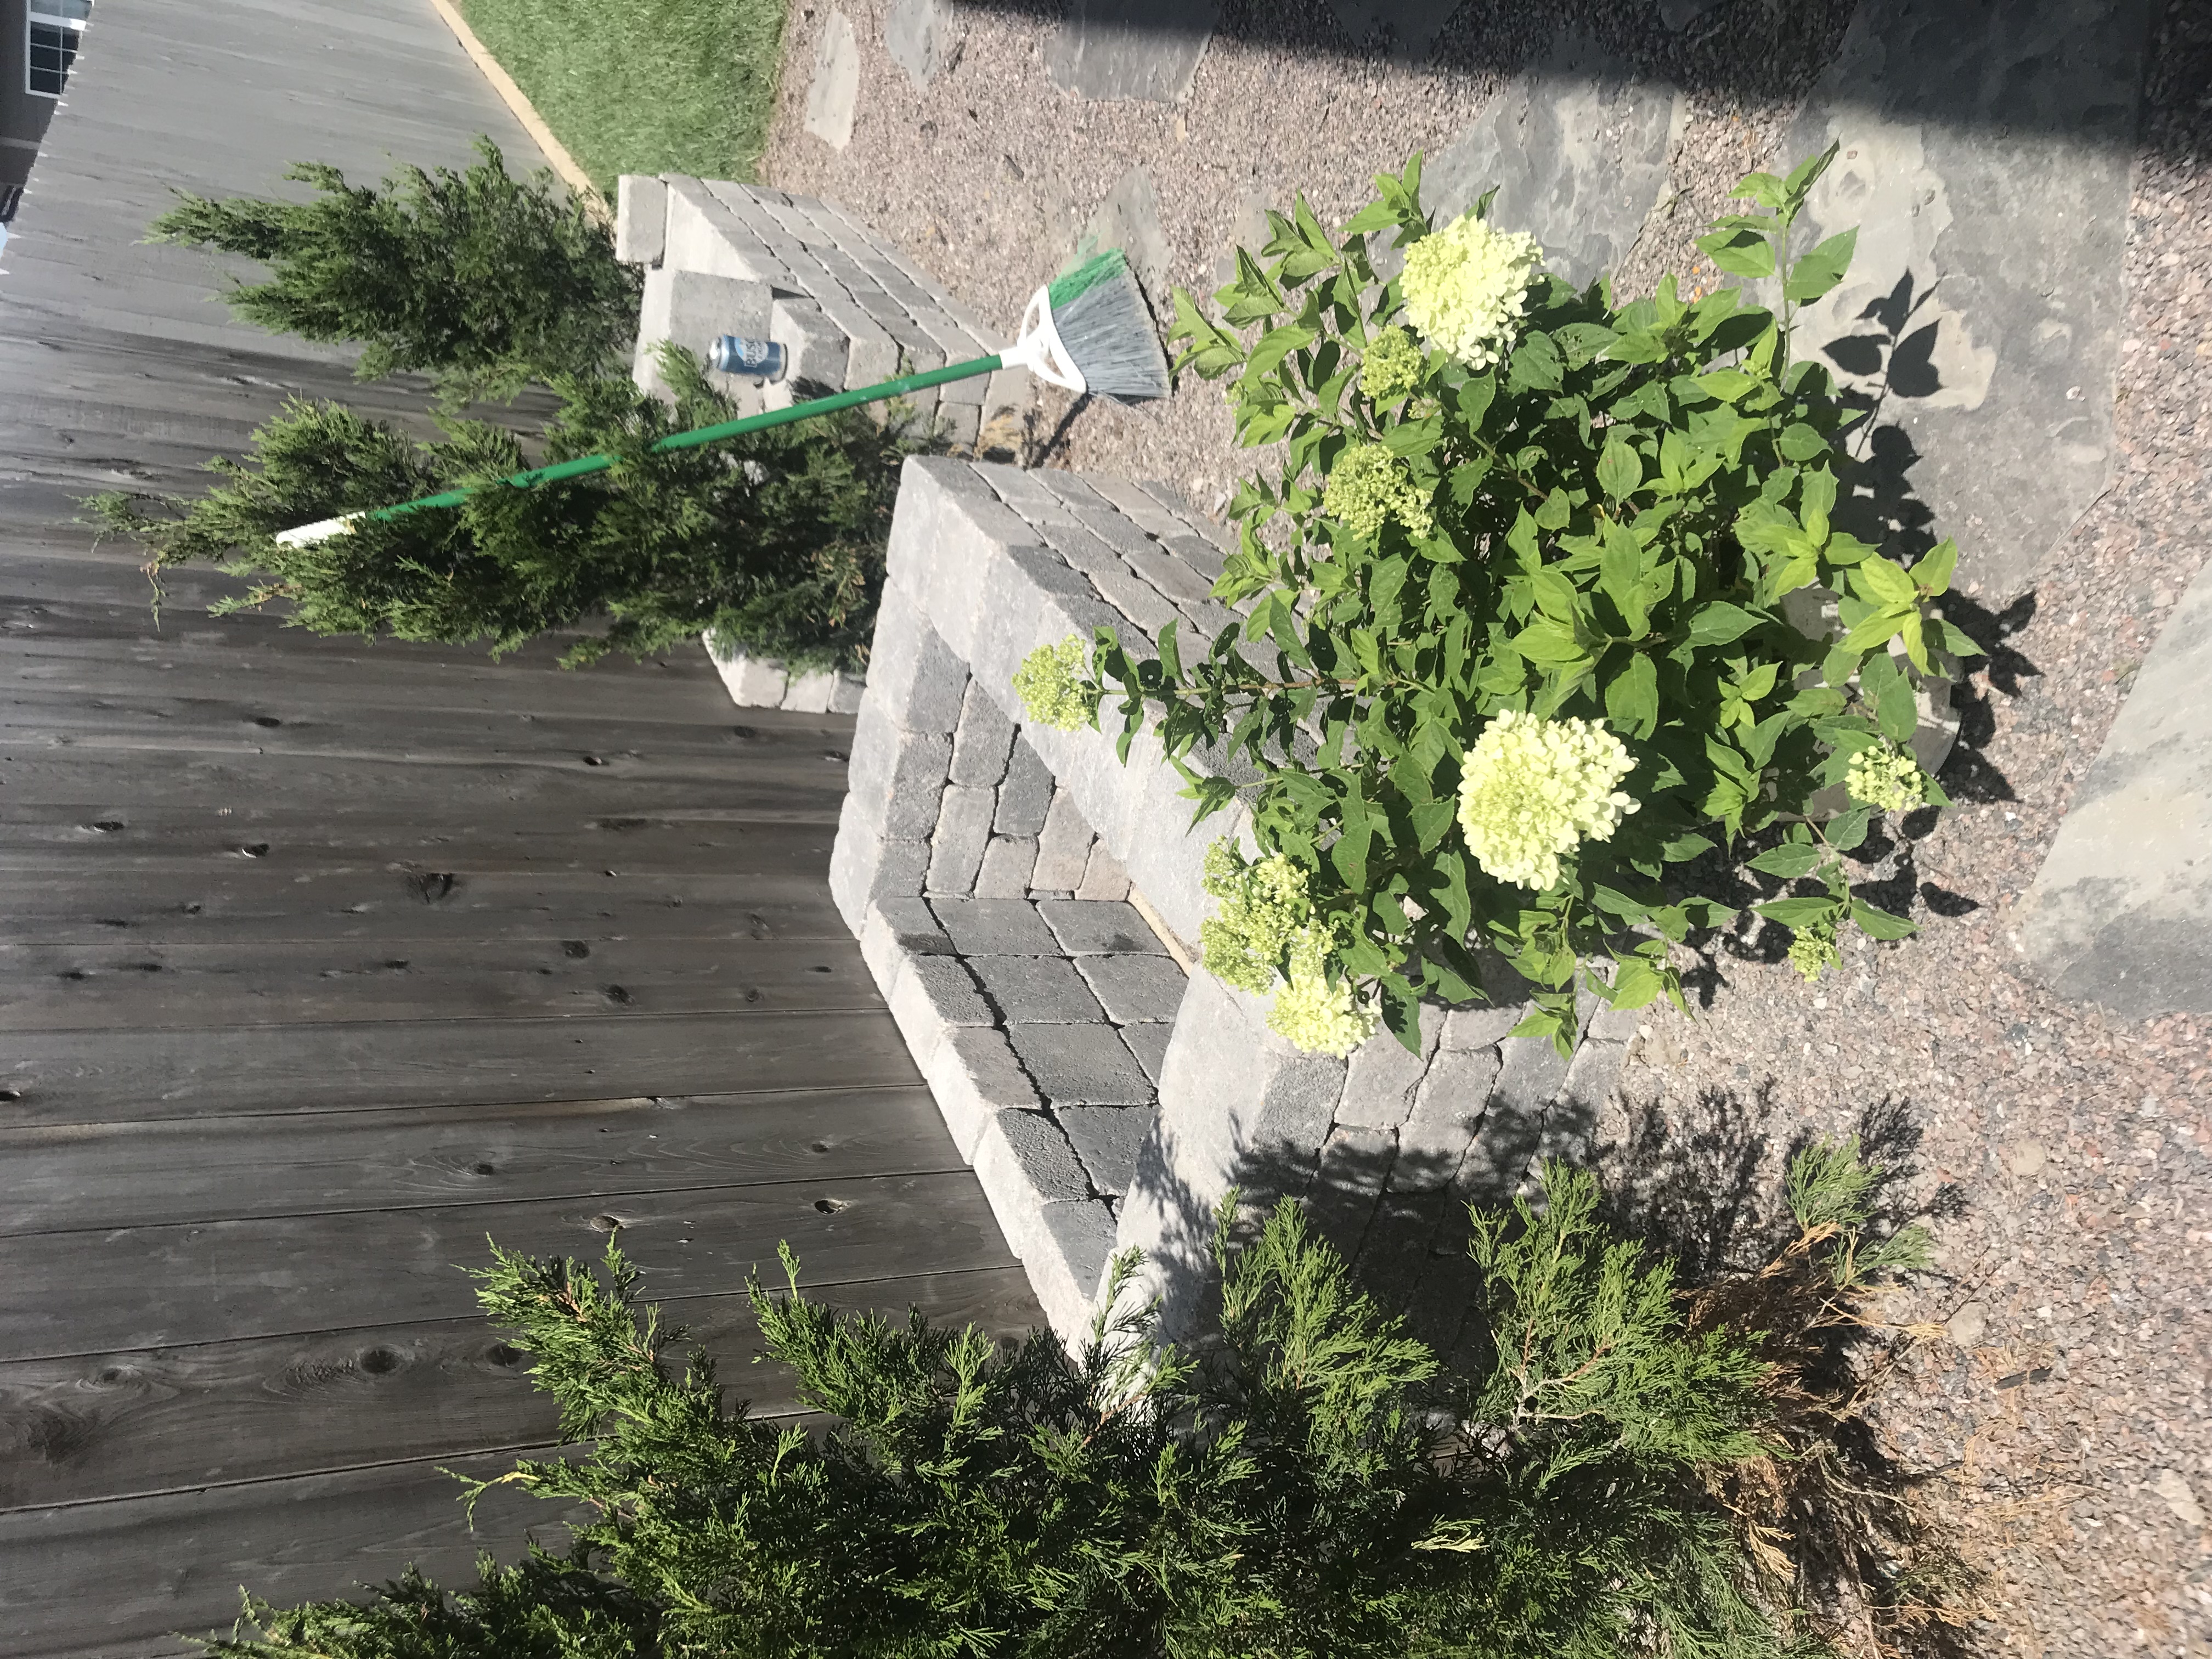
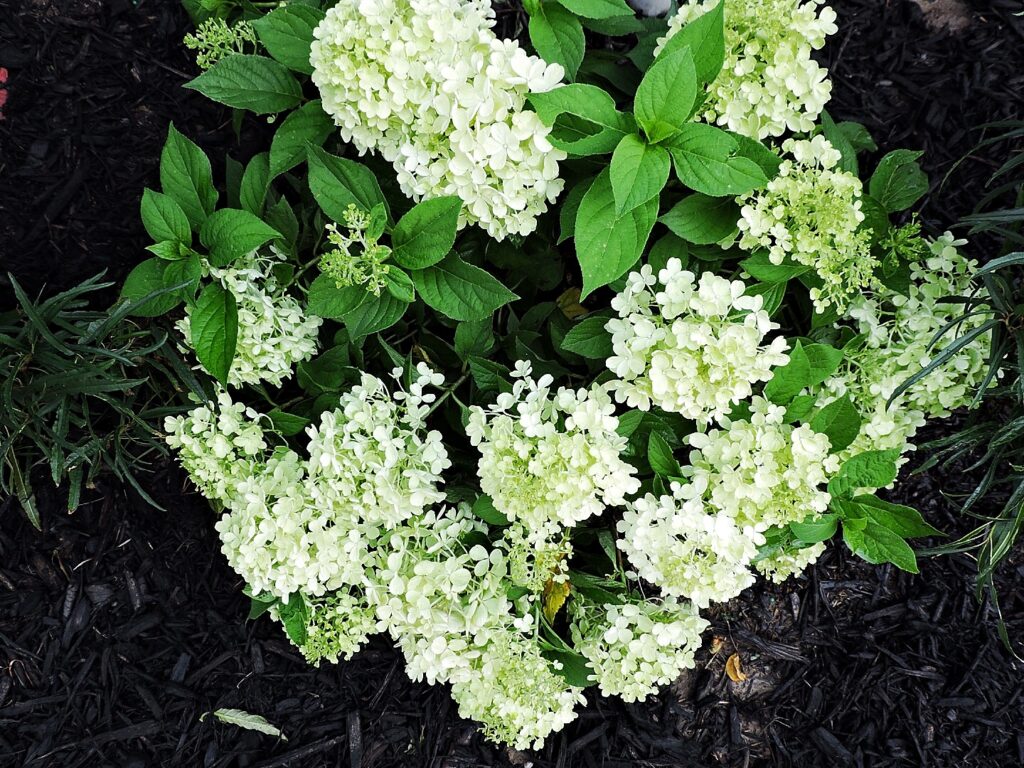
I decided to plant Limelight Hydrangeas in these boxes. This side of our house gets half sun and half shade so I think, (I hope) that I can keep them alive! I have been obsessively checking on them every day. 🙂

I am just slightly obsessed with hydrangeas right now. I also planted 4 Firelight Hydrangeas on the adjacent side of these boxes.
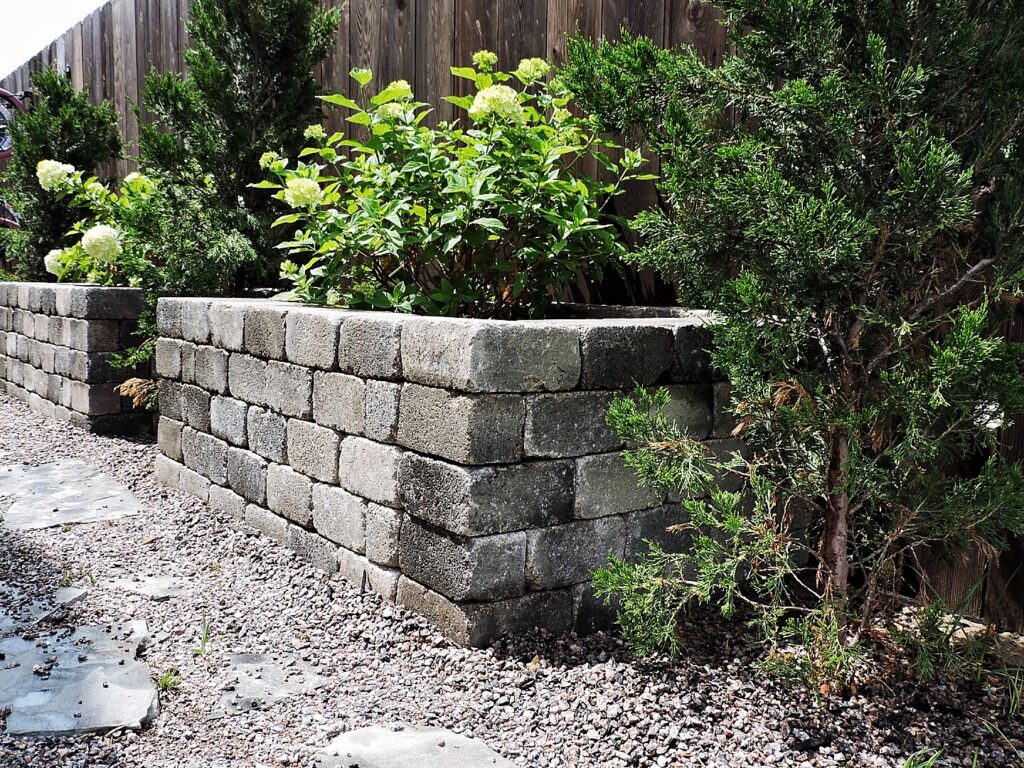
Matt and I love how these turned out! We have more plans for this area that will be happening this fall. For me, I really enjoy working on a smaller space before I turn my attention to a bigger area. Conquering small spaces seems less daunting; one of the reasons we are working on this space right now before moving to our main yard.
xoxo Kayla