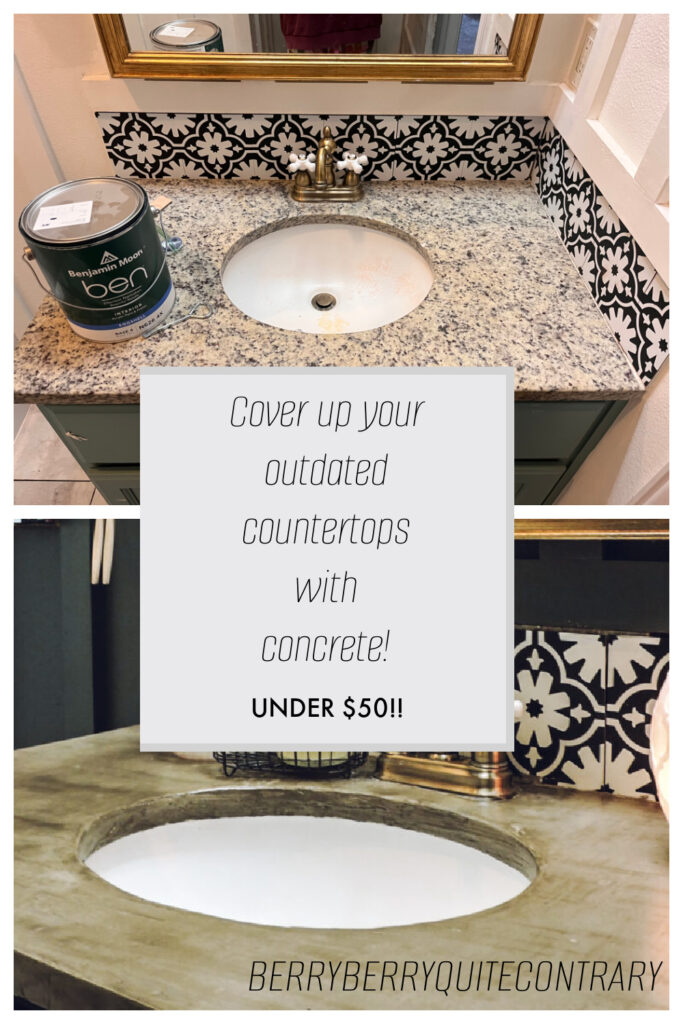
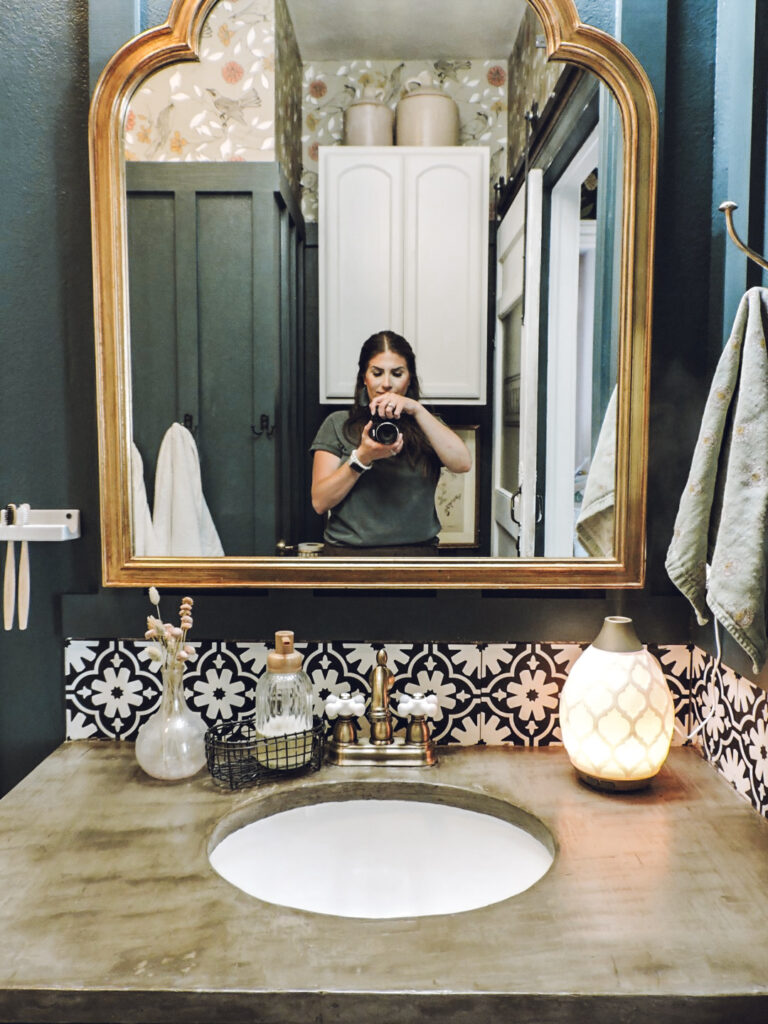
Easy Concrete Countertops Over Existing Granite in Guest Bathroom
You all! I am SOOOOOOO excited about this easy diy!! For literally 10 years I have disliked our granite countertops. Nothing necessarily wrong with them, just not my style. A few years ago we swapped out our granite countertops for quartz countertops in the kitchen- go HERE to see that post – and have been so happy with them. Right now we are in the middle of adding on an addition to the back of our home; you can go HERE to see my most recent update on that. Because of that, we don’t really want to take on any more expensive or time-consuming projects at the moment. With that being said, I decided last week to try and make our countertops in our guest bathroom more my style using concrete.
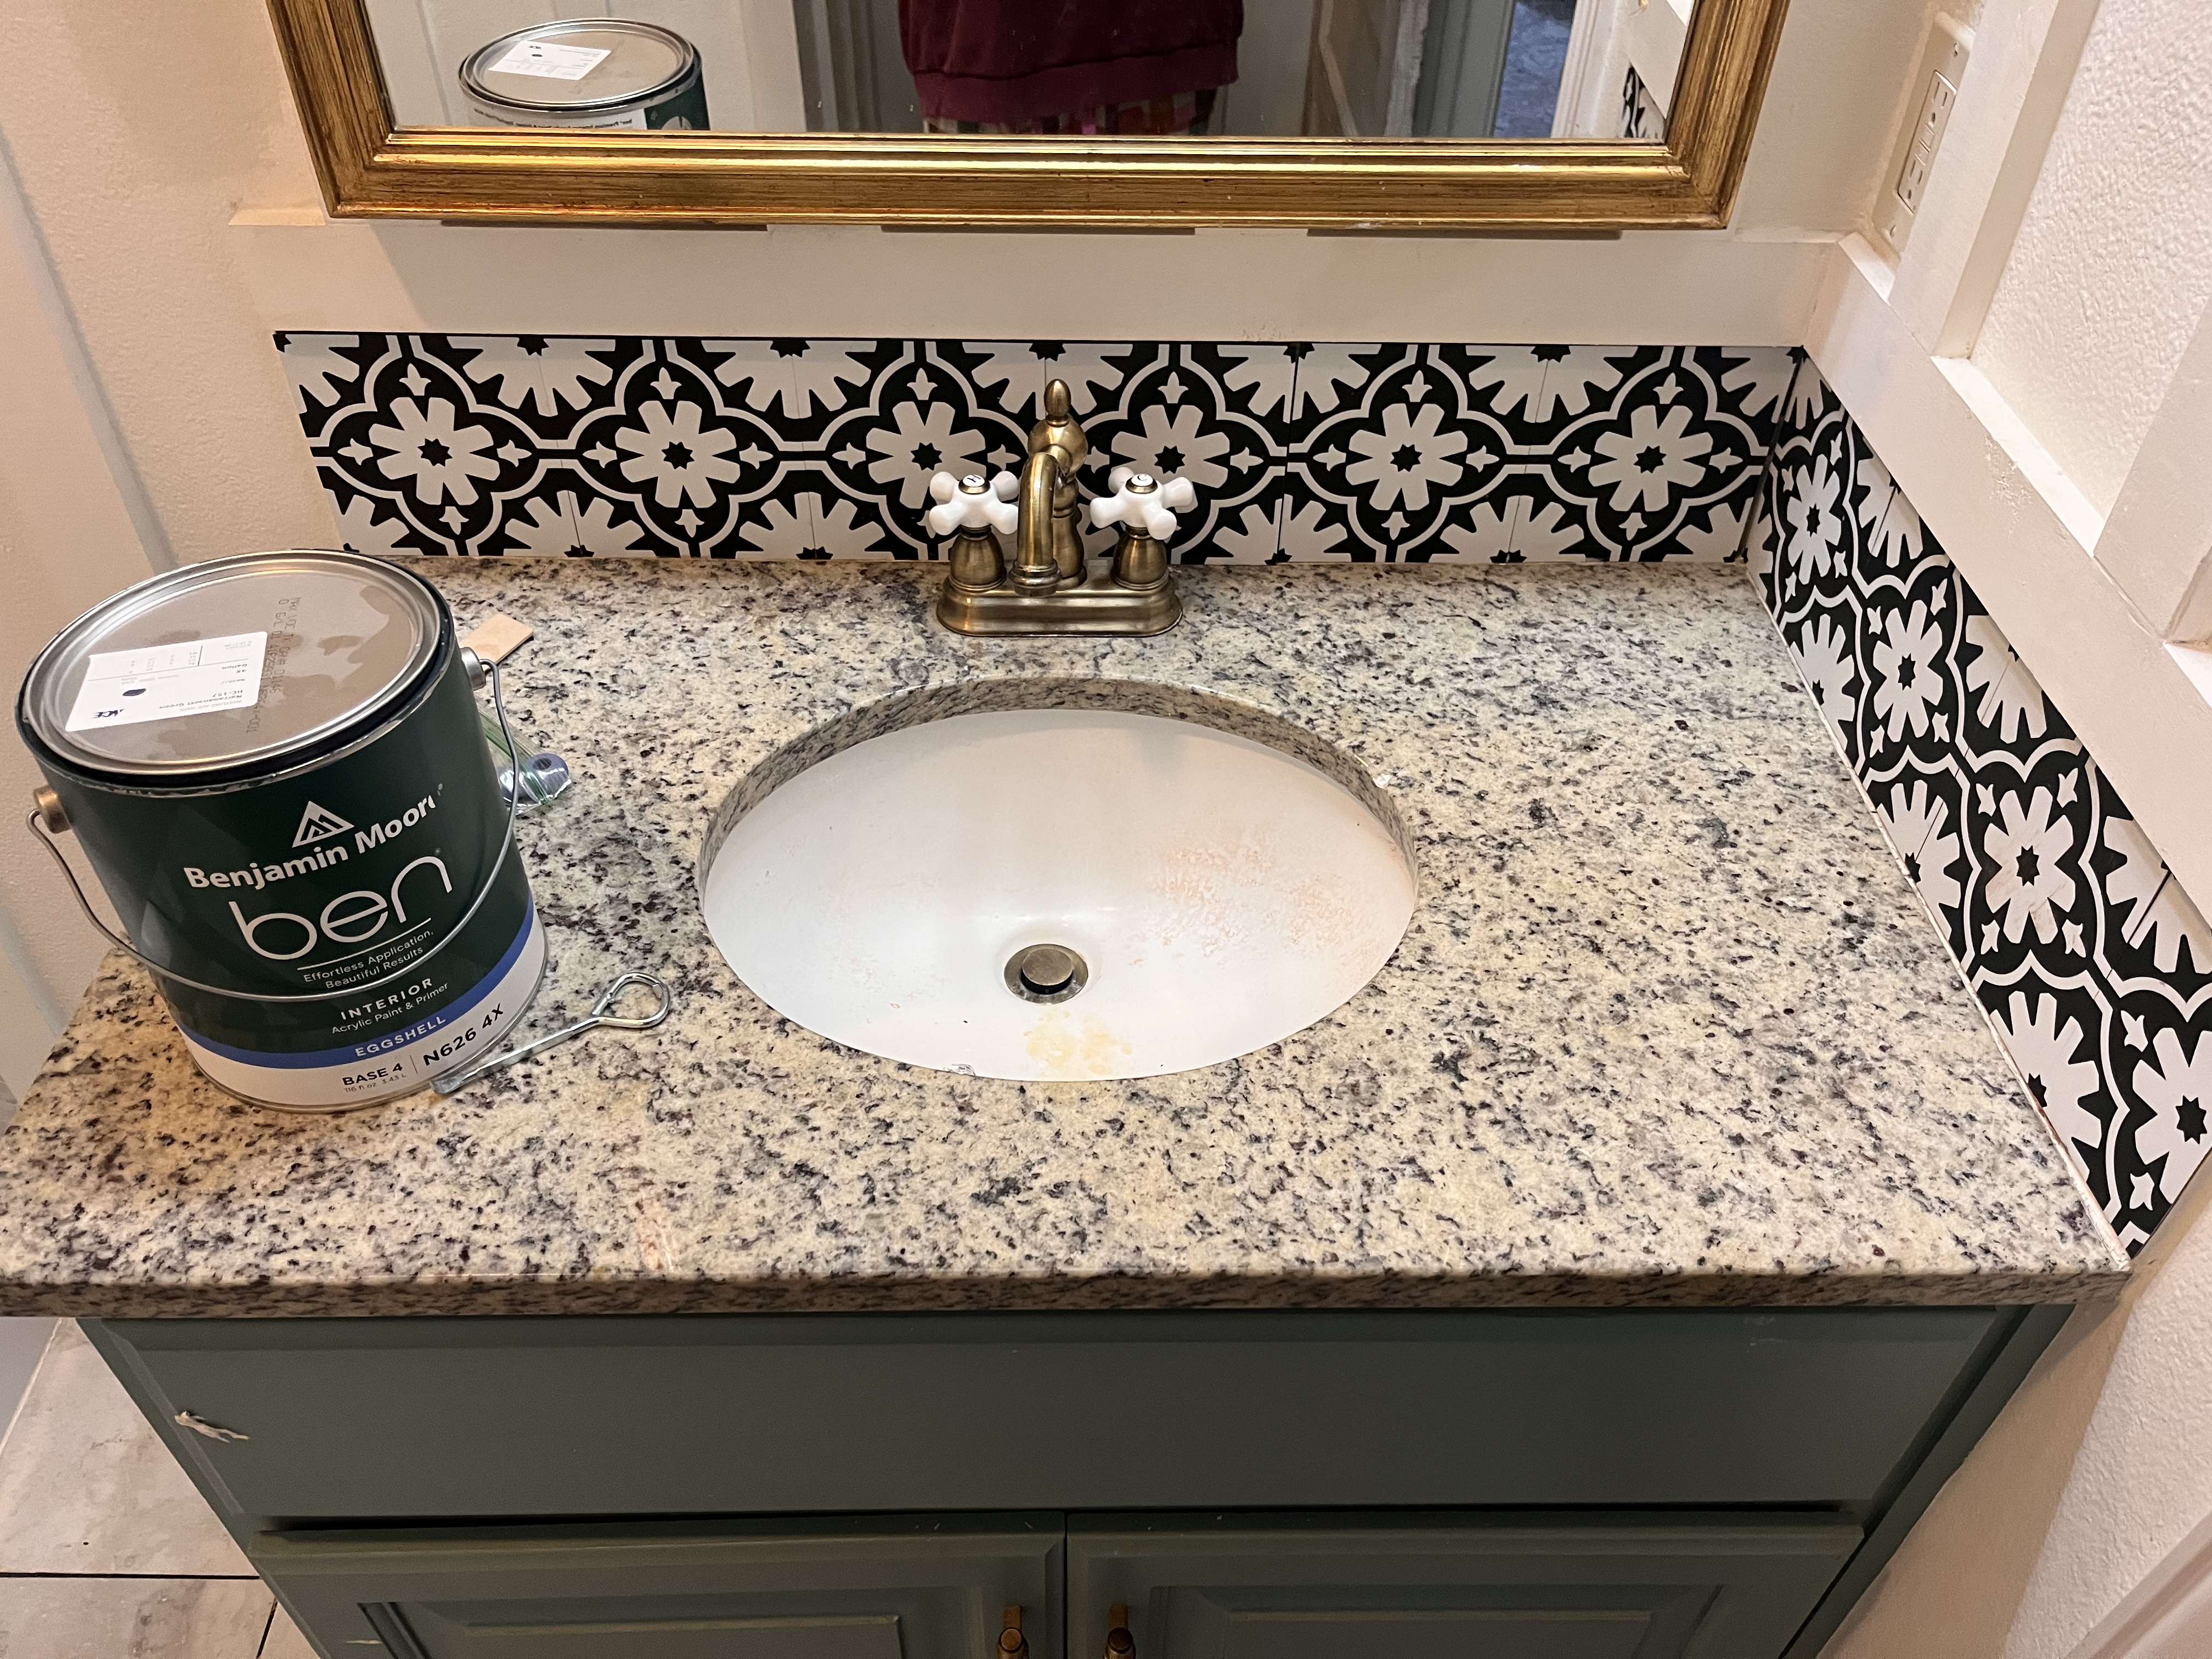
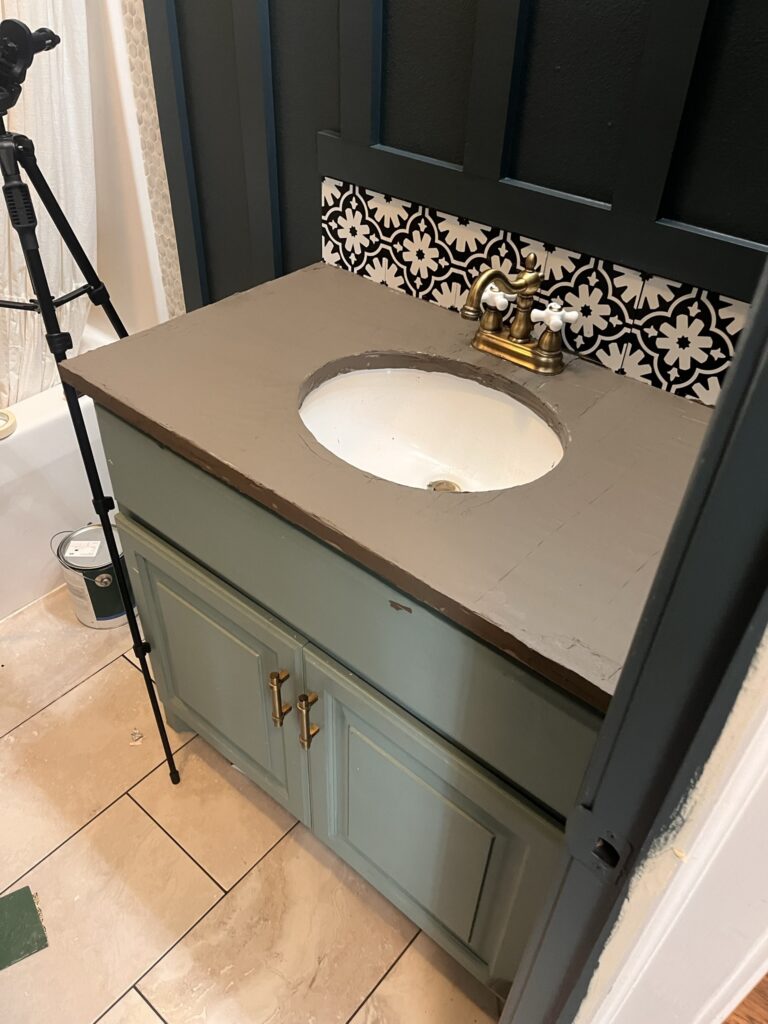
before
Supplies Needed
- Feather Finish Concrete
- Putty Knife Scrapers
- Sand Paper
- Paintbrush
- Polycrylic Topcoat- Matte Finish
- Towels (clean up)
- Mixing Container
Step One
First step is to use a heavy grit sandpaper and sand down your countertops; this will help the concrete adhere better. Wipe it down with your towel so it is free of all dust and debris.
Step Two
Mix your feather finish with water and stir very well with a paint stick. A few tips:
- Start with a small amount of feather finish- I’d say about 1-2 cups. Slowly add in a little bit of water at a time. Keep mixing in water until it reaches the consistency of peanut butter.
- Use all of the mixture and don’t leave a lot of concrete in your bucket, it will turn hard and when you do your next coat it will be lumpy from the leftover concrete.
Step Three
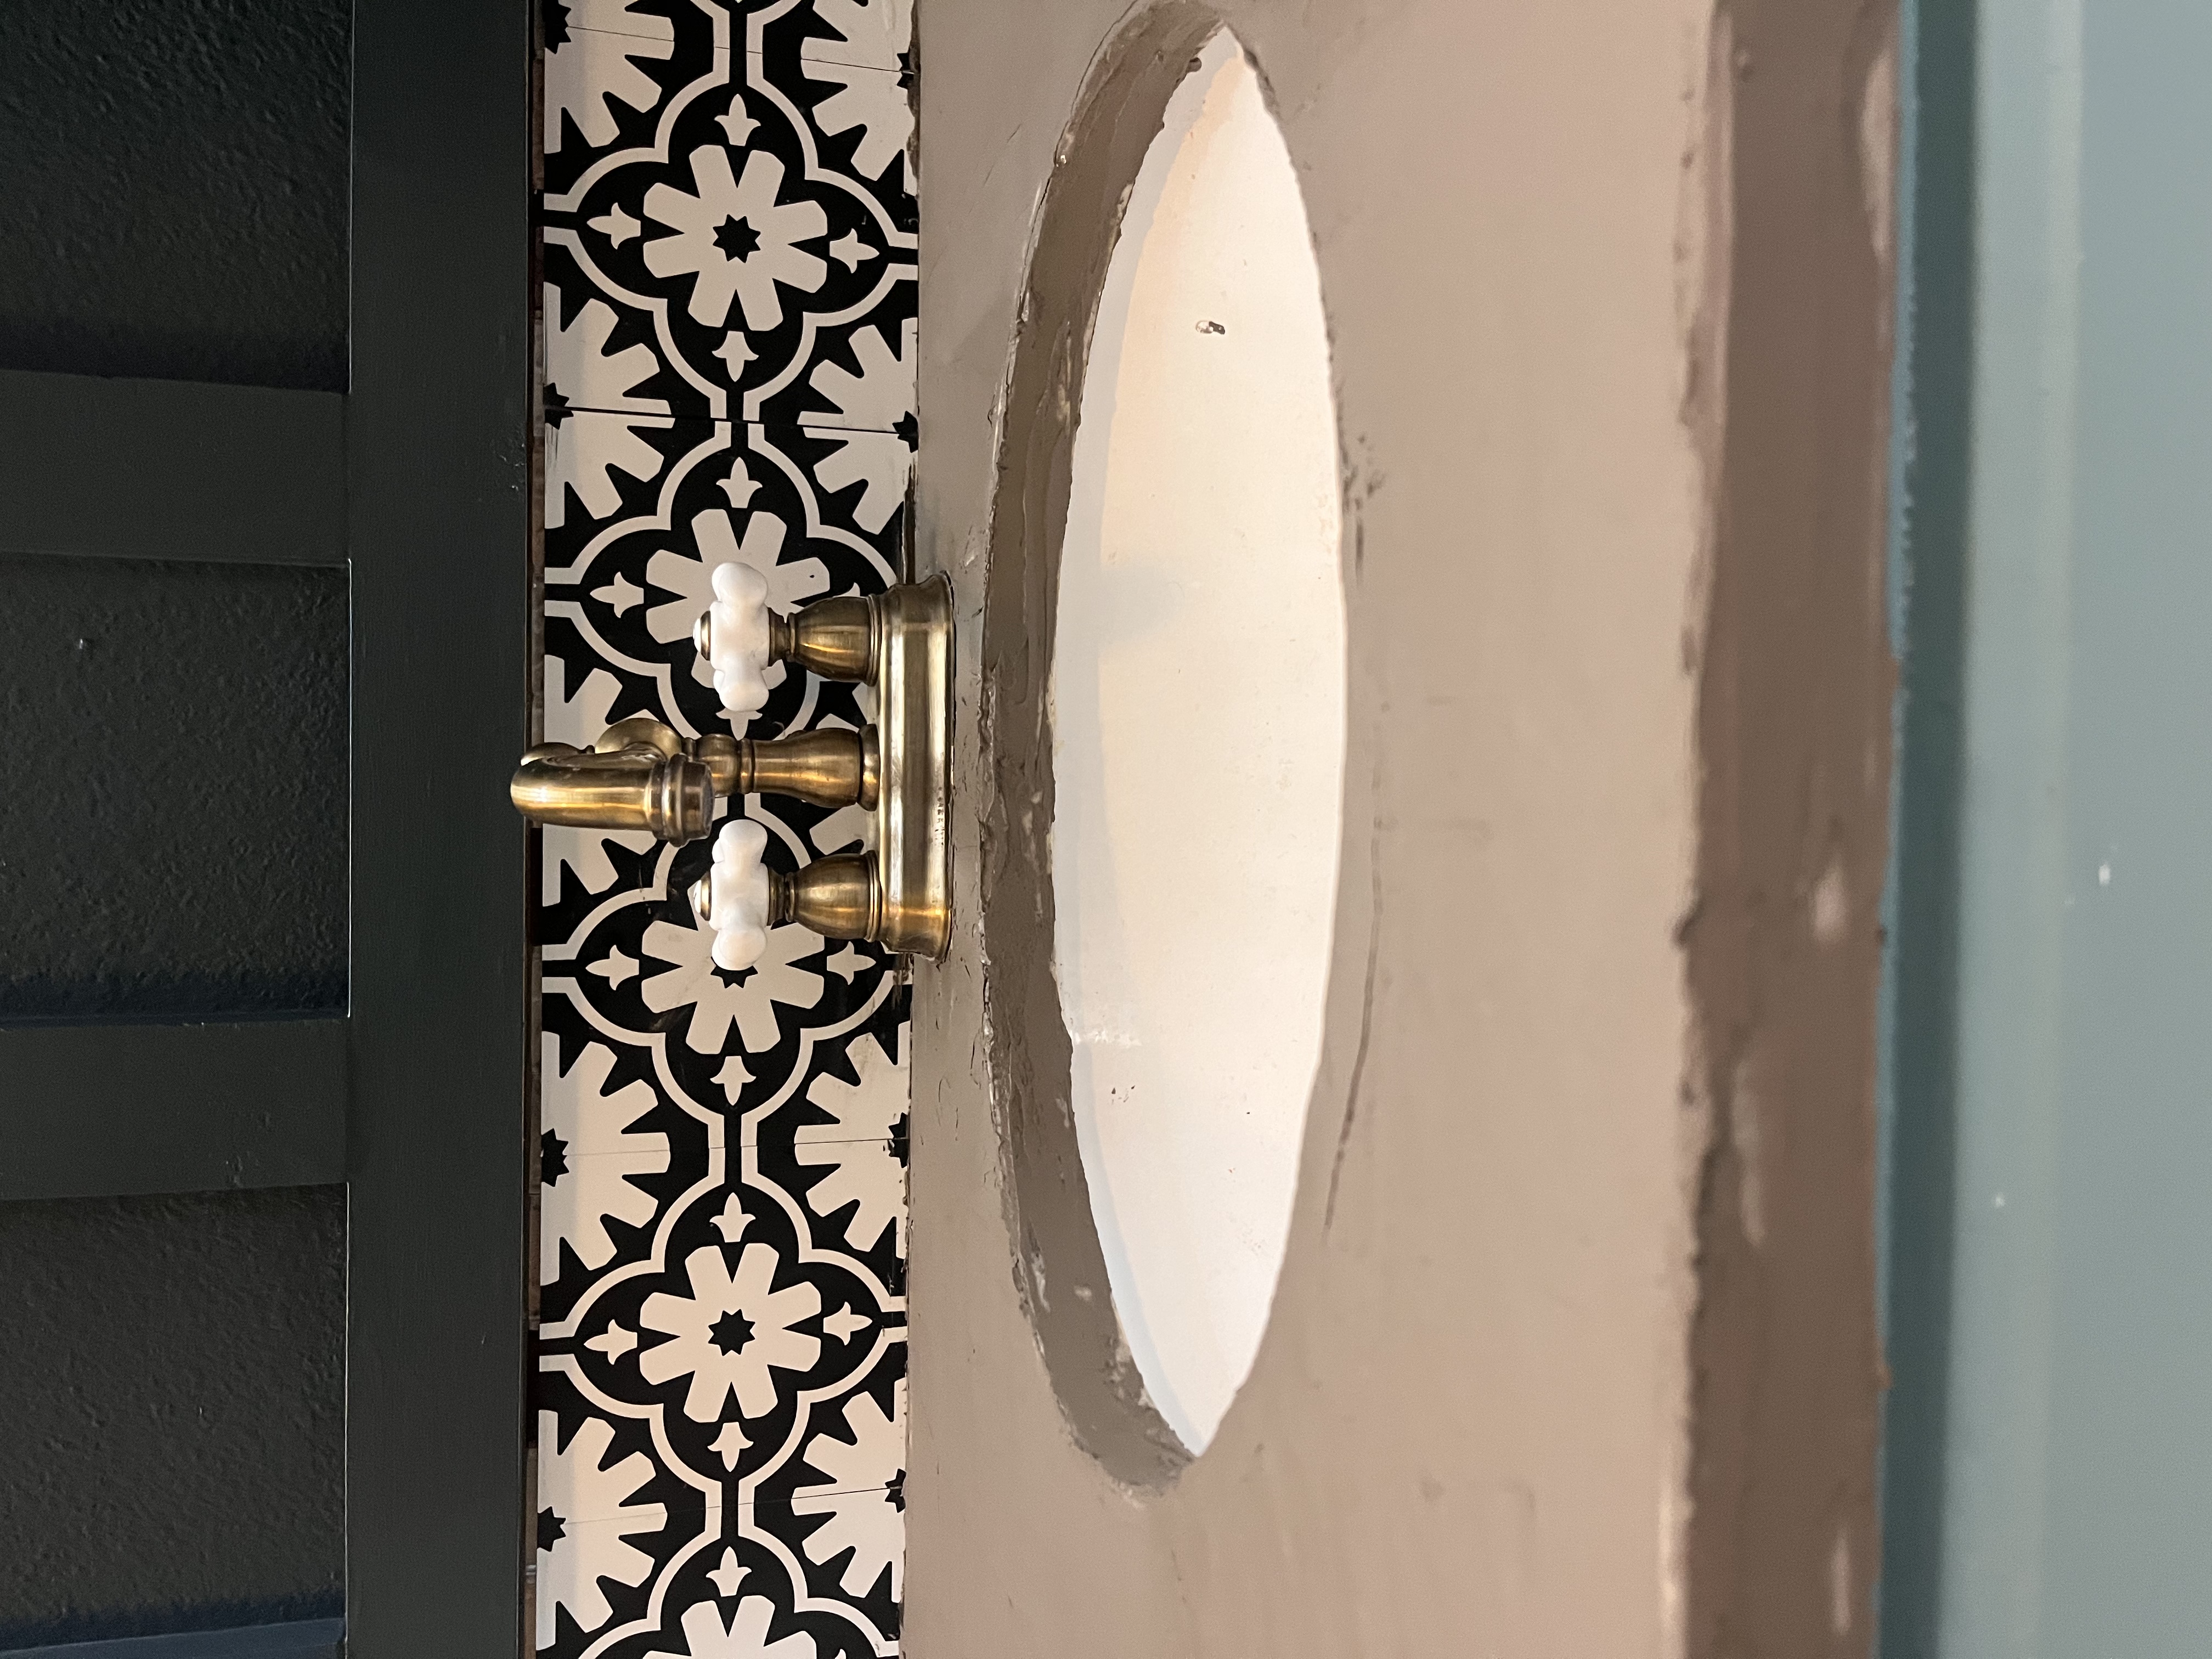
Using your putty knife, add a thin layer of concrete to the countertop. Try to smooth it out as much as possible. I did not use tape because I find it easier chipping off concrete from tile, rather than trying to get tape out of hardened concrete.
After a half hour or so, use your finger to smooth down the edges of the countertop so they are nice and smooth. Once the concrete is almost dry, use a fine sandpaper and lightly sand it. Remove any dust.
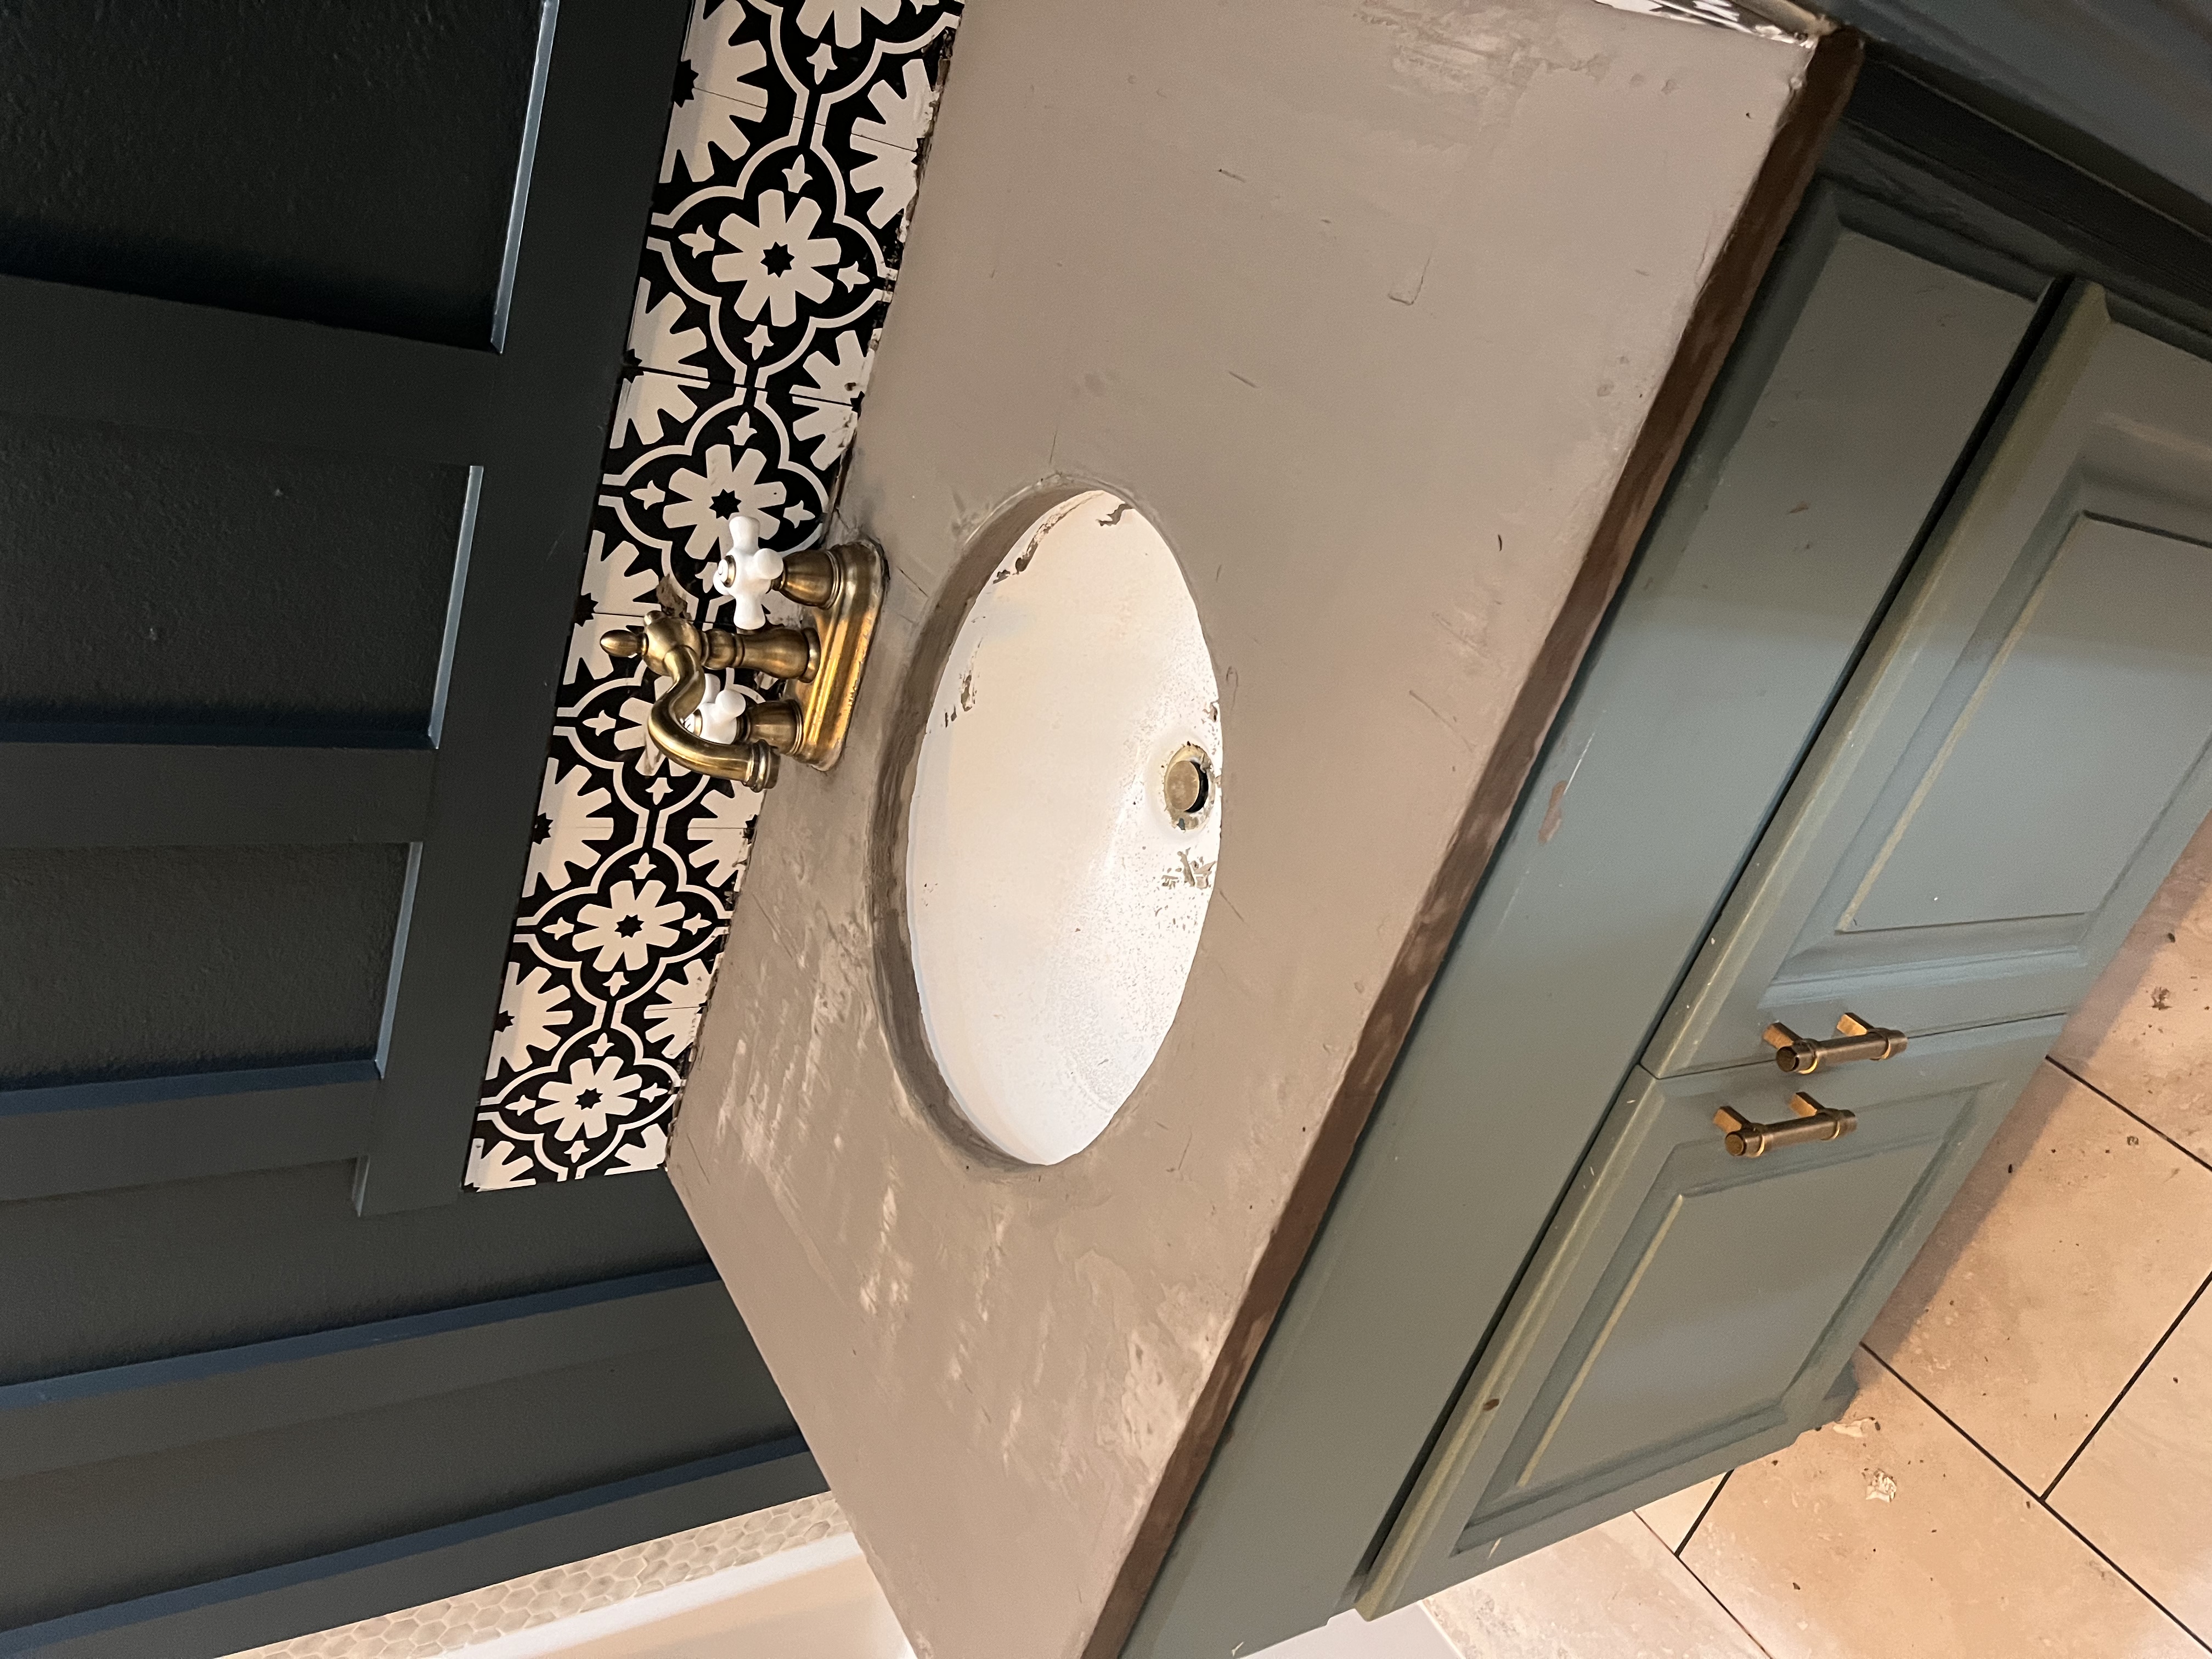
Step Four
Once your first coat is dry, add another coat of concrete, repeating steps above.
Step Five
The last step is to seal your countertop with a polycrylic matte finish sealant. I used a paintbrush to apply 3 coats, let dry completely in-between. In this picture it looks patchy and shiny but this was taken right after I applied the sealant. It will dry down more matte and not look as uneven. Wait 24-48 hours before use!
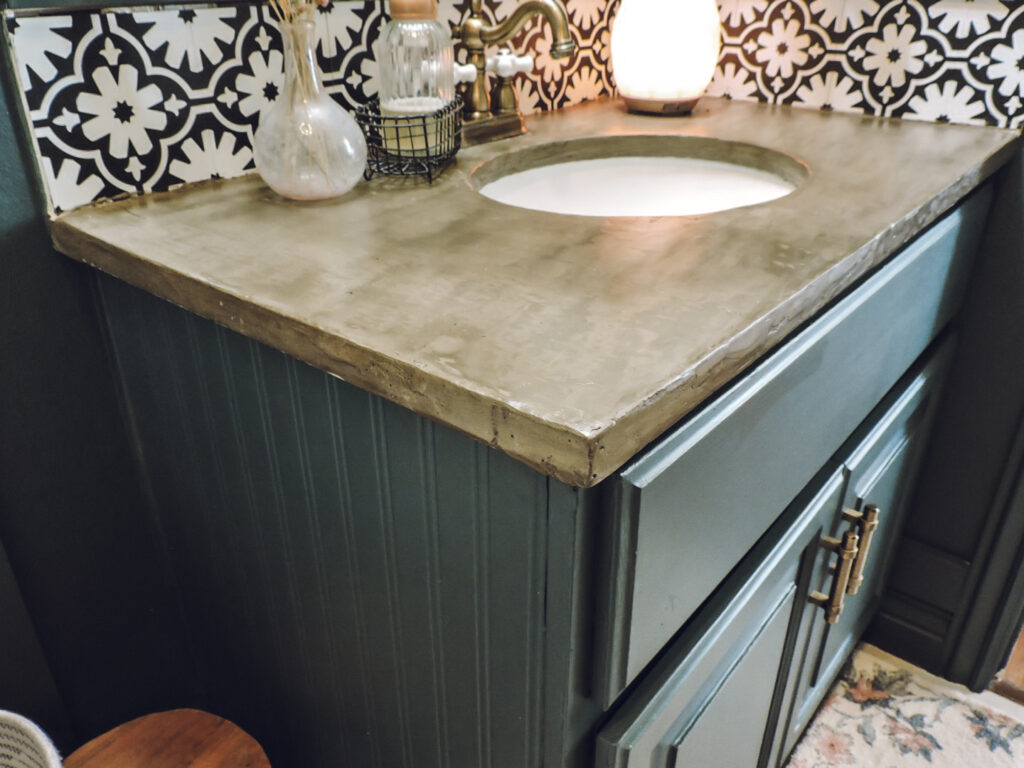
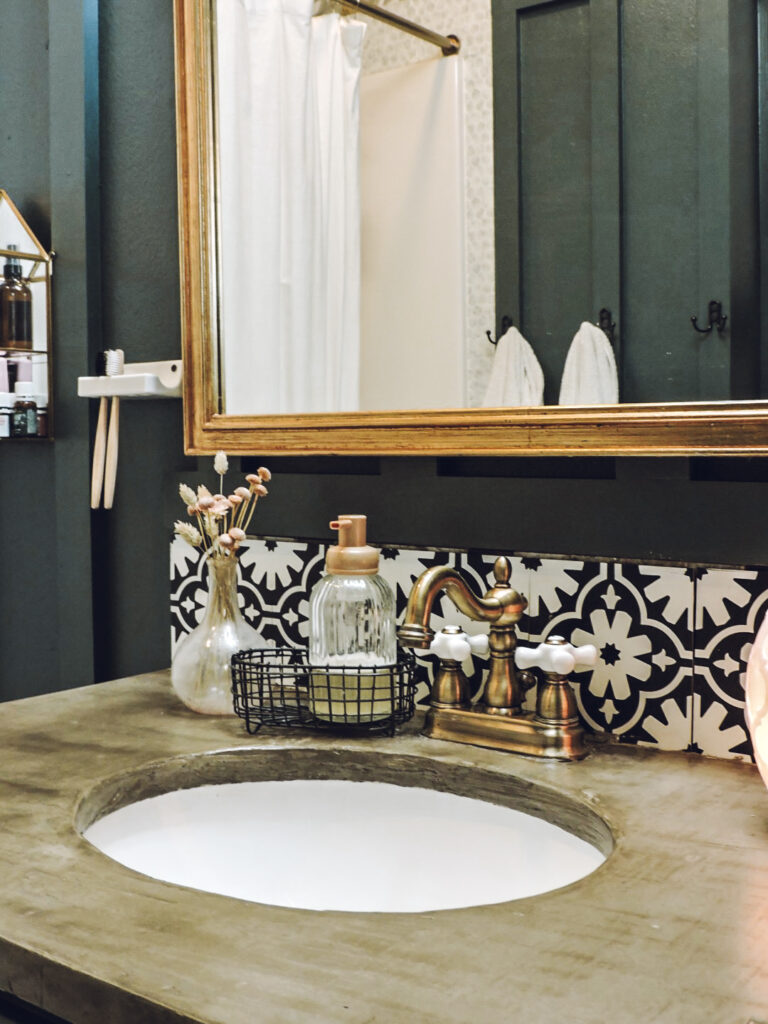
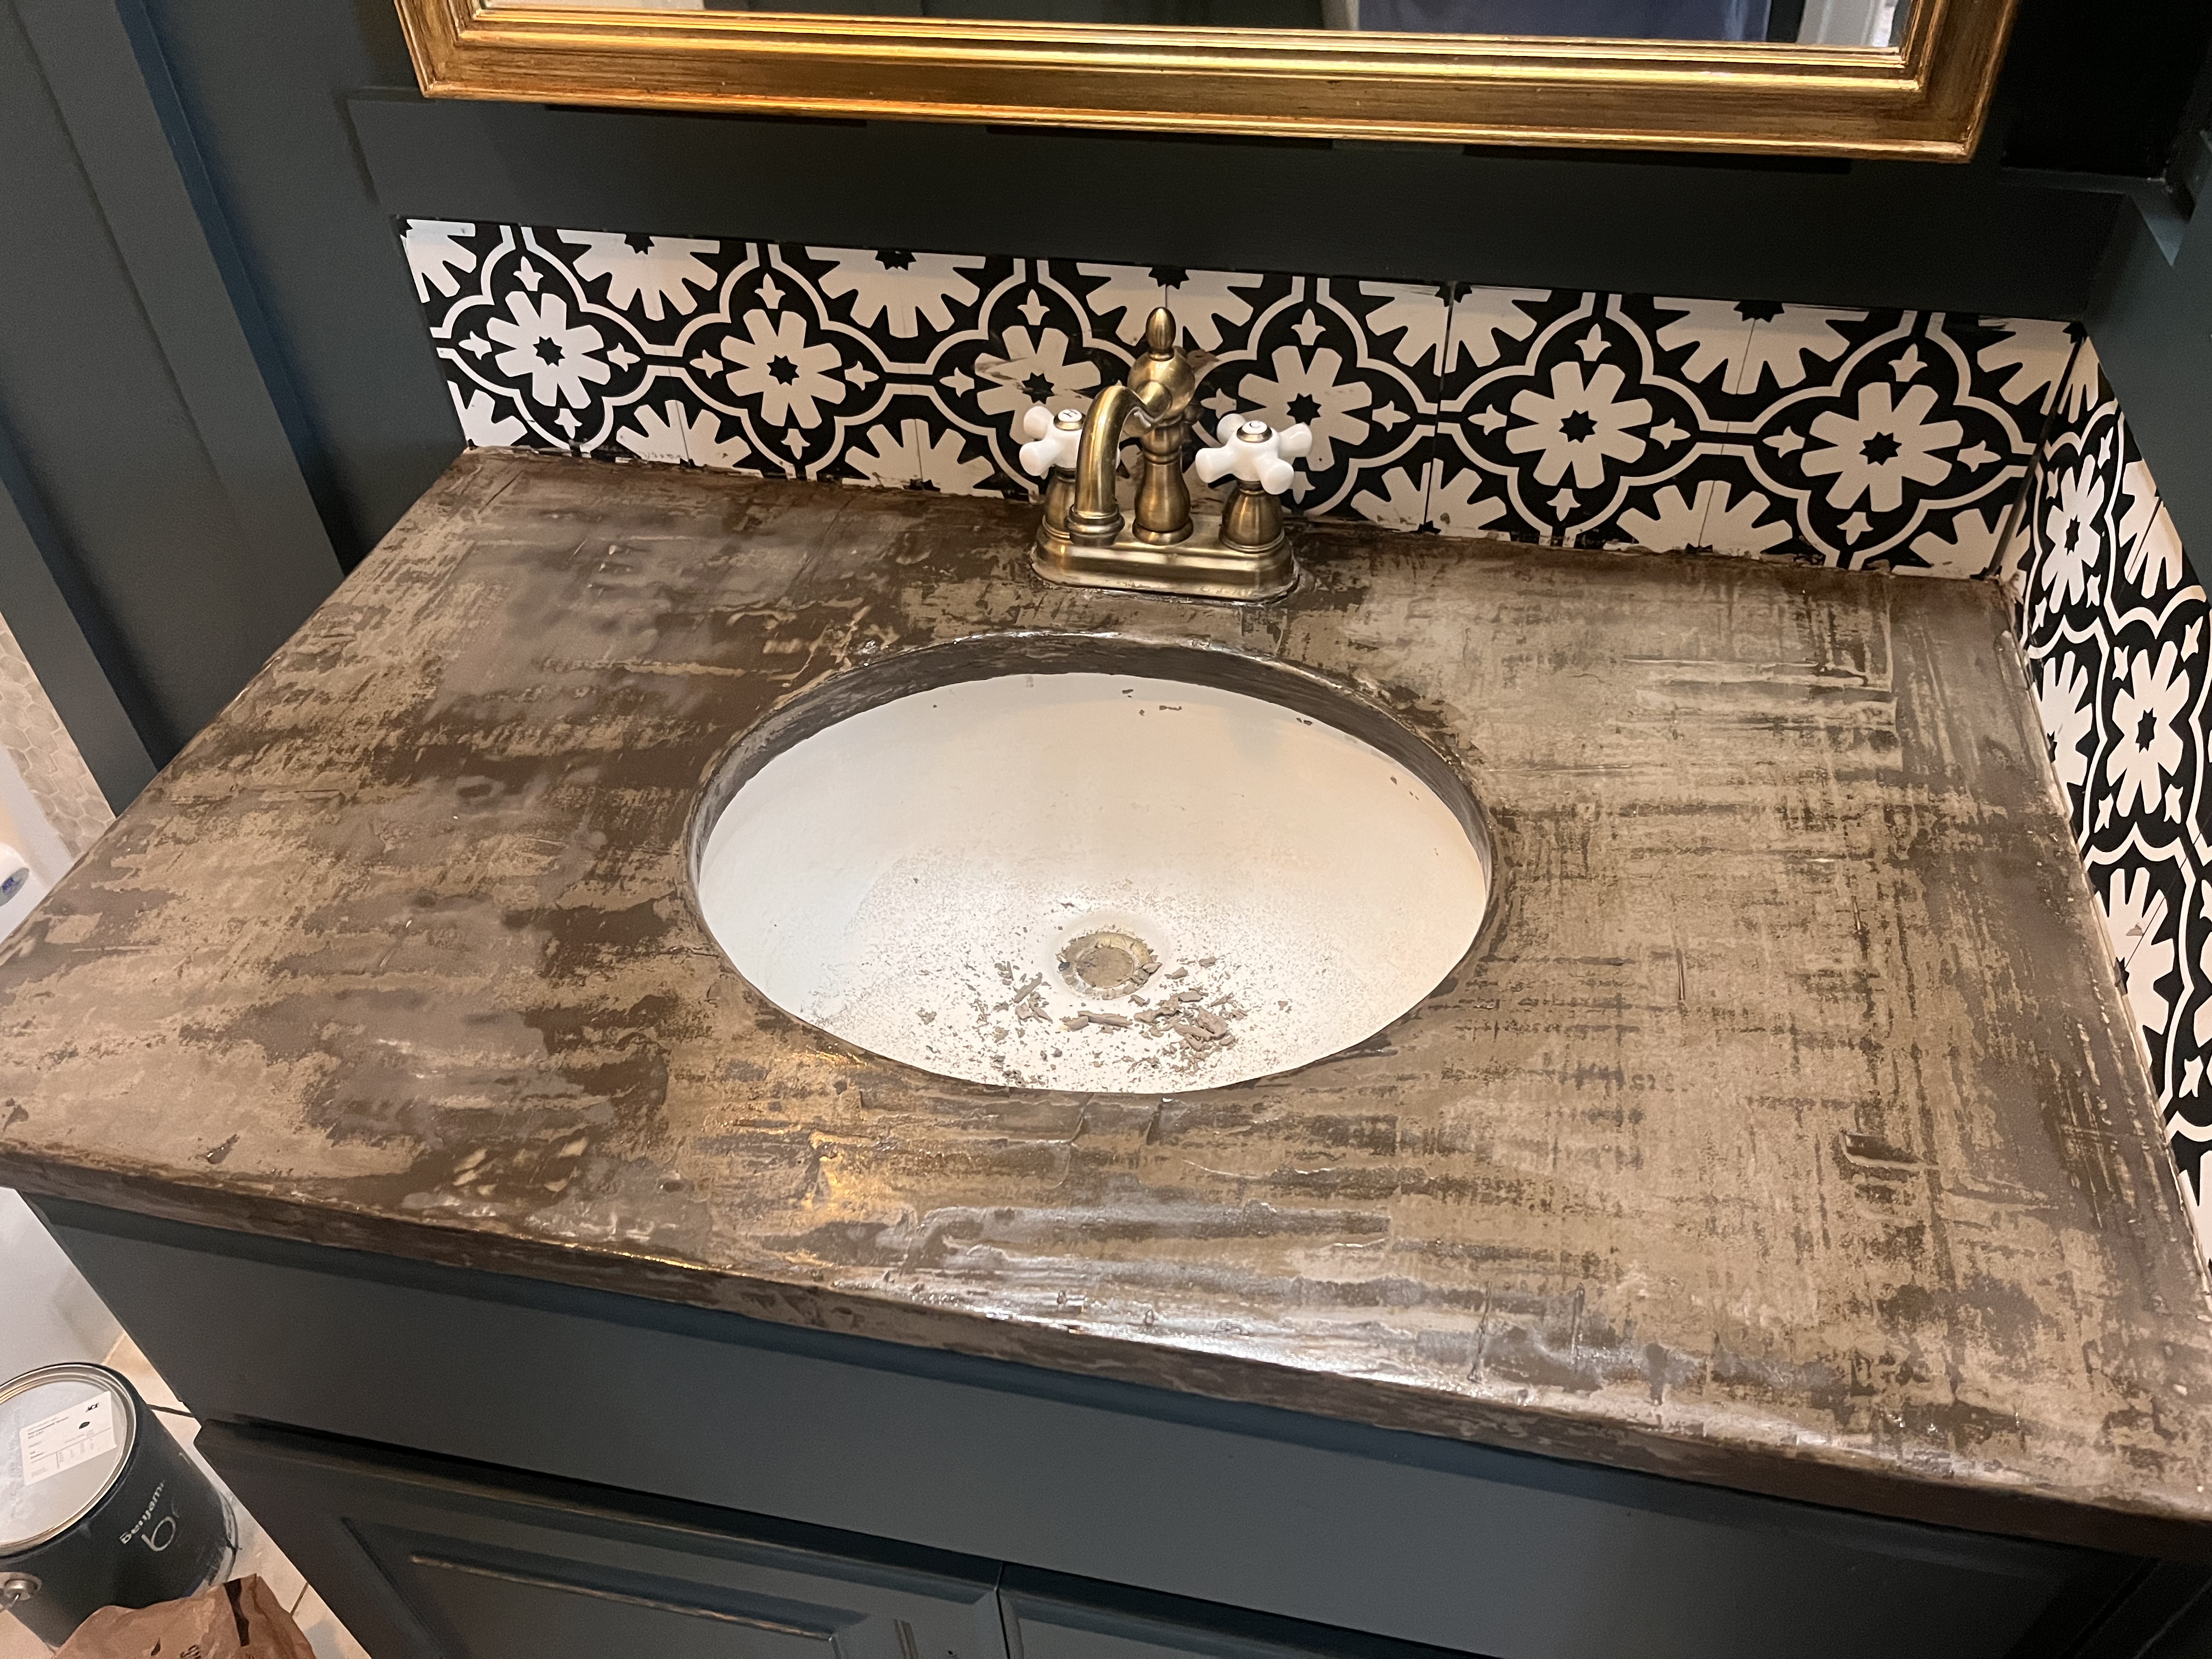
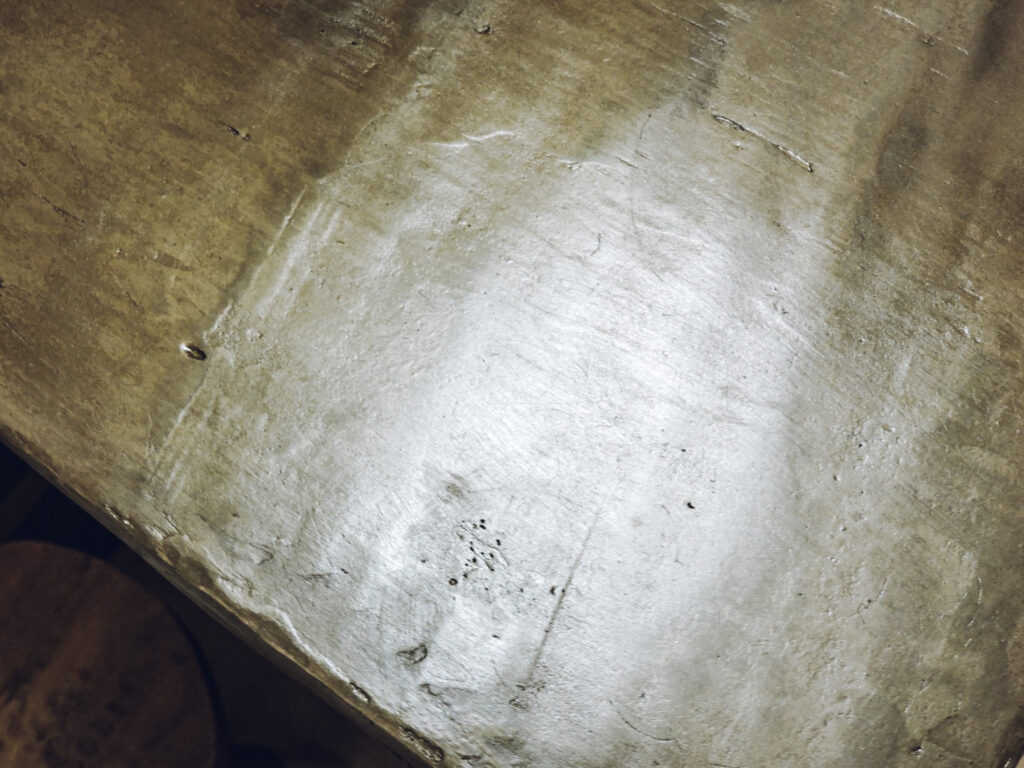
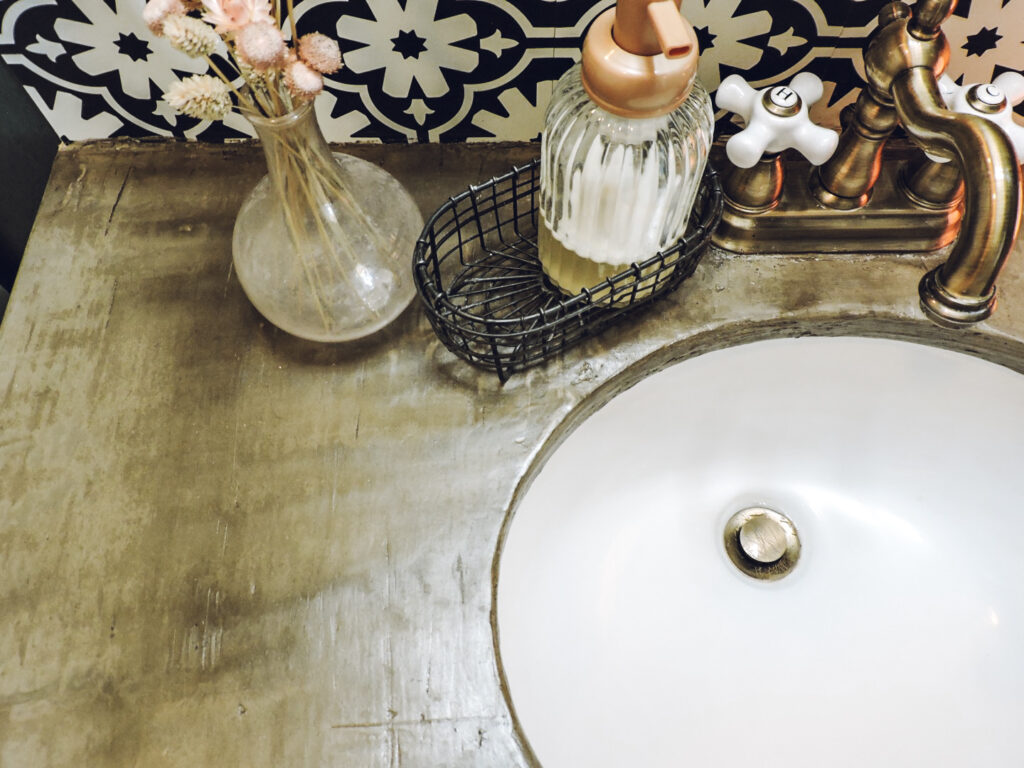
After – Concrete Countertop Overlay
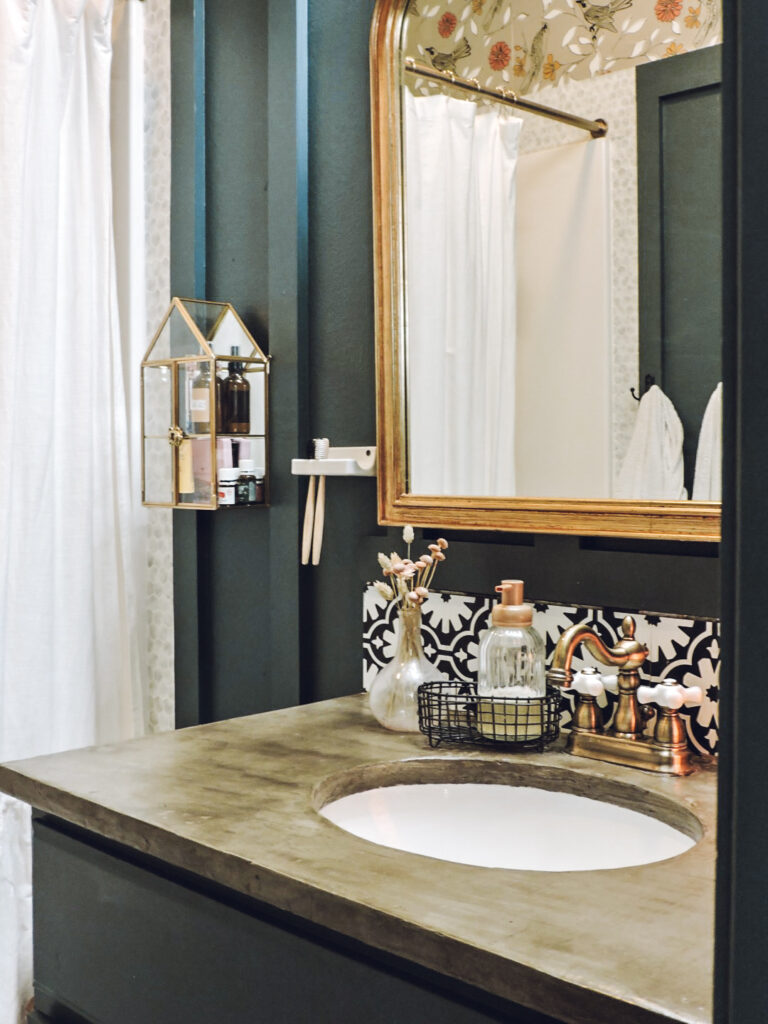
I LOVE it so much! The organic texture of concrete really speaks to me- which is why I used it in my hallway and downstairs guest bathroom walls.
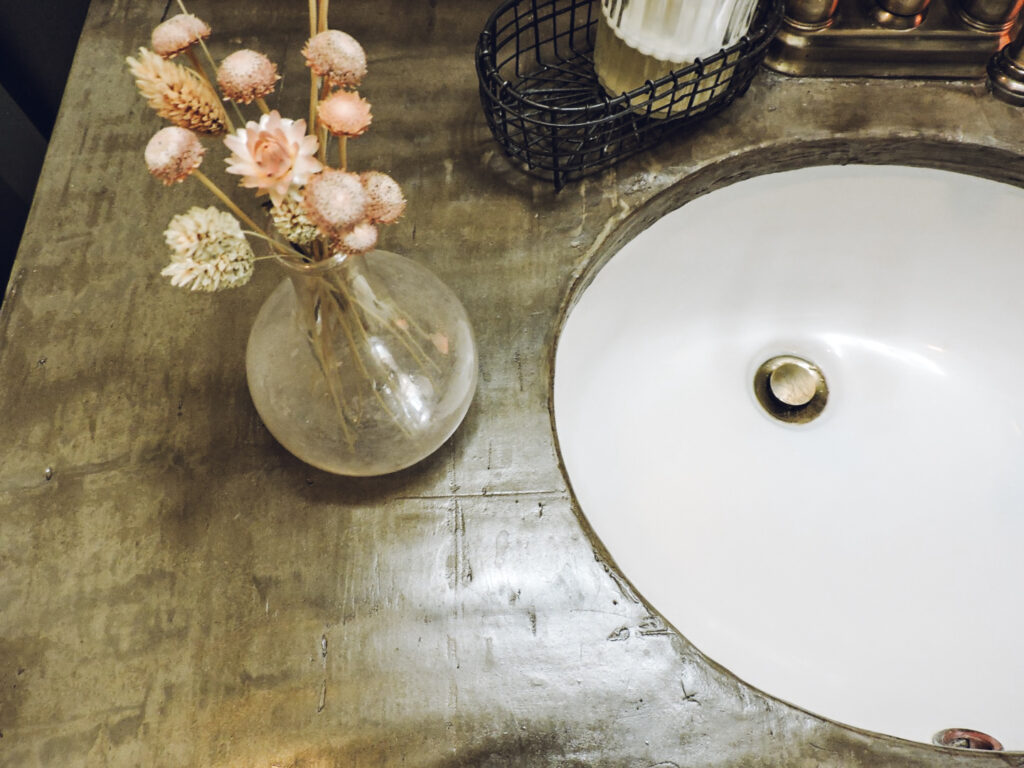
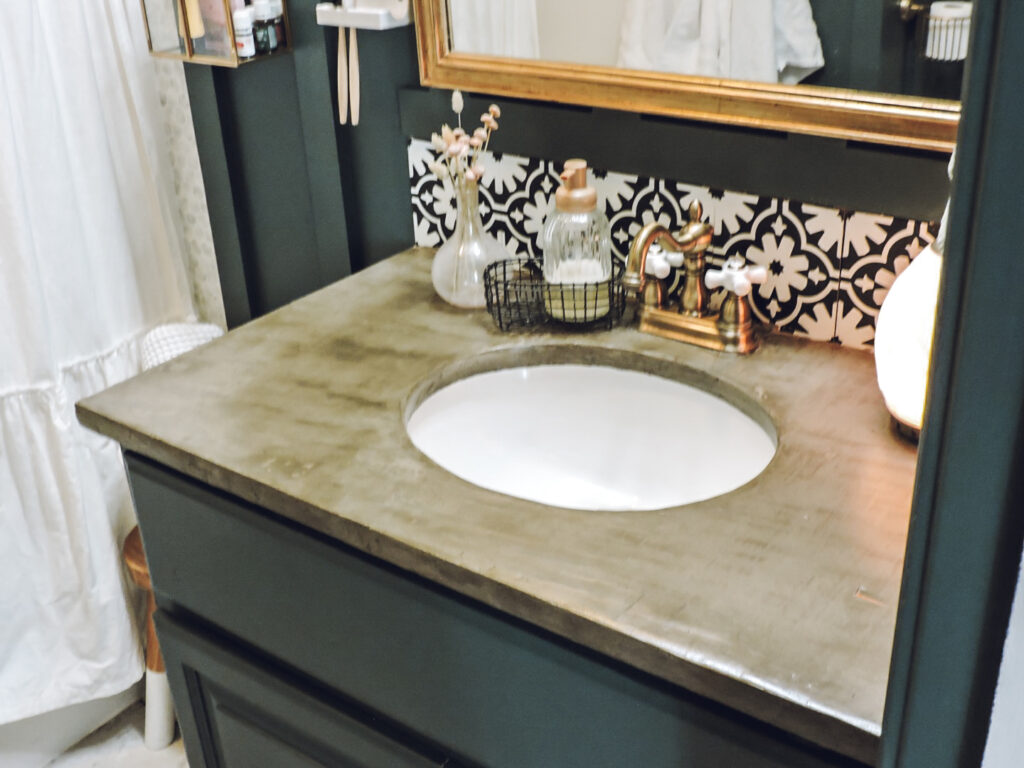
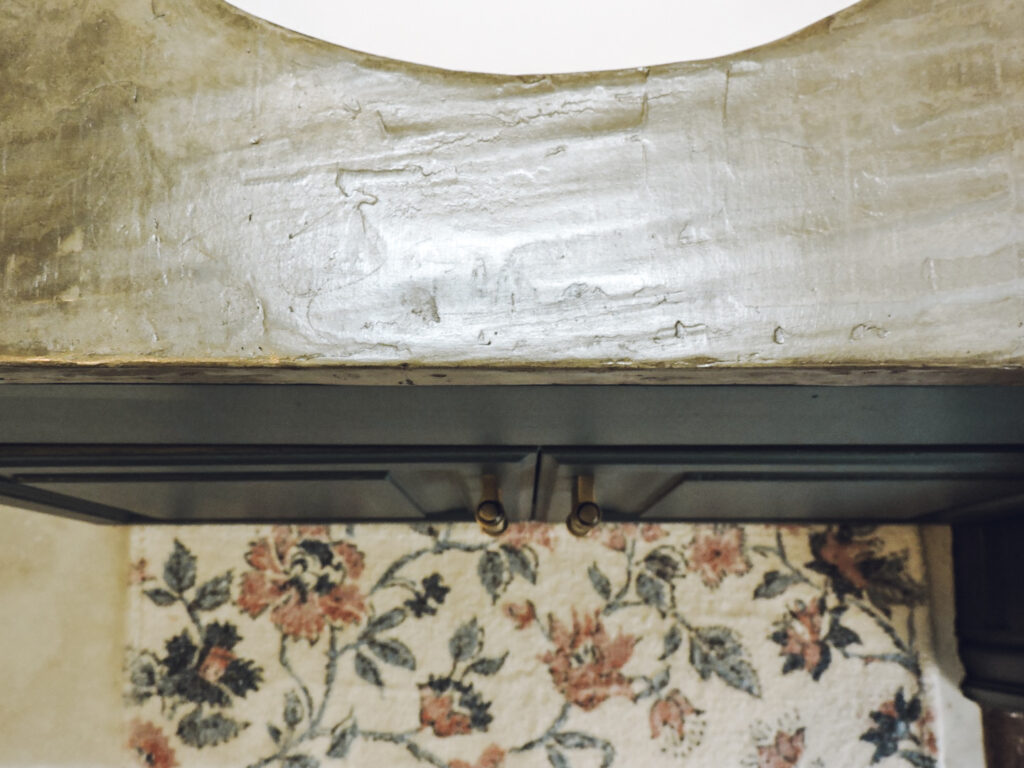
As you can see in the picture below, there is movement and texture to the concrete. If you do not like that more rustic look, be sure to sand very well. I for one, am a fan of it!

We have been using the countertop for the last few days and I for-see it holding up very well! I will update this post if it for some reason does not.
Another thing to keep in mind is that you can definitely lighten up the color of the concrete if you wish! I read some tutorials on how people used a little white paint mixed with water and simply painted it on before sealing. There are also different colored concrete powders you can buy as well.