DIY Peg Rail in Hallway
Peg rails are charming but also very practical. Our home isn’t super small but isn’t super large. And with a family of 6, we are always needing more storage. Over the last month or so, I’ve been working on updating our hallways in our home. Go here to see my diy beadboard I did a few weeks ago. After finishing the beadboard up I decided to do a diy peg rail in the hallway and I wanted to share with you all how I did this simple project!
DIY Peg Rail
The first thing you need are peg rails. I found these at Hobby Lobby for $10.99 each! They were the last 2 left; I think it was meant to be.
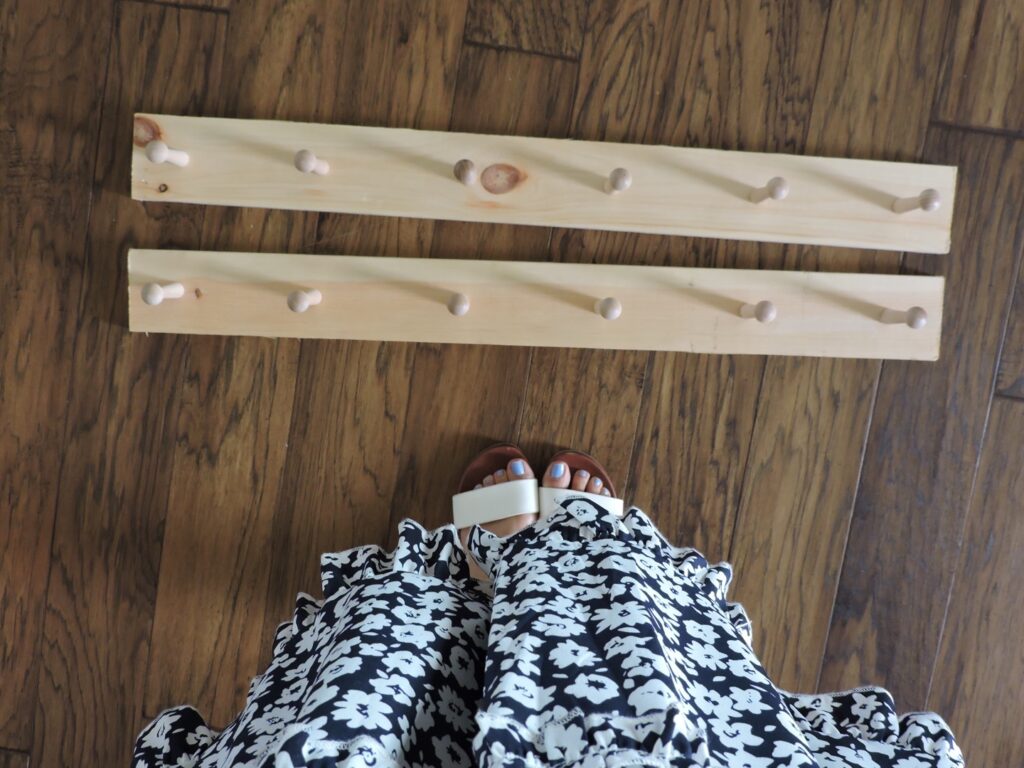


After measuring the length of my wall, I cut one of the boards down using a table saw.
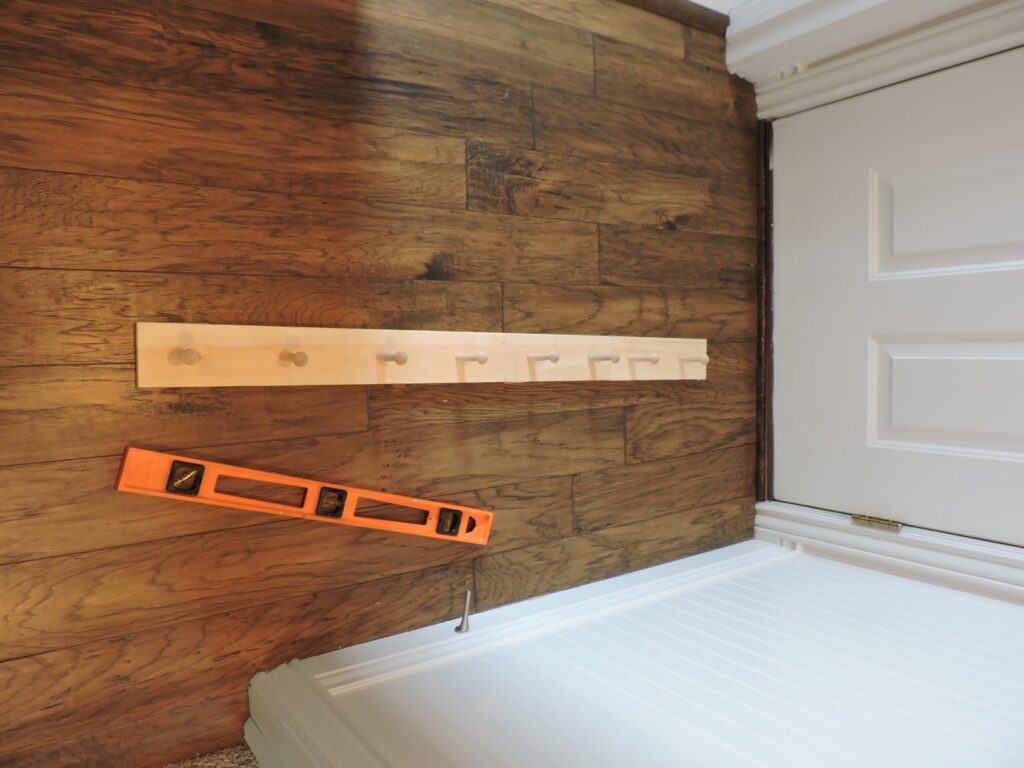
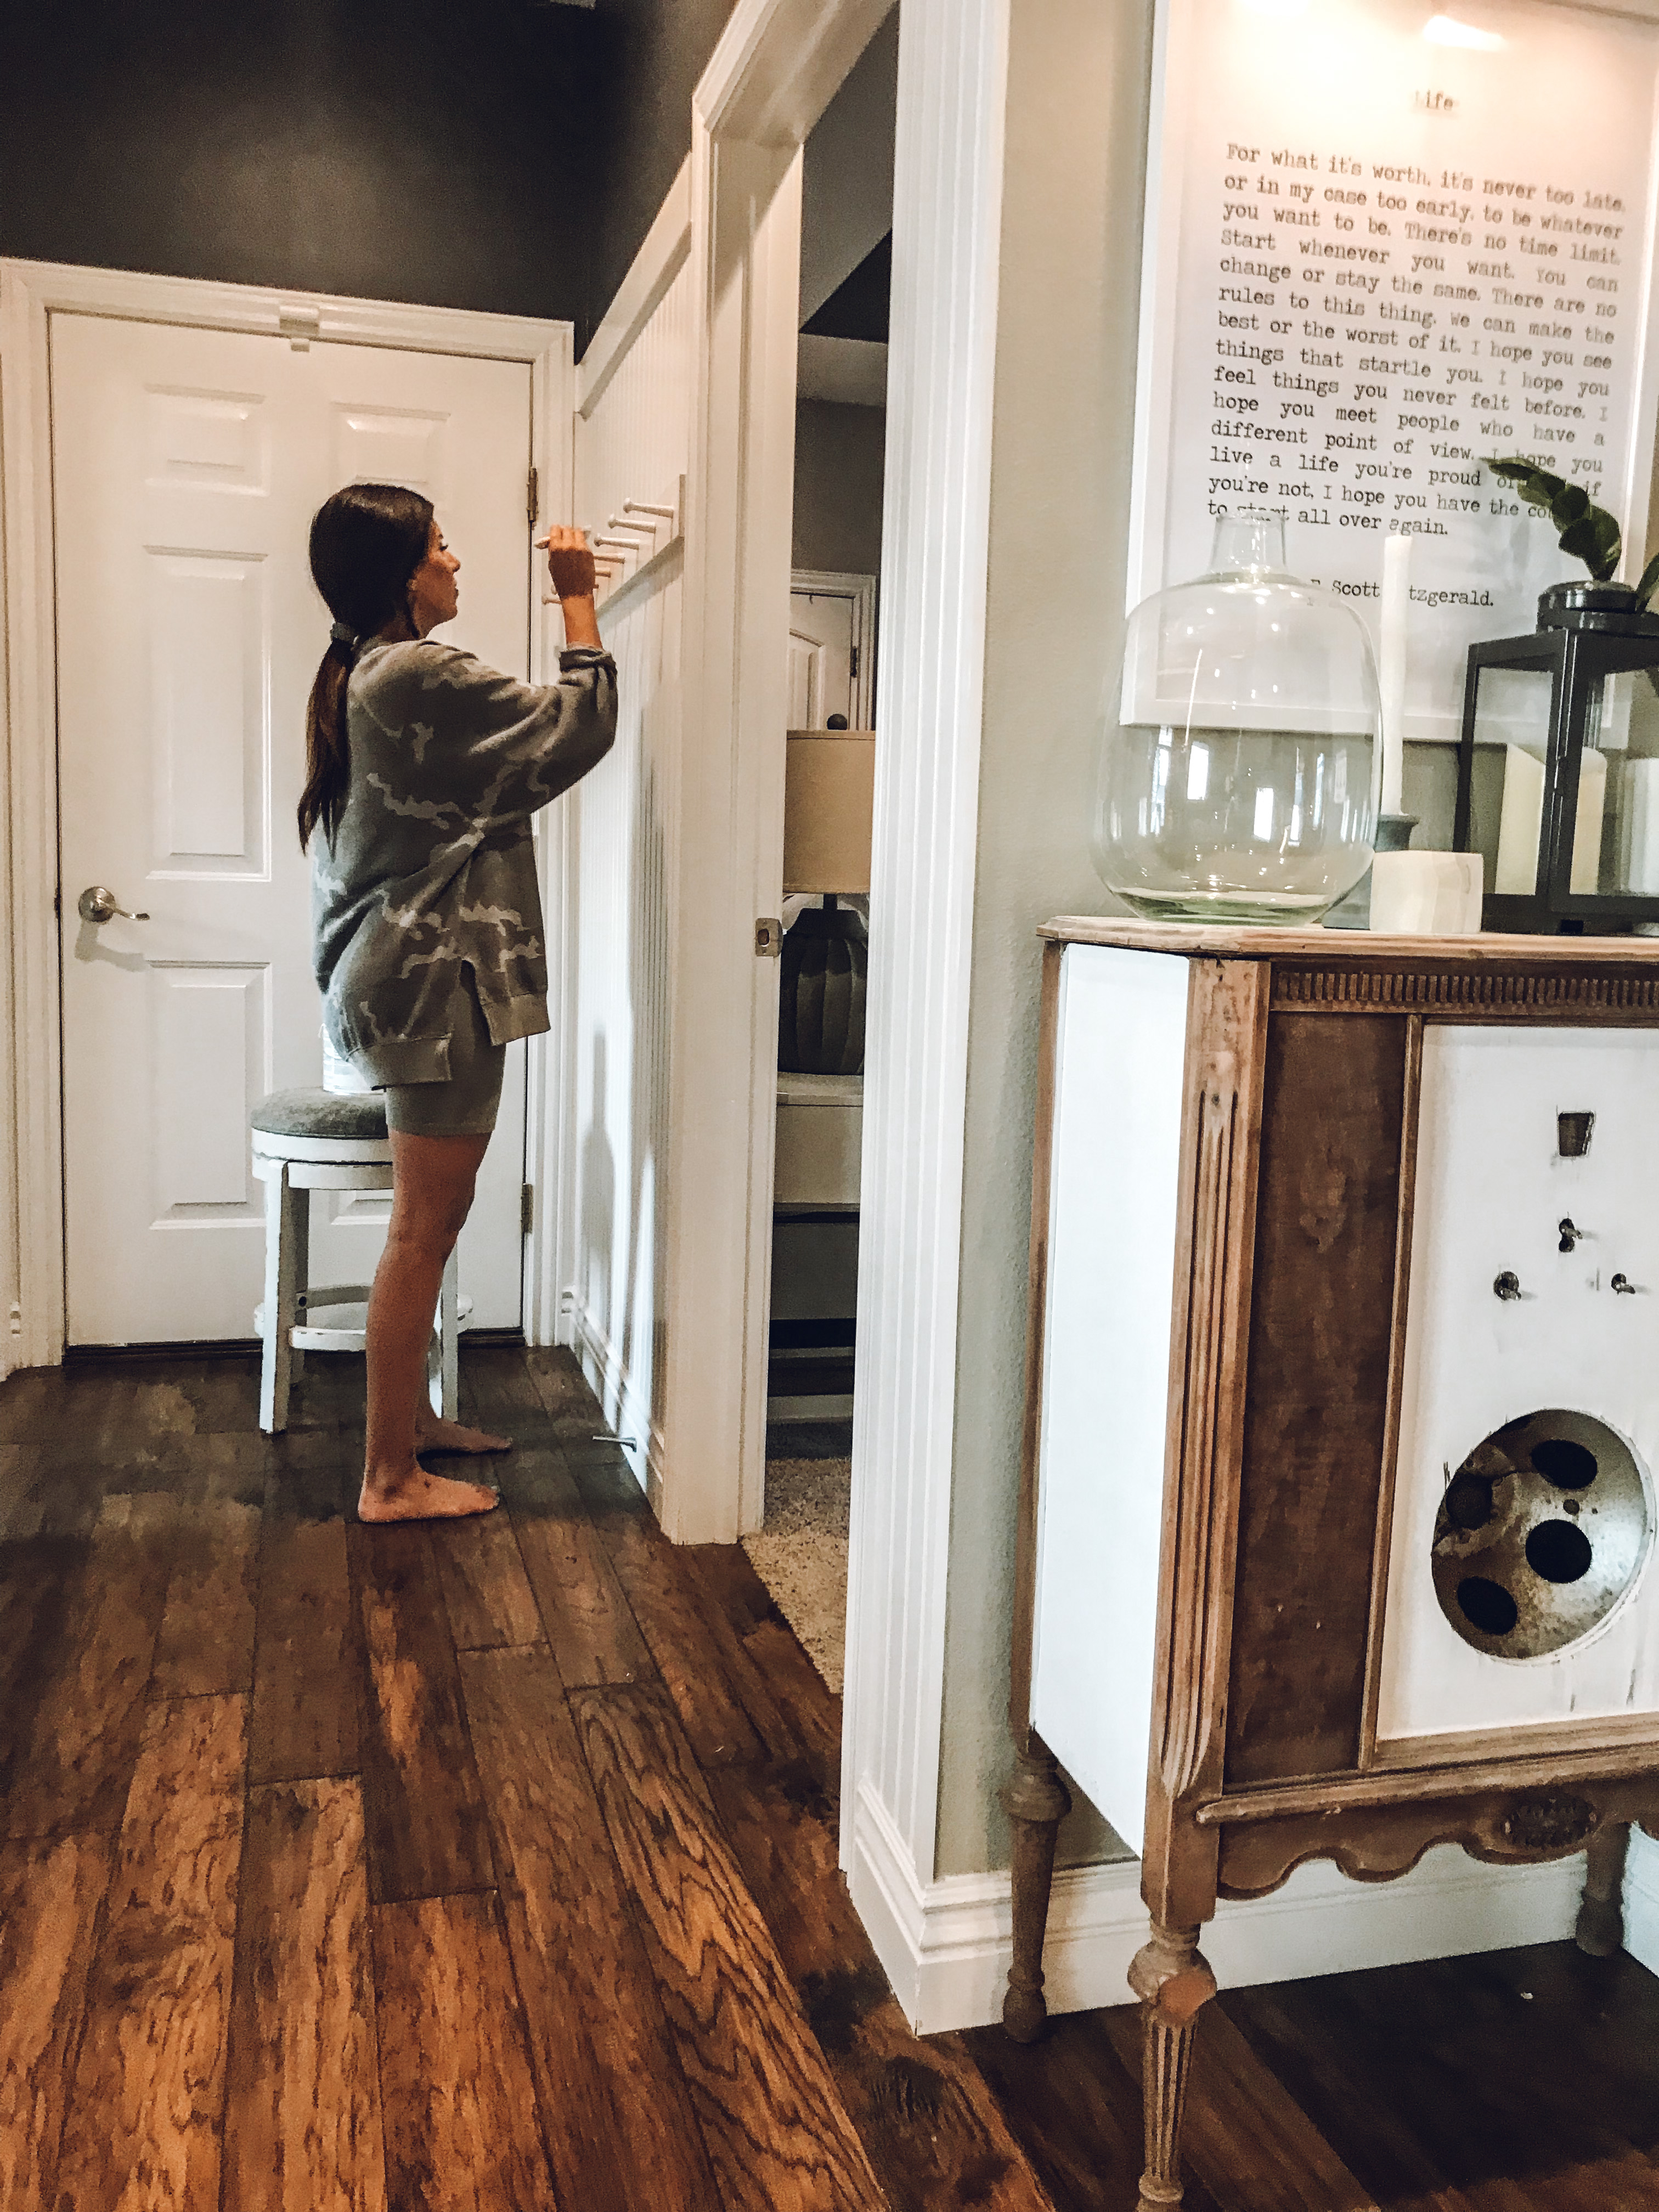
I used a nail gun to attach the boards to the wall. Make sure to use a level during this step. An extra pair of hands helps but isn’t necessary.
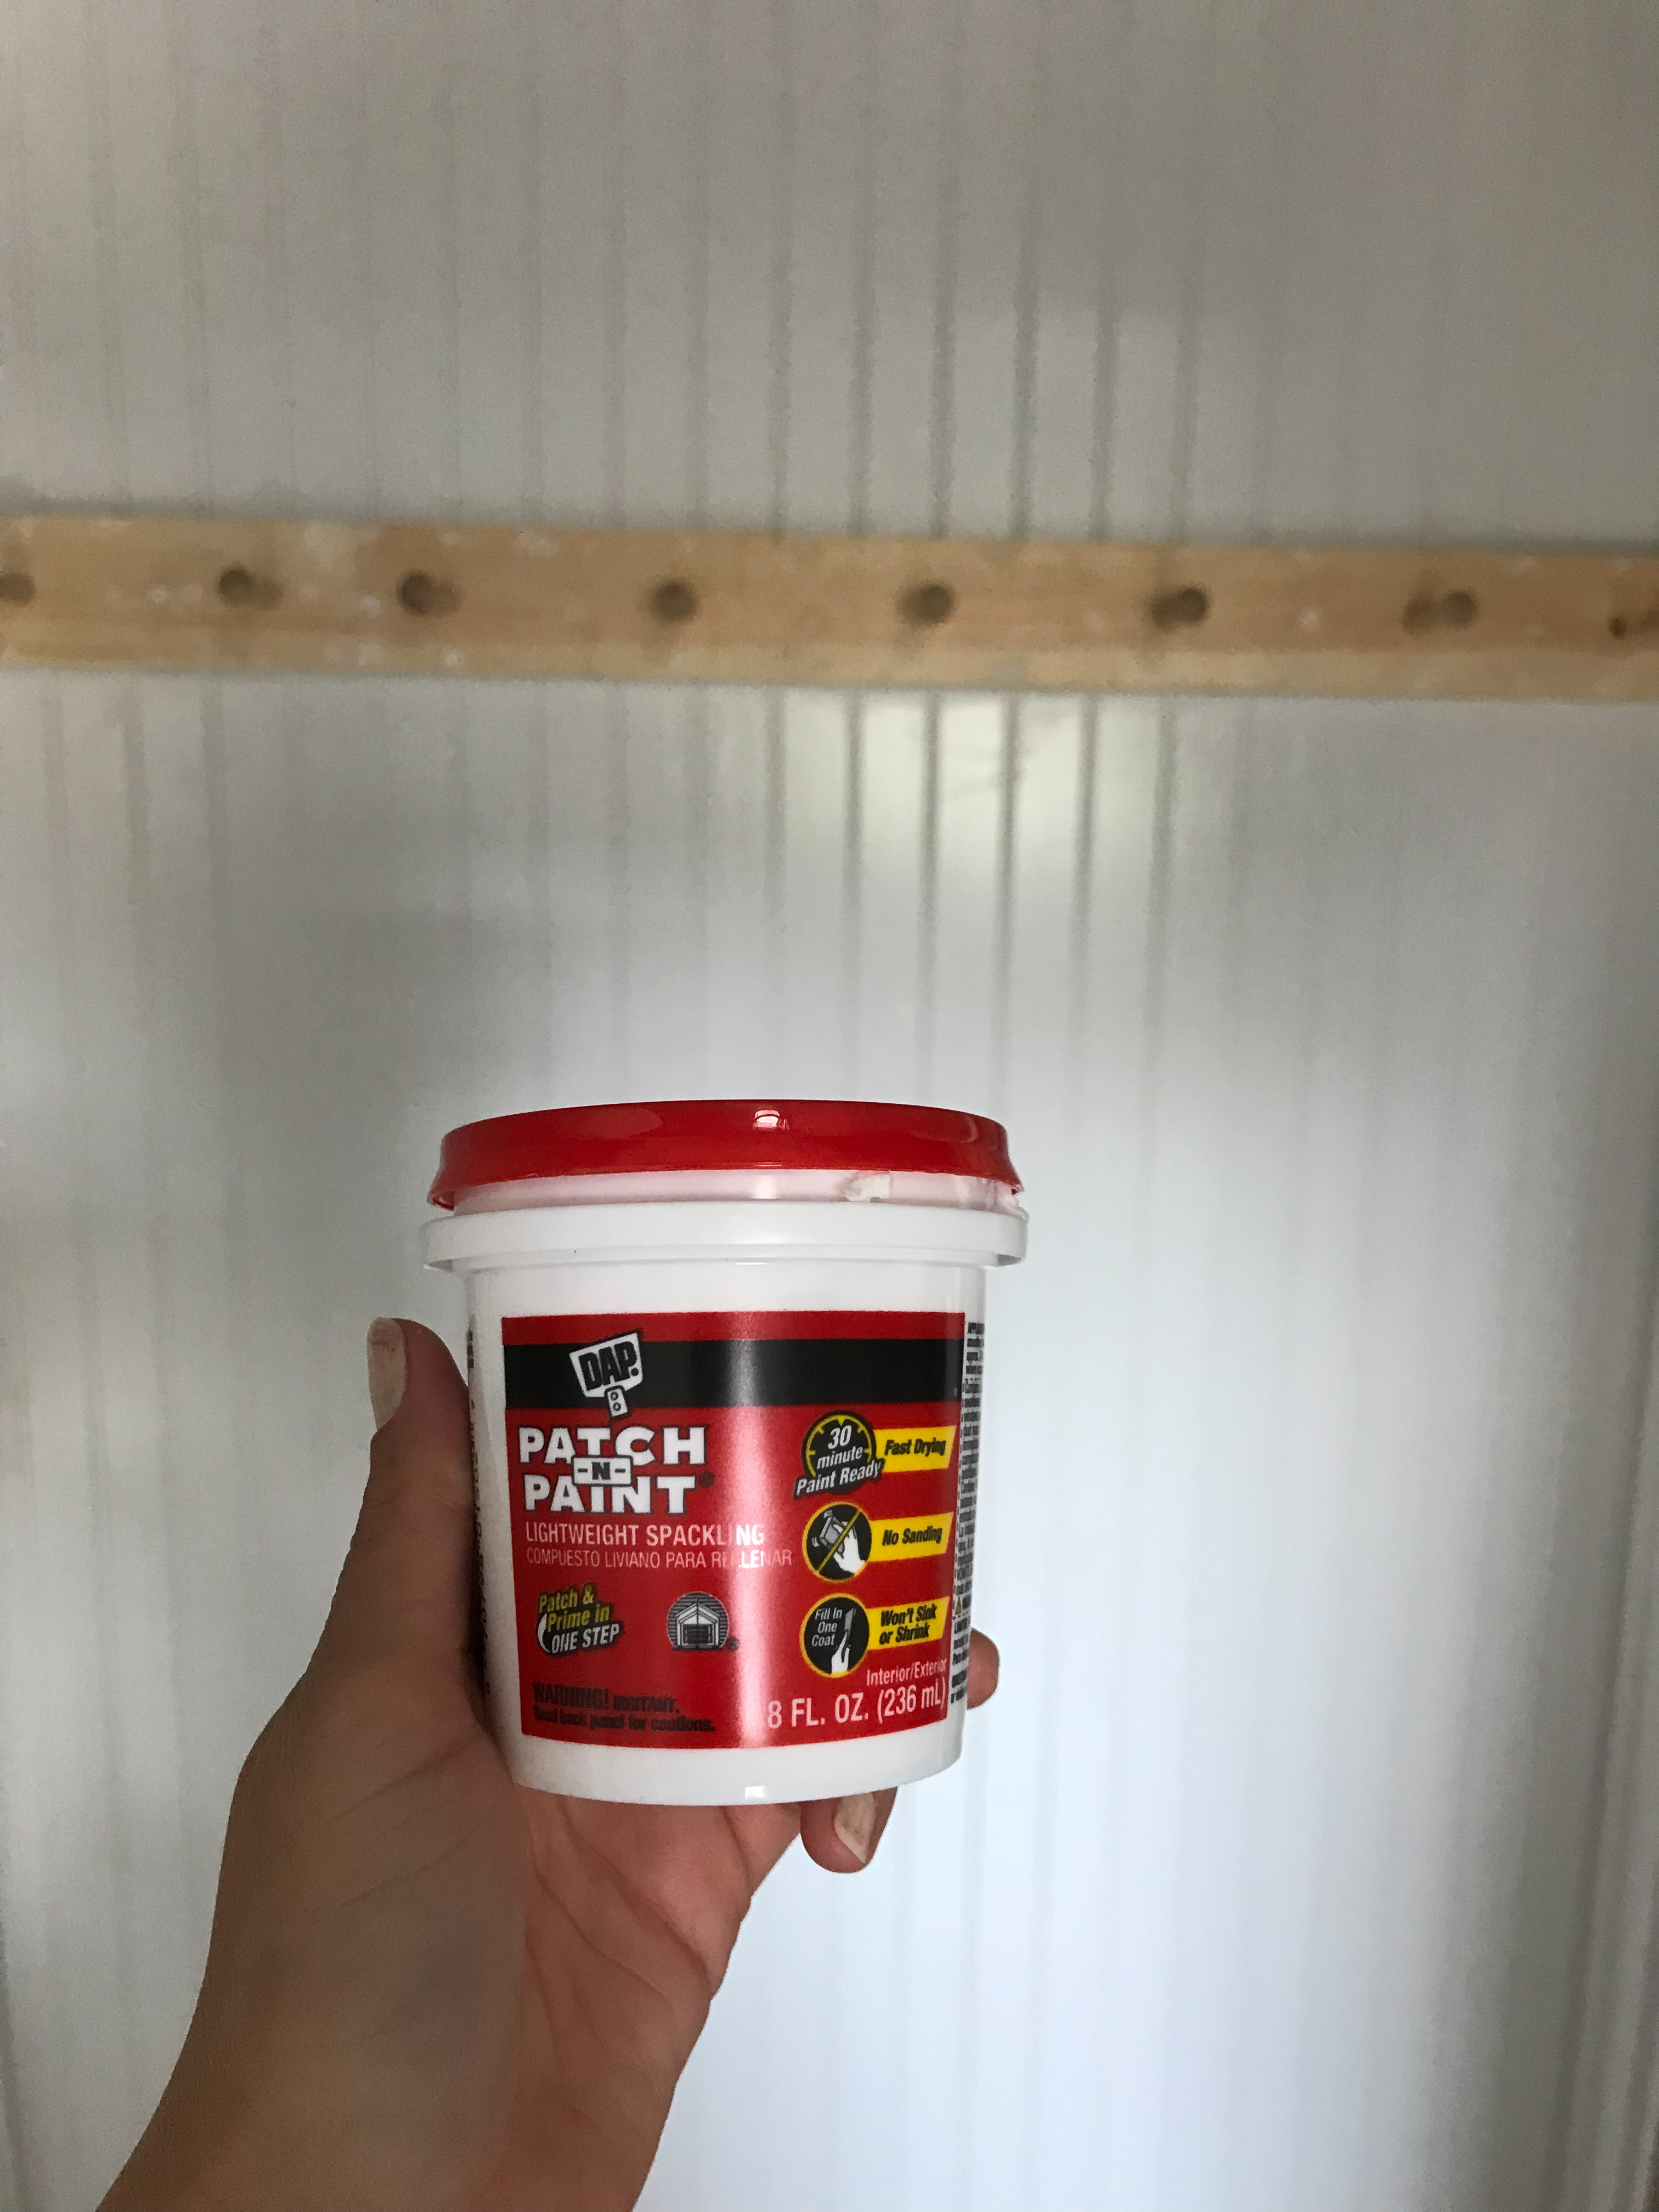
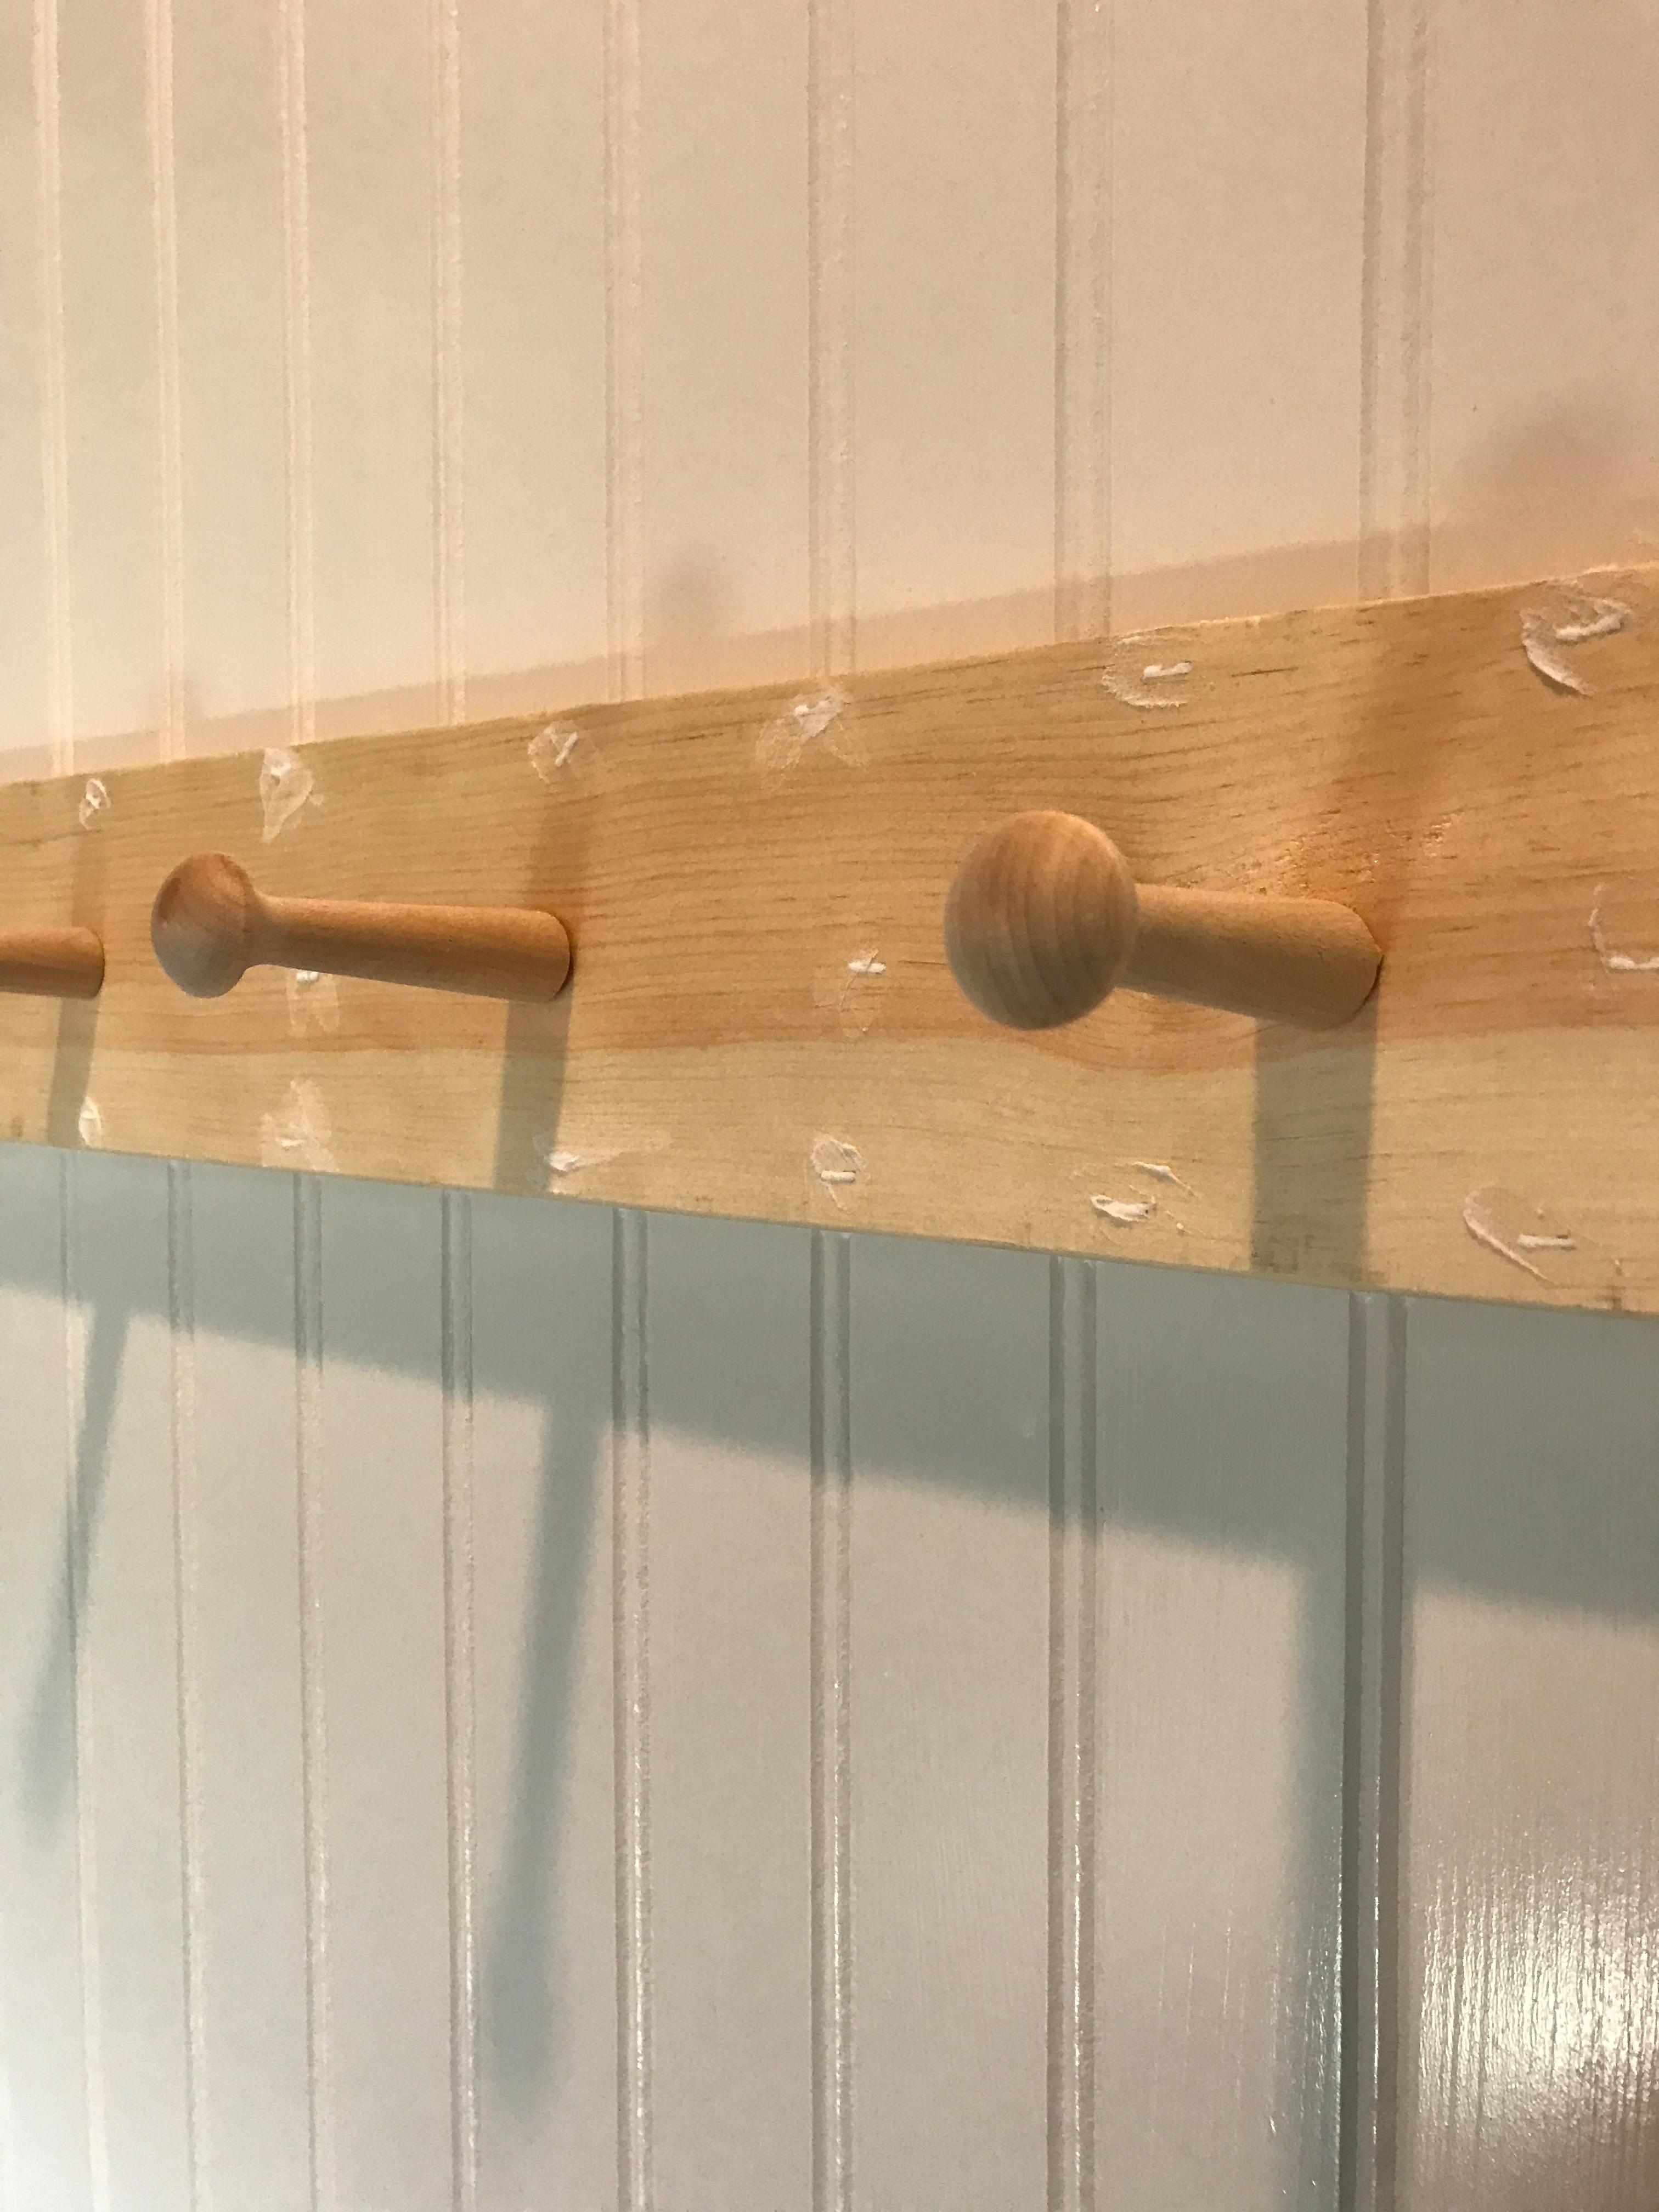
I used this product to fill in all of my nail holes.
Once dry, use fine sanding paper to sand it down smooth. Now you are ready for paint!
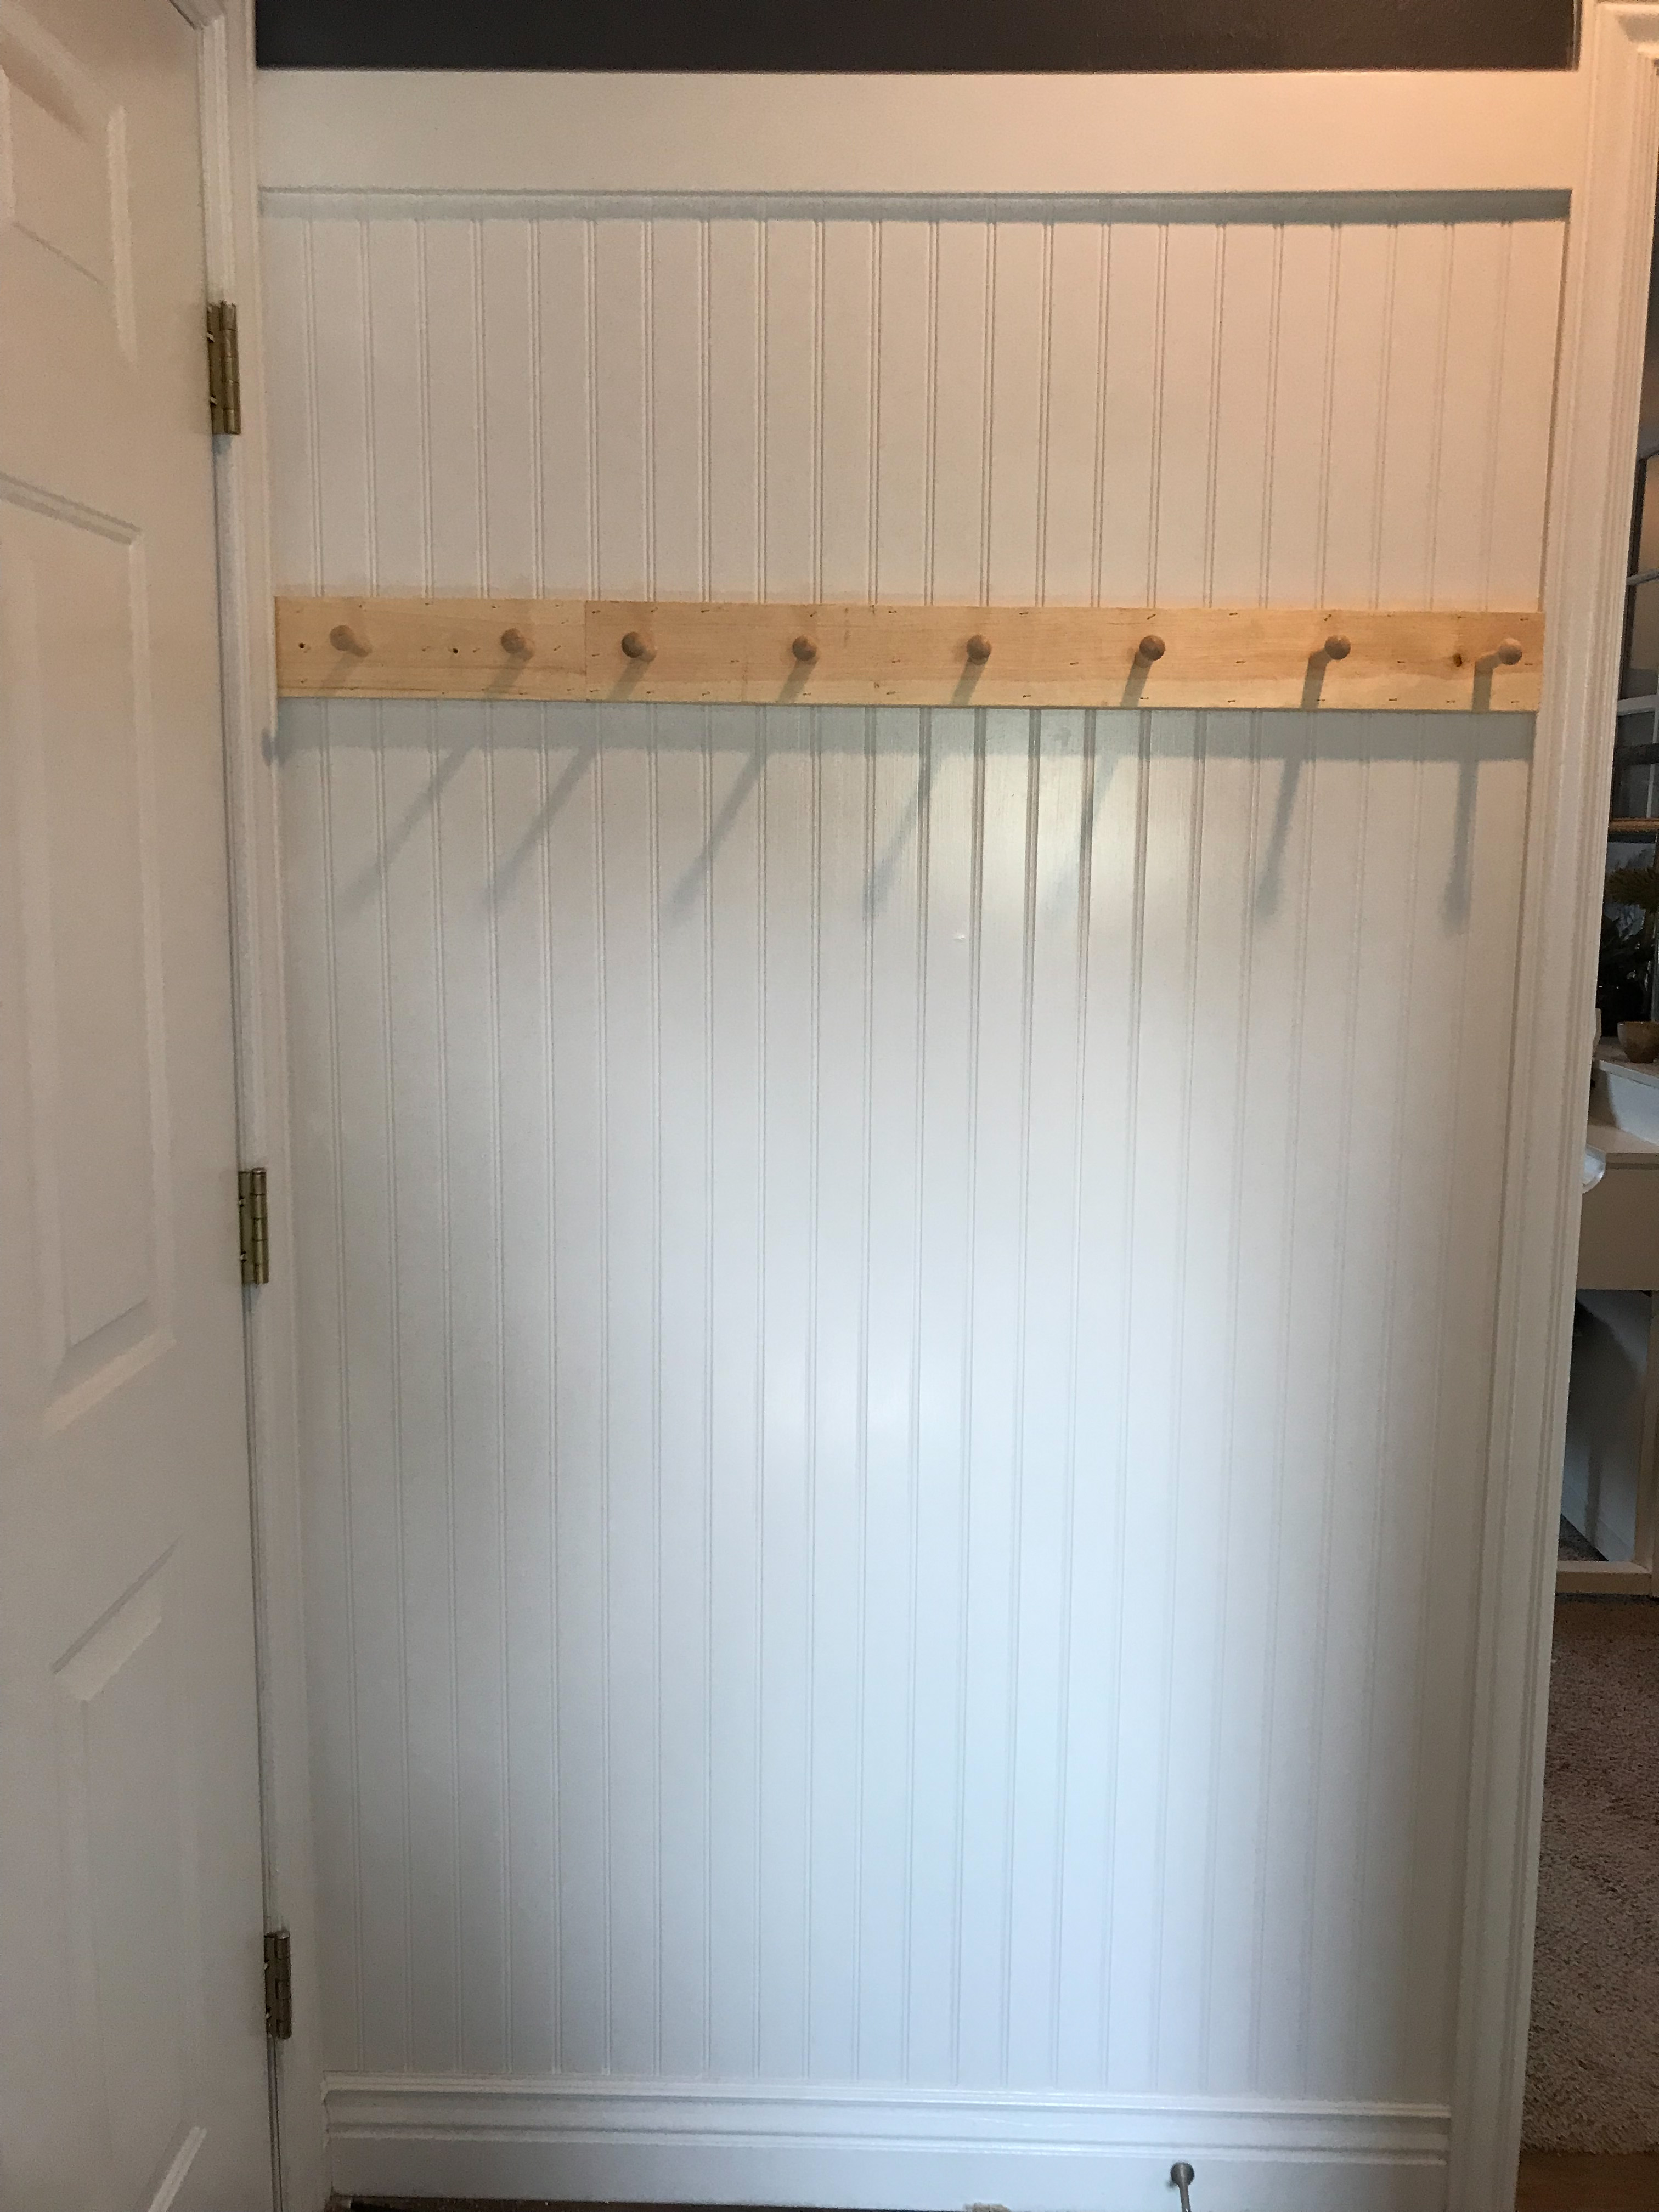
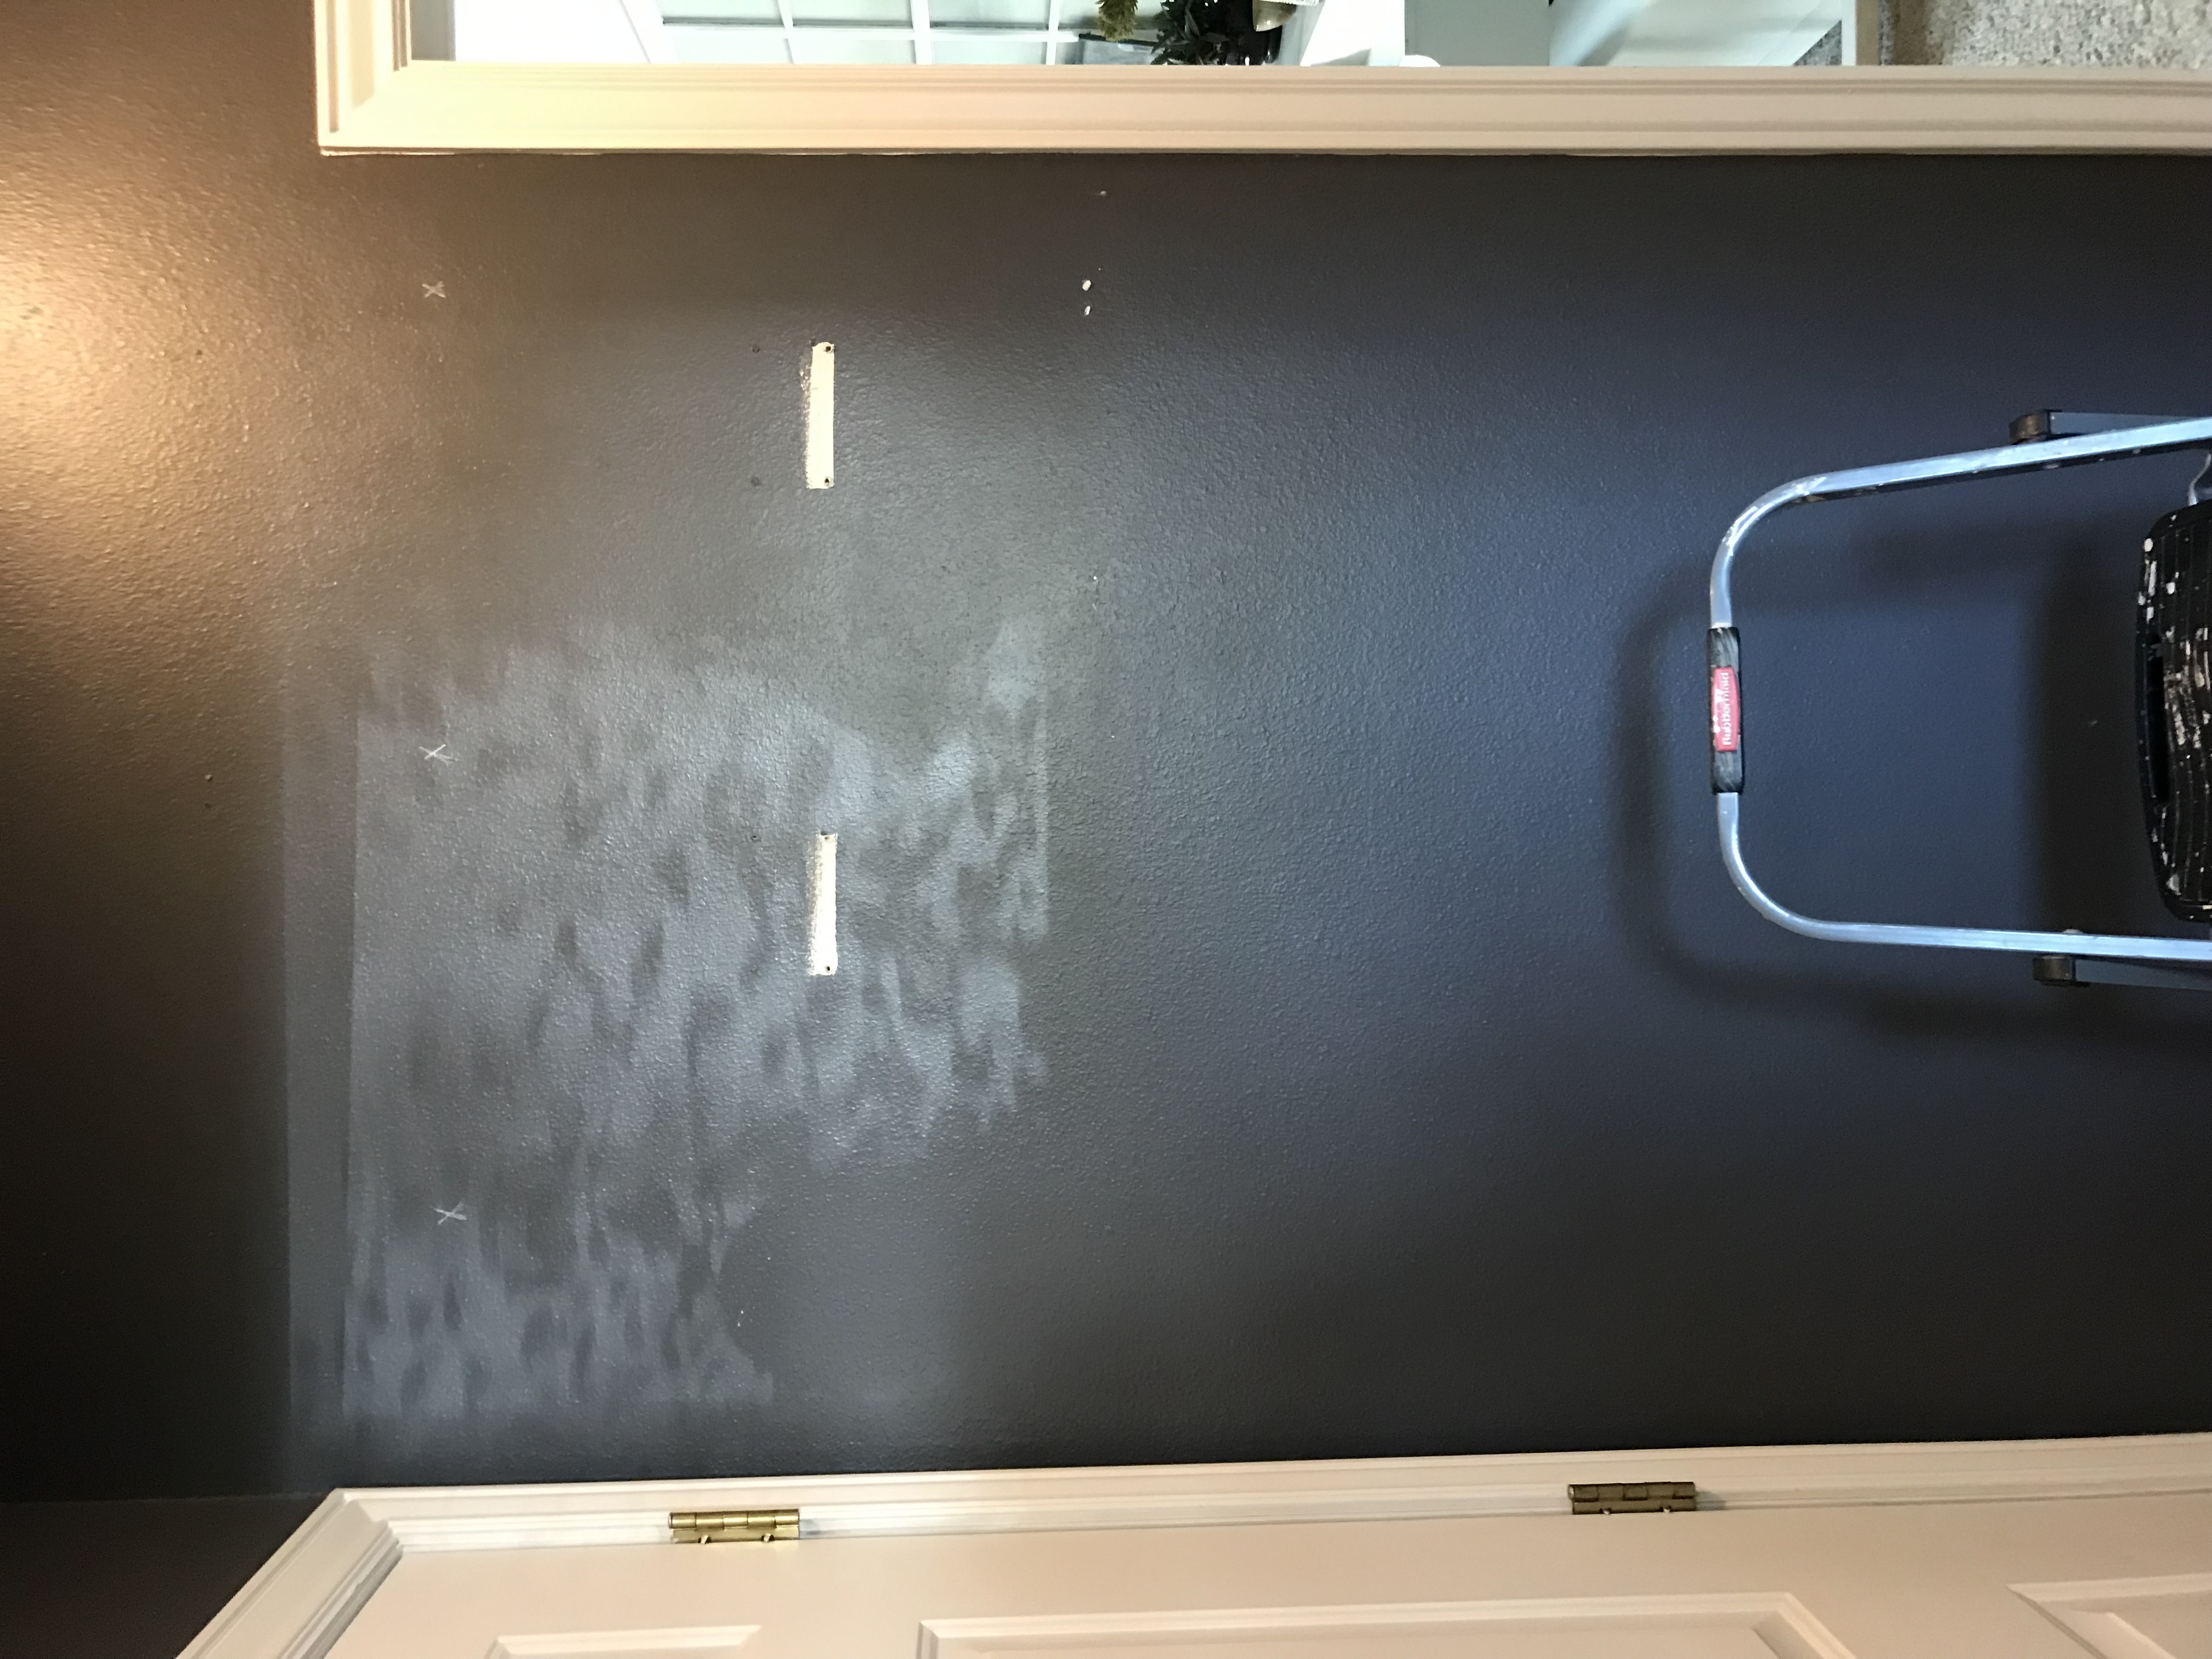
Before
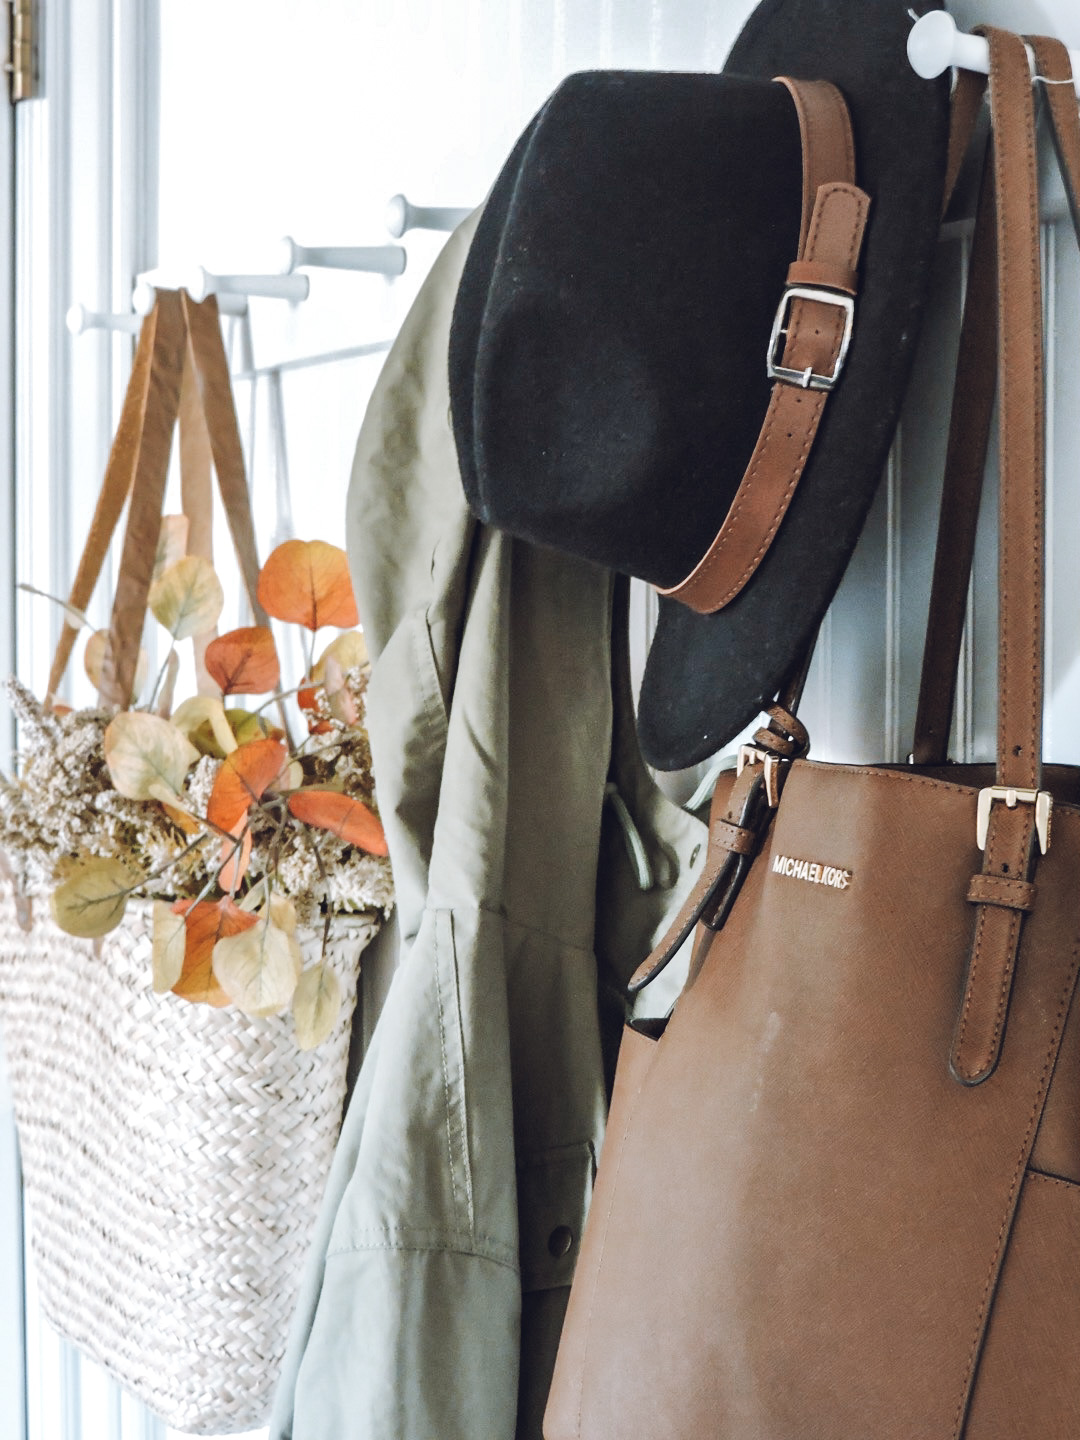
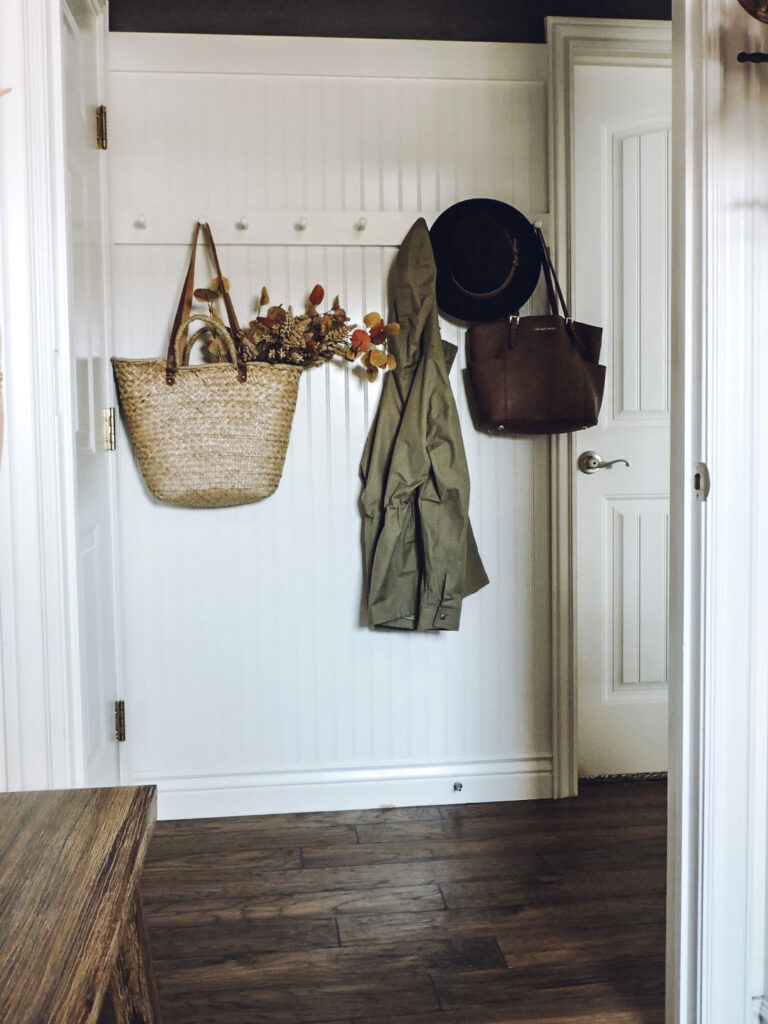
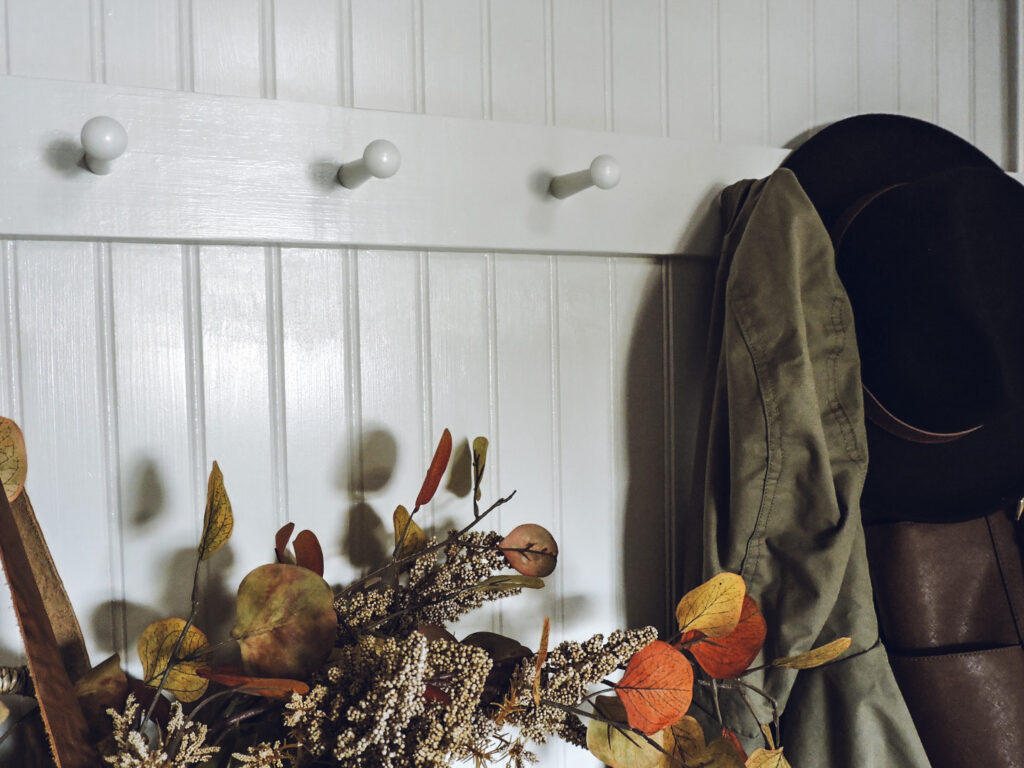
After
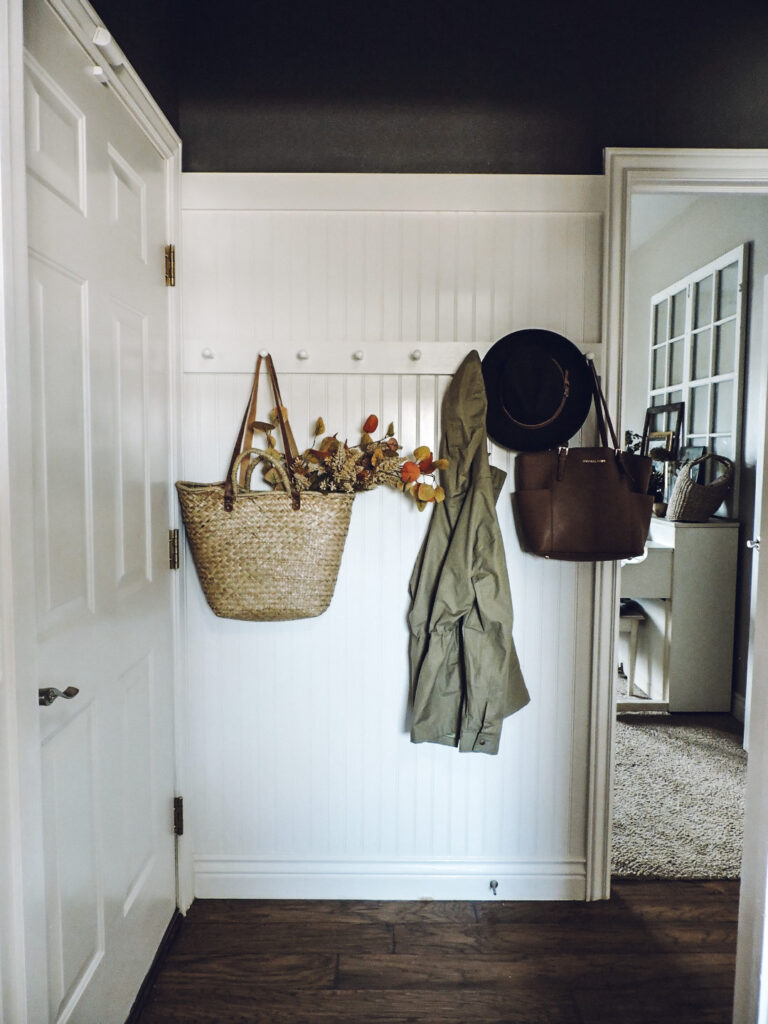
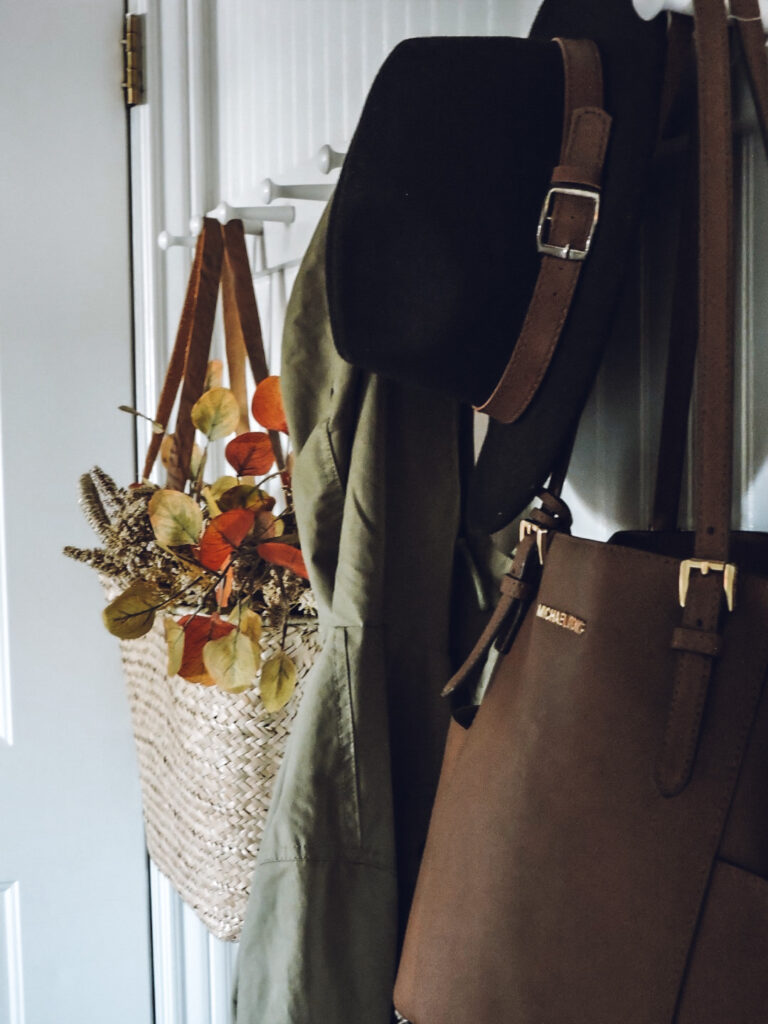
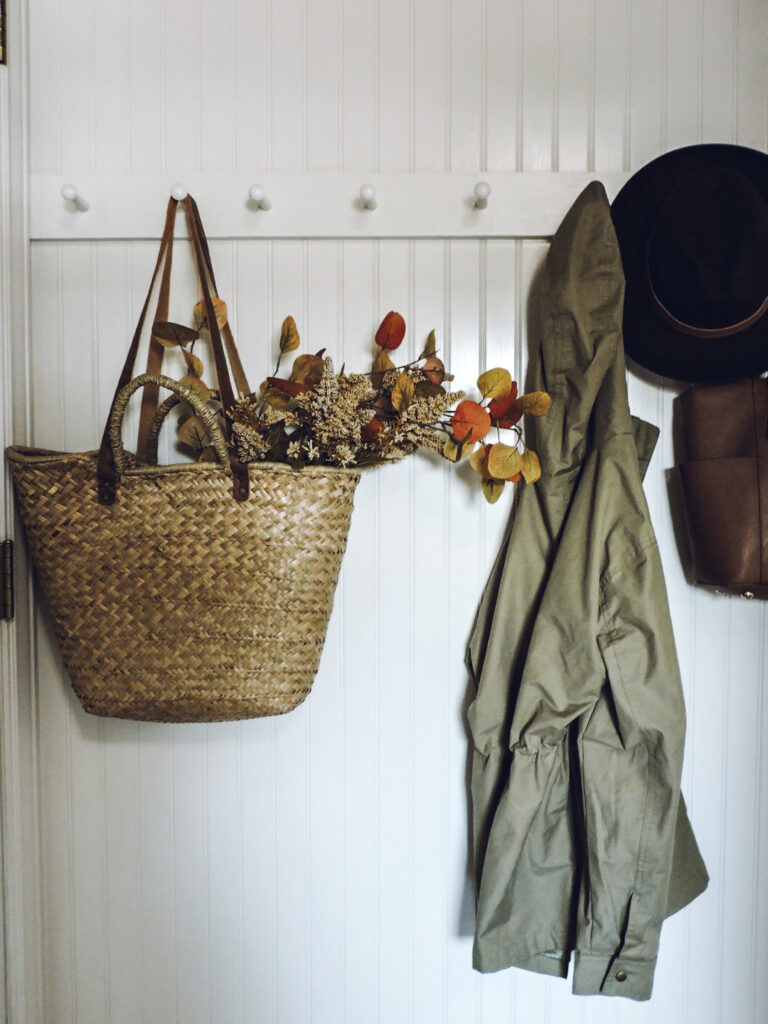
Having this right next to our garage door is so handy. I created a space for the girls to hang up their book bags and coats in the laundry room which you can see here but I still needed a place for all of Matt and I’s belongings.
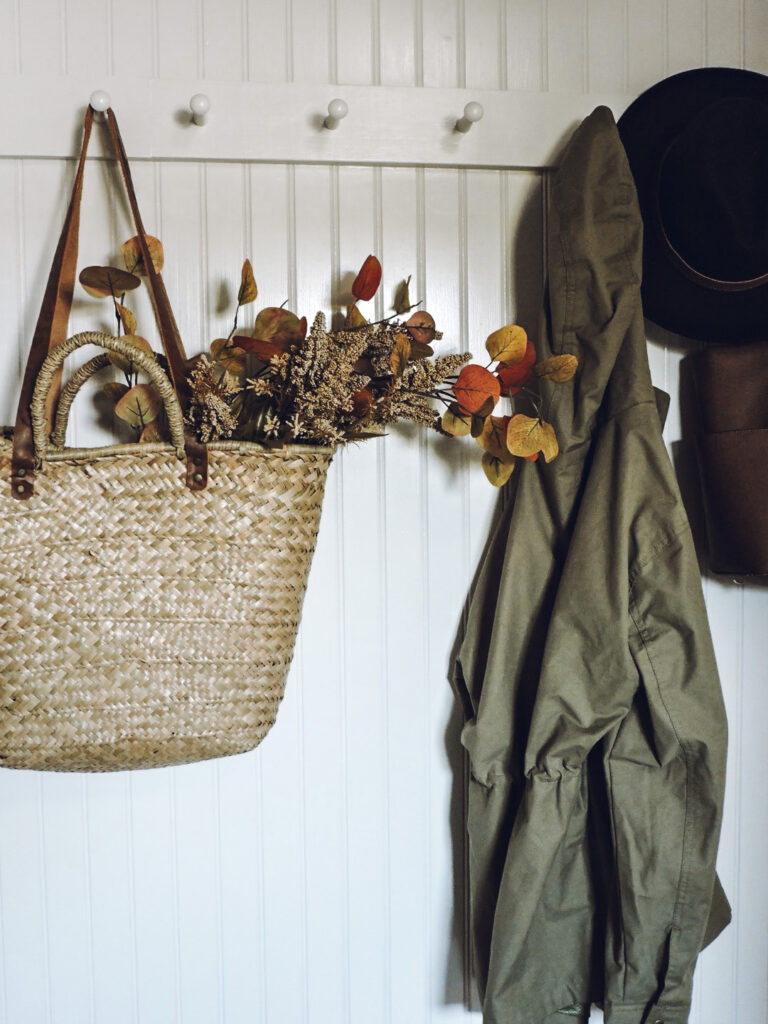
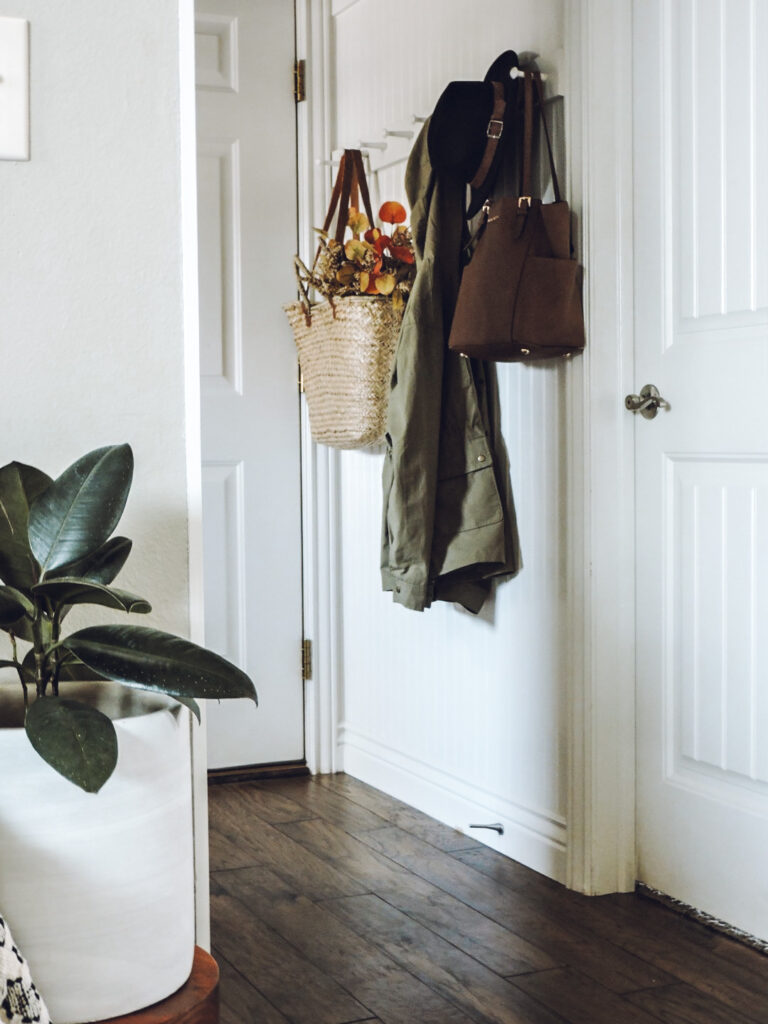
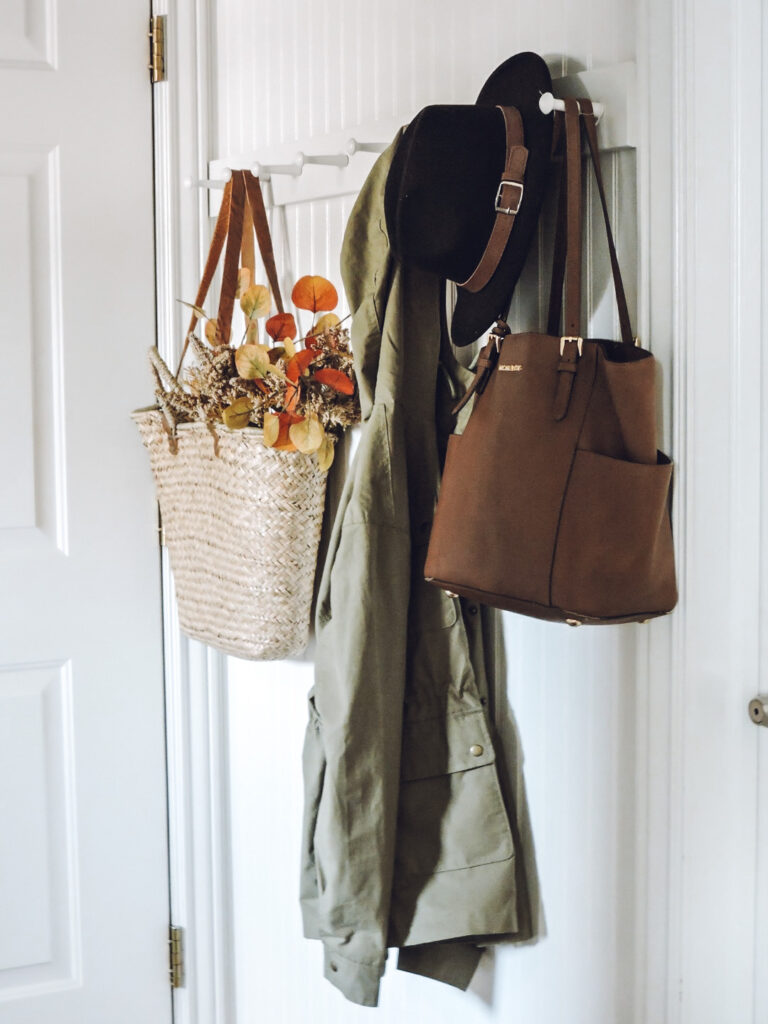
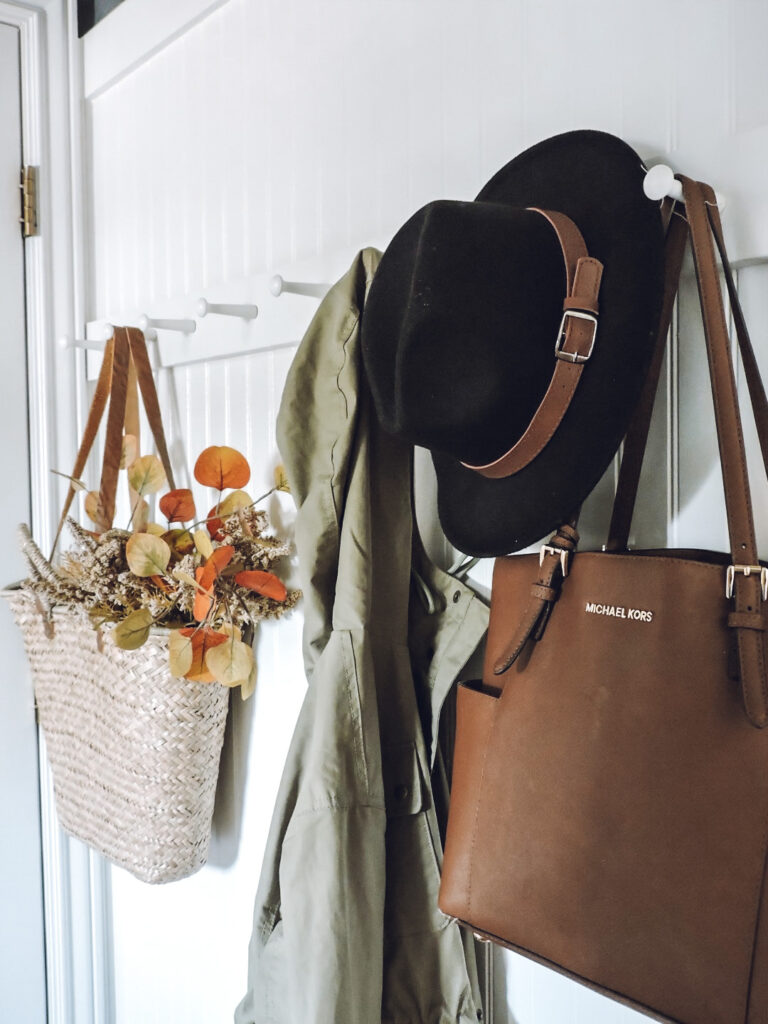
Something I’ve always kept my eye out for when thrifting is a large tote like this one. Unfortunately I haven’t had any luck in finding one but I found this French market bag on Etsy and it is PERFECTION!
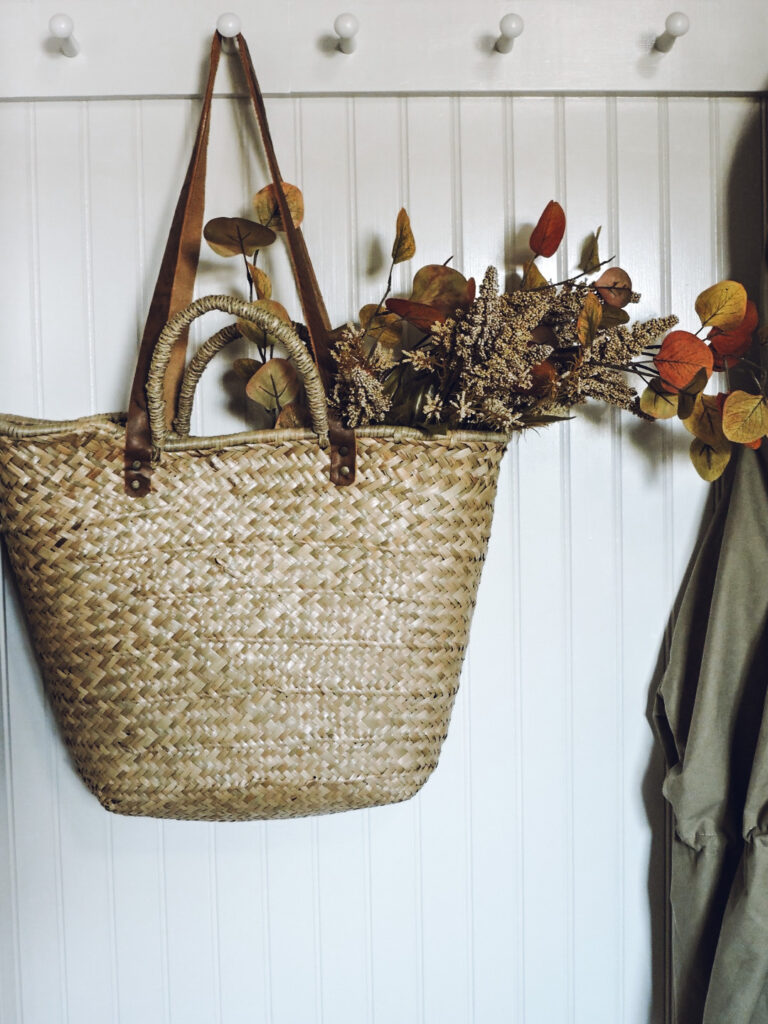
I couldn’t help myself and put a few fall sprigs in the basket; fall is on my mind! Are you ready for fall?! I know some people who are hanging onto summer for as long as they can but I am always ready for cooler temps and all the wonderful things fall brings along with it.
xoxo
Kayla