
Stick and Peel Tile in Guest Bath Review
After a few late nights I finally have the backsplash done in our guest bath!! If you’ve been following along with me on Instagram, you will know the last two weeks I’ve been working on giving our guest bathroom a makeover. I am SO excited with how it’s turning out. I have most of the big projects done, so now comes all the fun, little details that I love doing.
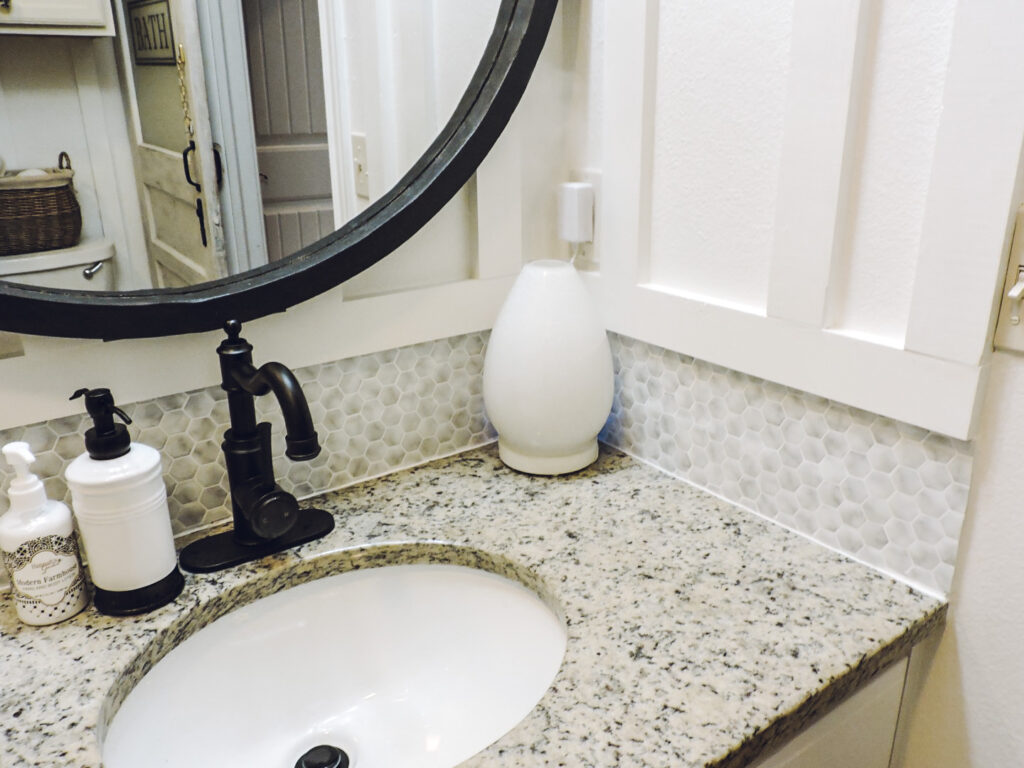
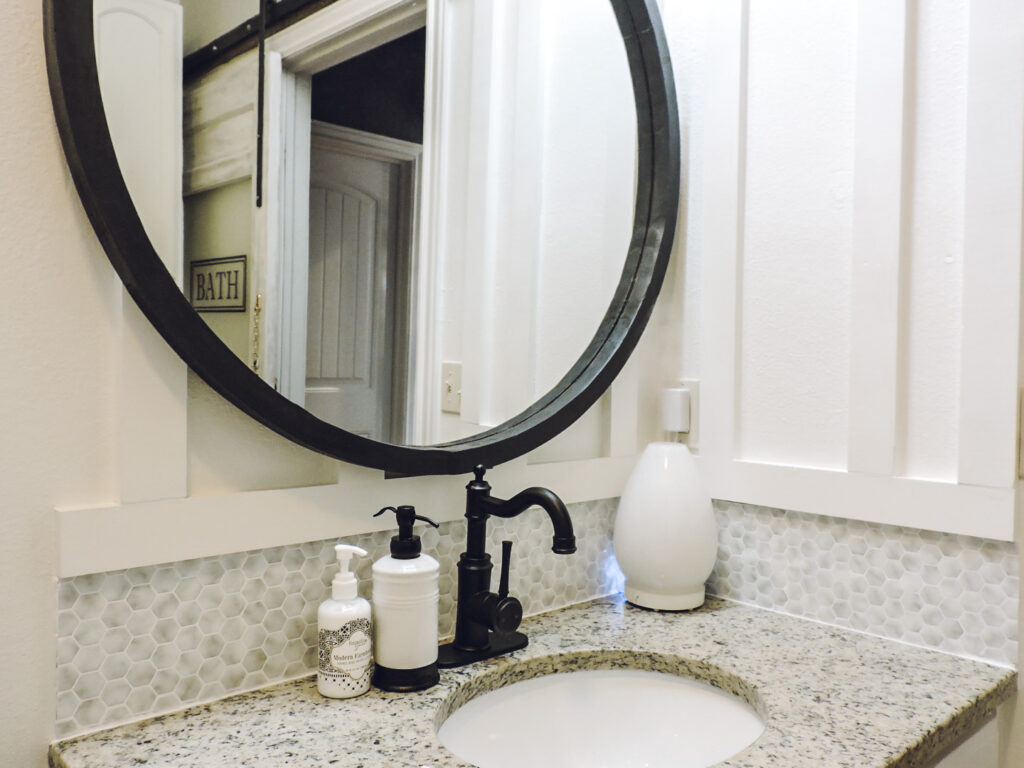
I was never a fan of this backsplash; green and maroon just isn’t my thing. Down the road our plan is to replace this cabinet, counter and tile. I decided instead of continuing to live with this backsplash which was really hindering me from getting the look I wanted in here, to do something about it.
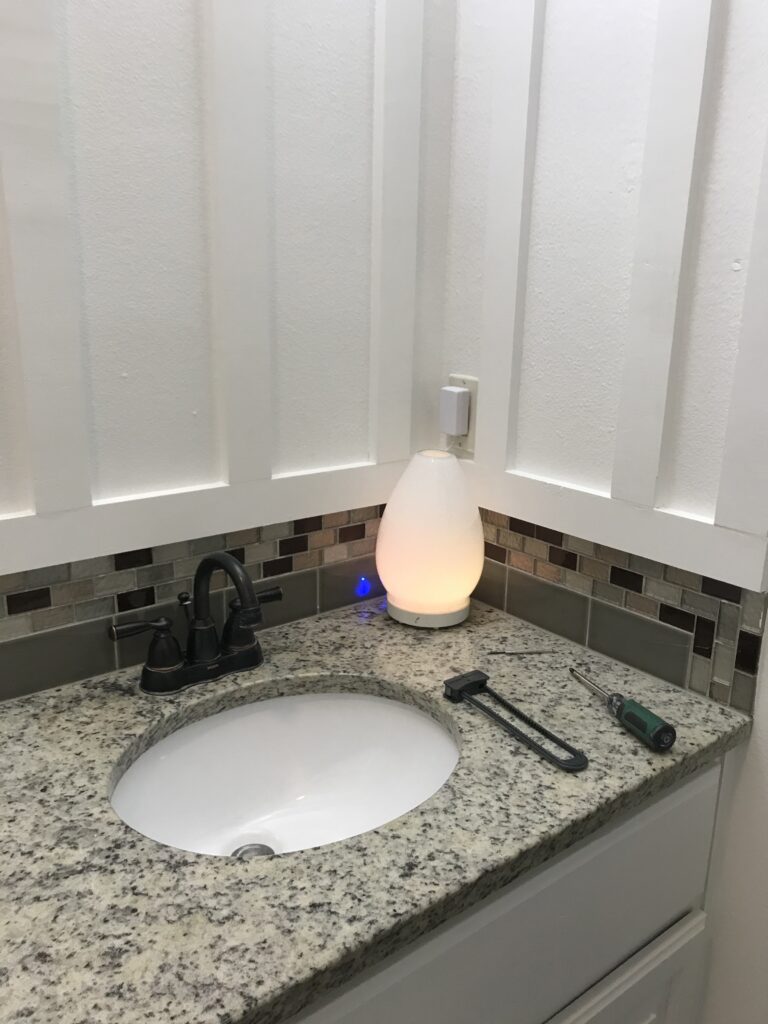
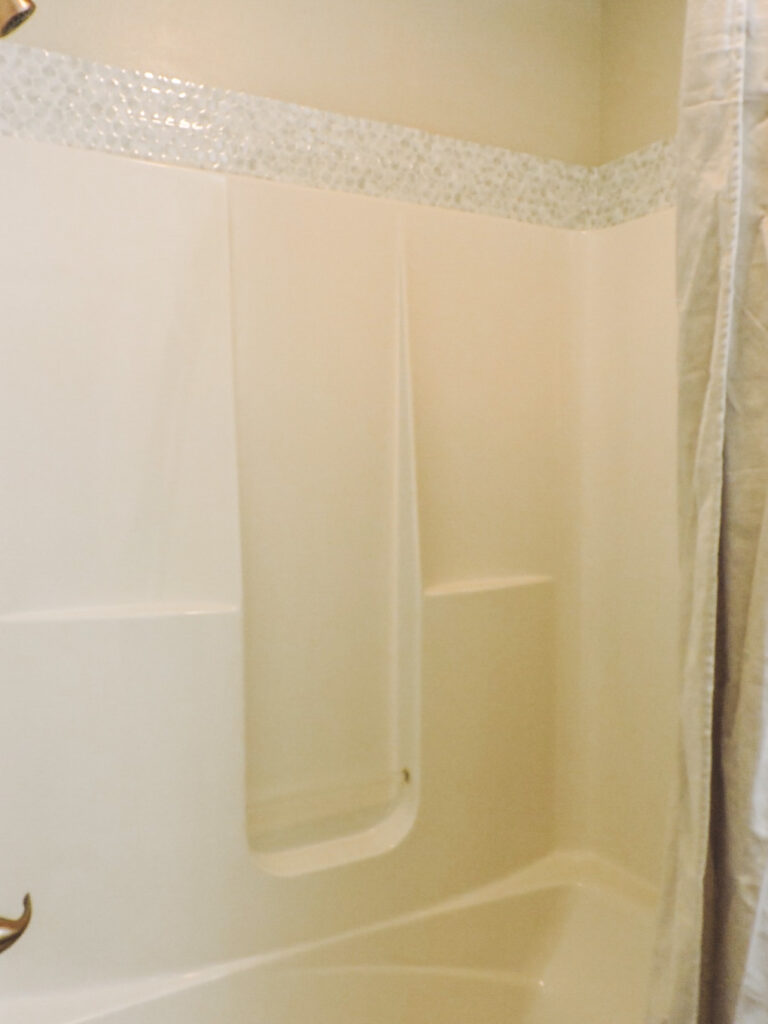
That is where this stick and peel tile came in! I spent under $100 to change the tile around our sink and shower!
You can purchase it HERE. This link will take you to Amazon where right now the tile is on sale for $17!! I originally purchased it for $25 from Target and then saw this sale and snagged some up. Each package comes with 4 sheets, I used 5 packets for the whole bathroom and had quite a bit of scraps left over.
I am here to give you my honest opinion!
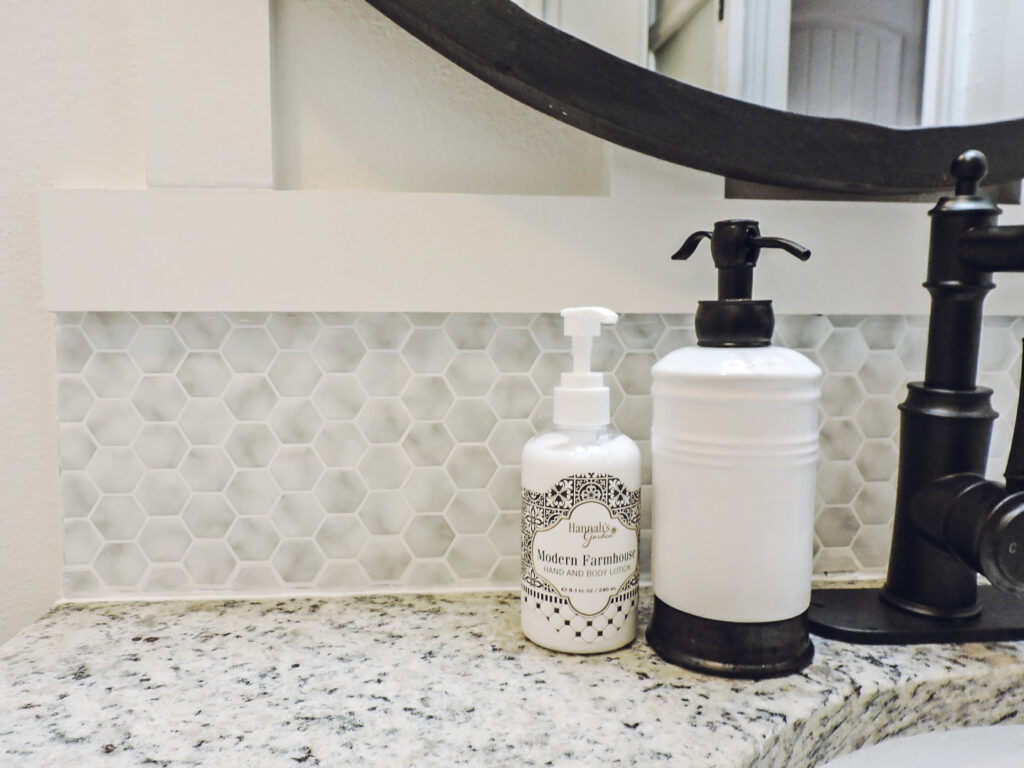
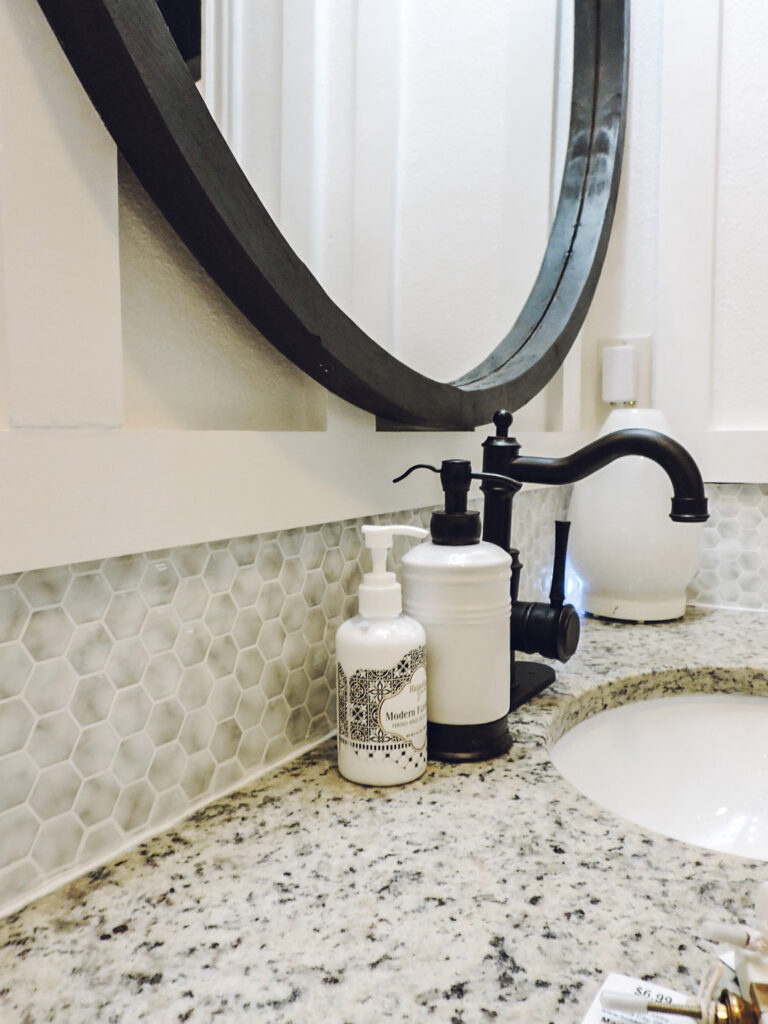
First off, overall, am I happy I did this project? YES! This faux tile completely helped changed the overall look of the bathroom and is more of my style and was in our budget. If you get up super close you can tell it’s not real but honestly, from a little further back, I don’t think you would be able to tell the difference.
Was it easy to use? Mmmmm not entirely. I’m a pretty decent diy’er and this was a little bit of a struggle for me at first. It definitely took me some time to figure out the best way to put this up, a lot of trial and error. Hopefully this post will save you from errors that I had.
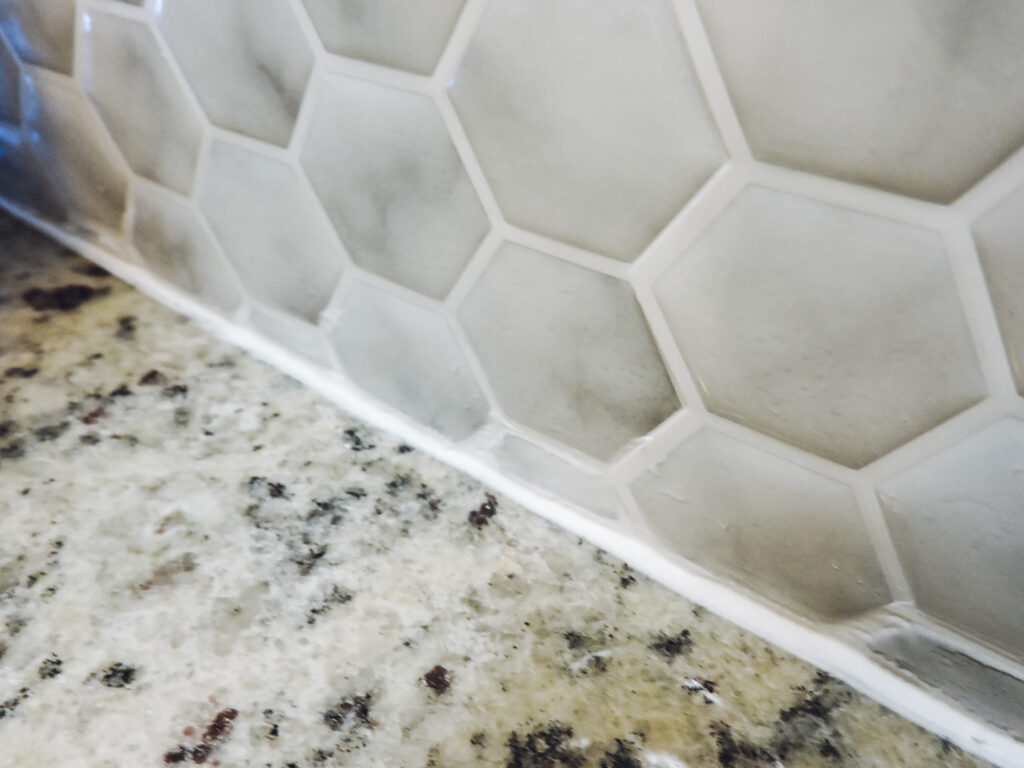
First step is to clean your tile. I simply used a rag and some of my Thieves cleaner. Don’t skip this step! The sheets will adhere better if your tile is clean. I put this right over my old tile but you could also stick this to a wall.
Number two, on the instructions it’s going to tell you to use a box cutter or razor blade of some sort. That did not work well for me. When I tried using ours, the material kind of crumbled up and it was not easy to cut. I quickly grabbed my fabric scissors and those worked 100 times better. I did still use the box cutter a time or two when I needed to trim a piece off that I already stuck to the tile and couldn’t use my scissors. So, in all actuality, I would suggest having both available but use scissors to do most the cutting!
Number three, remove your old caulking before putting on the stick and peel tiles. This is not in the instructions but after placing a few sheets down, I quickly realized it would look more realistic and finished if I did this step. I just used a screwdriver and a razor to remove the old caulking. This also gave me the ability to not have to be super precise with my measuring and cuts on the bottom portions. I re-caulked it all when I was done and this covered up some of my small mistakes and make it look more finished.
Once I figured out around the sink area and what worked the best, the shower area went much quicker. I am anxious to see how it holds up being around water.
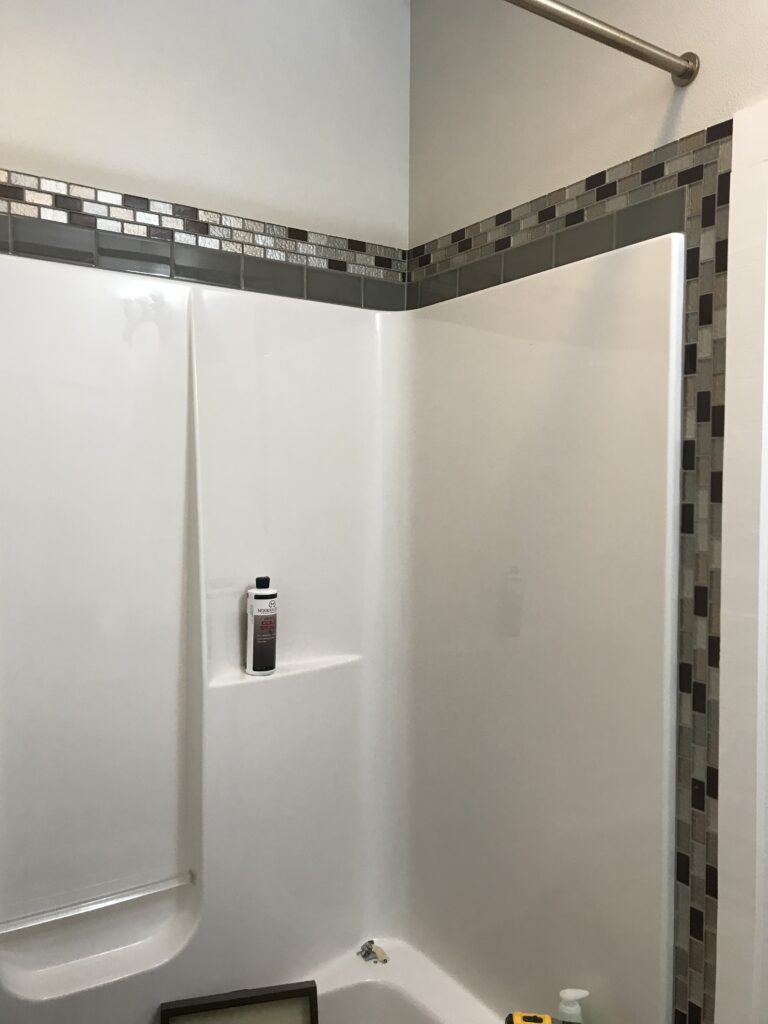
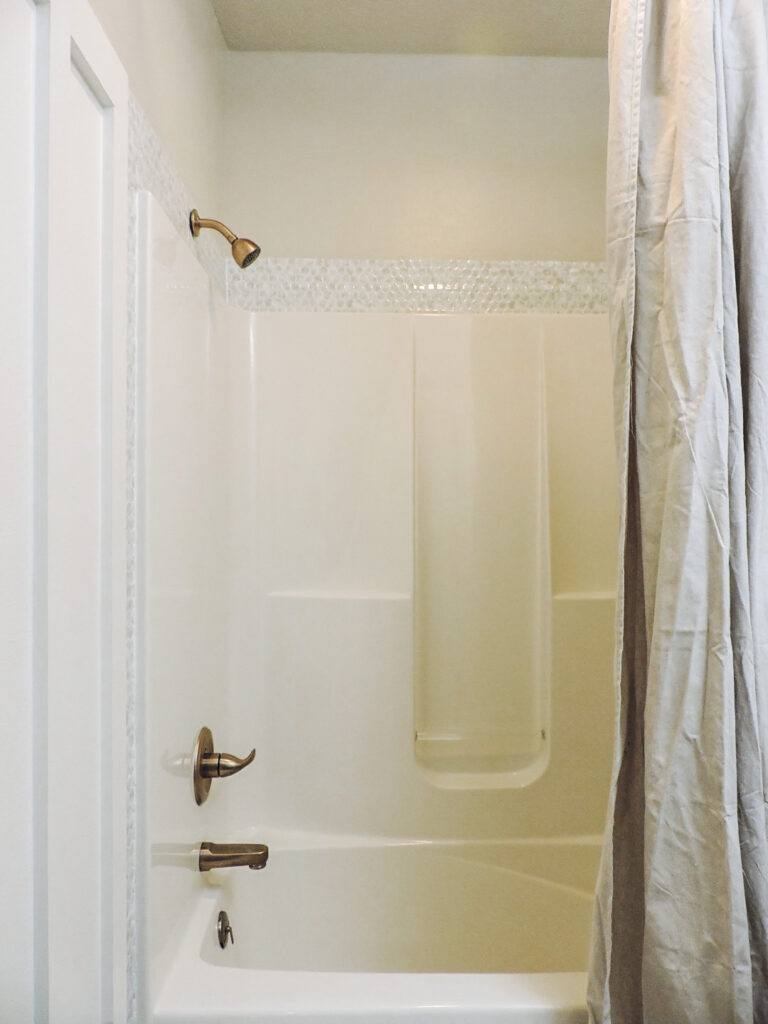
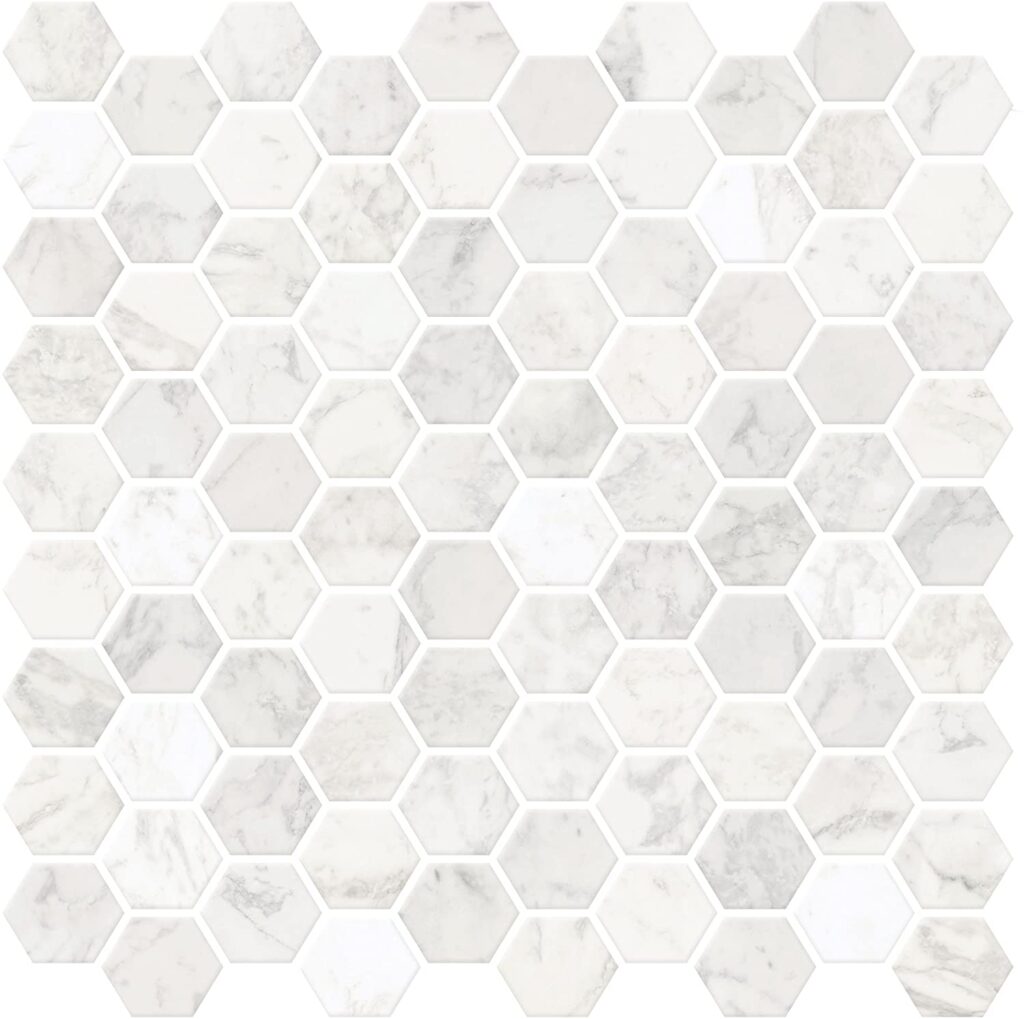
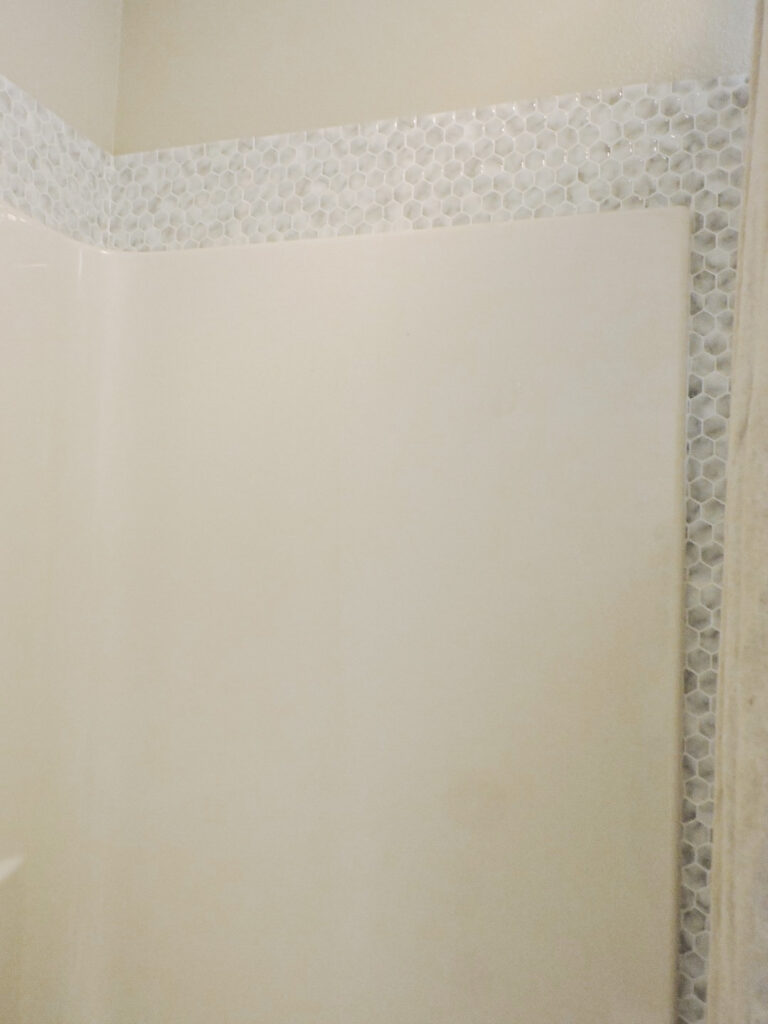
The type of hexagon design I went with made it definitely more difficult to line things up right. A more linear subway tile design would be much easier because there’s not as many small shapes and lines to match up. With that being said, I LOVE this design and someday when we get real tile, it’s probably going to be similar to this design.
Do I think this product could be a permanent solution? It’s hard to say, because I’ve only had it all up for a few days now so I’m not sure how it will hold up. I don’t know if I would want to this to be here forever but I think I’ll be happy with at least a few years.

Would I suggest this product? Yes! If you are trying to make over a space on a budget and can’t afford to have your backsplash or tile re-done or want to add some, this is a great option!
I can’t wait to show you guys the finished bathroom soon! It’s come such a long way in the last 2 weeks. Soon I will have a blog post coming on the board and batten diy that I did in here. Also, something I love!
Thanks for stopping by!