DIY Board and Batten in Small Guest Bath
Hi friends! Today I want to share my diy board and batten I did in our guest bathroom. I’ve been wanting to spruce this space up for quite some time but didn’t want to shell out the money to have the space done so decided to do it myself! I knew I wanted a wall treatment but didn’t exactly know what I was capable of. I ended up deciding to do board and batten. I have never used a table saw or done any wall treatment like this ever. I read a lot of tutorials and watched a lot of You-tube videos. (Thank God for those things!) And then, I just kind of went for it and I had it done in one weekend. Saturday I spent a few hours figuring out how the table saw worked and how to make my cuts. And then Sunday, I spent the entire day working on it. I’m one of those people who just likes to get things done. Once I start on something, I will stay up into the wee hours of the night to finish it. I don’t know if it’s a good or bad thing! 🙂
Here are a few before pictures.
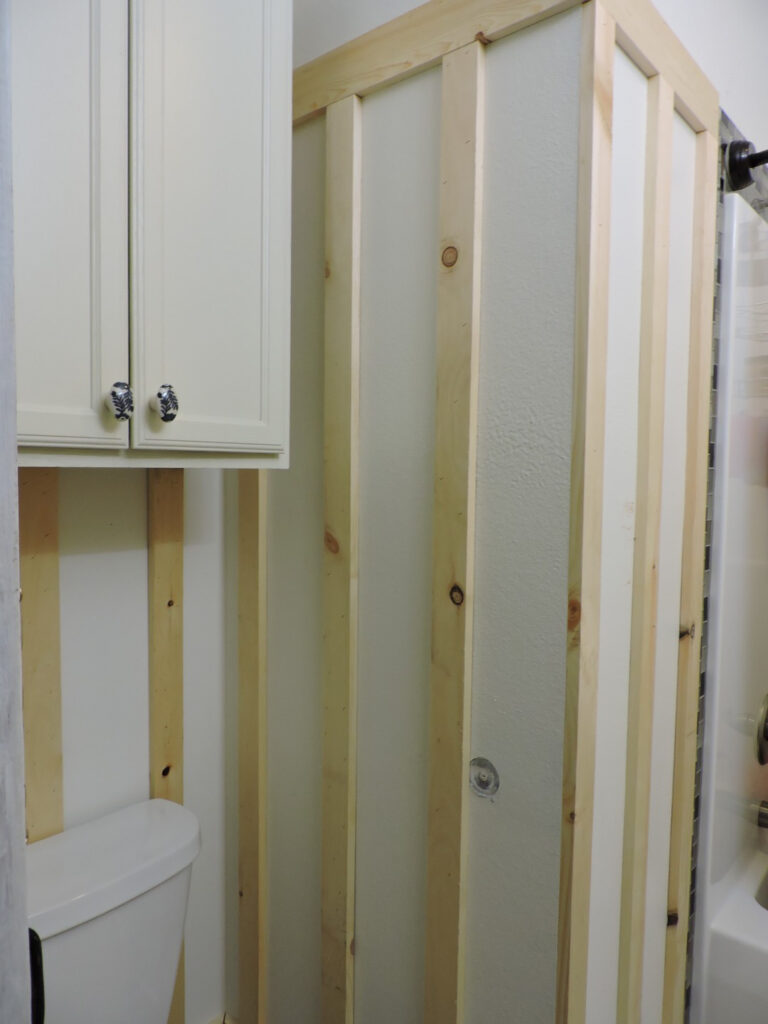
I used 1 x 3 furring strips for my vertical boards and 1 x 4 pine boards for my horizontal boards. Both extremely affordable. For everything, boards and all, it cost me under $100 for the board and batten!
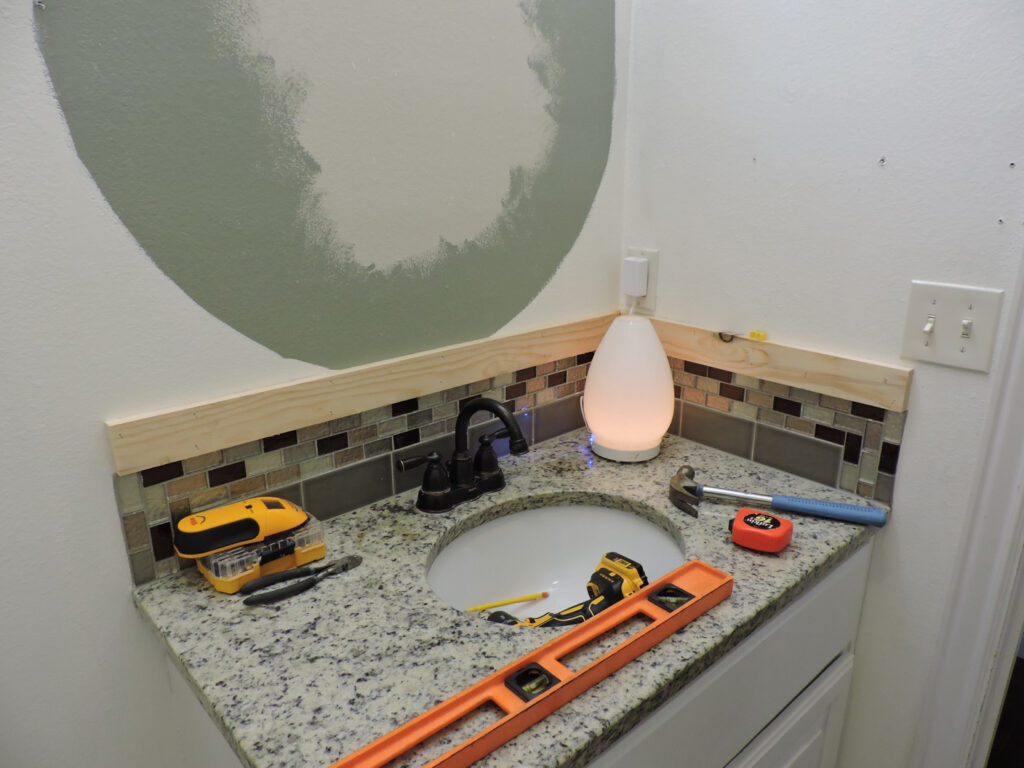
I started out by putting my horizontal boards up first. I put them right on top of the trip on the bottom of the wall because I wanted the 1 x 3 boards coming down to be flush with the trim.
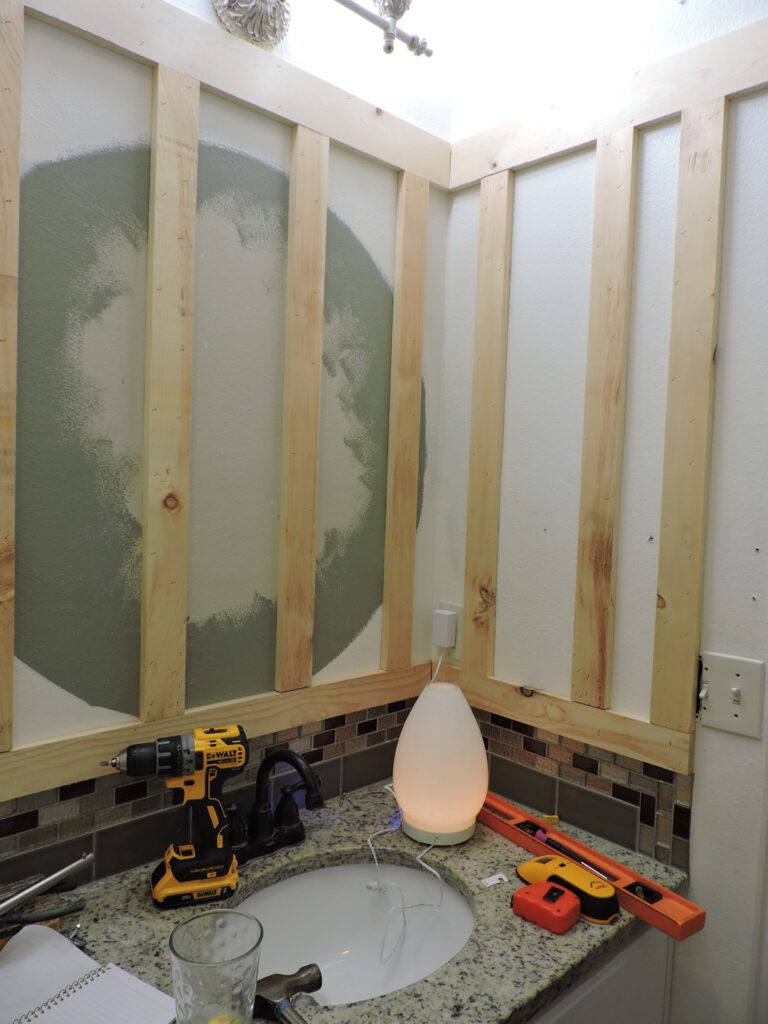
A level will be your best friend during this process. I stuck it to the side of each board every time I nailed it up. I used my nail gun and did not use any liquid nails but if you wanted to, you could definitely use the liquid nails glue as well. I really like my nail gun. 🙂 Also, be sure to measure for each INDIVIDUAL board. There are going to me small differences in measurements even if you make everything perfectly level.
Cutting the corners was the one thing I was most nervous about. I cut each board on a 45 degree angle. As you can see below, it’s not perfect but caulking solved that issue for me, which I will show you further down.

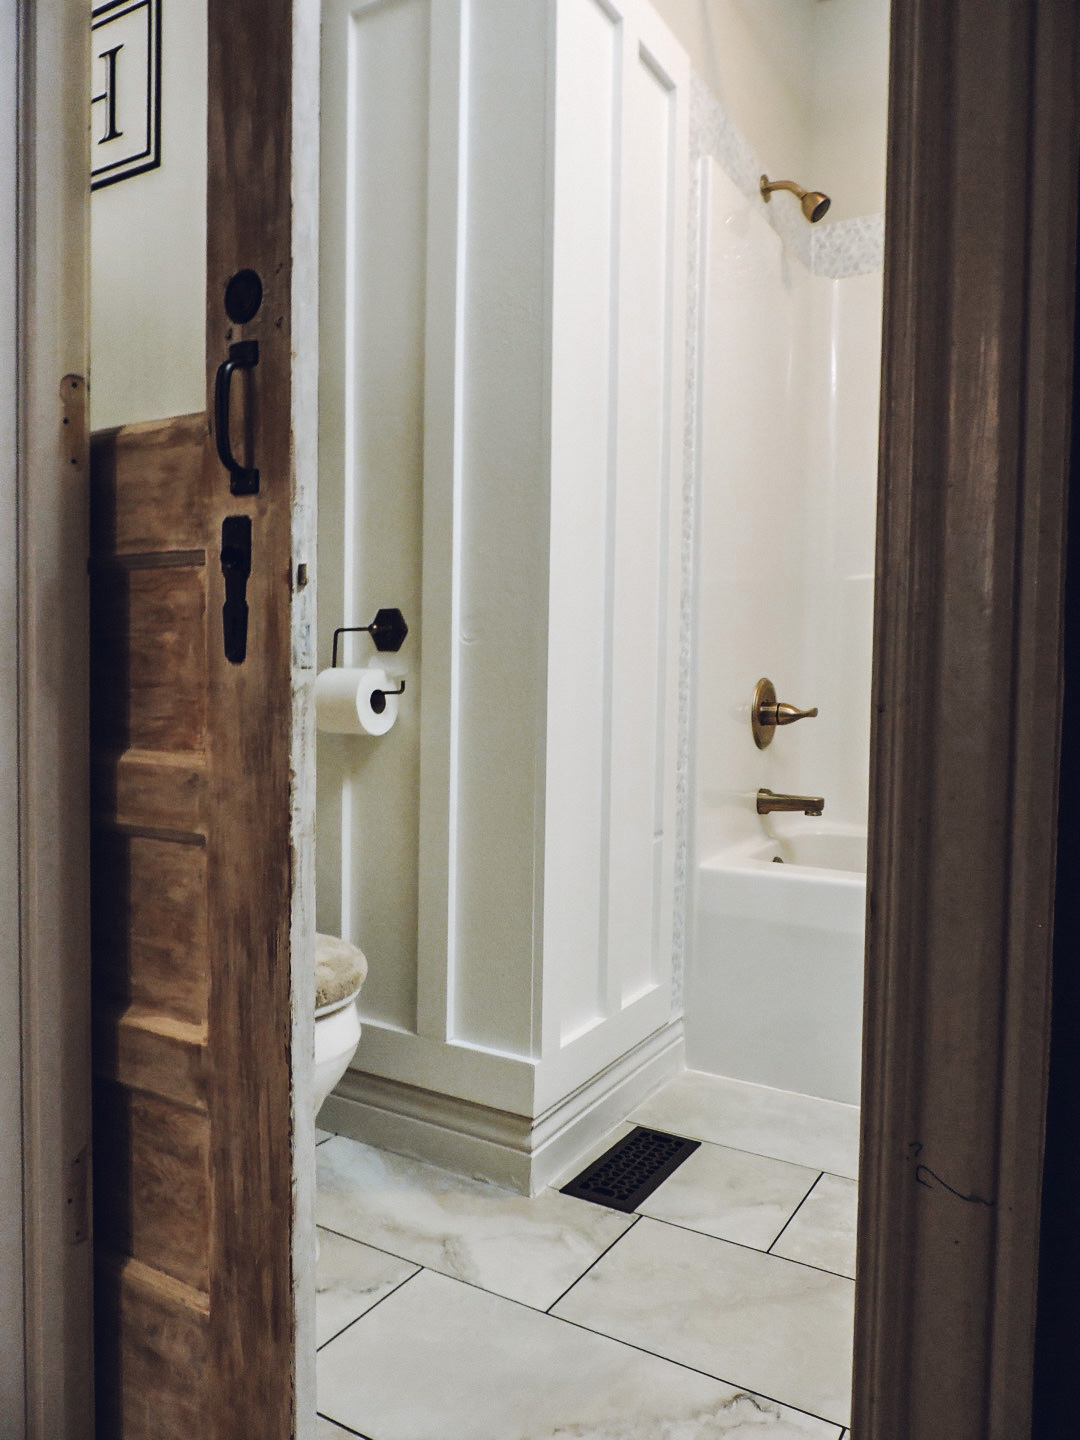
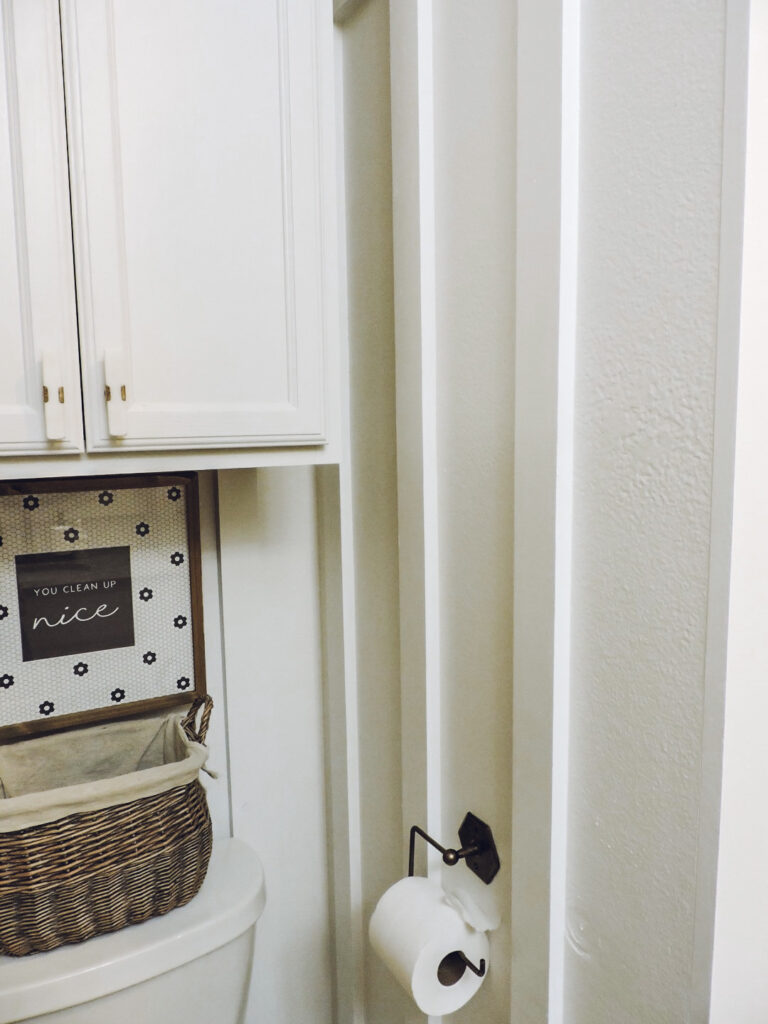
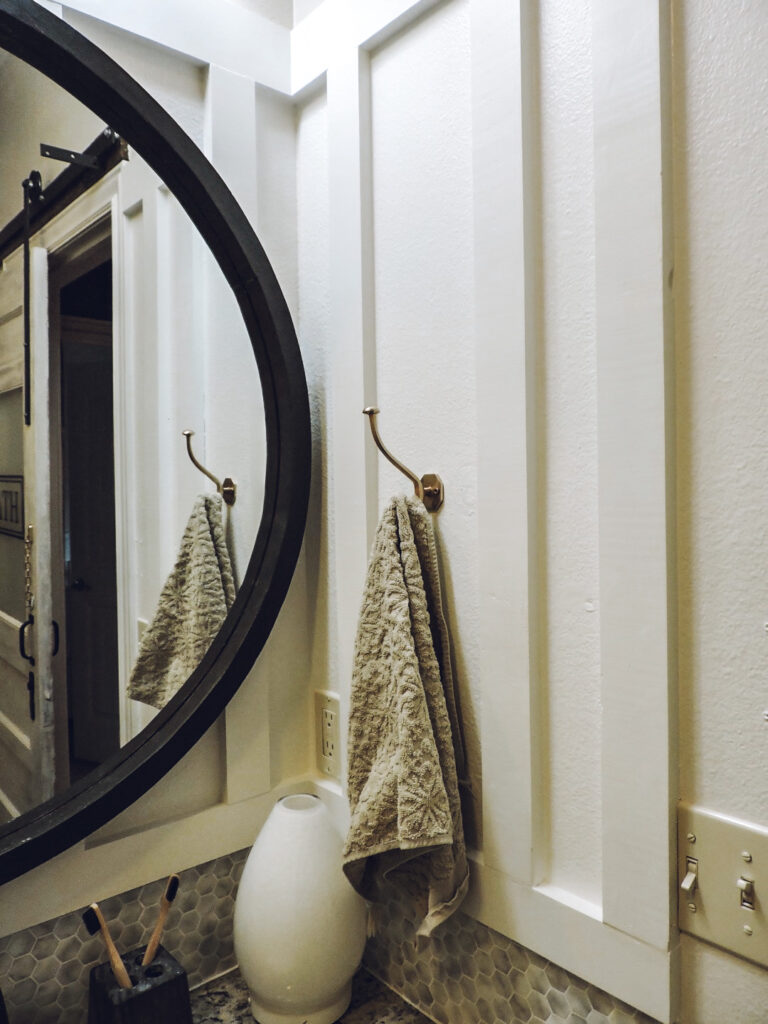
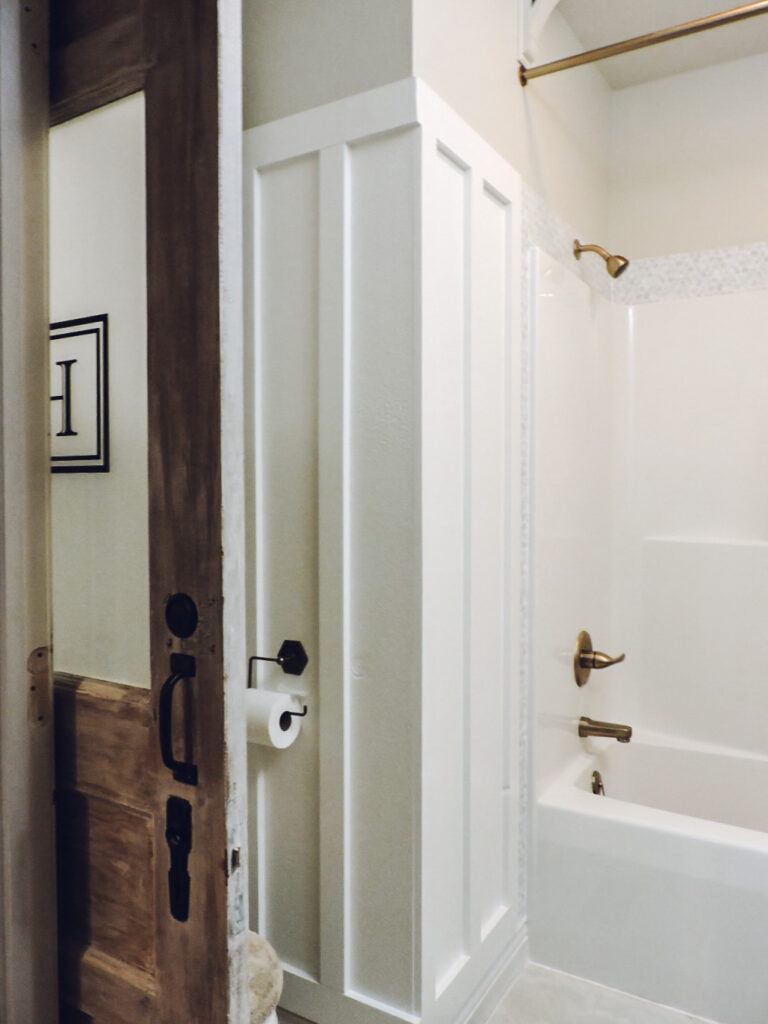
Again, I wanted my vertical boards to be flush with whatever it was going up against, so I trimmed out the tile around the vanity as well.
I don’t have a formula for you on how to space out your boards, that was a tough part, figuring out how far apart to do them. (Math… BLAH!) I came into a little bit of a pickle when I came to my light switch. I ended up moving my board to the edge of the tile and then trimming my light switch cover with my table saw. I went through 4 covers before getting a good, precise cut without it cracking. The picture above was my 2nd try. Wear safety goggles because the plastic will come flying at you from time to time.
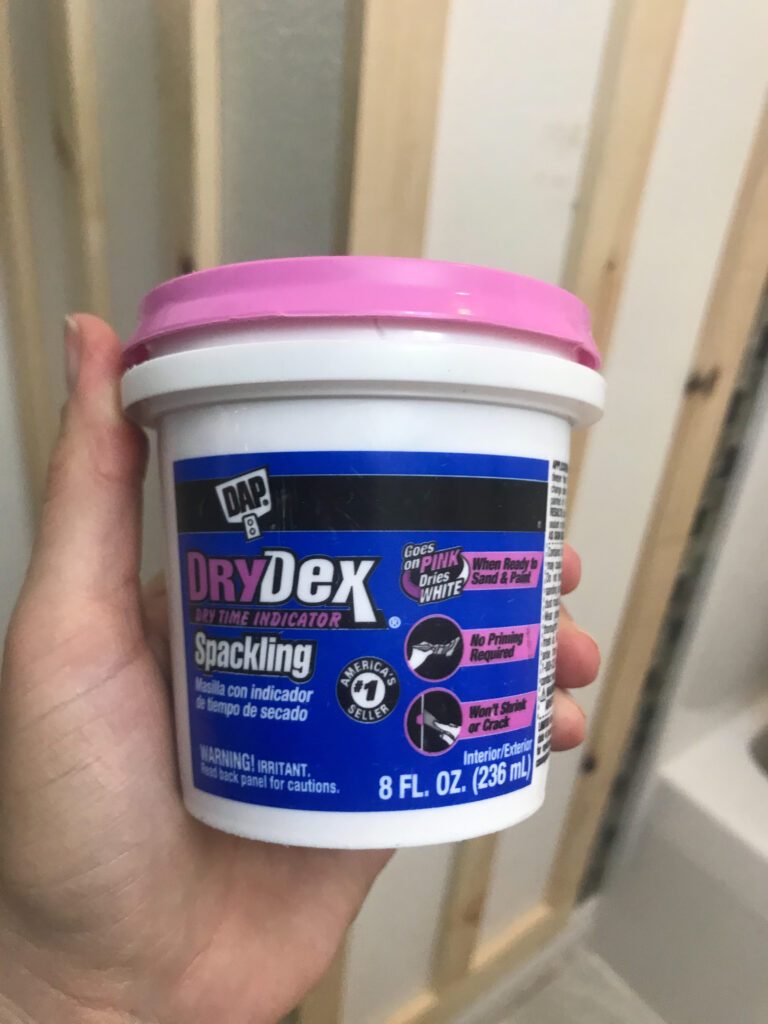
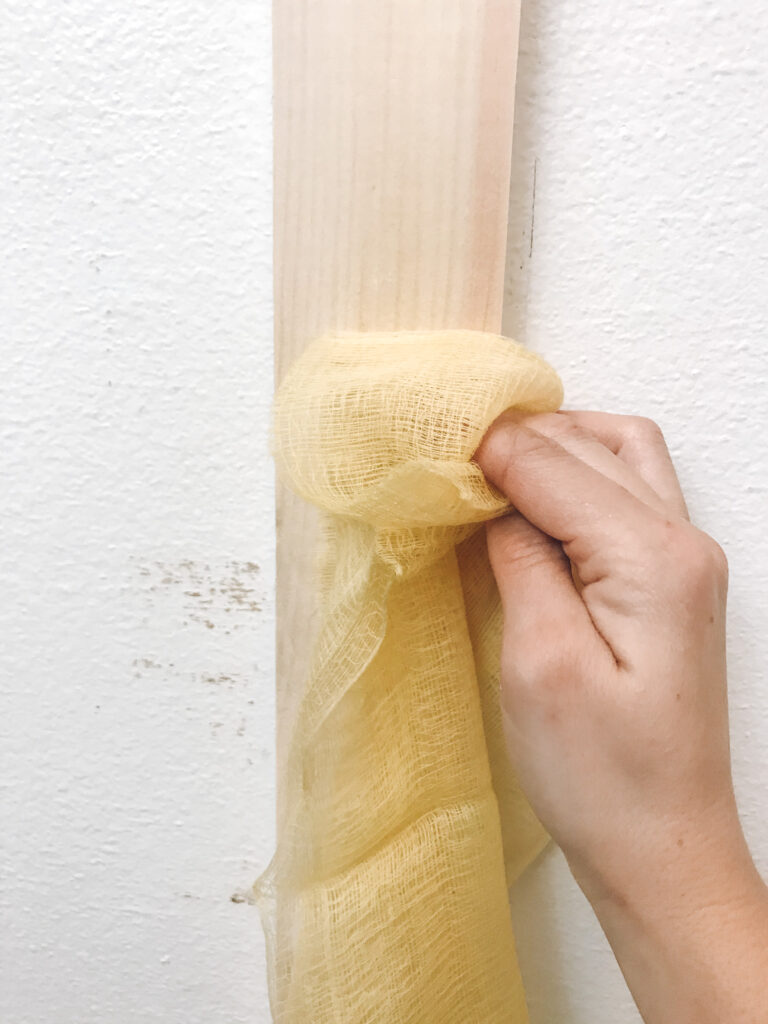
Once you have all your boards up, you need to fill in your nail holes. I used this product below.
Once that is dried down, sand all of your spackling off. I like using sanding blocks over a sheet of sandpaper.
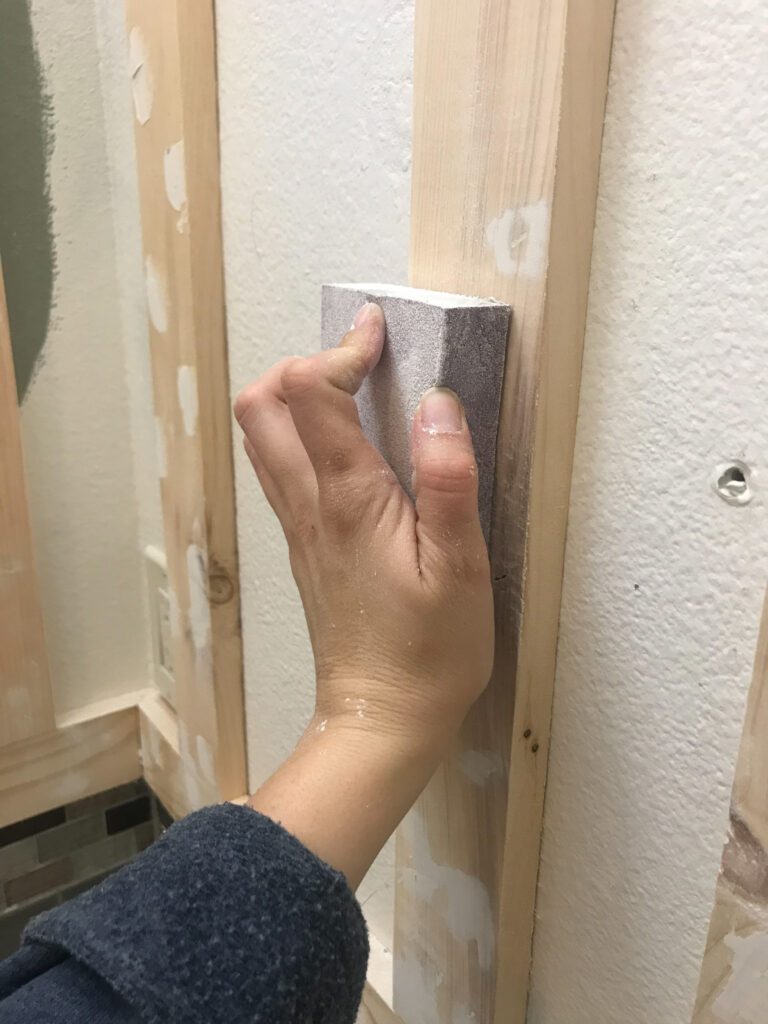
Use a tack cloth to clean your wood. A tack cloth is a sticky piece of cloth that grabs anything that is left on the wood. If you want a nice, smooth finish when you paint it, this step is critical in my opinion.
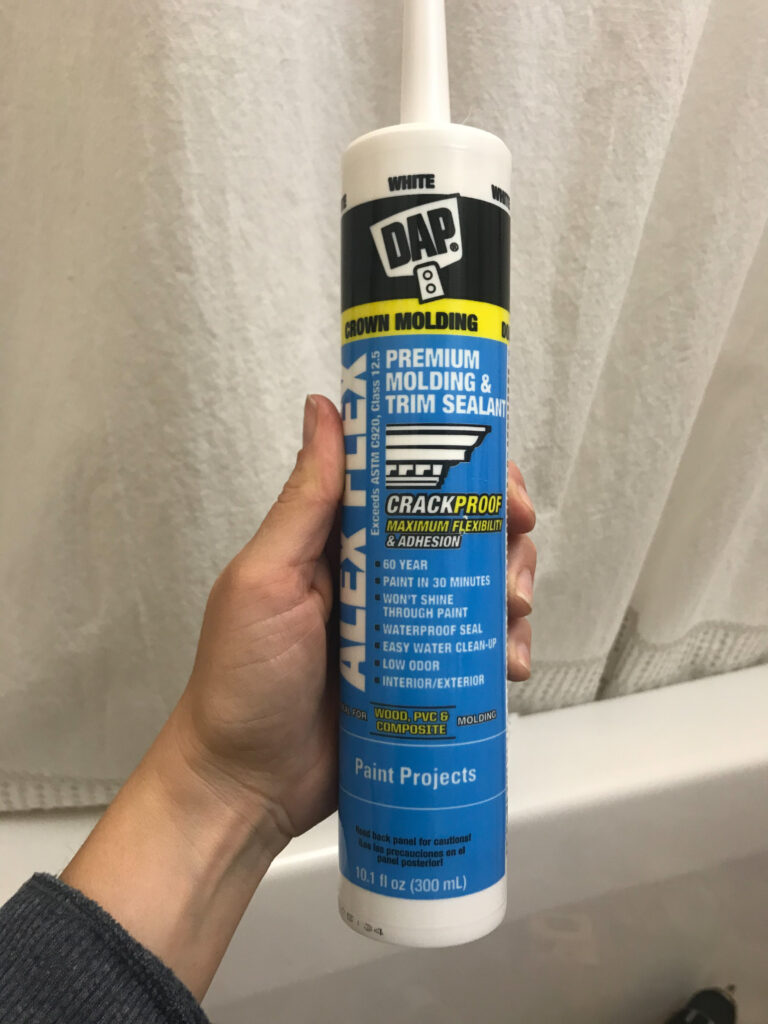
The last thing to do before painting is caulking all your seams. This is a MUST! Caulking everything makes everything look seamless and more professional. Make sure to use a product that is paintable. I used the one pictured below.

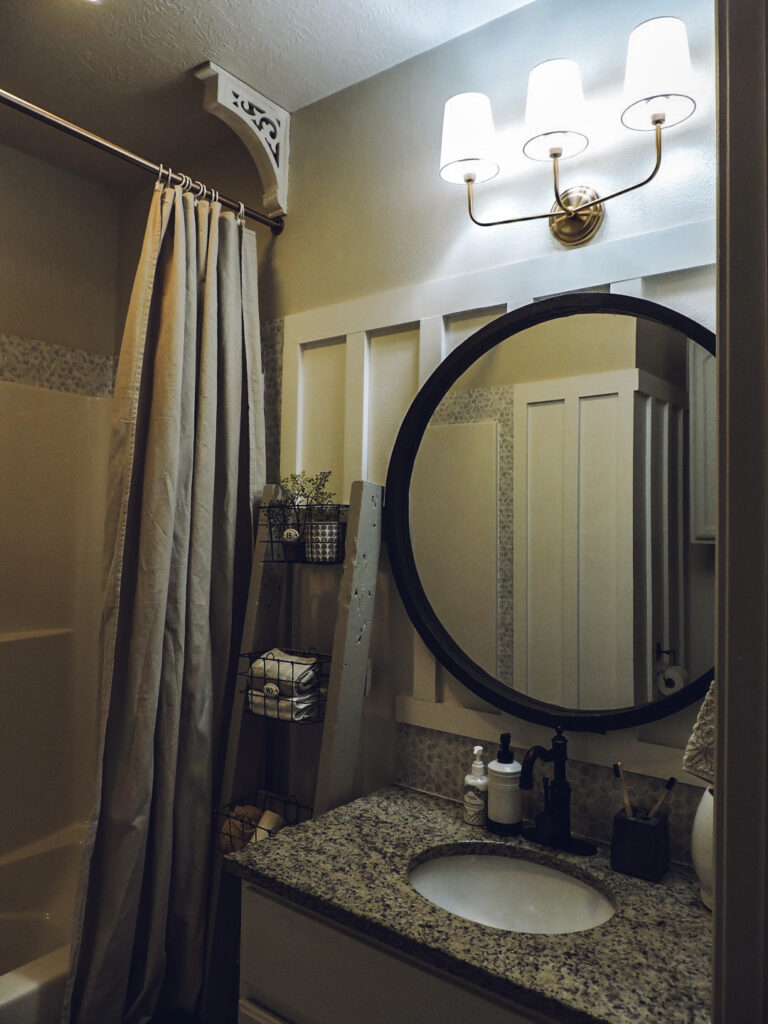
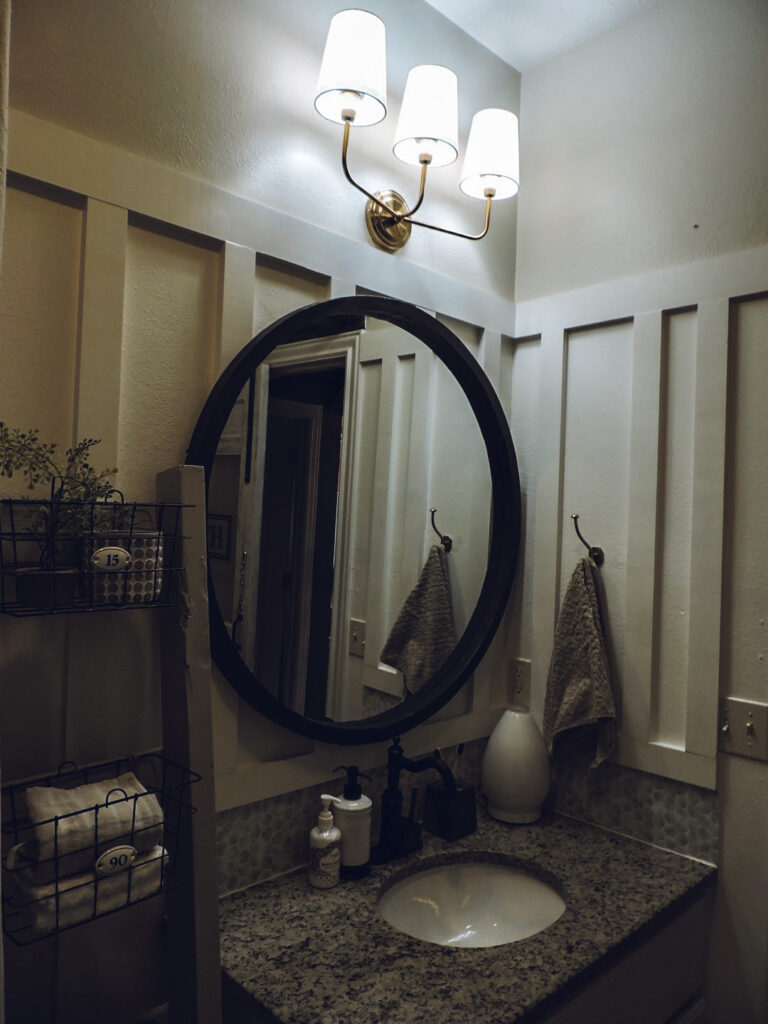
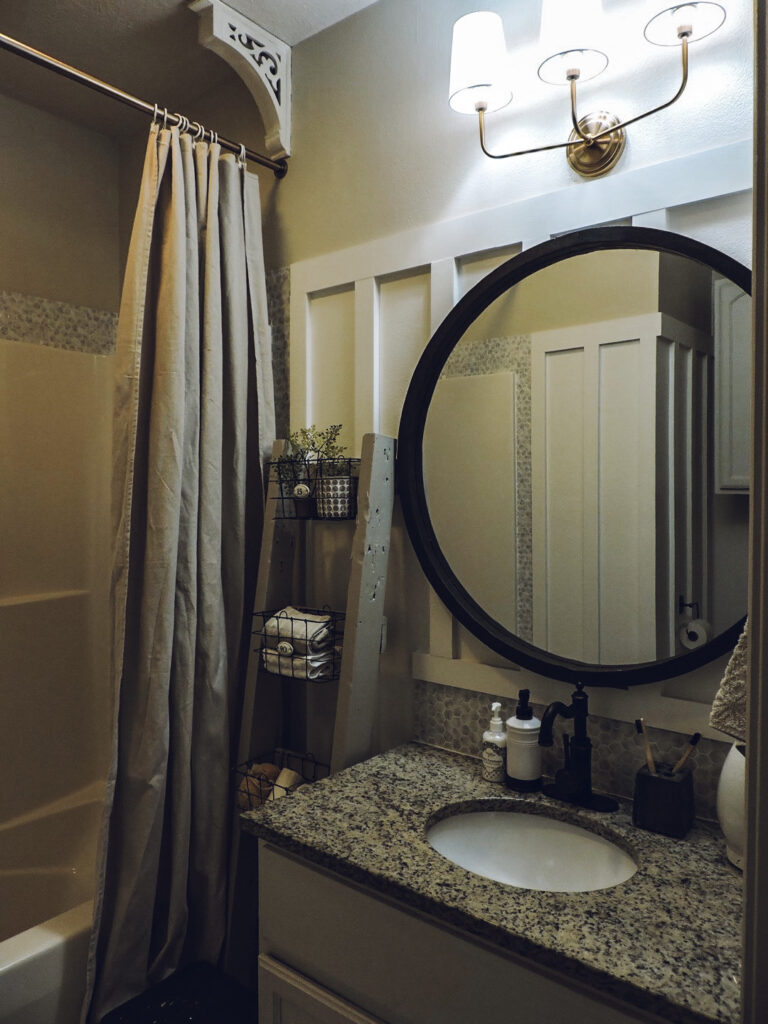
I didn’t prime my wood simply because I didn’t have any on hand. I painted the wood, Silky White, by Behr. Here is the finished product!
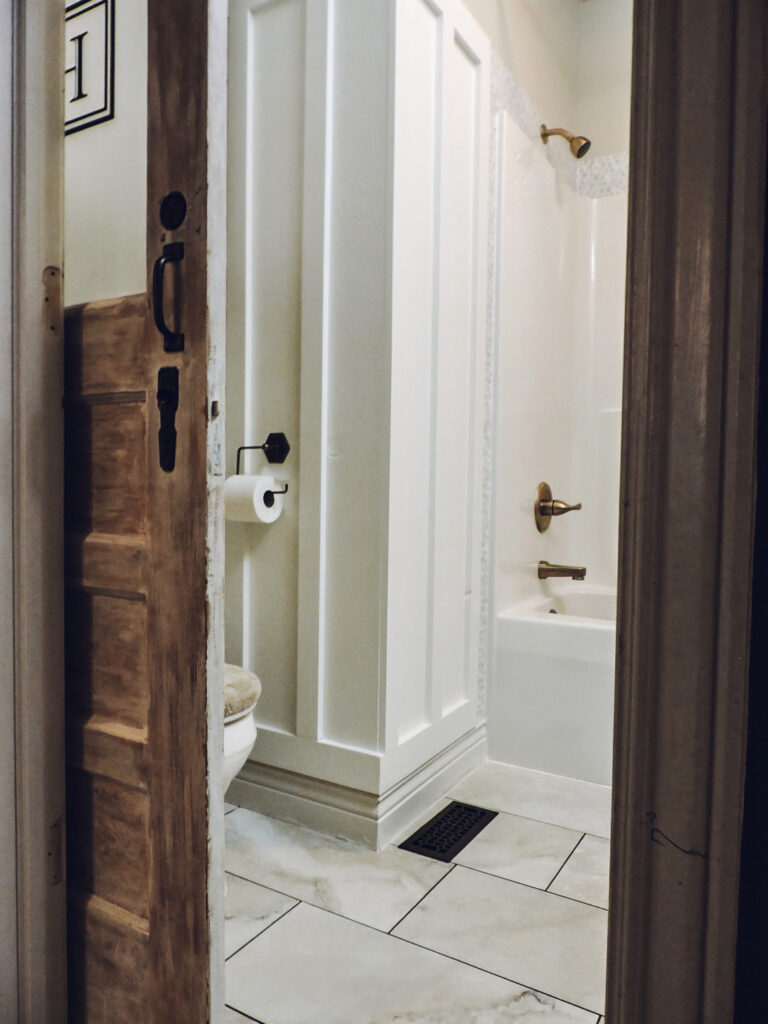
I could not be happier with how it turned out! My perfectionist personality sees a few things I could’ve done a little better but overall, for my first time doing it, I feel like it looks great!
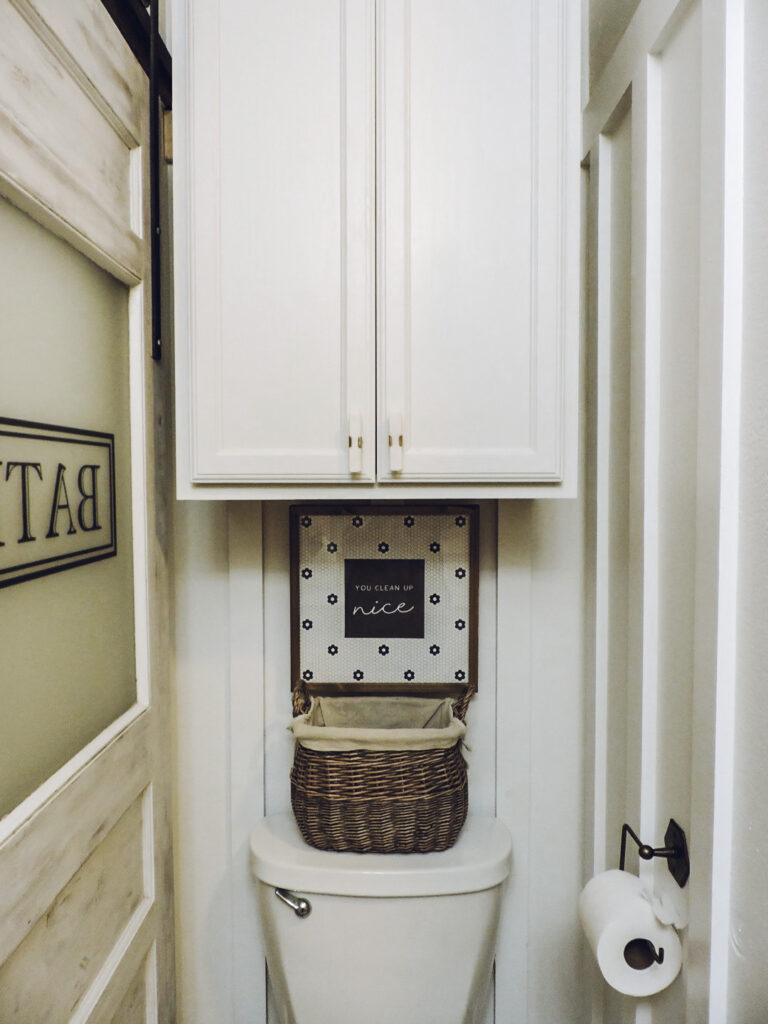
To me, this takes our bathroom from builder grade, to a bathroom with lots more character. I can’t believe it cost me less than $100 to do!
Here you can see where the light switch cover butts up nicely against the wood. I plan on spray painting it white to match the wall better and may even caulk the seam so it looks more seamless.
I am nearing the finish line with the bathroom makeover!! I still have some small details to finish, but the end is in sight.
Sometimes in life, you got to take some risks, and you might even surprise yourself! If you never try, you’ll never know! That’s been my motto lately. Years and years ago I would’ve never had the guts to try something like this. With projects like this I do a lot of research and then go for it and figure it out along the way.
Would you ever try a diy board and batten?!?!
Thanks for stopping by!
Kayla