
Downstairs Bathroom- One Room Challenge- Week 3
I have to say- I’m pretty happy with my progress this week in our downstairs bathroom! It’s crazy all the talent of men and women participating in the One Room Challenge!! (Headed over there after I publish this to check out more projects.) Last week I didn’t have much to share- but this week I have lots!! My focus was on floors, walls and lighting this week. I may have stayed up way too late last night to finish the walls but it was worth it! Come take a look at the progress I’ve made!

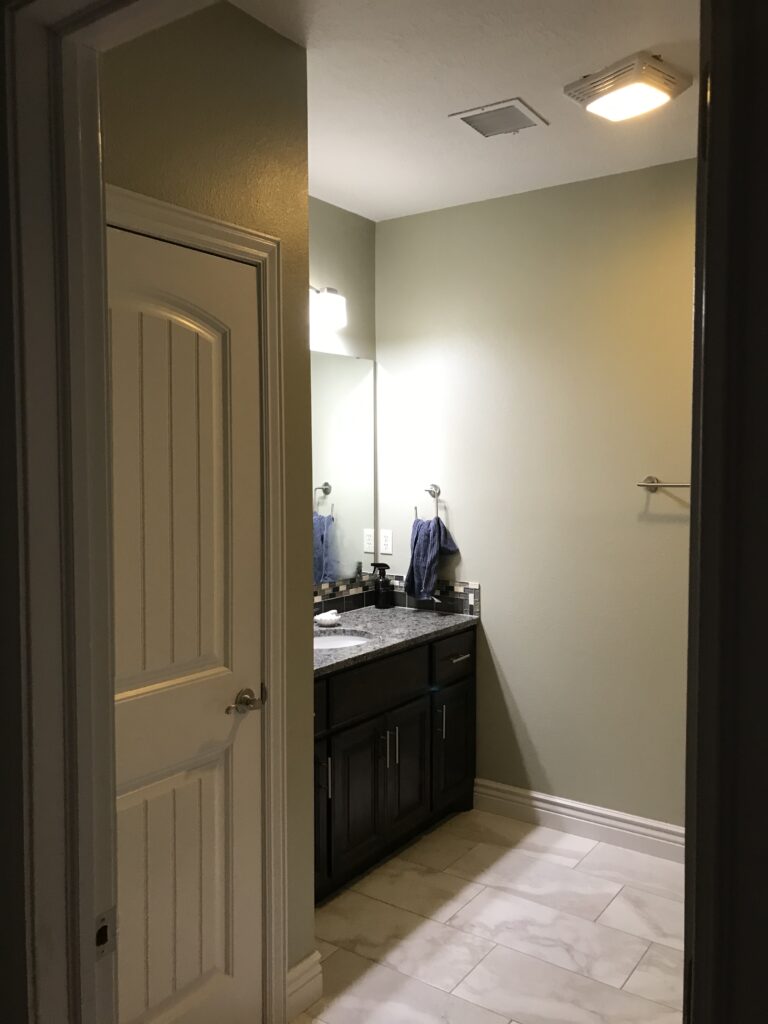
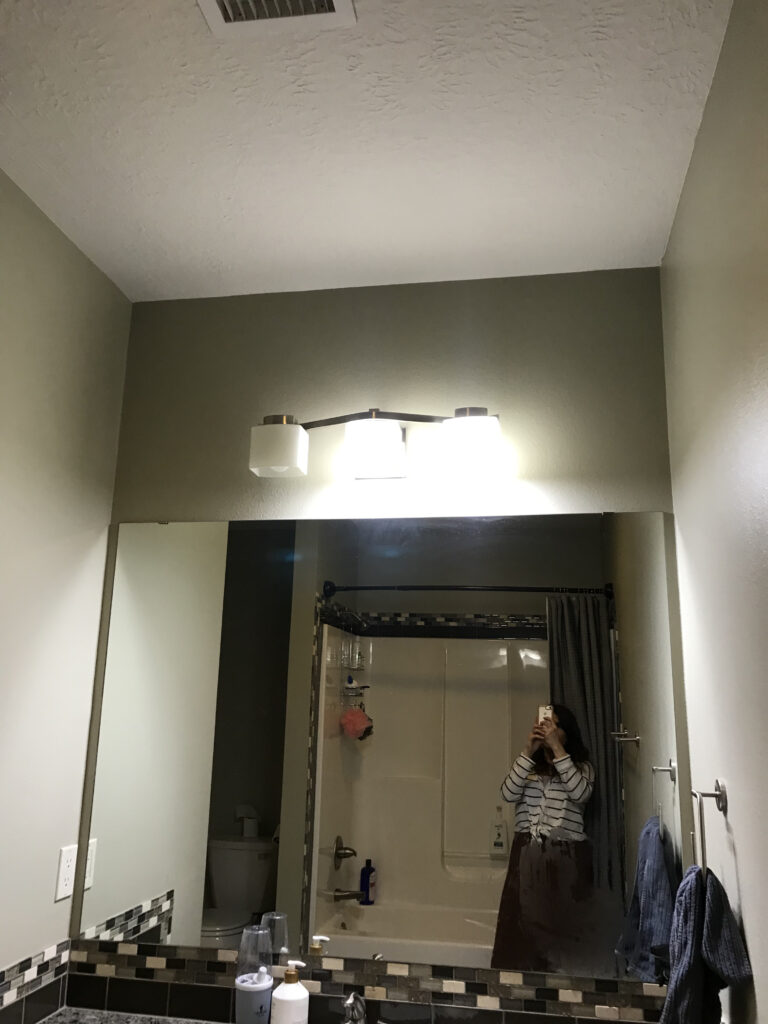
Before
Lets show you all the before of this space- you can go HERE to see my moodboard and initial plans for the room. Keep in mind- the most I have done to this space in the last 7 years is throw a rug on the ground and put a shower curtain up.
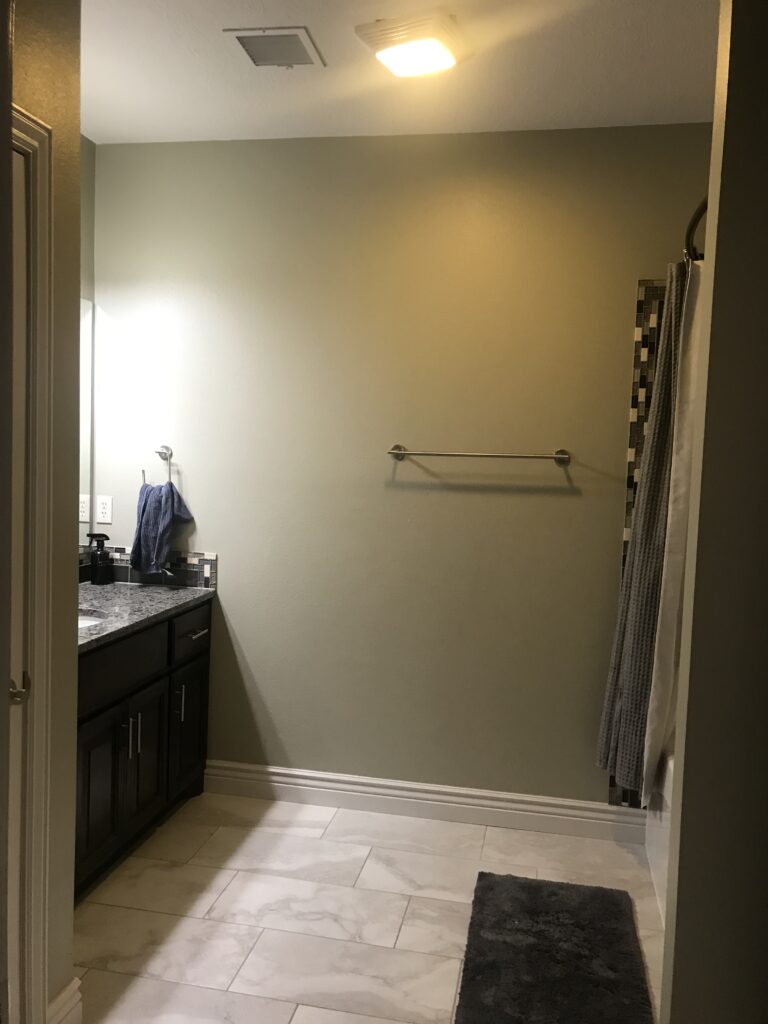
See that amazing rug and curtain?!?!
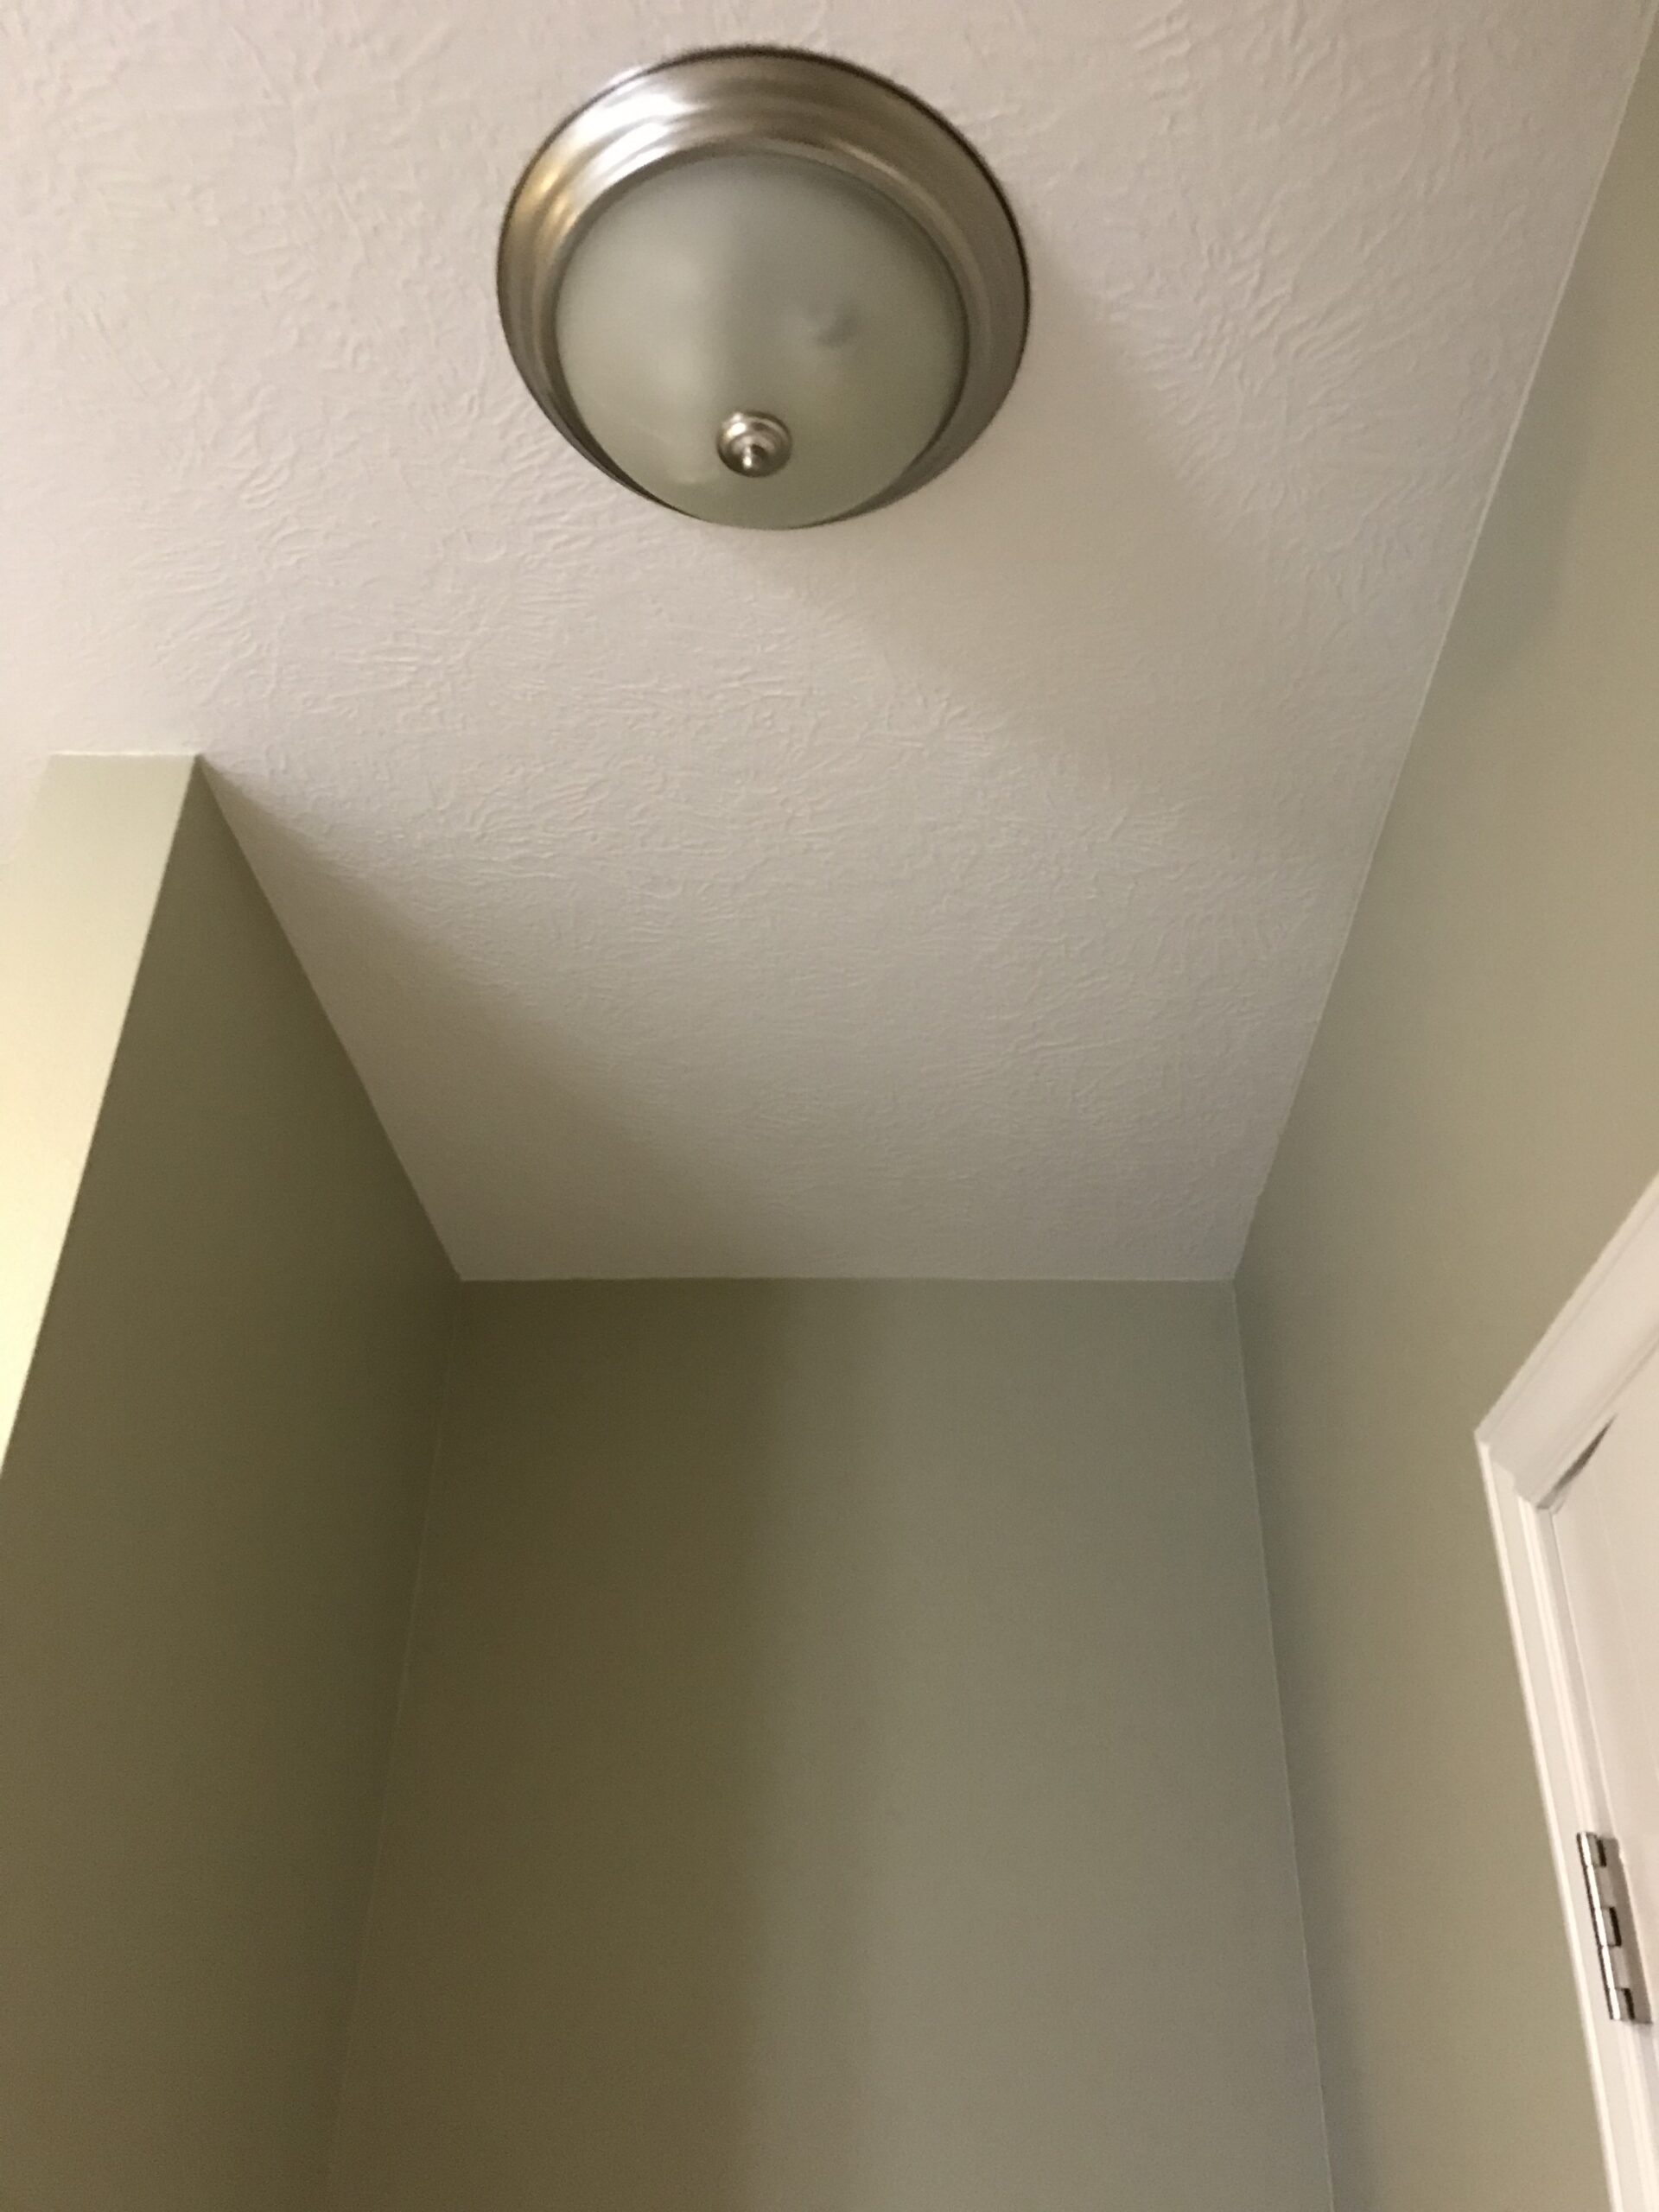
The infamous boob light. Adios. Been great fun the last 7 years but it’s time I move on from you…


Modernizing The Floors Using Grout
In our guest bathroom upstairs, I used this product to change up the grout color- you can go HERE for the tutorial. I think you all will be amazed at how easy this is to do with this grout stain. Have a toothbrush handy?! I knew I wanted to do the same thing in our downstairs bathroom because I feel like the black grout color helps modernize the floors; as well as liking the contrast it gives.
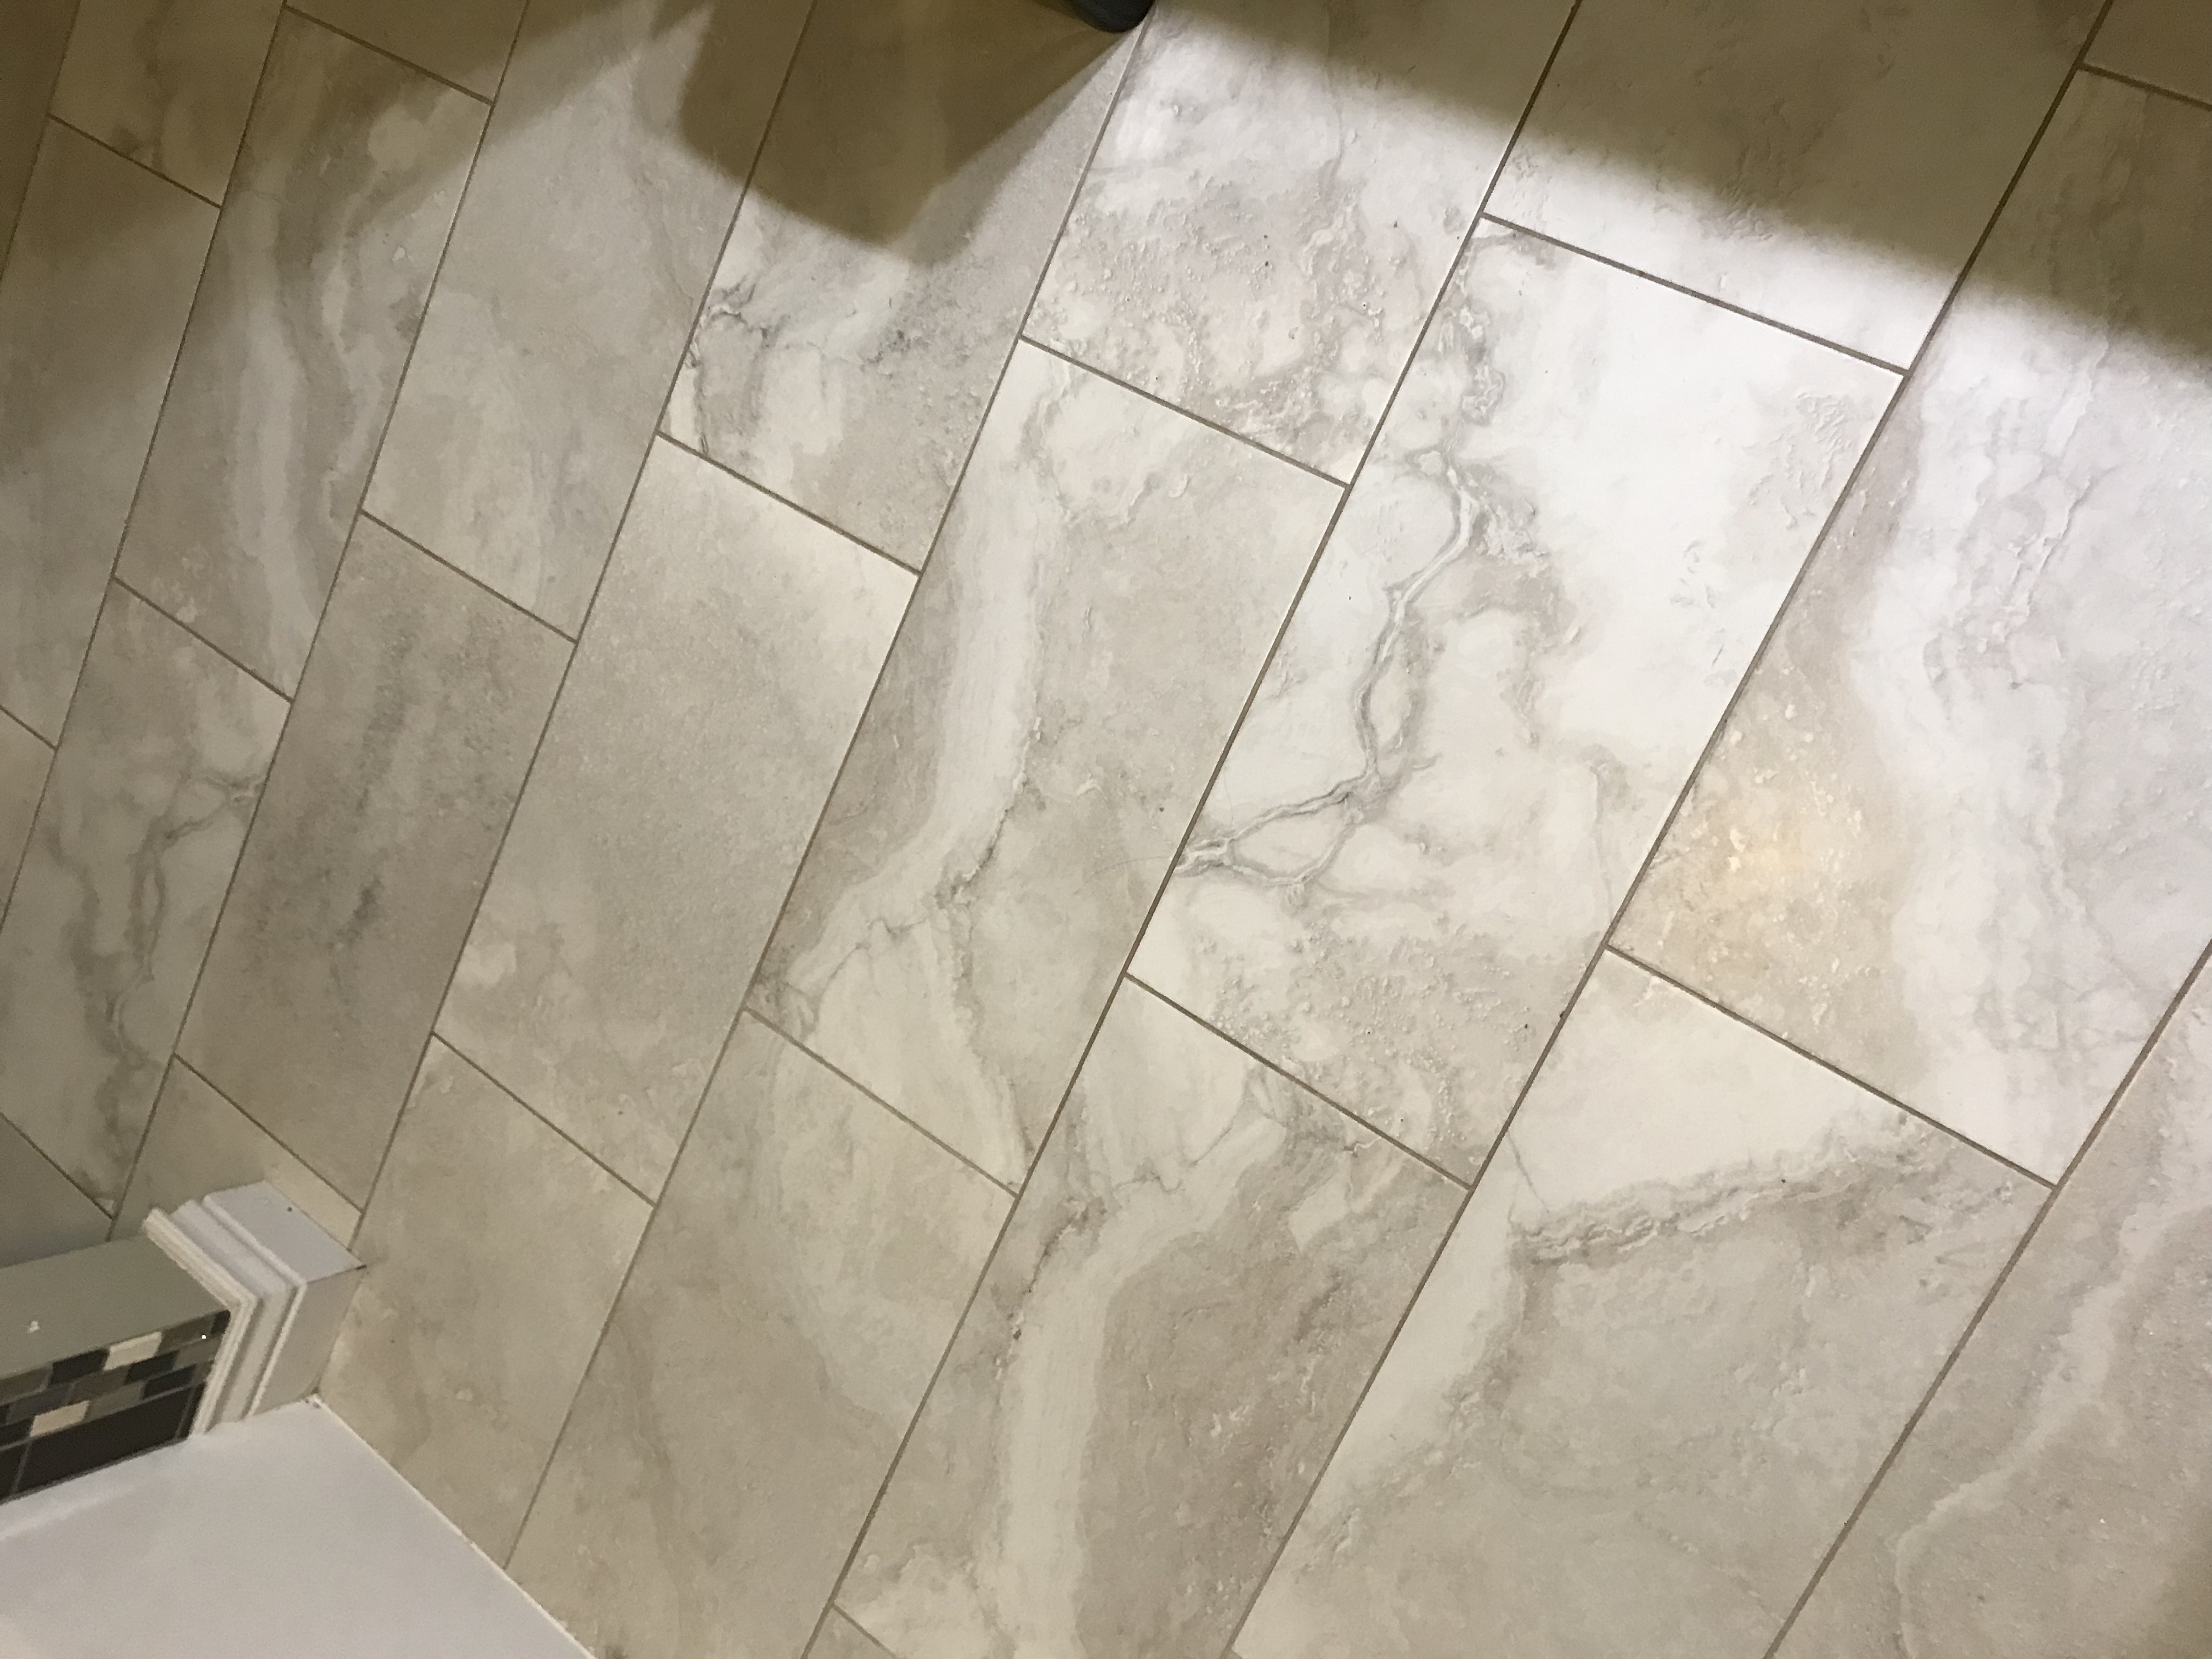
Below, you can see the difference!
Wallpaper
Wallpaper is not my favorite thing to hang BUT the impact it makes is worth it! I love that wallpaper is coming back in style- in previous projects I have used stick and peel but after using wallpaper with actual paste in our hallway makeover, I decided to tackle it again in our downstairs bathroom.
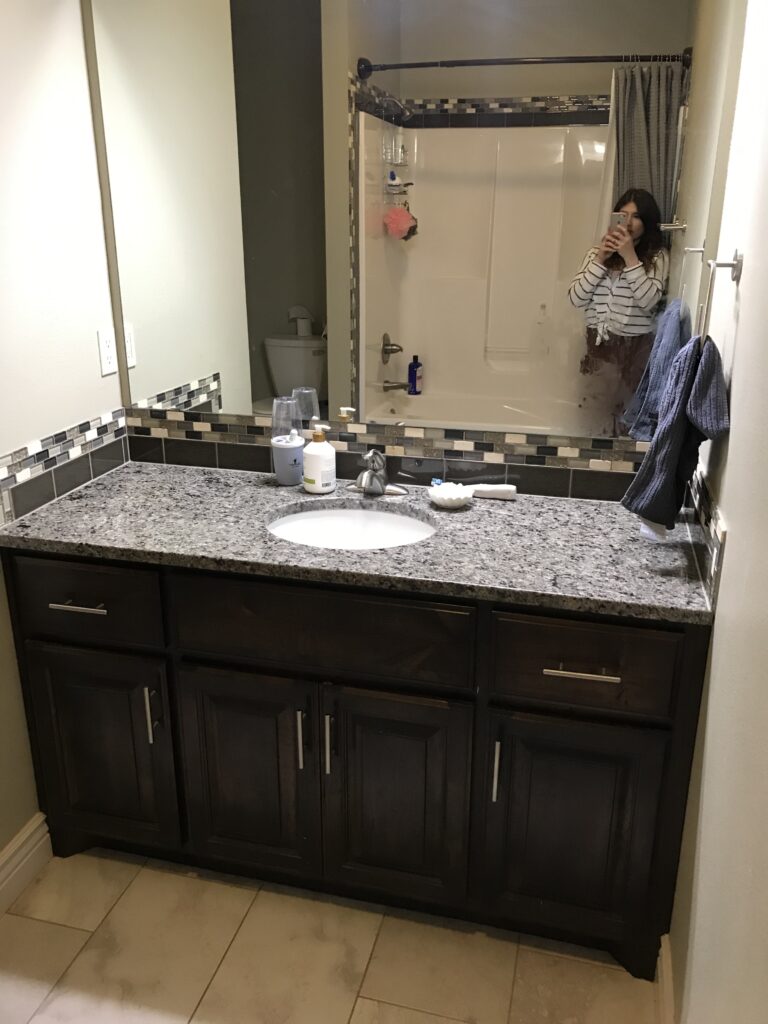
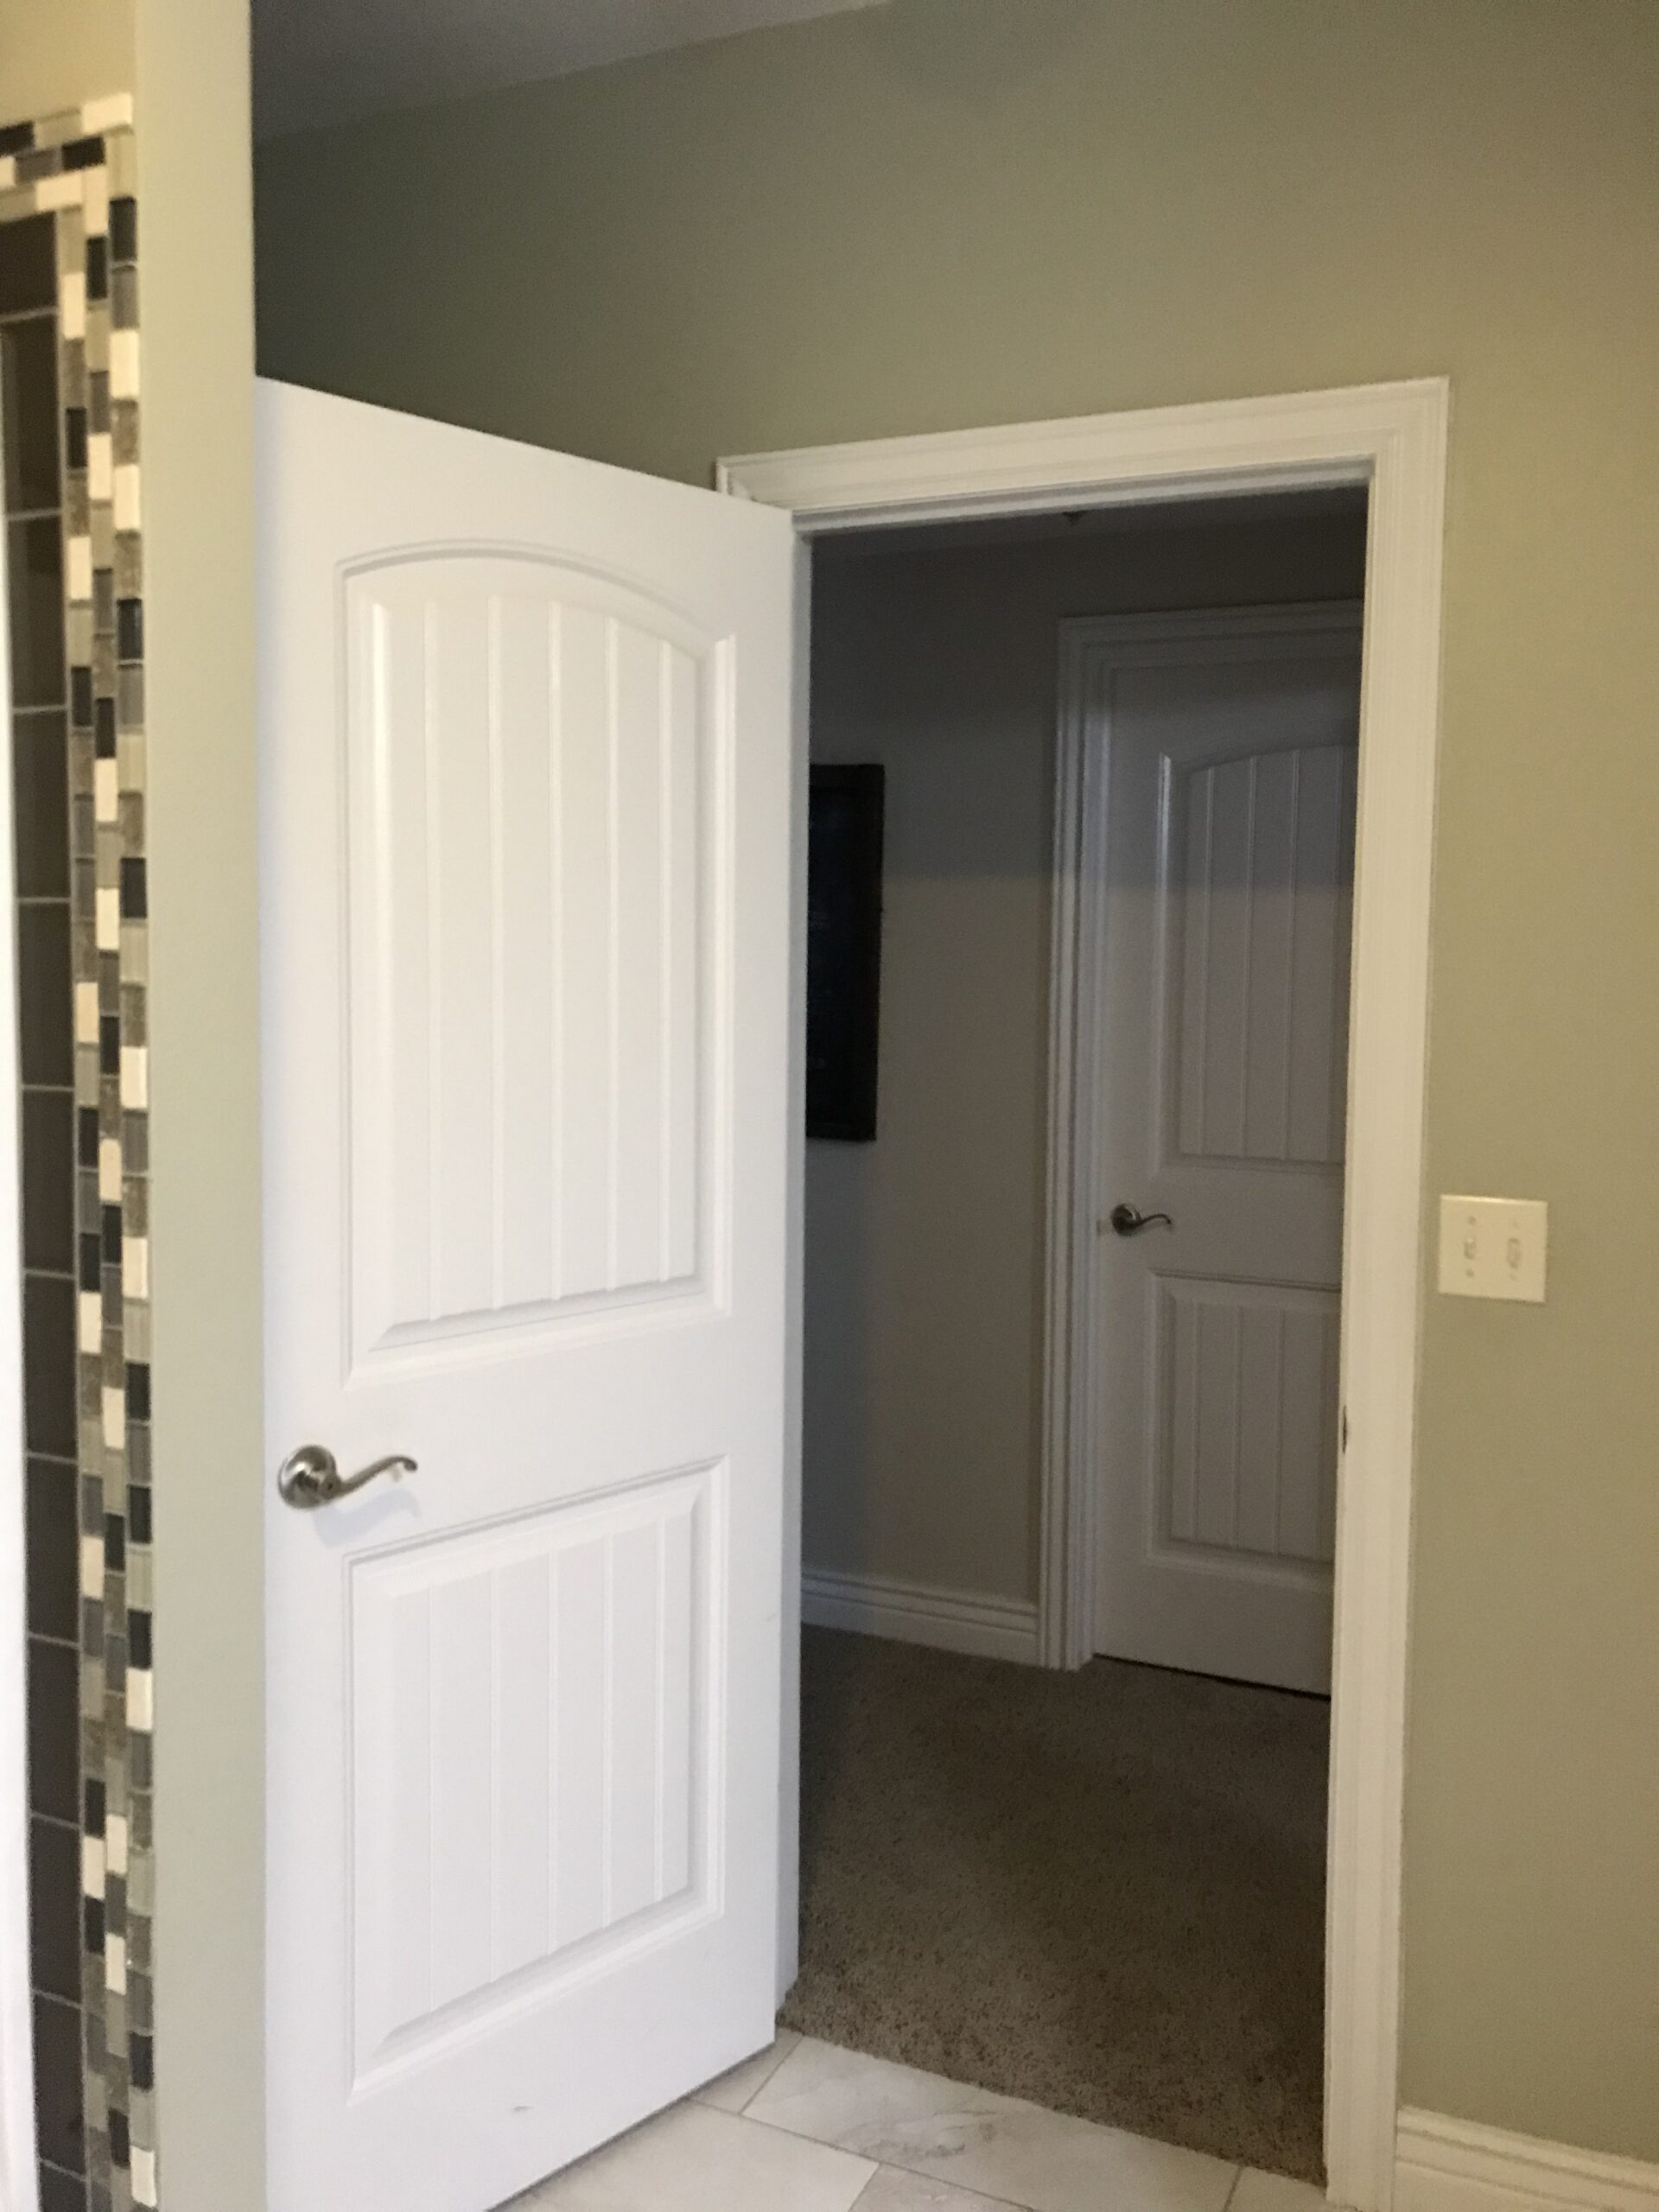
Removing this builder grade mirror was first on my list- after removing that it was wallpaper time!
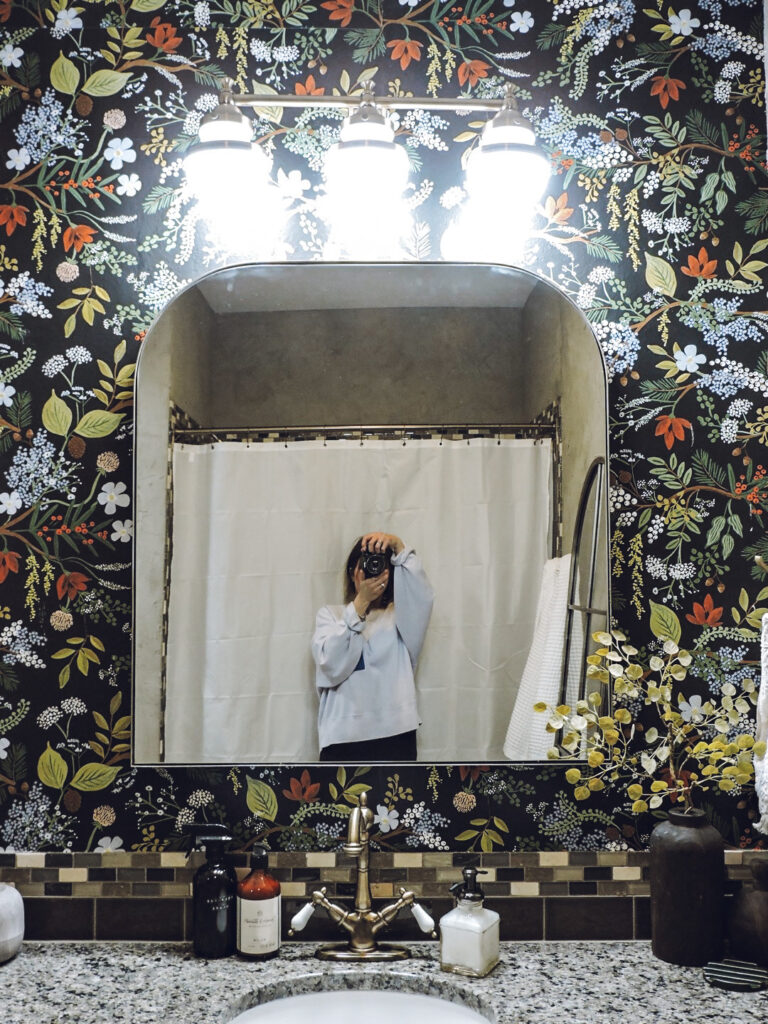
Is this not so pretty?! My friend bought the same kind and is having it installed on her pantry ceiling- how fun is that?! You can buy it HERE. The feminine detail is so pretty and I love anything nature related when it comes to decor. In this post you can see what paste I like to use among other things.
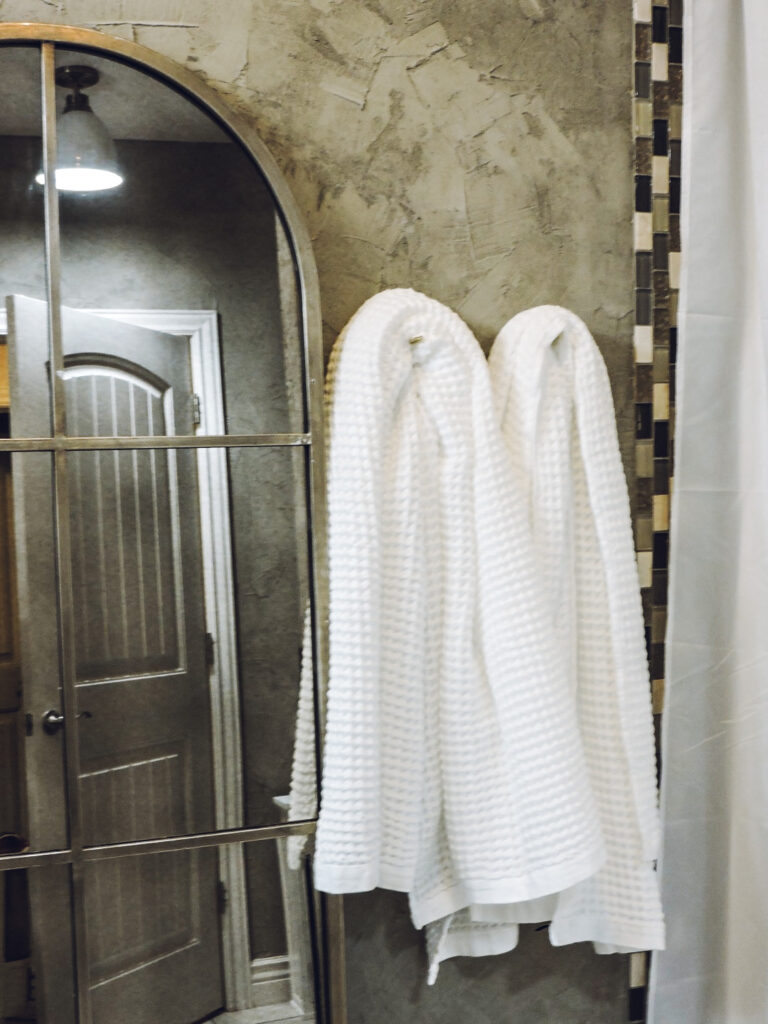
This metal arched mirror is heavy and really pretty in person- you can find it here.
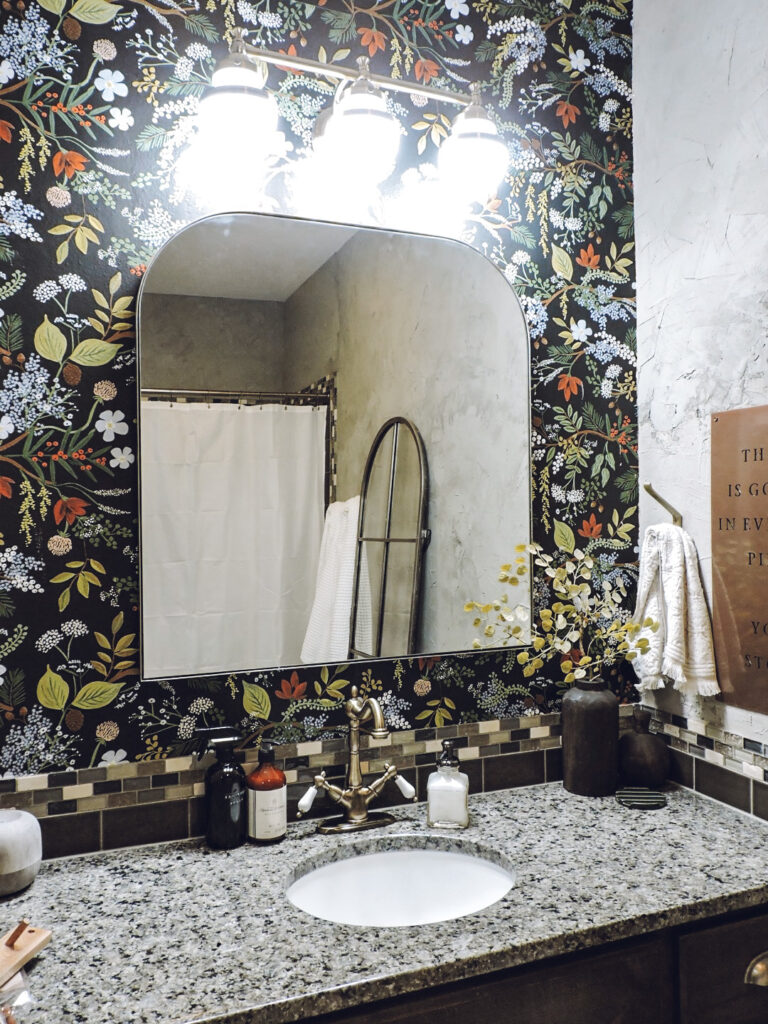
There are SO many options of light fixtures out there; it can be so easy to get overwhelmed and have a hard time narrowing it down to one option. But when I saw this one I knew it would be perfect in here! I love the vintage school house vibes this puts out.

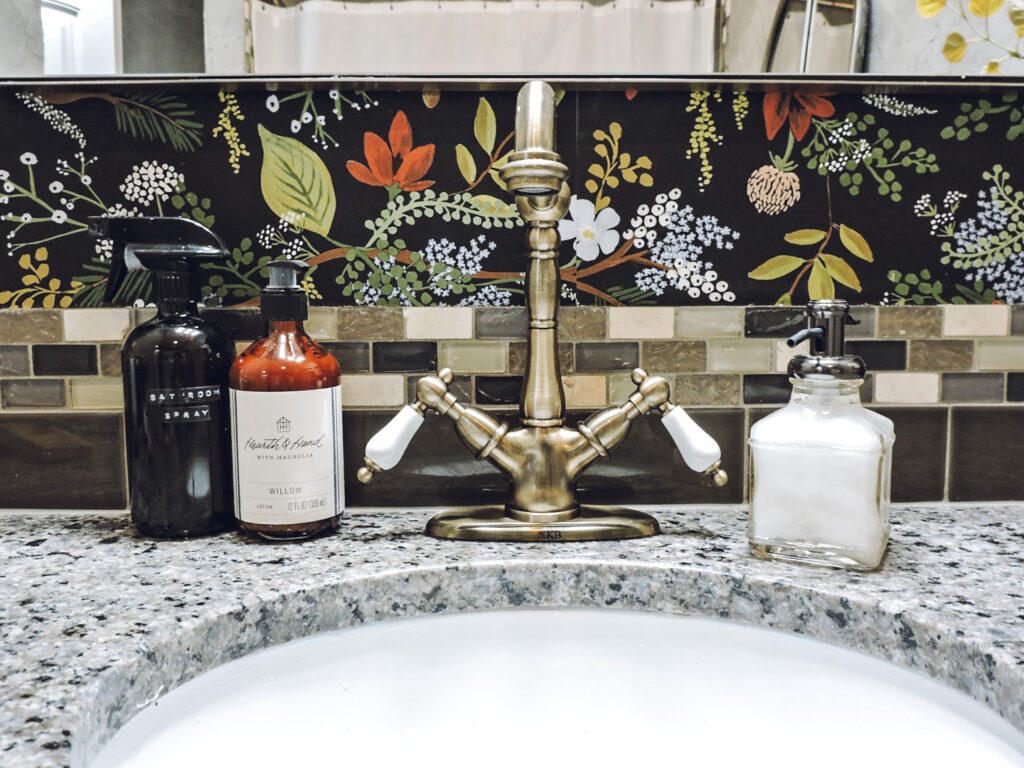
This faucet is beautiful and even has my initials- was meant to be! What is funny is after we had it installed, I realized it is the same brand and line of faucet that I picked out for our kitchen makeover. I guess at least I am consistent when it comes to my style- it actually makes me quite happy because it’s taken me a while to figure out my likes and dislikes over the years when it comes to decor.
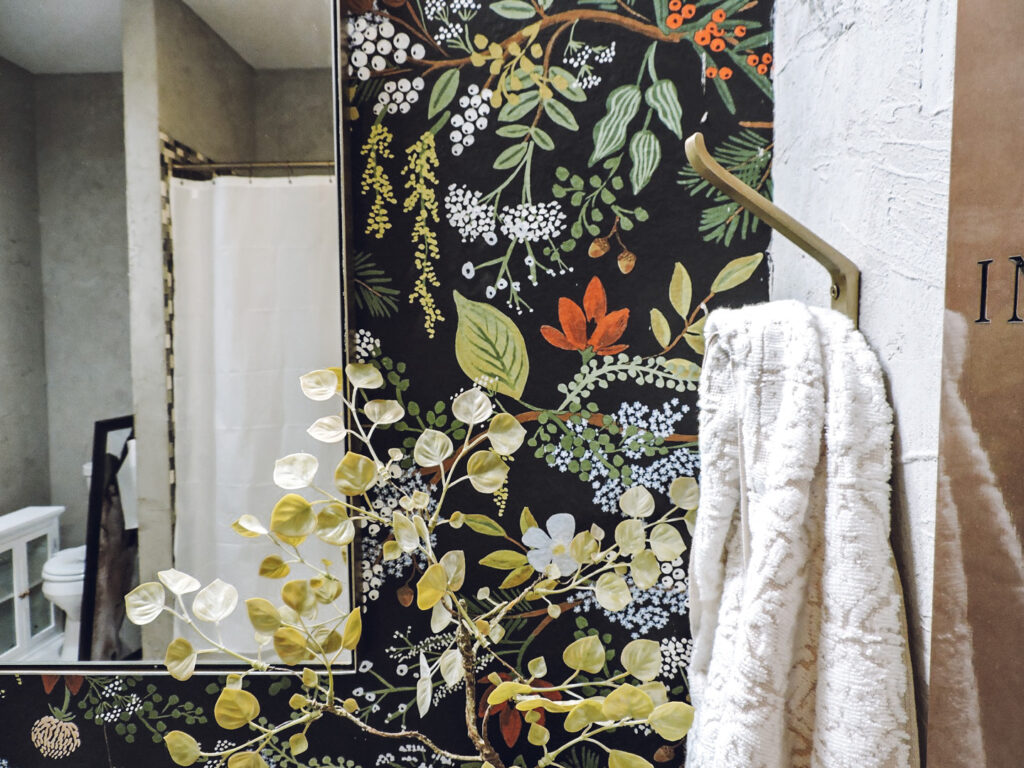
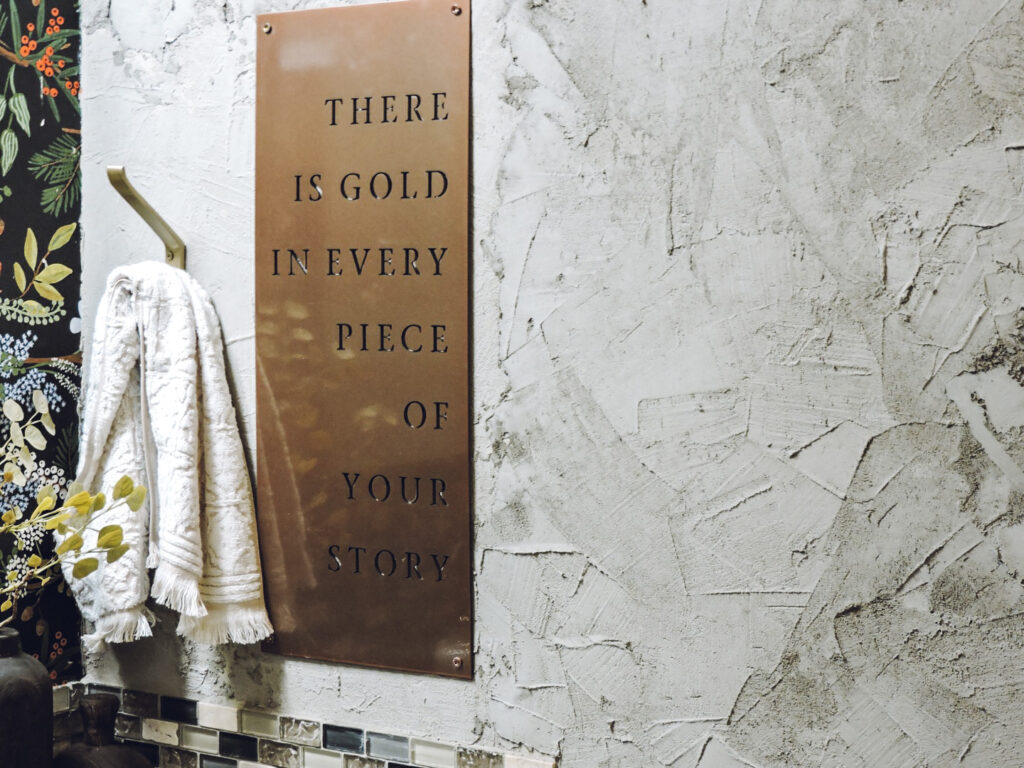
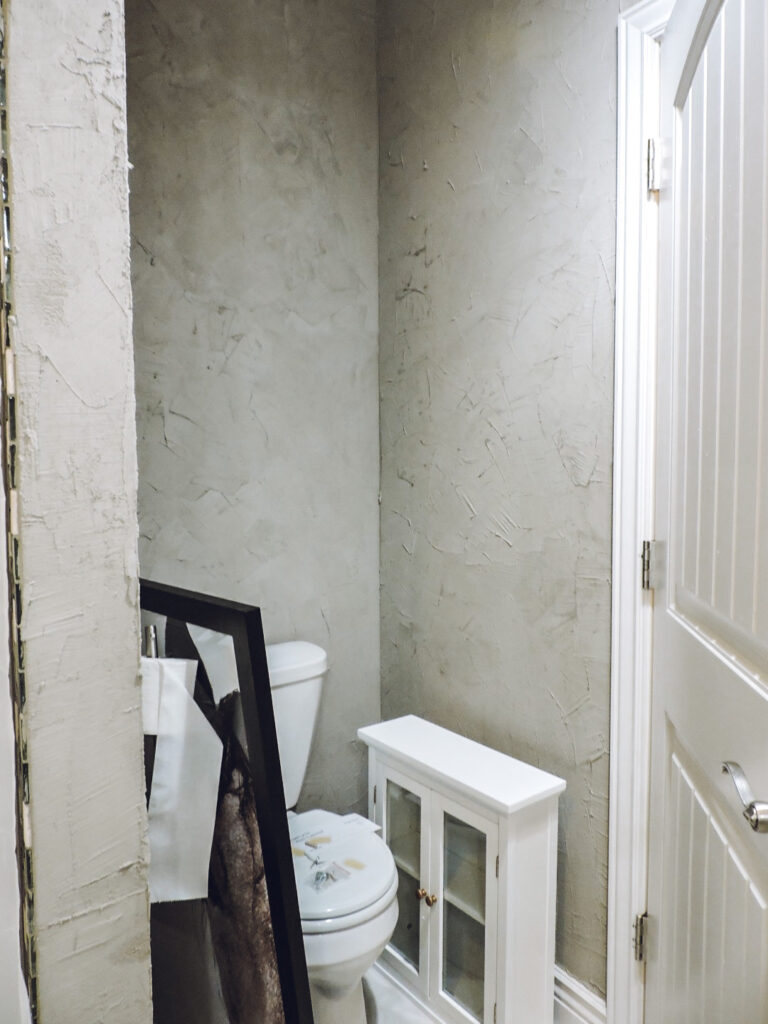
Concrete Walls
After getting my wallpaper put up I sat in the bathroom trying to figure out what kind of wall treatment I wanted to do in this space. White paint would really brighten things up, board and batten would look pretty, or even beadboard. But then my mind went to my cement wall I did a while ago on our downstairs staircase and I decided in that moment- that’s what I was going to do.
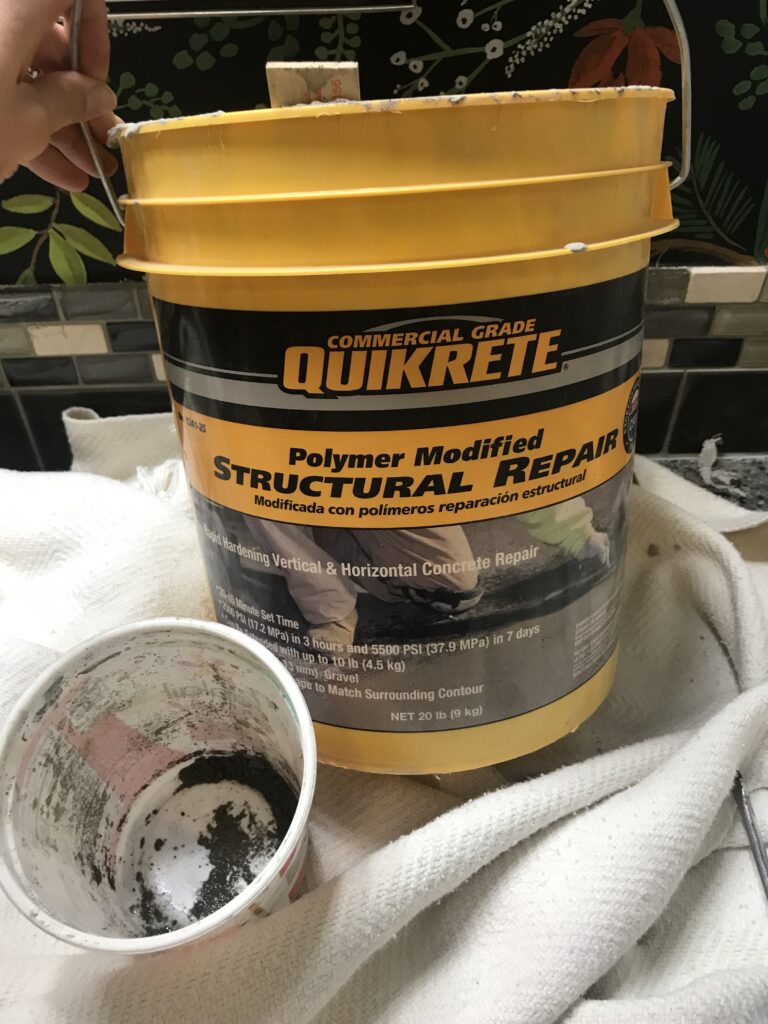
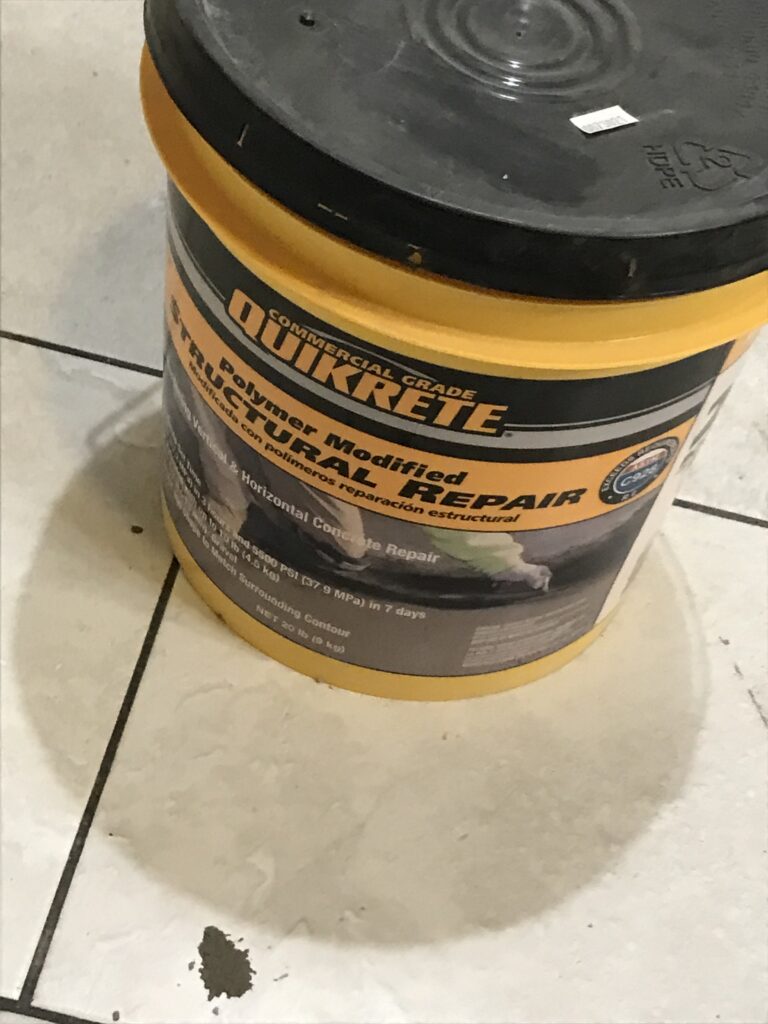
You can find this product at Home Depot- I used 2 buckets for the whole room which cost me right around $50 all together. Mix the concrete with water and go for the consistency of peanut butter. Spread it on with a large putty knife and after an hour or so of letting it dry- you can then use a sponge to smooth things out if you don’t want a lot of texture. Let it dry over night and bam- concrete walls!
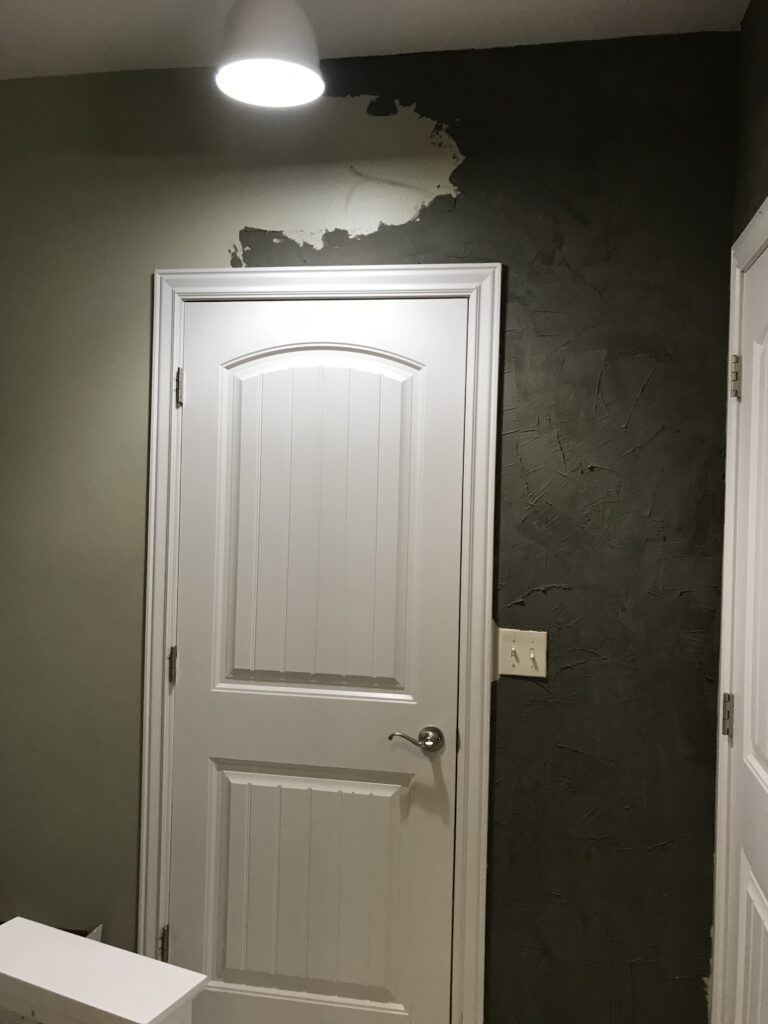
As you can see above, the mixture goes on quite dark but this is what it looks like when it dries:
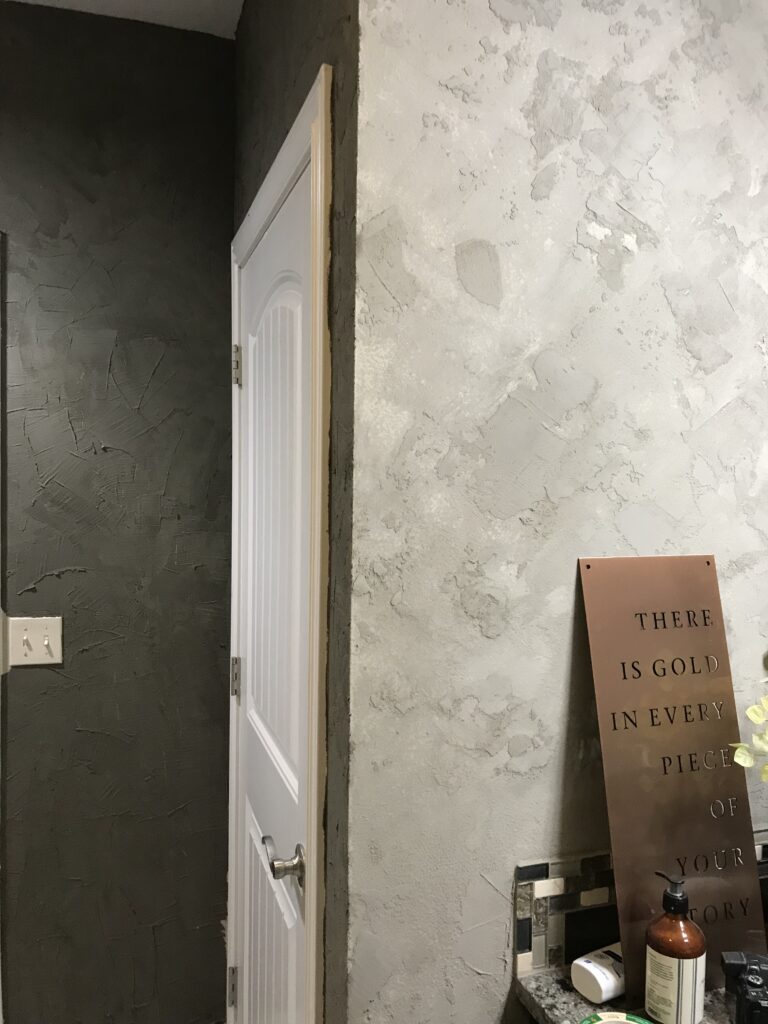
I know it may not be for everyone but I LOVE the texture that this adds to the space!
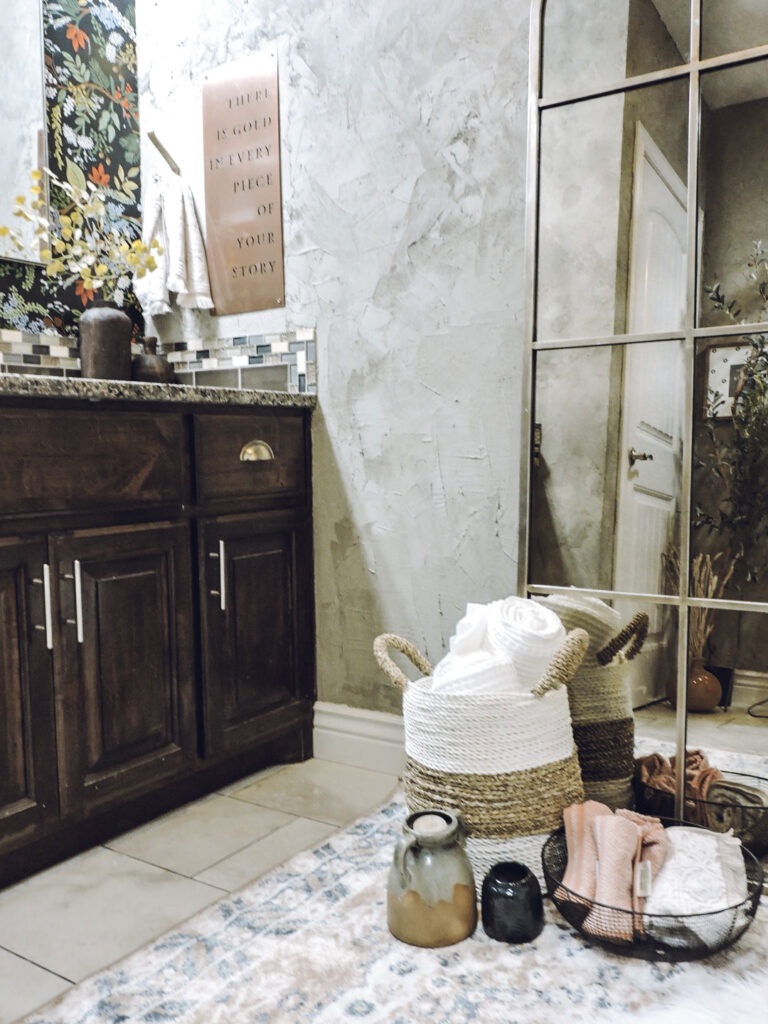
Be ready for your arm and shoulders to get a workout when doing this and for a HUGE mess! Also, I couldn’t help myself but accessorize the space a little bit even though I have so much more to do in here!
Thanks for stopping by to check out the progress!