
Small Bathroom Makeover using Stick and Peel Tile
The guest bathroom makeover is complete and I am super happy with how it turned out! My goal is to make each room in our home a cozy, beautiful space. A few months ago I tackled our laundry room; you can see that post here. And next, I decided to spruce up our guest bath.
This tile has been an eye-sore to me ever since we moved in. It definitely could work in certain spaces but this is just not my style whatsoever. Over the last 5 years I have tried to decorate the room but never loved it. A big reason was this tile.
And after!
First off, lets talk about this stick and peel tile. You can find it here. Not the easiest thing to work with but for the cost and the impact it makes, I think it was totally worth it. I have a whole blog post about the process and my review on it. Click here to read.

The stick and peel tile really helped brighten up this whole space and allowed me to go with a completely different color palette. Long story short, in the future we will replace the stick and peel tile with real tile. I’m not convinced this would be a permanent solution, especially in a bathroom. But, for a few years, this was definitely worth the cost and time it took to install it.
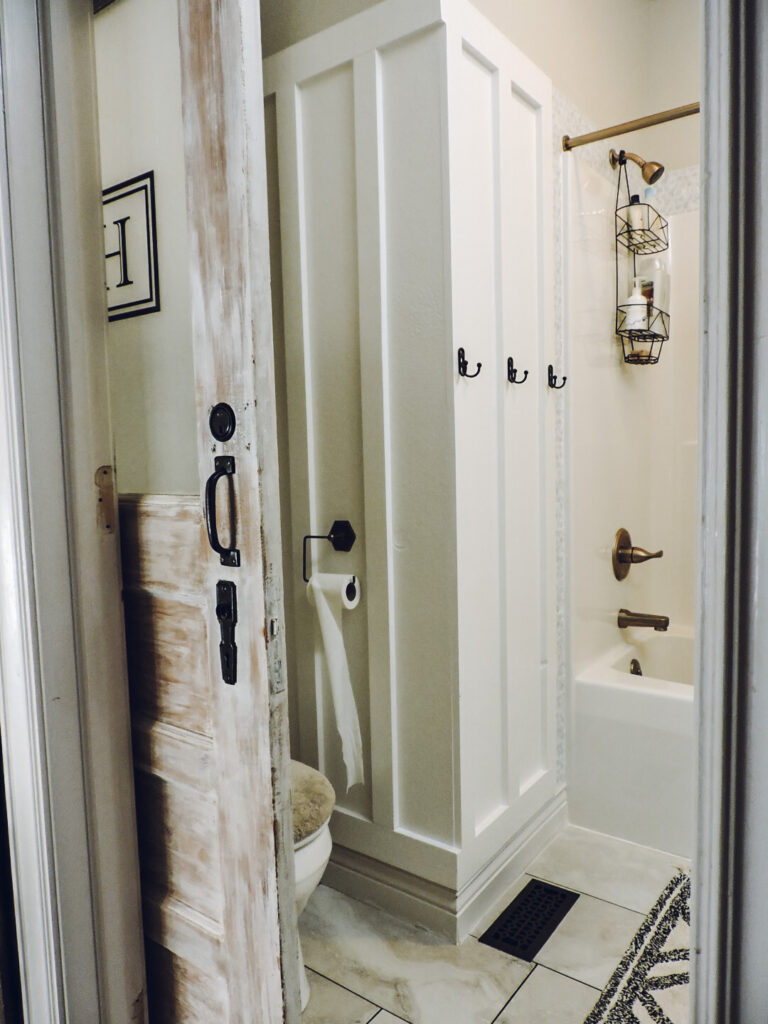
I really love how the board and batten turned out and it’s making me want to do it in other rooms in our home! For more info on that, go here. I had no prior experience using a table saw or doing any type of wall treatment like this. I made sure to do lots of research and then went for it! With any new thing you do, it is always a little more time consuming at first trying to figure things out, but once you do figure it out, it is not so bad!
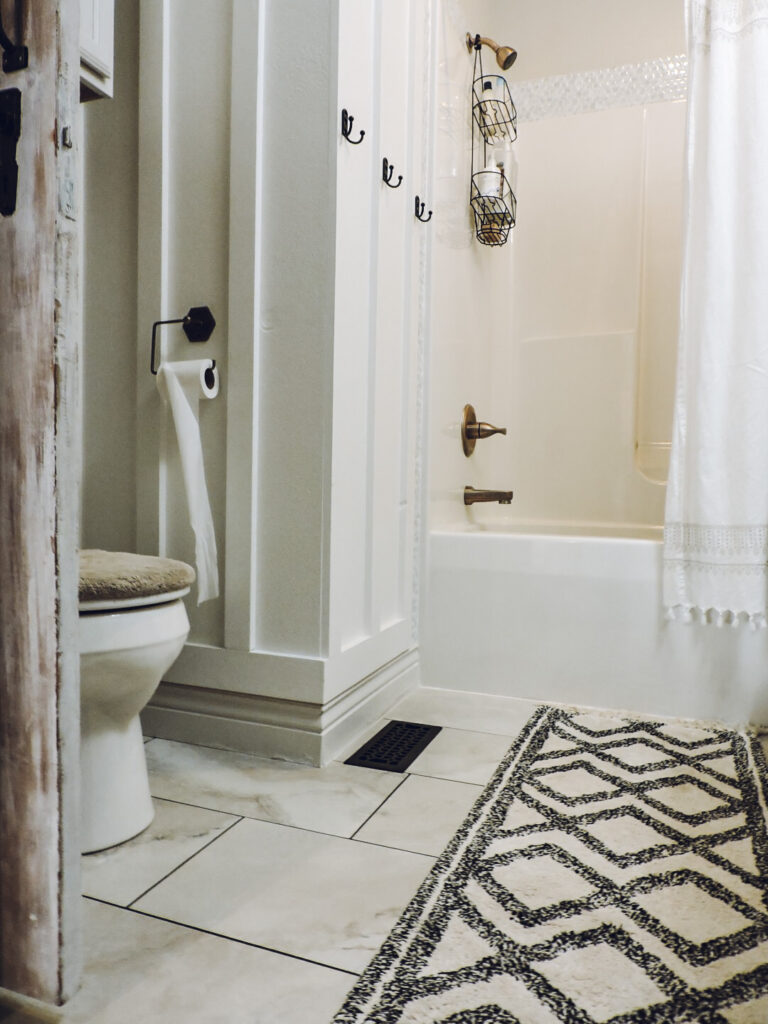
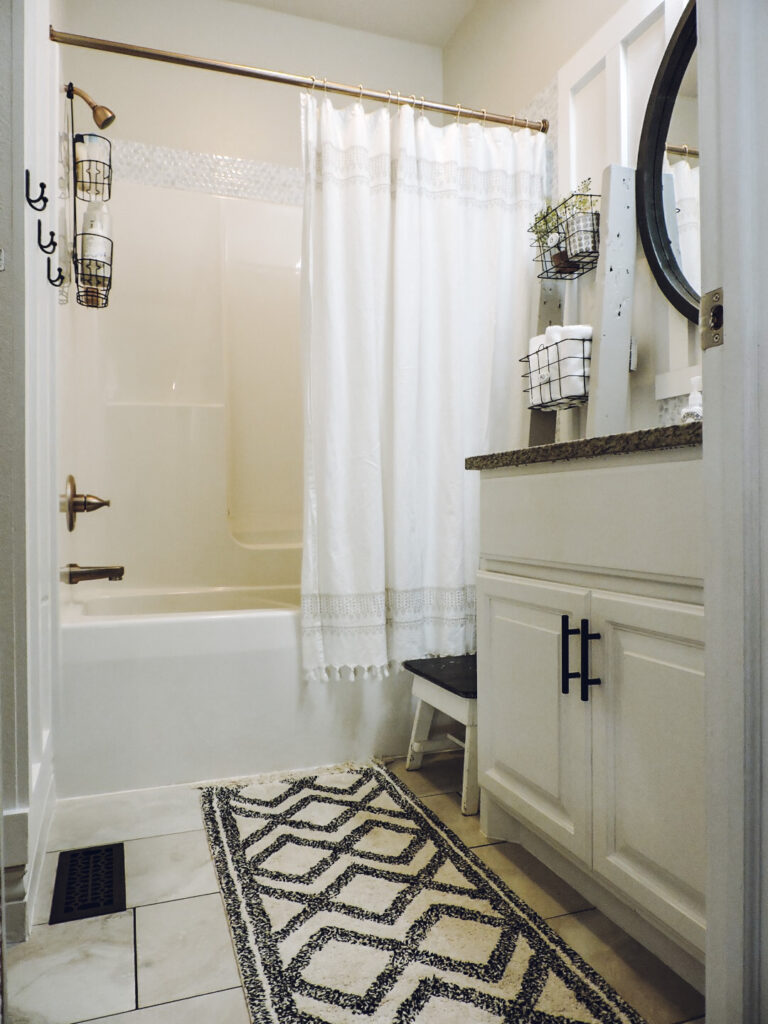
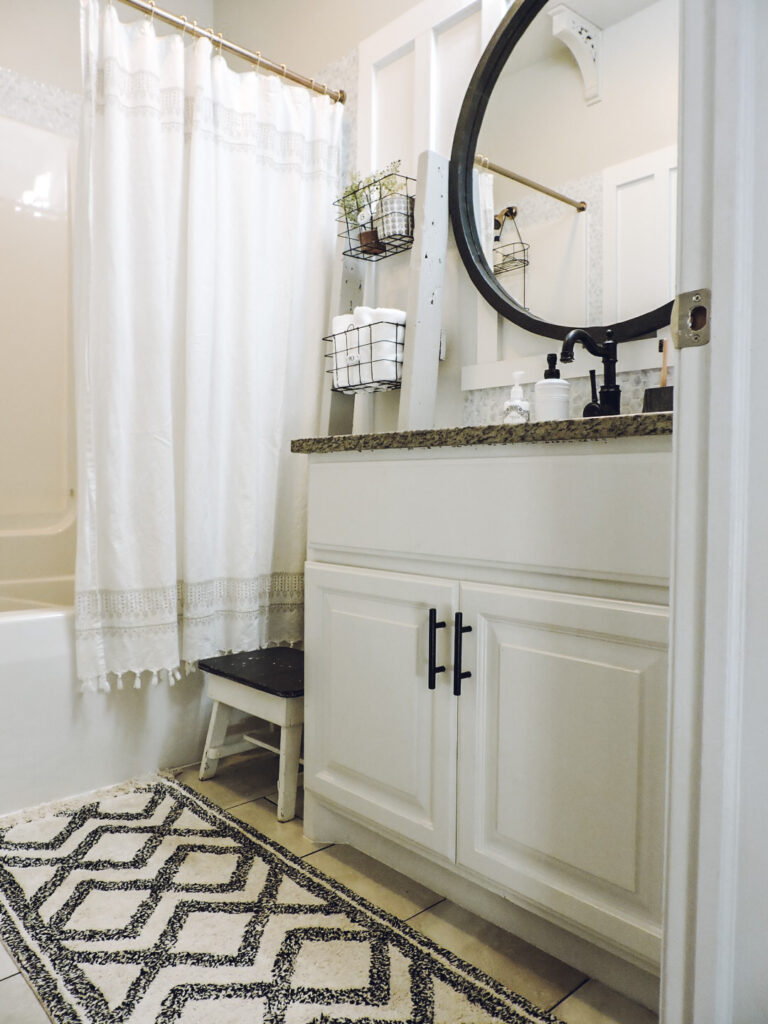
I painted this cabinet to match the board and batten and added new hardware I found at Hobby Lobby.
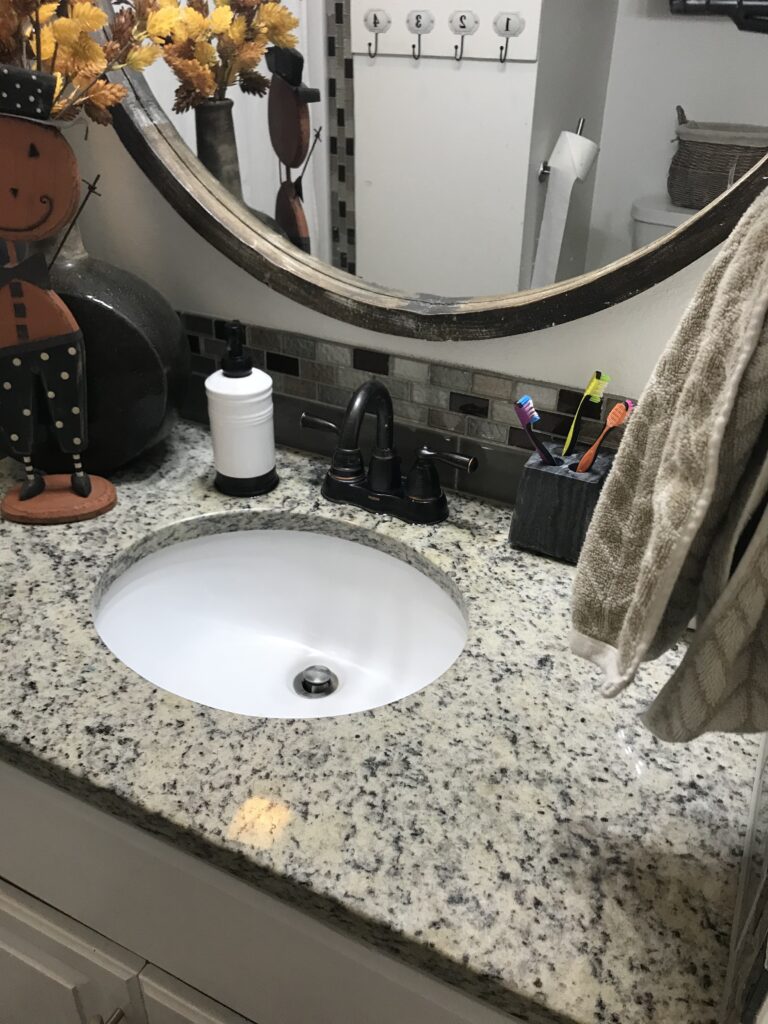
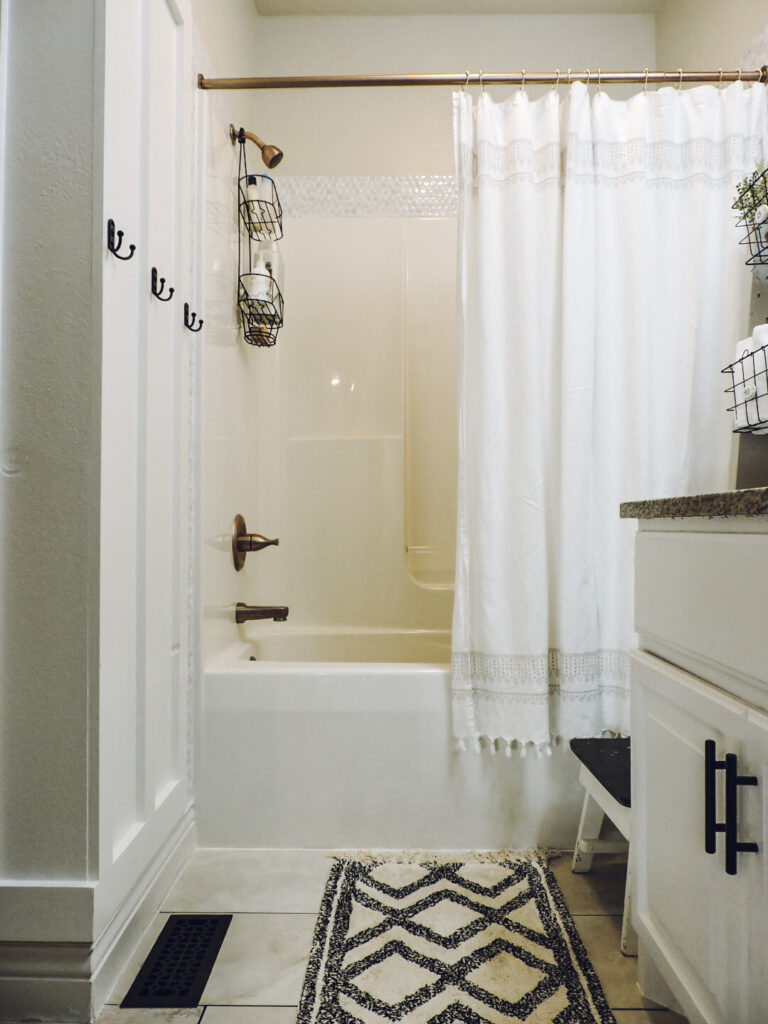
This space is harder to photograph because it’s so little! This new light fixture is so pretty in person, pictures don’t do it justice! I love the classic look of it. I decided to mix brass and black fixtures and hardware in this space.
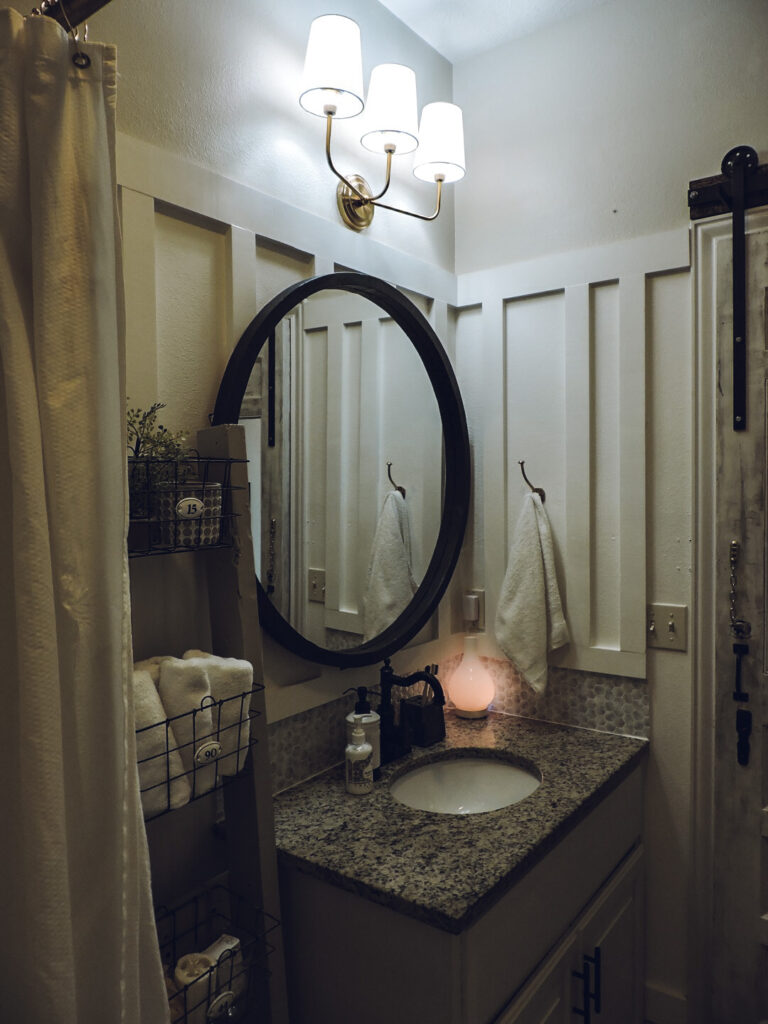
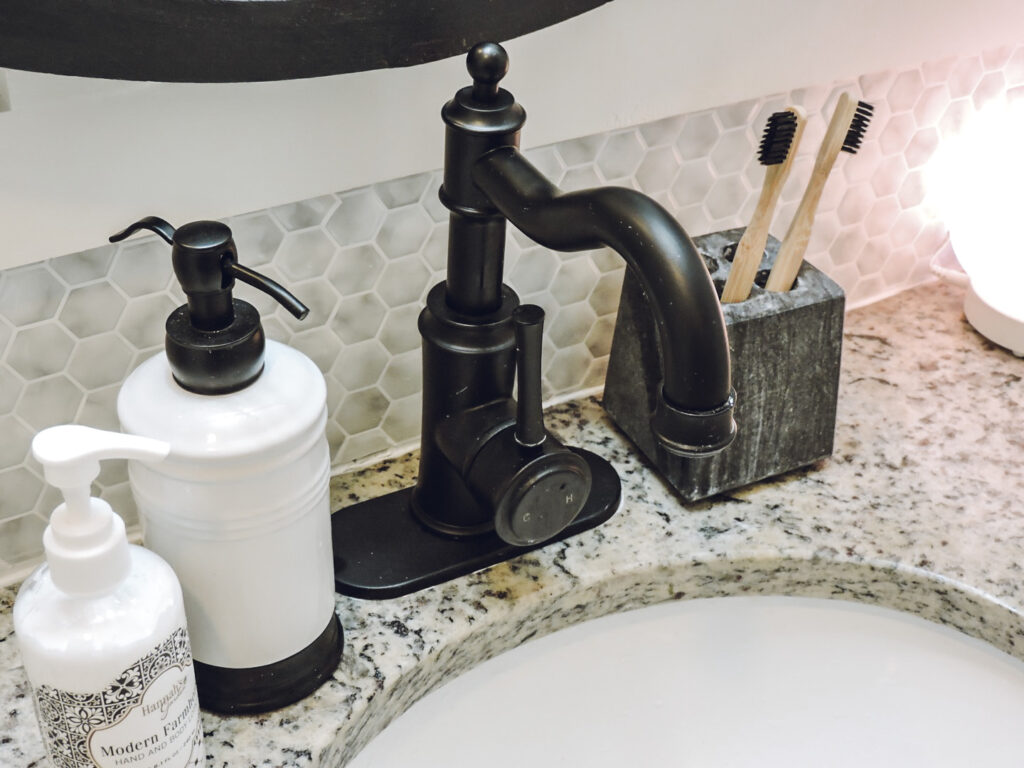
This faucet was another great find! Super affordable and I really liked the vintage look to it.
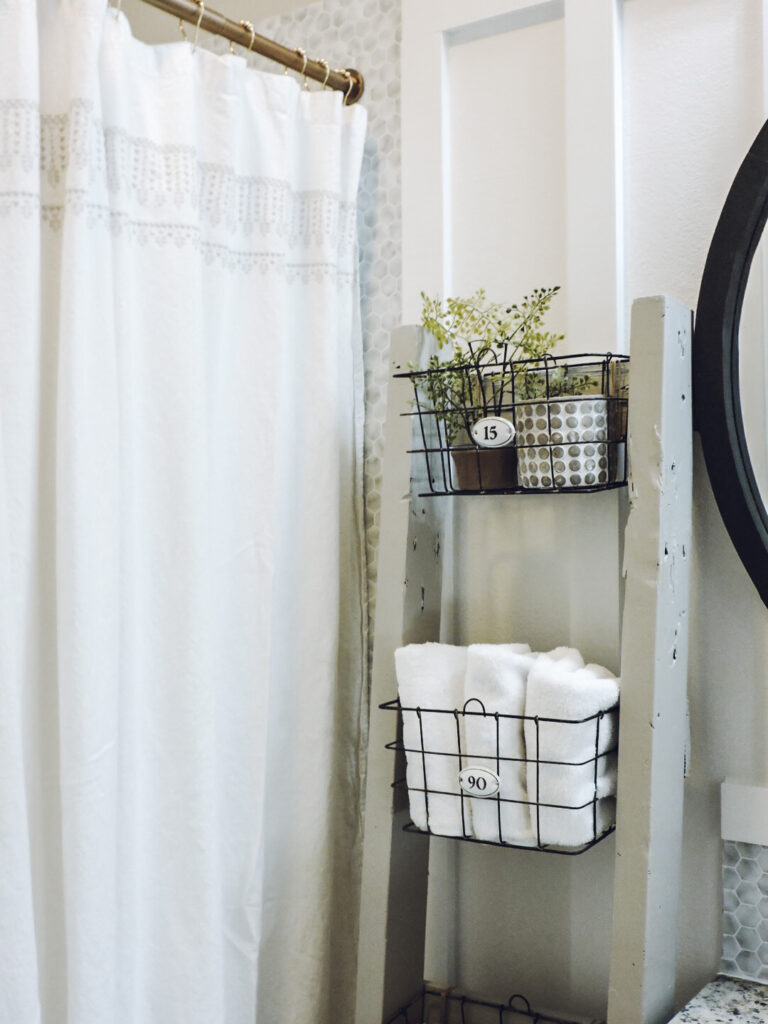
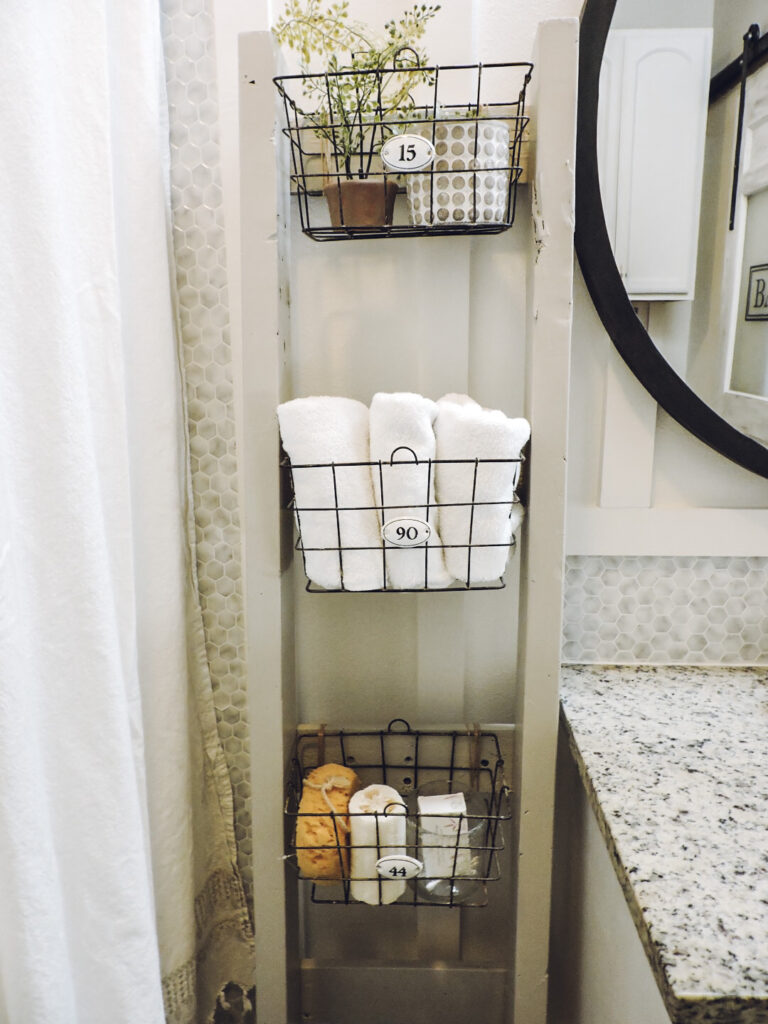
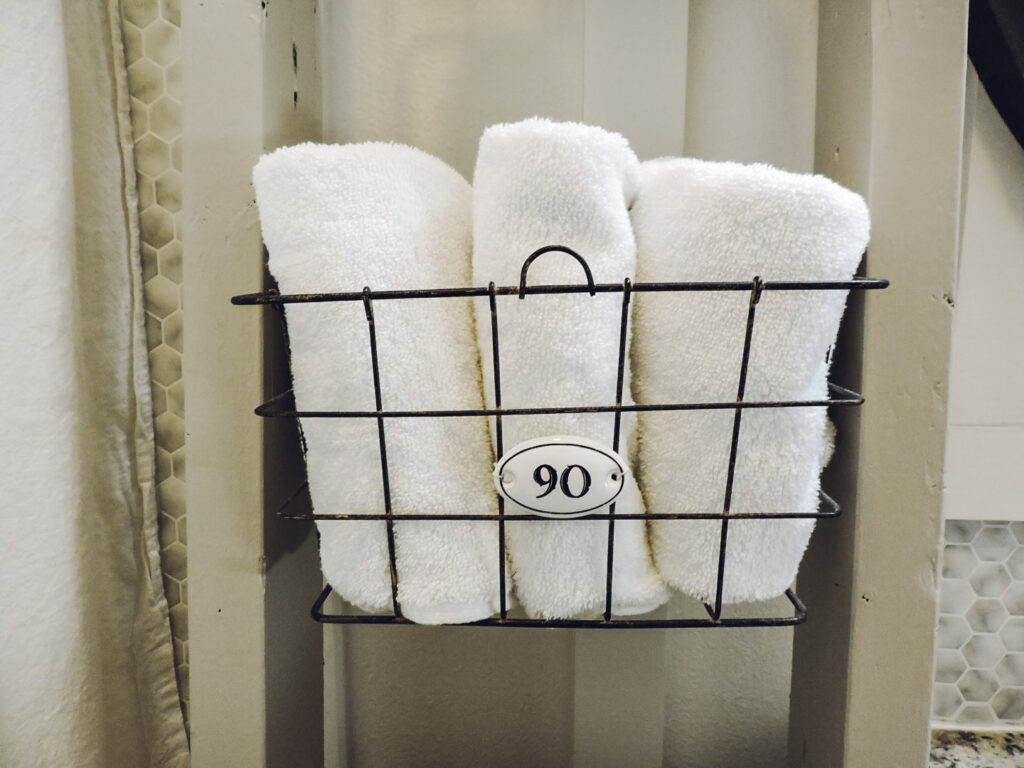
I’ve had this ladder basket storage piece in here for many years. I re-painted it and added these number plaques to the front of the baskets.
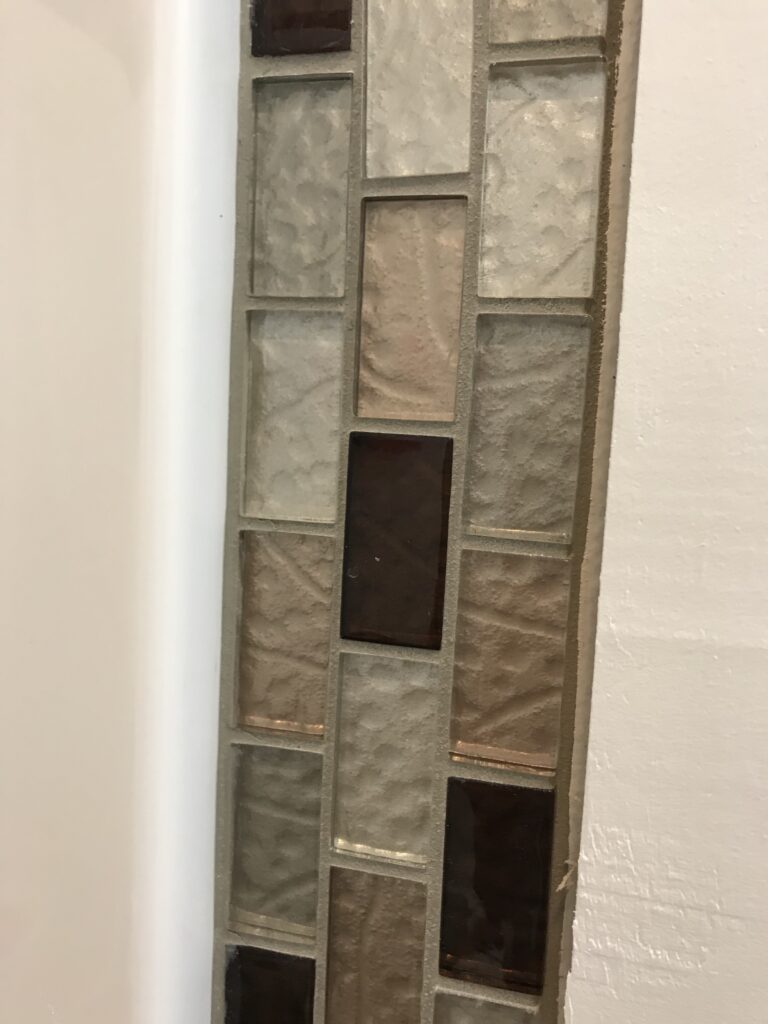
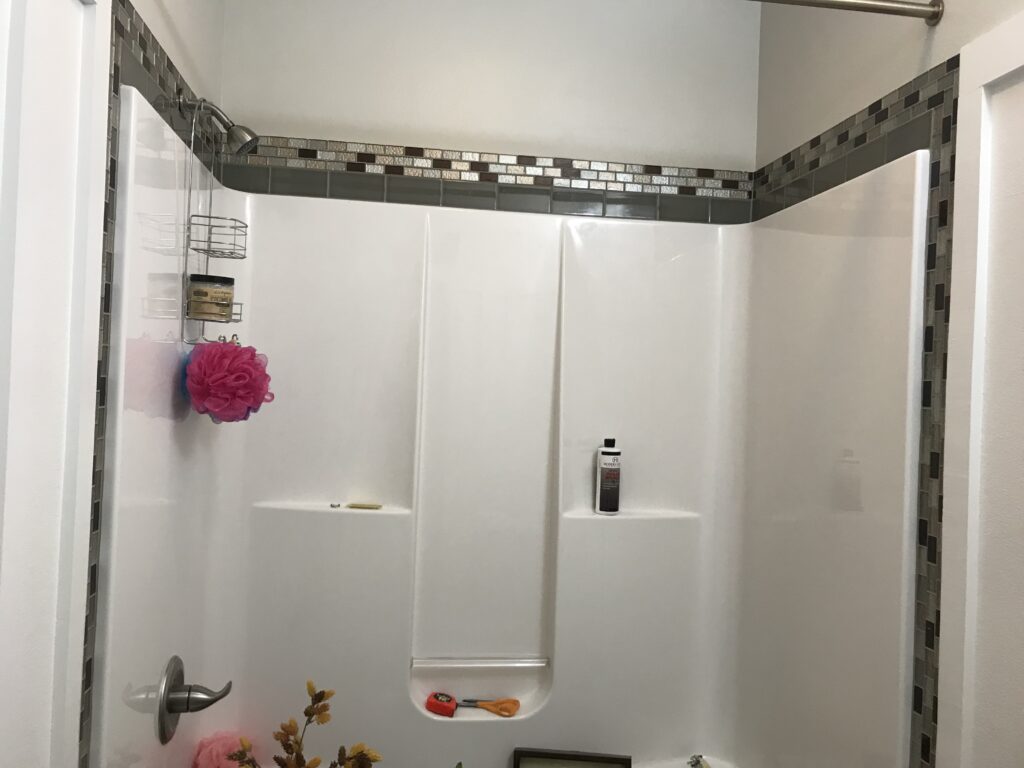
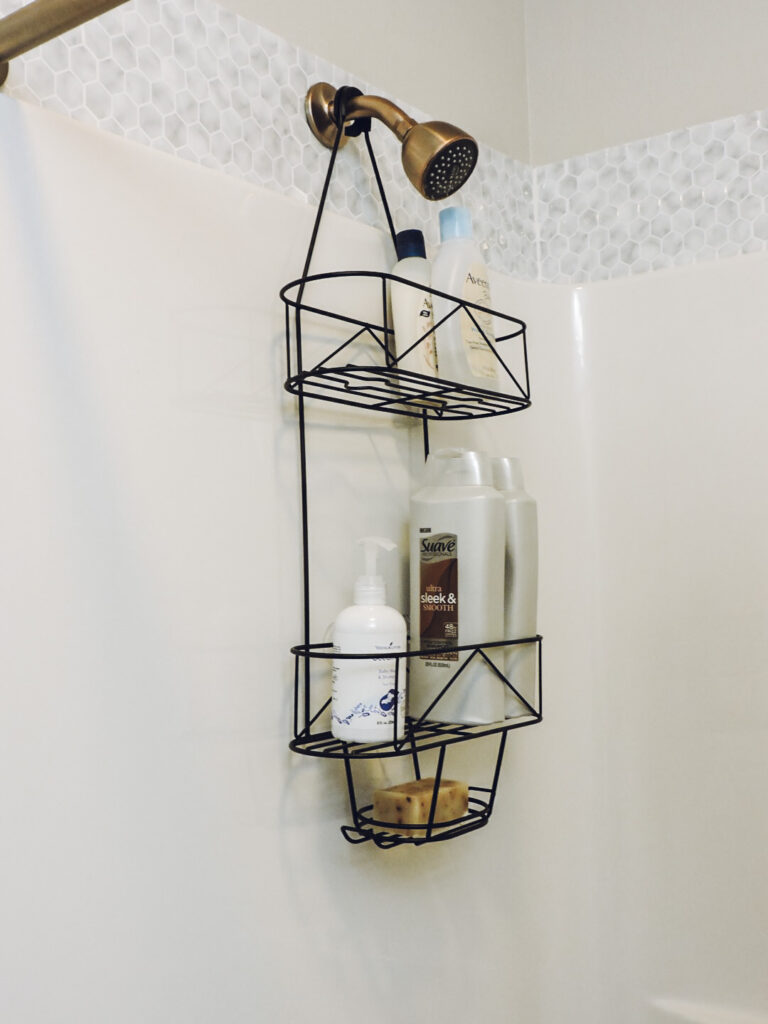
I used rub n buff on the shower hardware so it would match the room better. The shower head is holding up very good, the other hardware below, has some small spots that have rubbed off. I knew it wouldn’t be a permanent solution but again, it will hold us over until we are ready to buy new hardware and in the meantime, looks pretty great! I also added this shower caddy. I love that it holds bigger bottles.
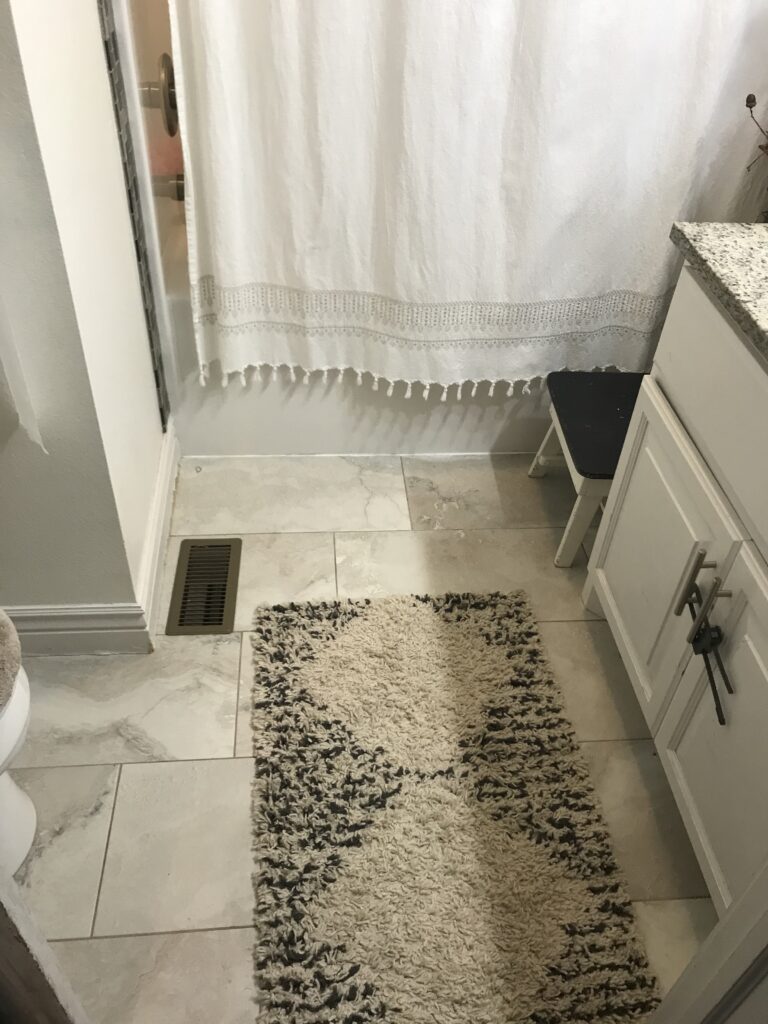
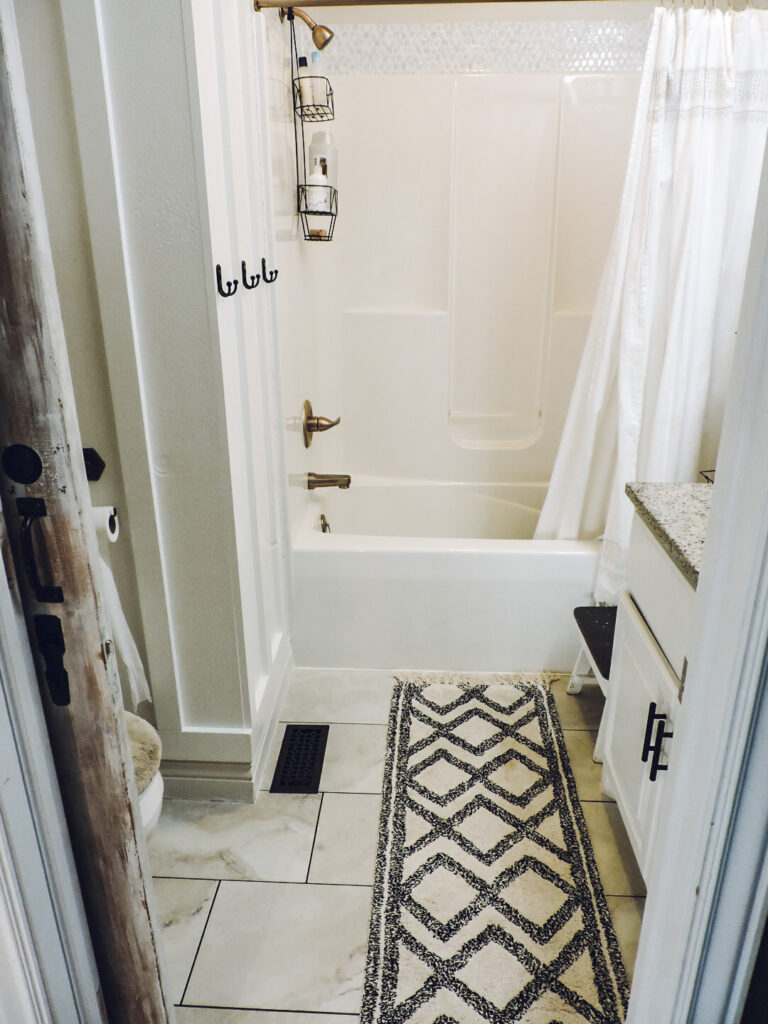
I looked FOREVER to find a rug for this space and finally came across this one from Urban Outfitters. I went with a runner size to help the room feel bigger. You can buy it here. It’s very cozy and soft!
I added these robe hooks from Amazon.
I found a shower curtain that is going to perfect in this space, however shipping time is 6 to 8 weeks. I still ordered it and will update this post when I receive it. It’s gonna be good!
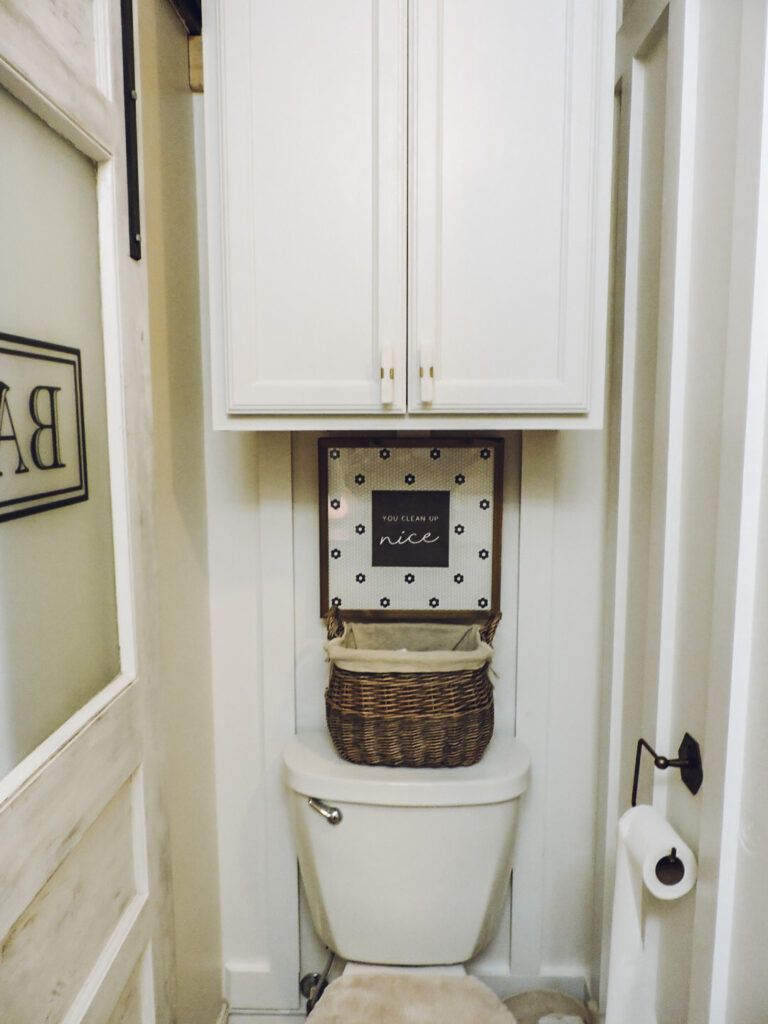
Overall, I am very pleased with how this space came out! Down the road we have plans to replace the cabinet (tons of water damage on the side facing the tub) and countertop, along with the tile. This project definitely makes the waiting more bearable!
Thanks for stopping by!