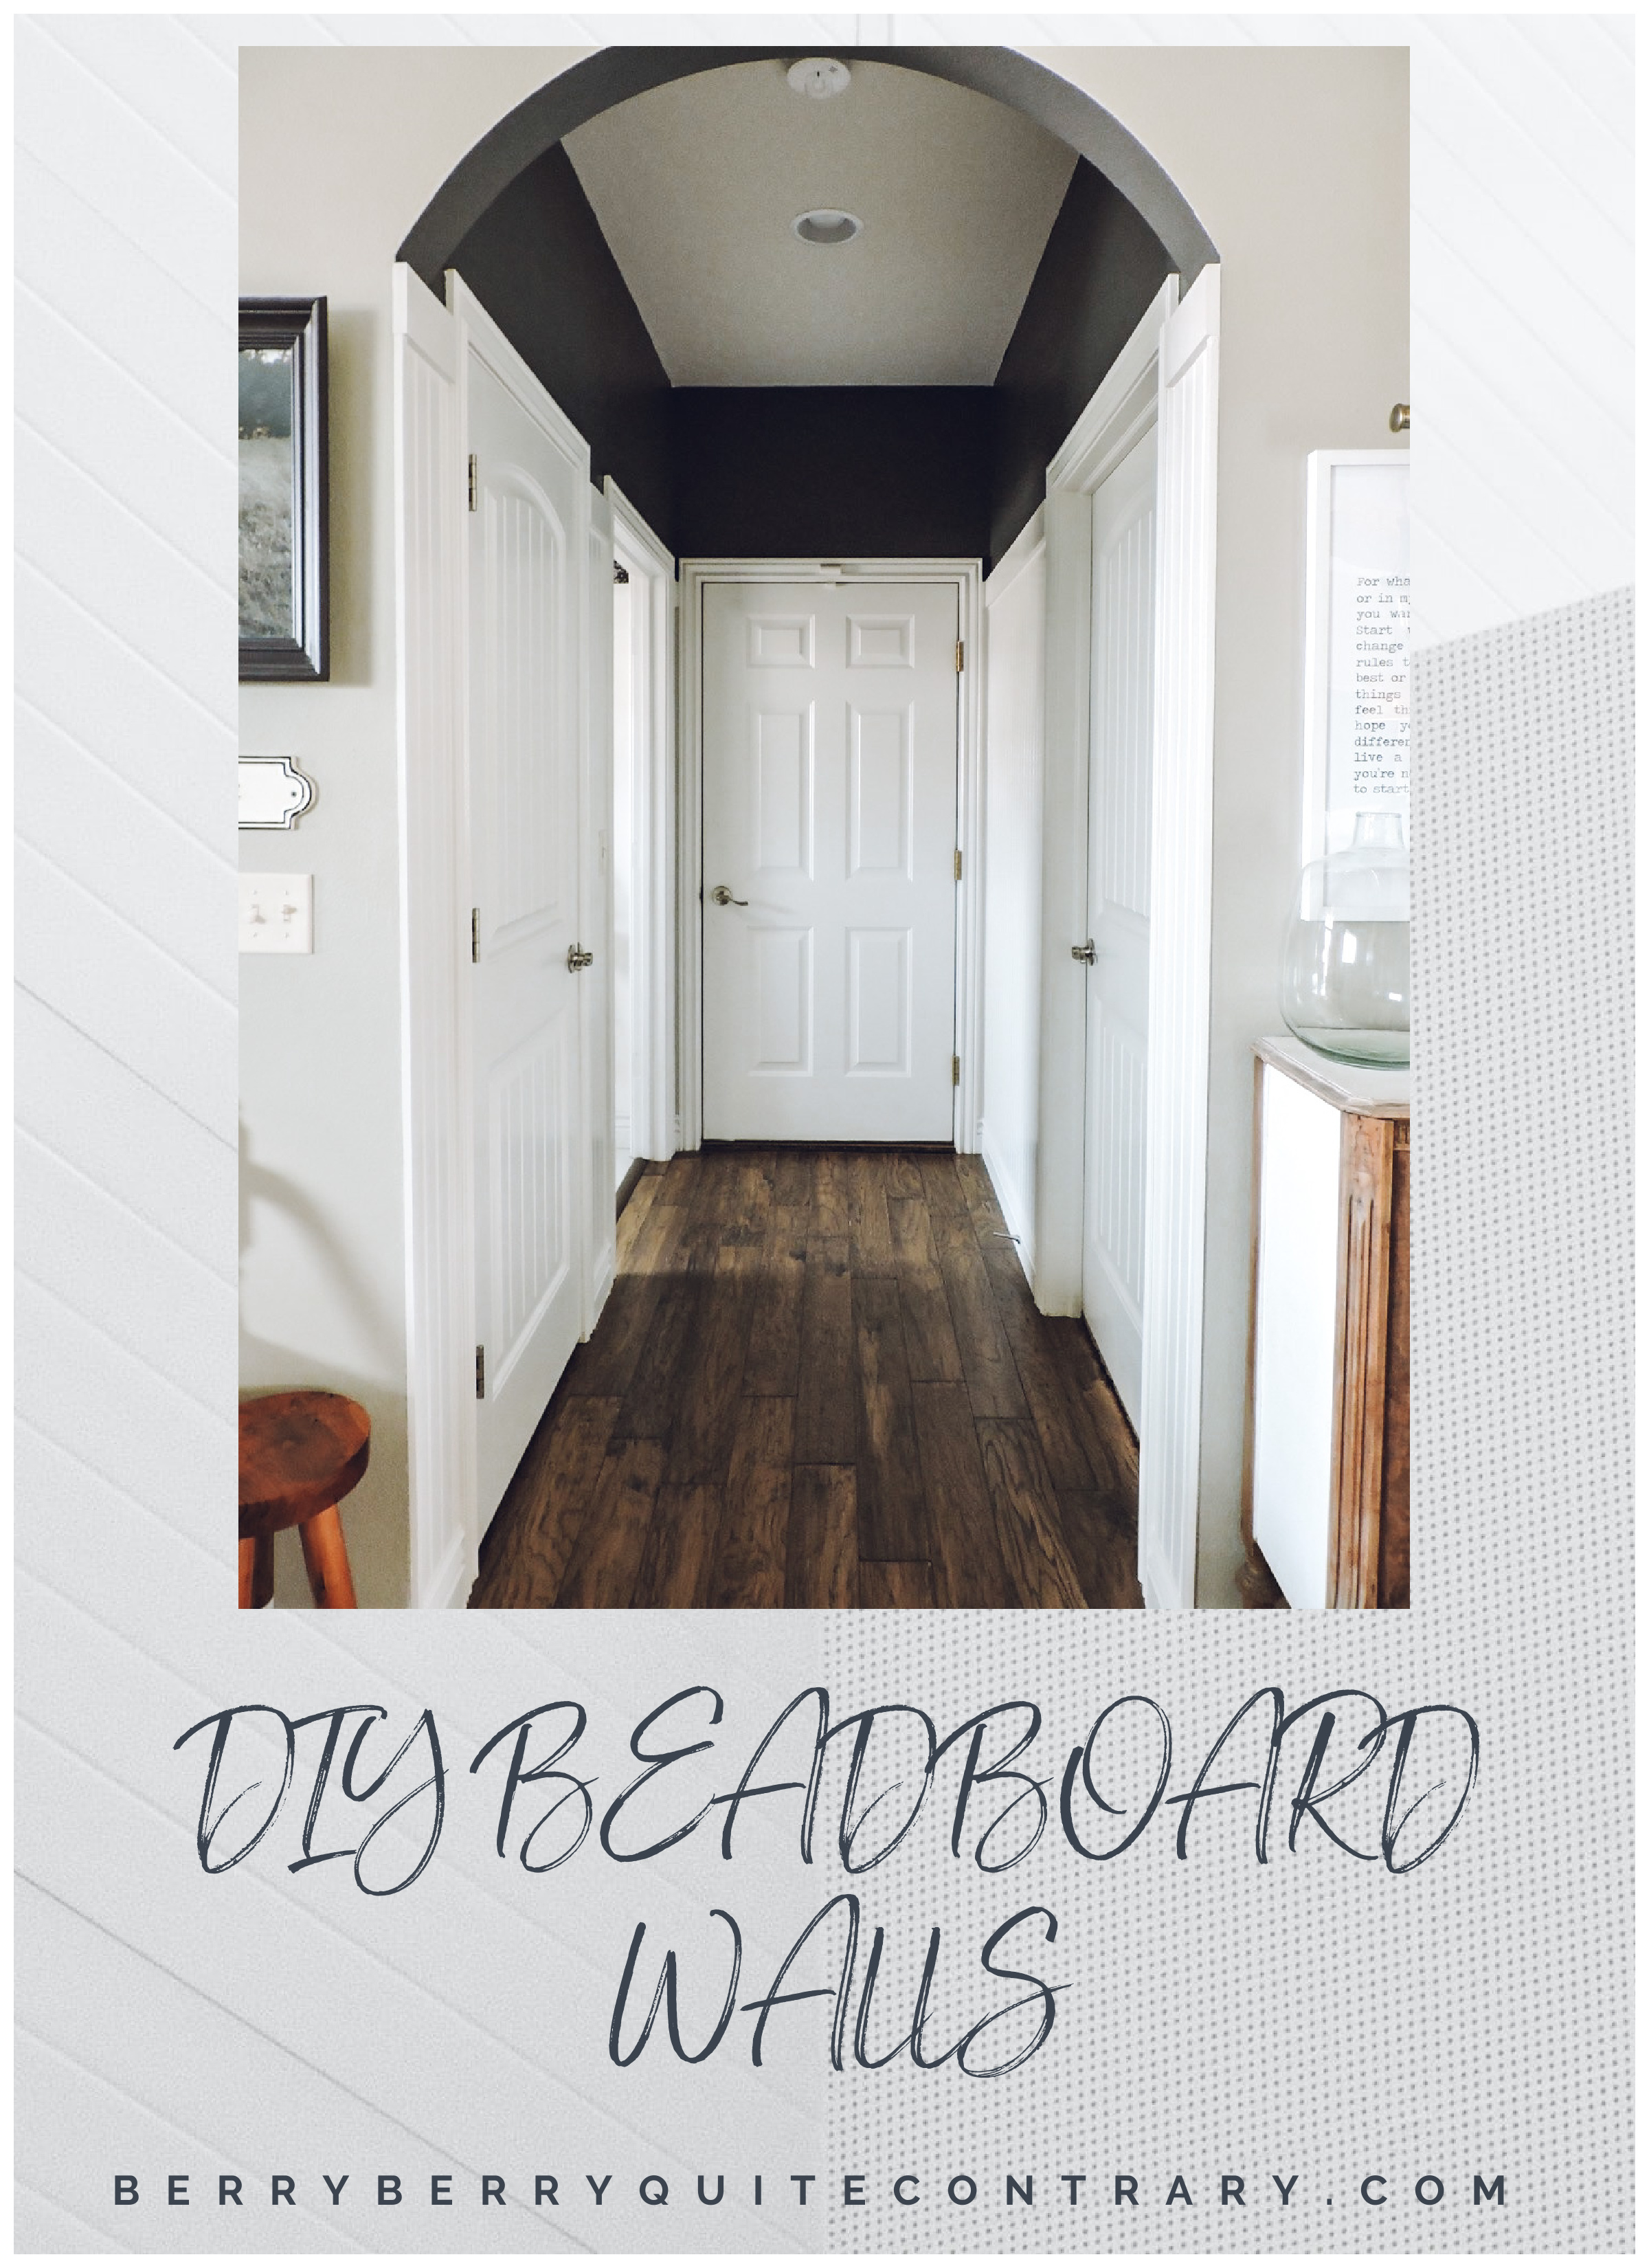
DIY Beadboard Walls
I have always adored the look of beadboard walls. To me, they give off a look of warmth, coziness and can add so much character to a space. Truly, I think any type of wood treatment to walls adds instant character and coziness. For years I have had the idea to put up beadboard in our hallways and finally decided to attempt it at the beginning of last week.
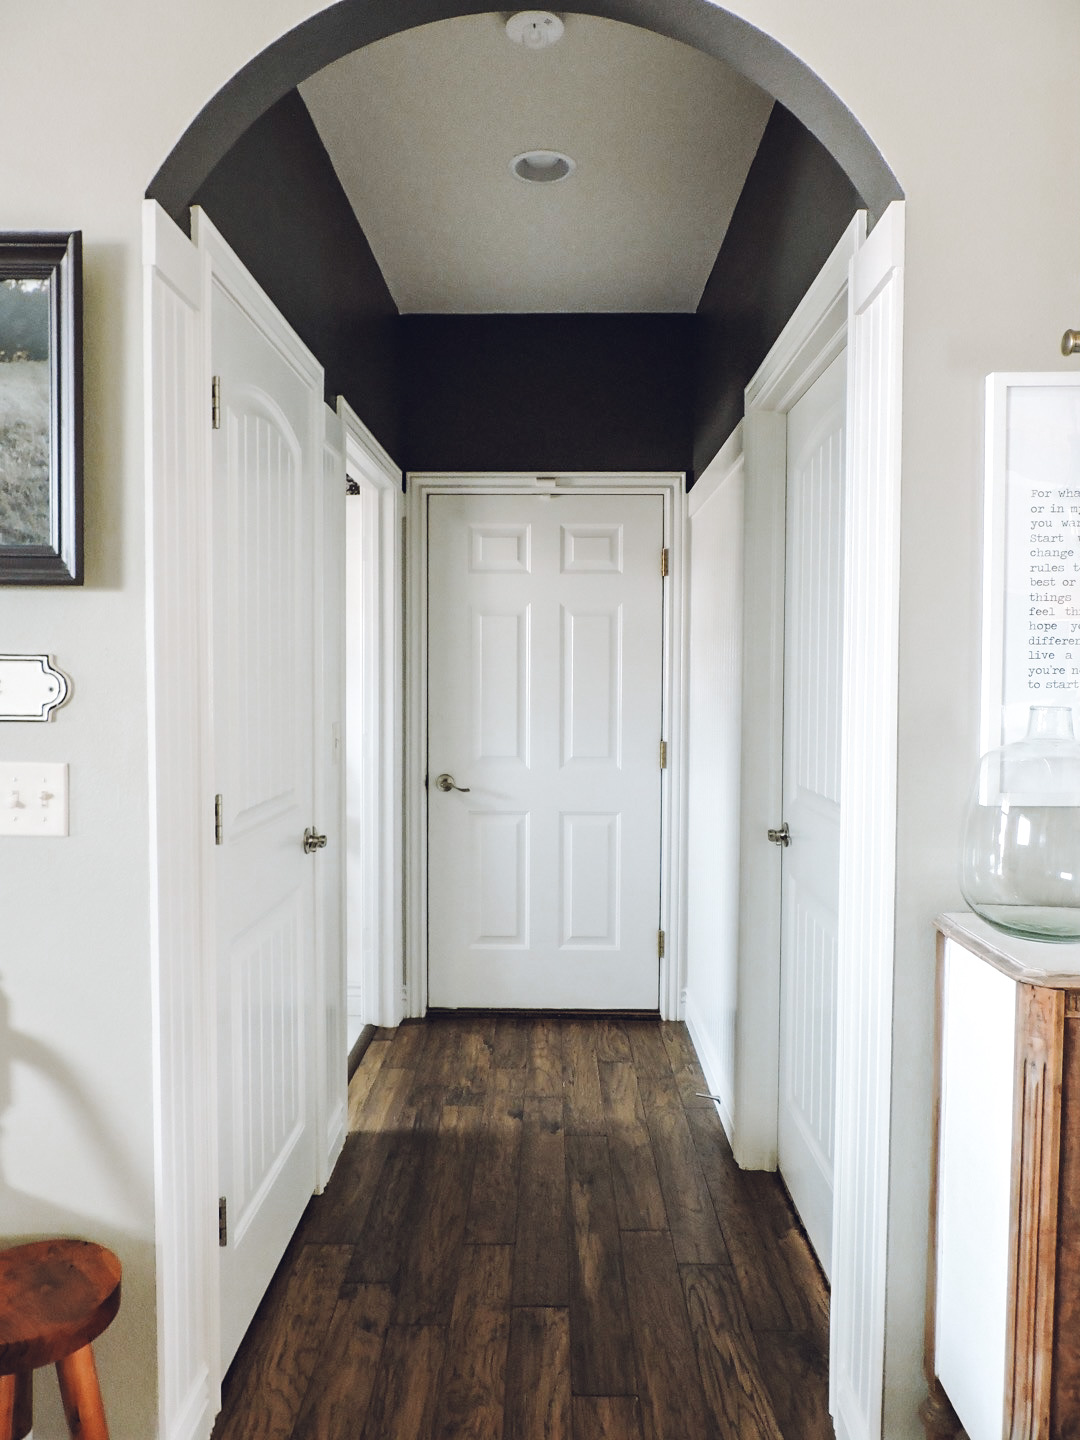
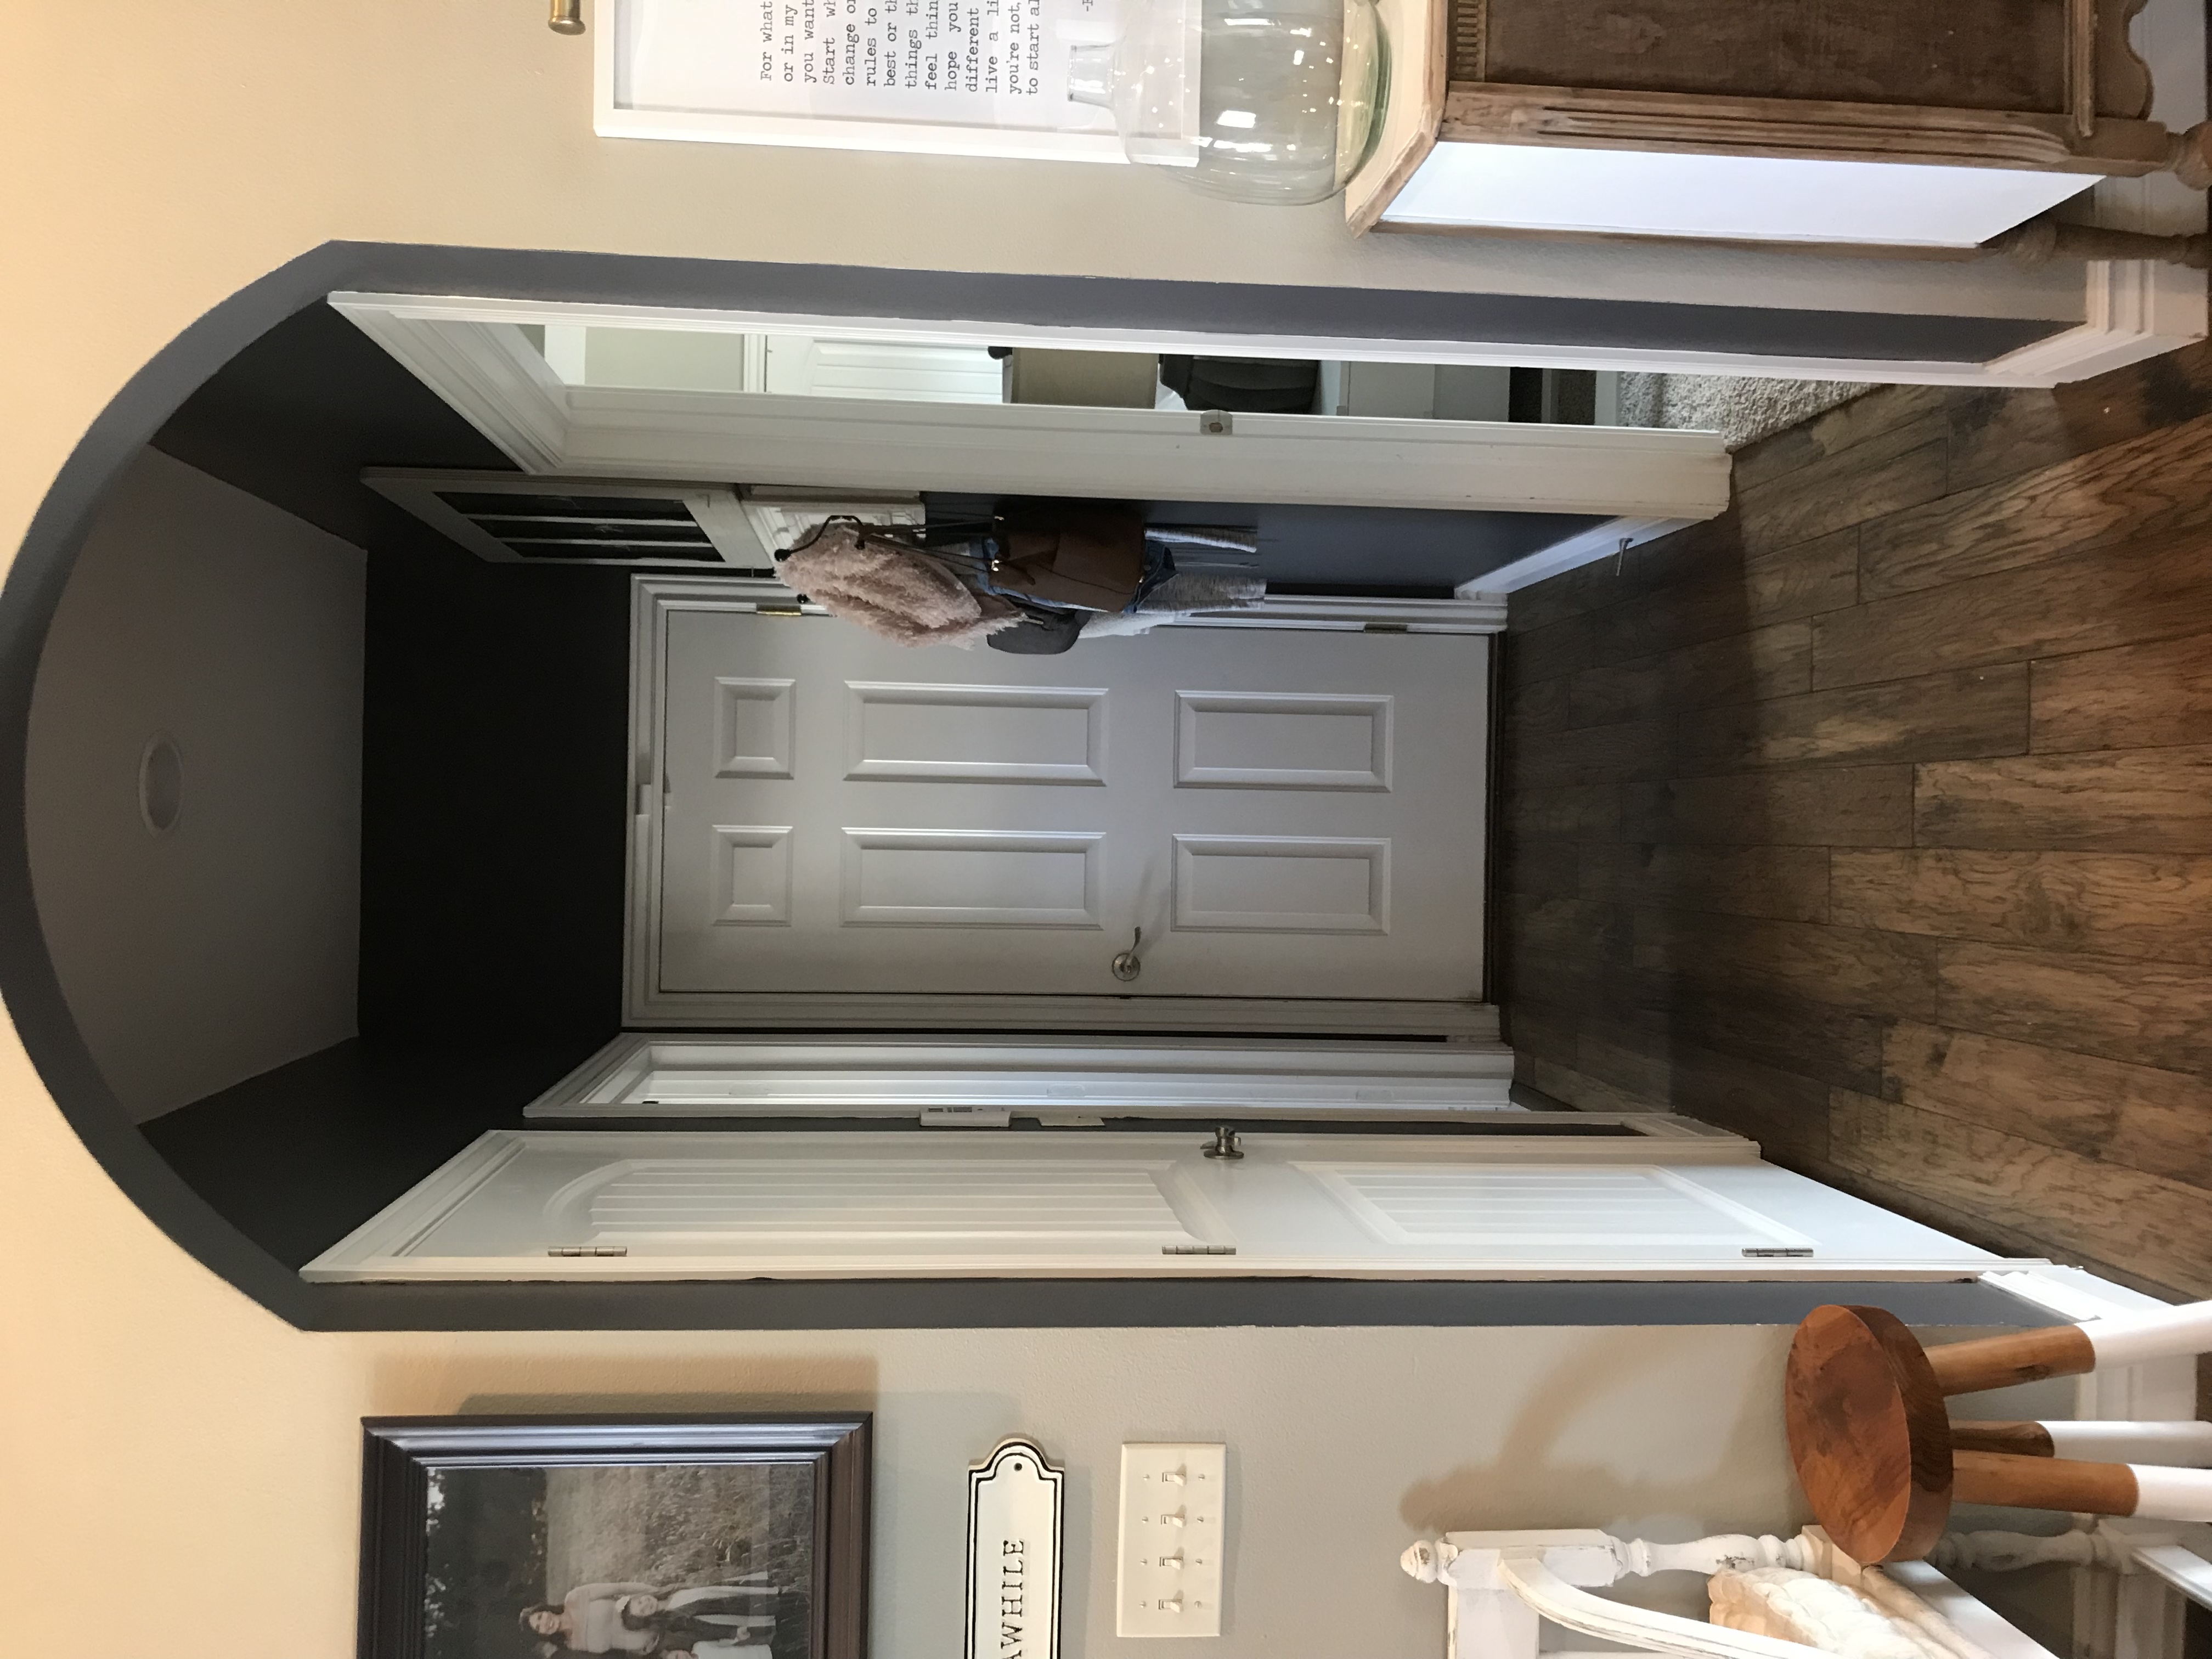
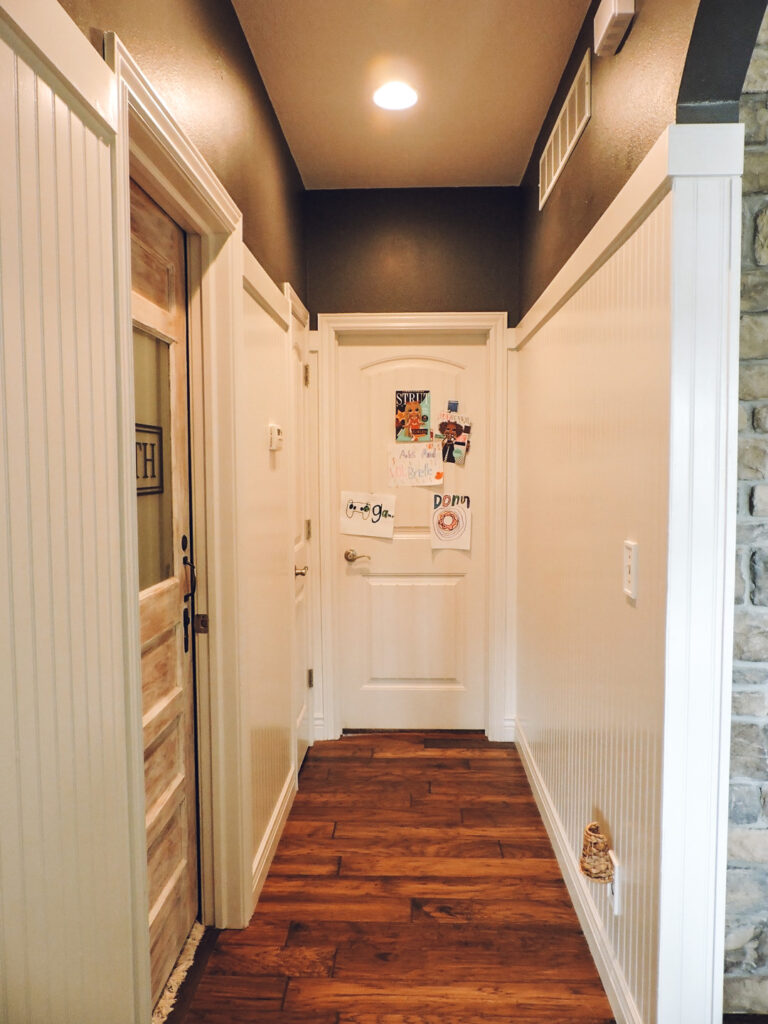
BEFORE
DIY BEADBOARD WALLS
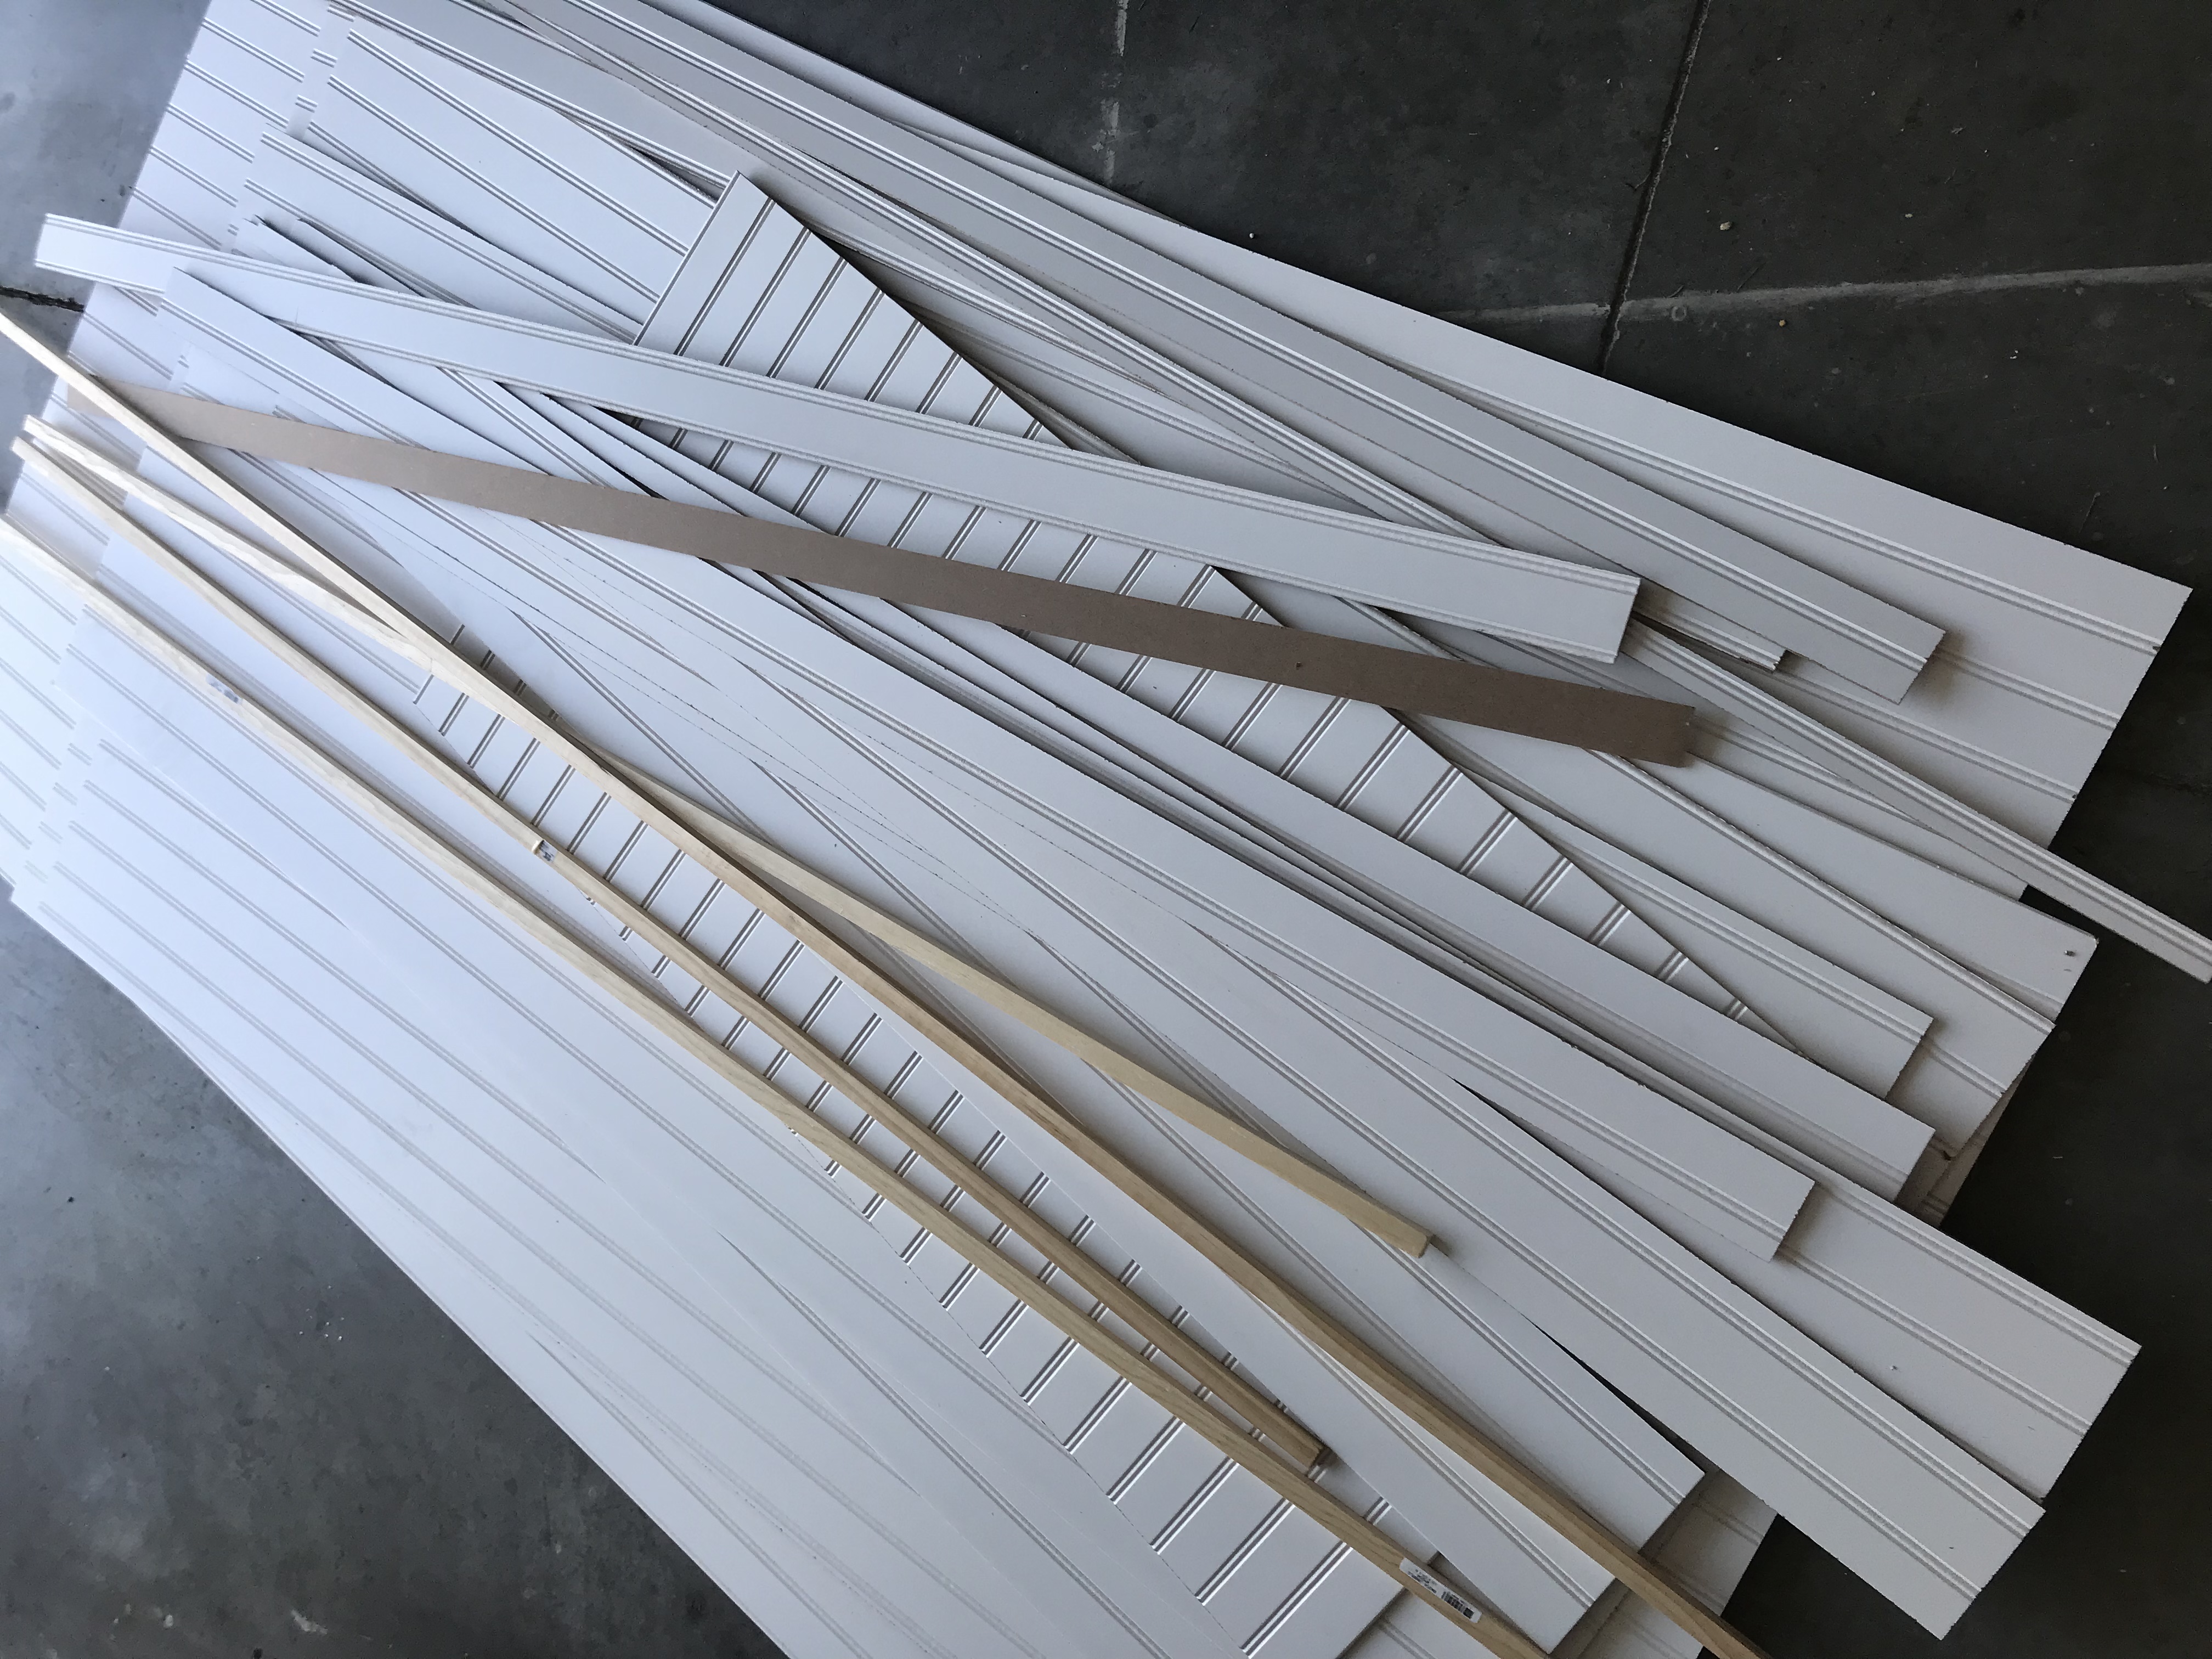
First step was to measure all of my walls. Beadboard panels come in large sheets priced around $25. I was sure to bring my list of measurements to Home Depot so that we could have them make most of the cuts at the store since we didn’t have the proper tools to make the cuts. This is a little time consuming but well worth it!
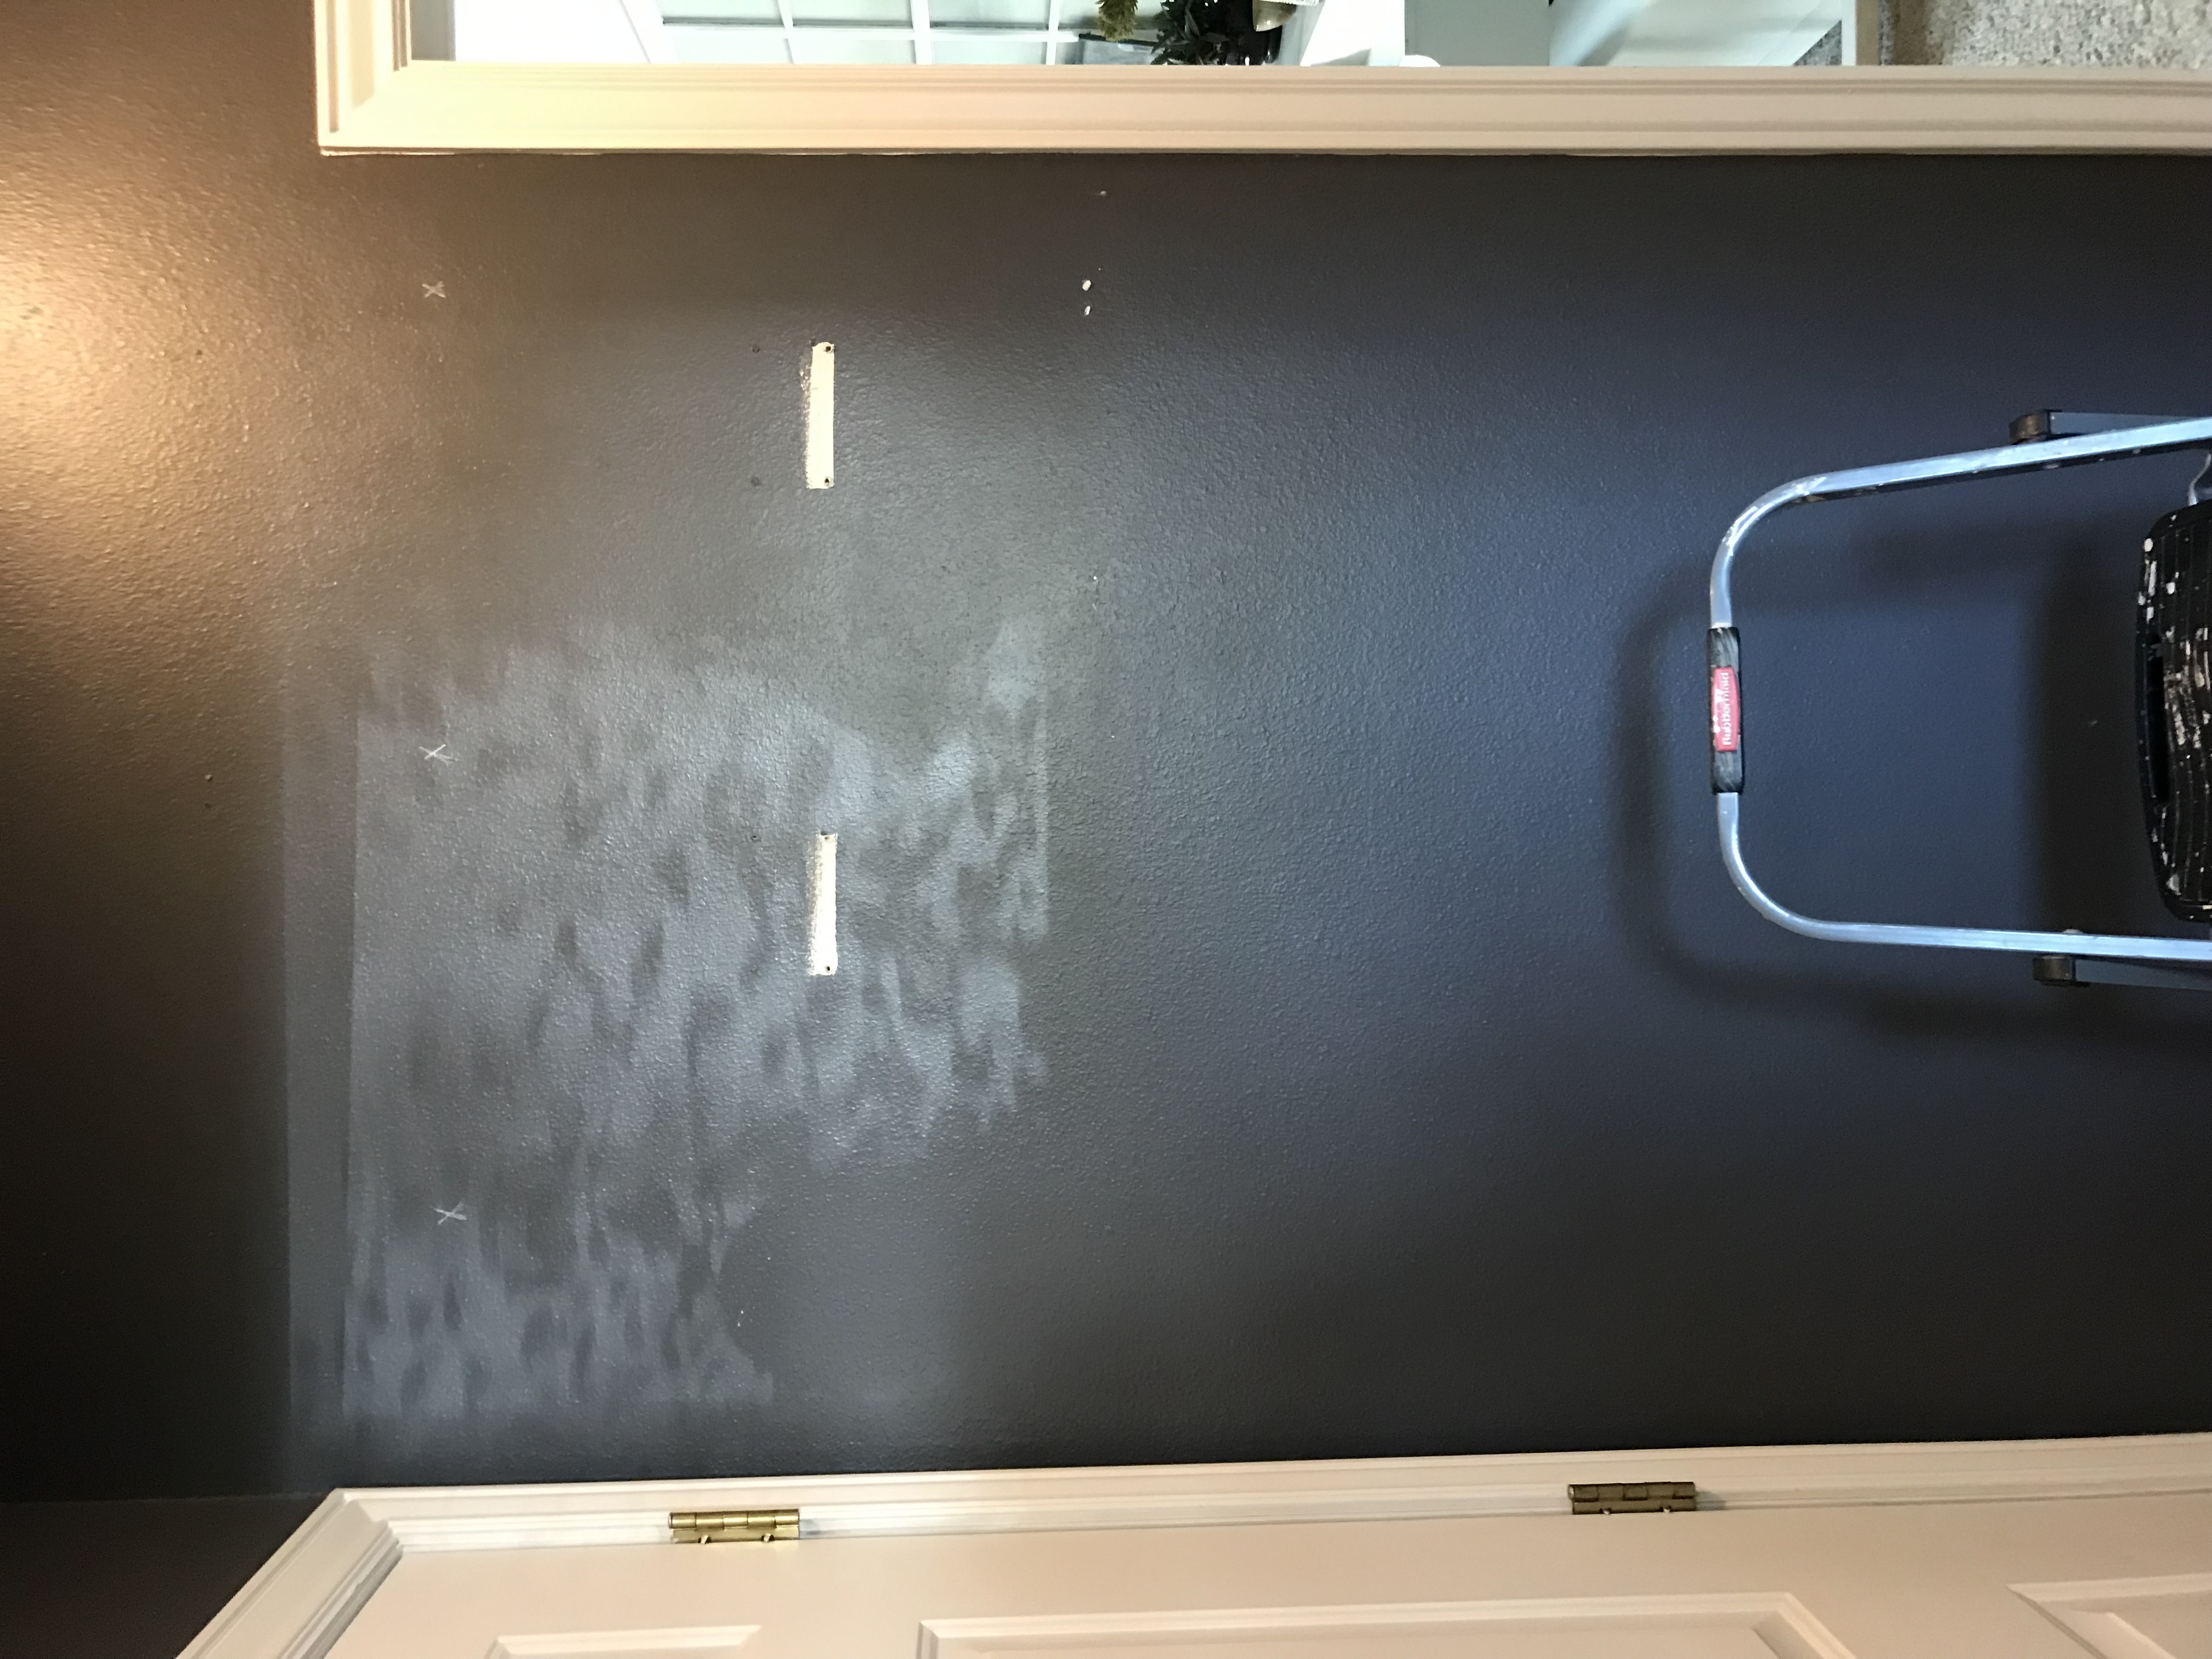
I marked all of my studs with an X so I would know where to place my nails. After reading different tutorials, some people used glue to adhere the back to the wall and others did not. I chose to not use glue because I felt like the nail gun would be good enough but you can definitely use glue if you’d like to be extra safe!

I have done a couple of different wall treatments in the past, one being our laundry room wall that you can see here. Last year I tackled our small guest bathroom and did a board and batten treatment that I still love to this day! You can see that post here. While I am no expert, I do have a little bit of experience so that definitely helped me while doing this project! For the ends of the hallways I decided to finish it off with this small piece of trim to help it look finished.
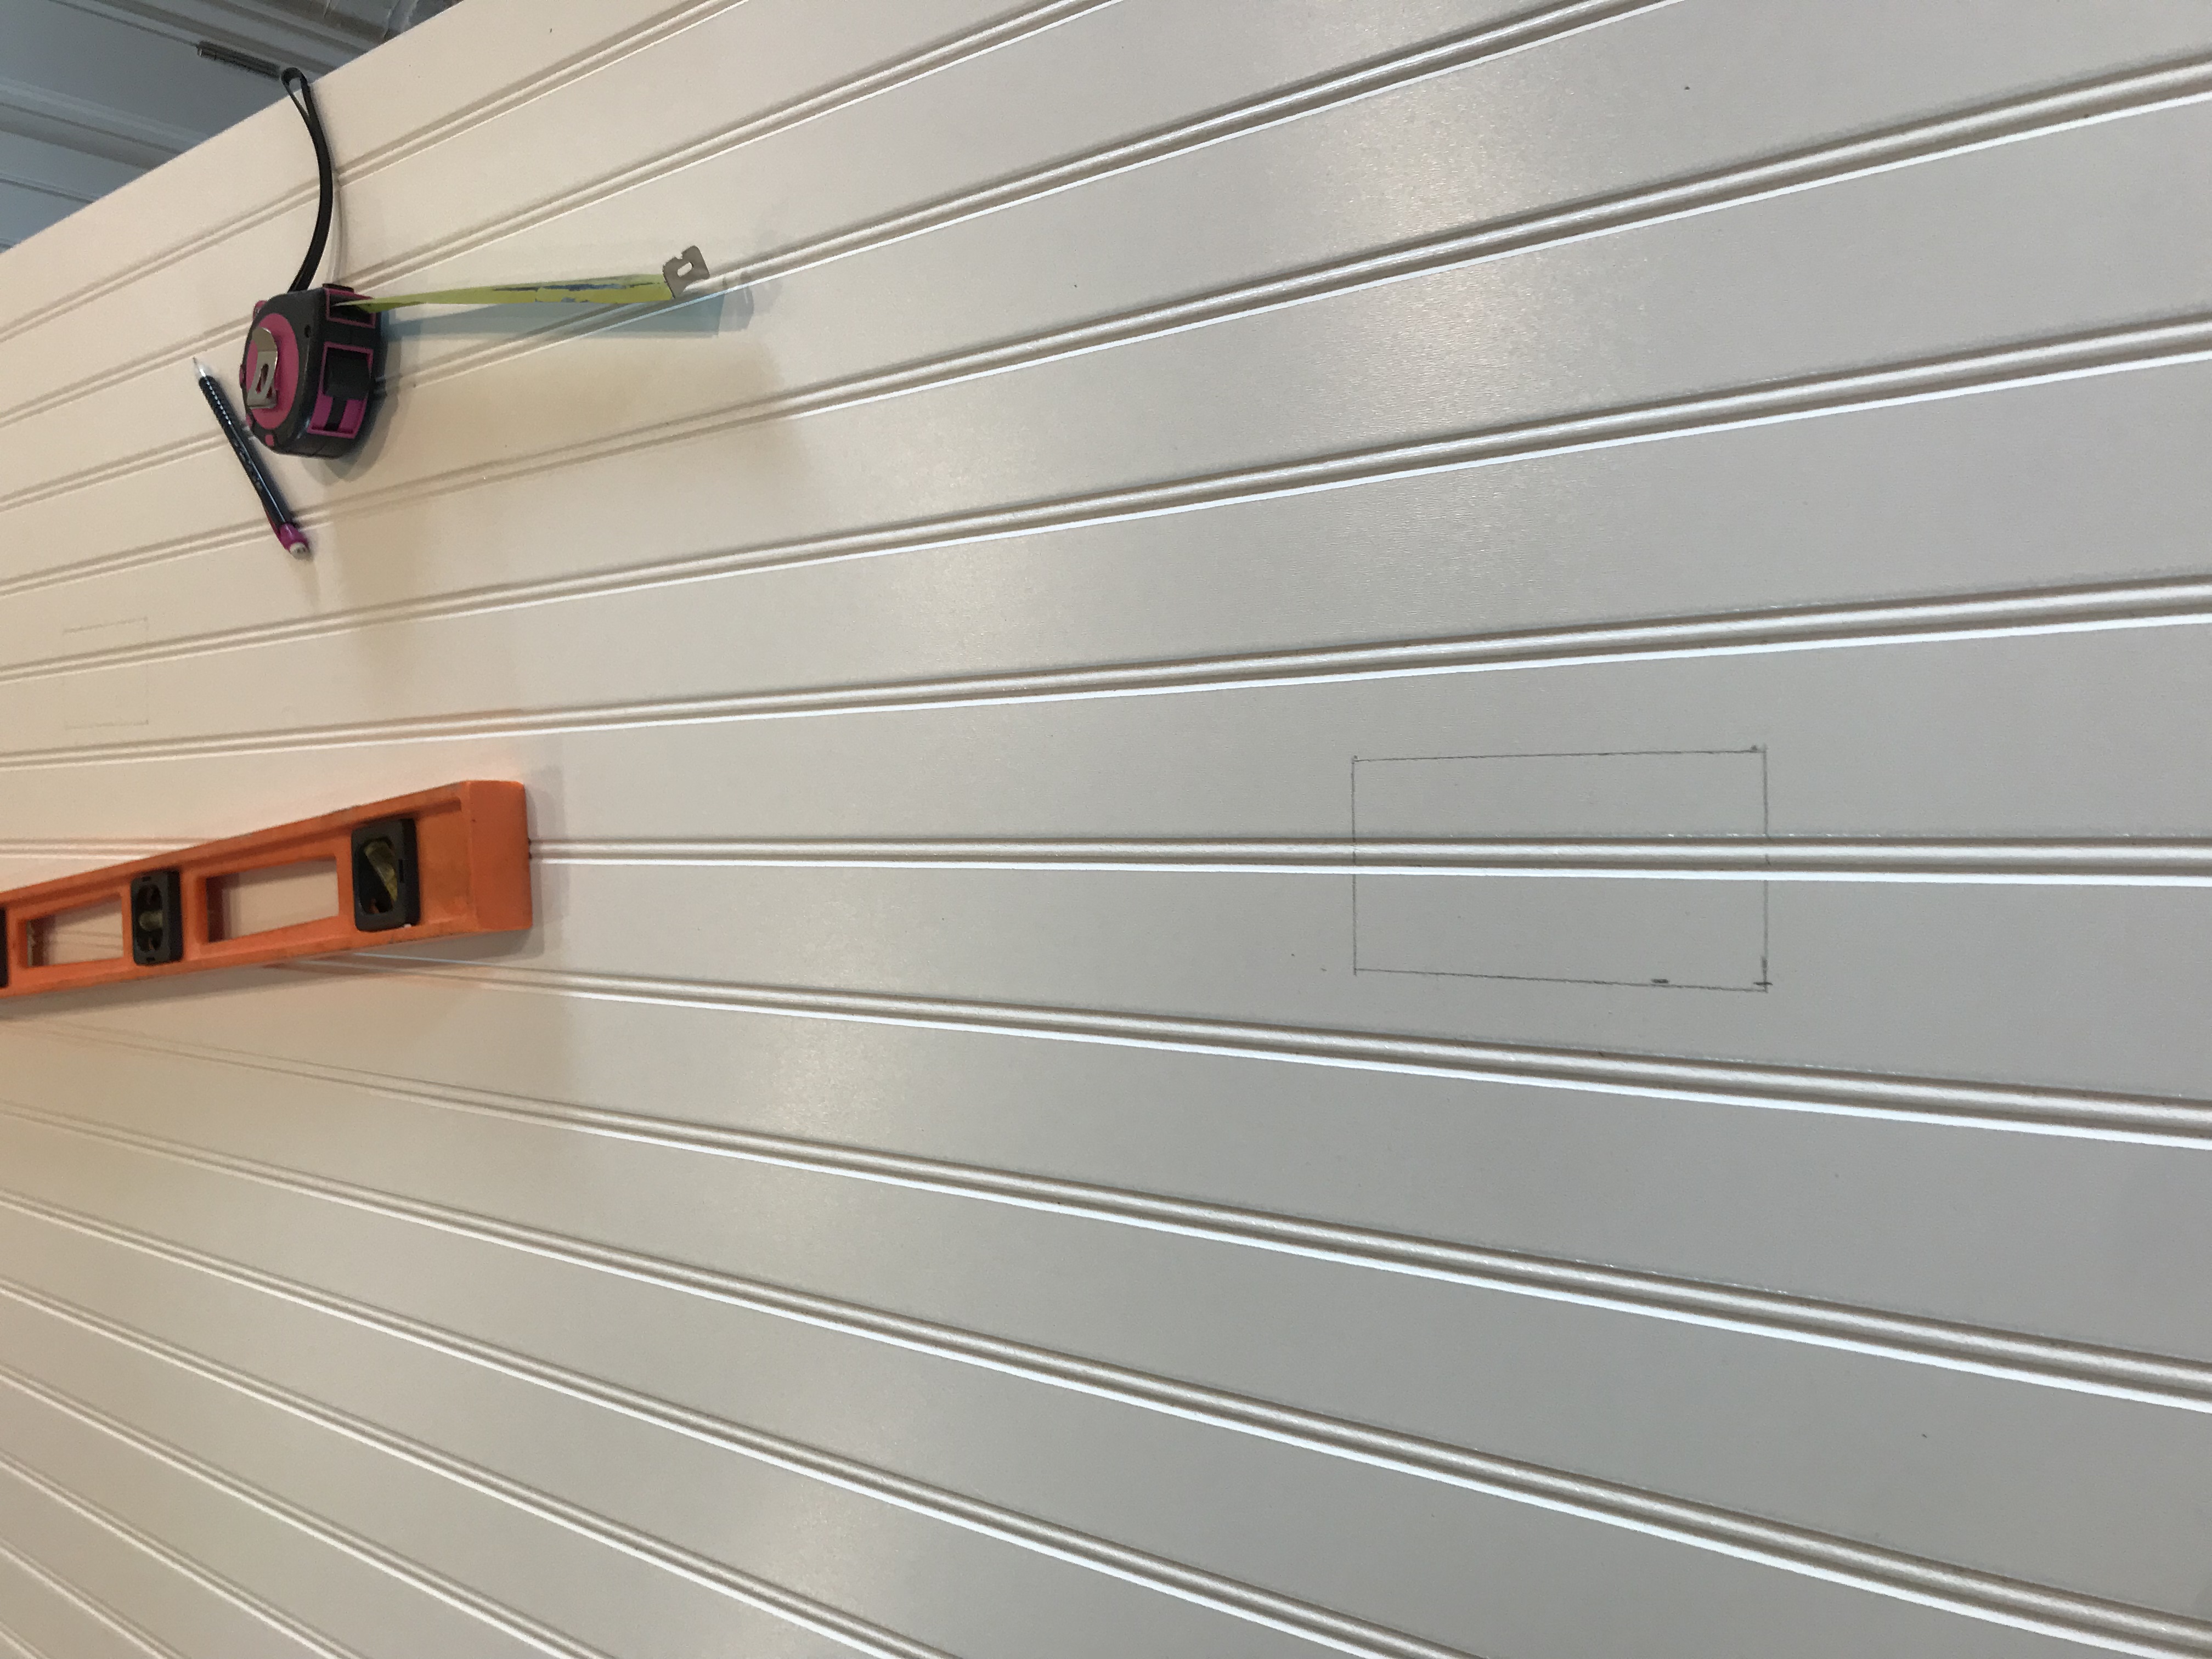
Something I’ve never done before is make cuts for outlets and such. Thank you God for You-Tube! I measured twice, cut once and still… had a little bit of a mishap. Math was never my strong suit!
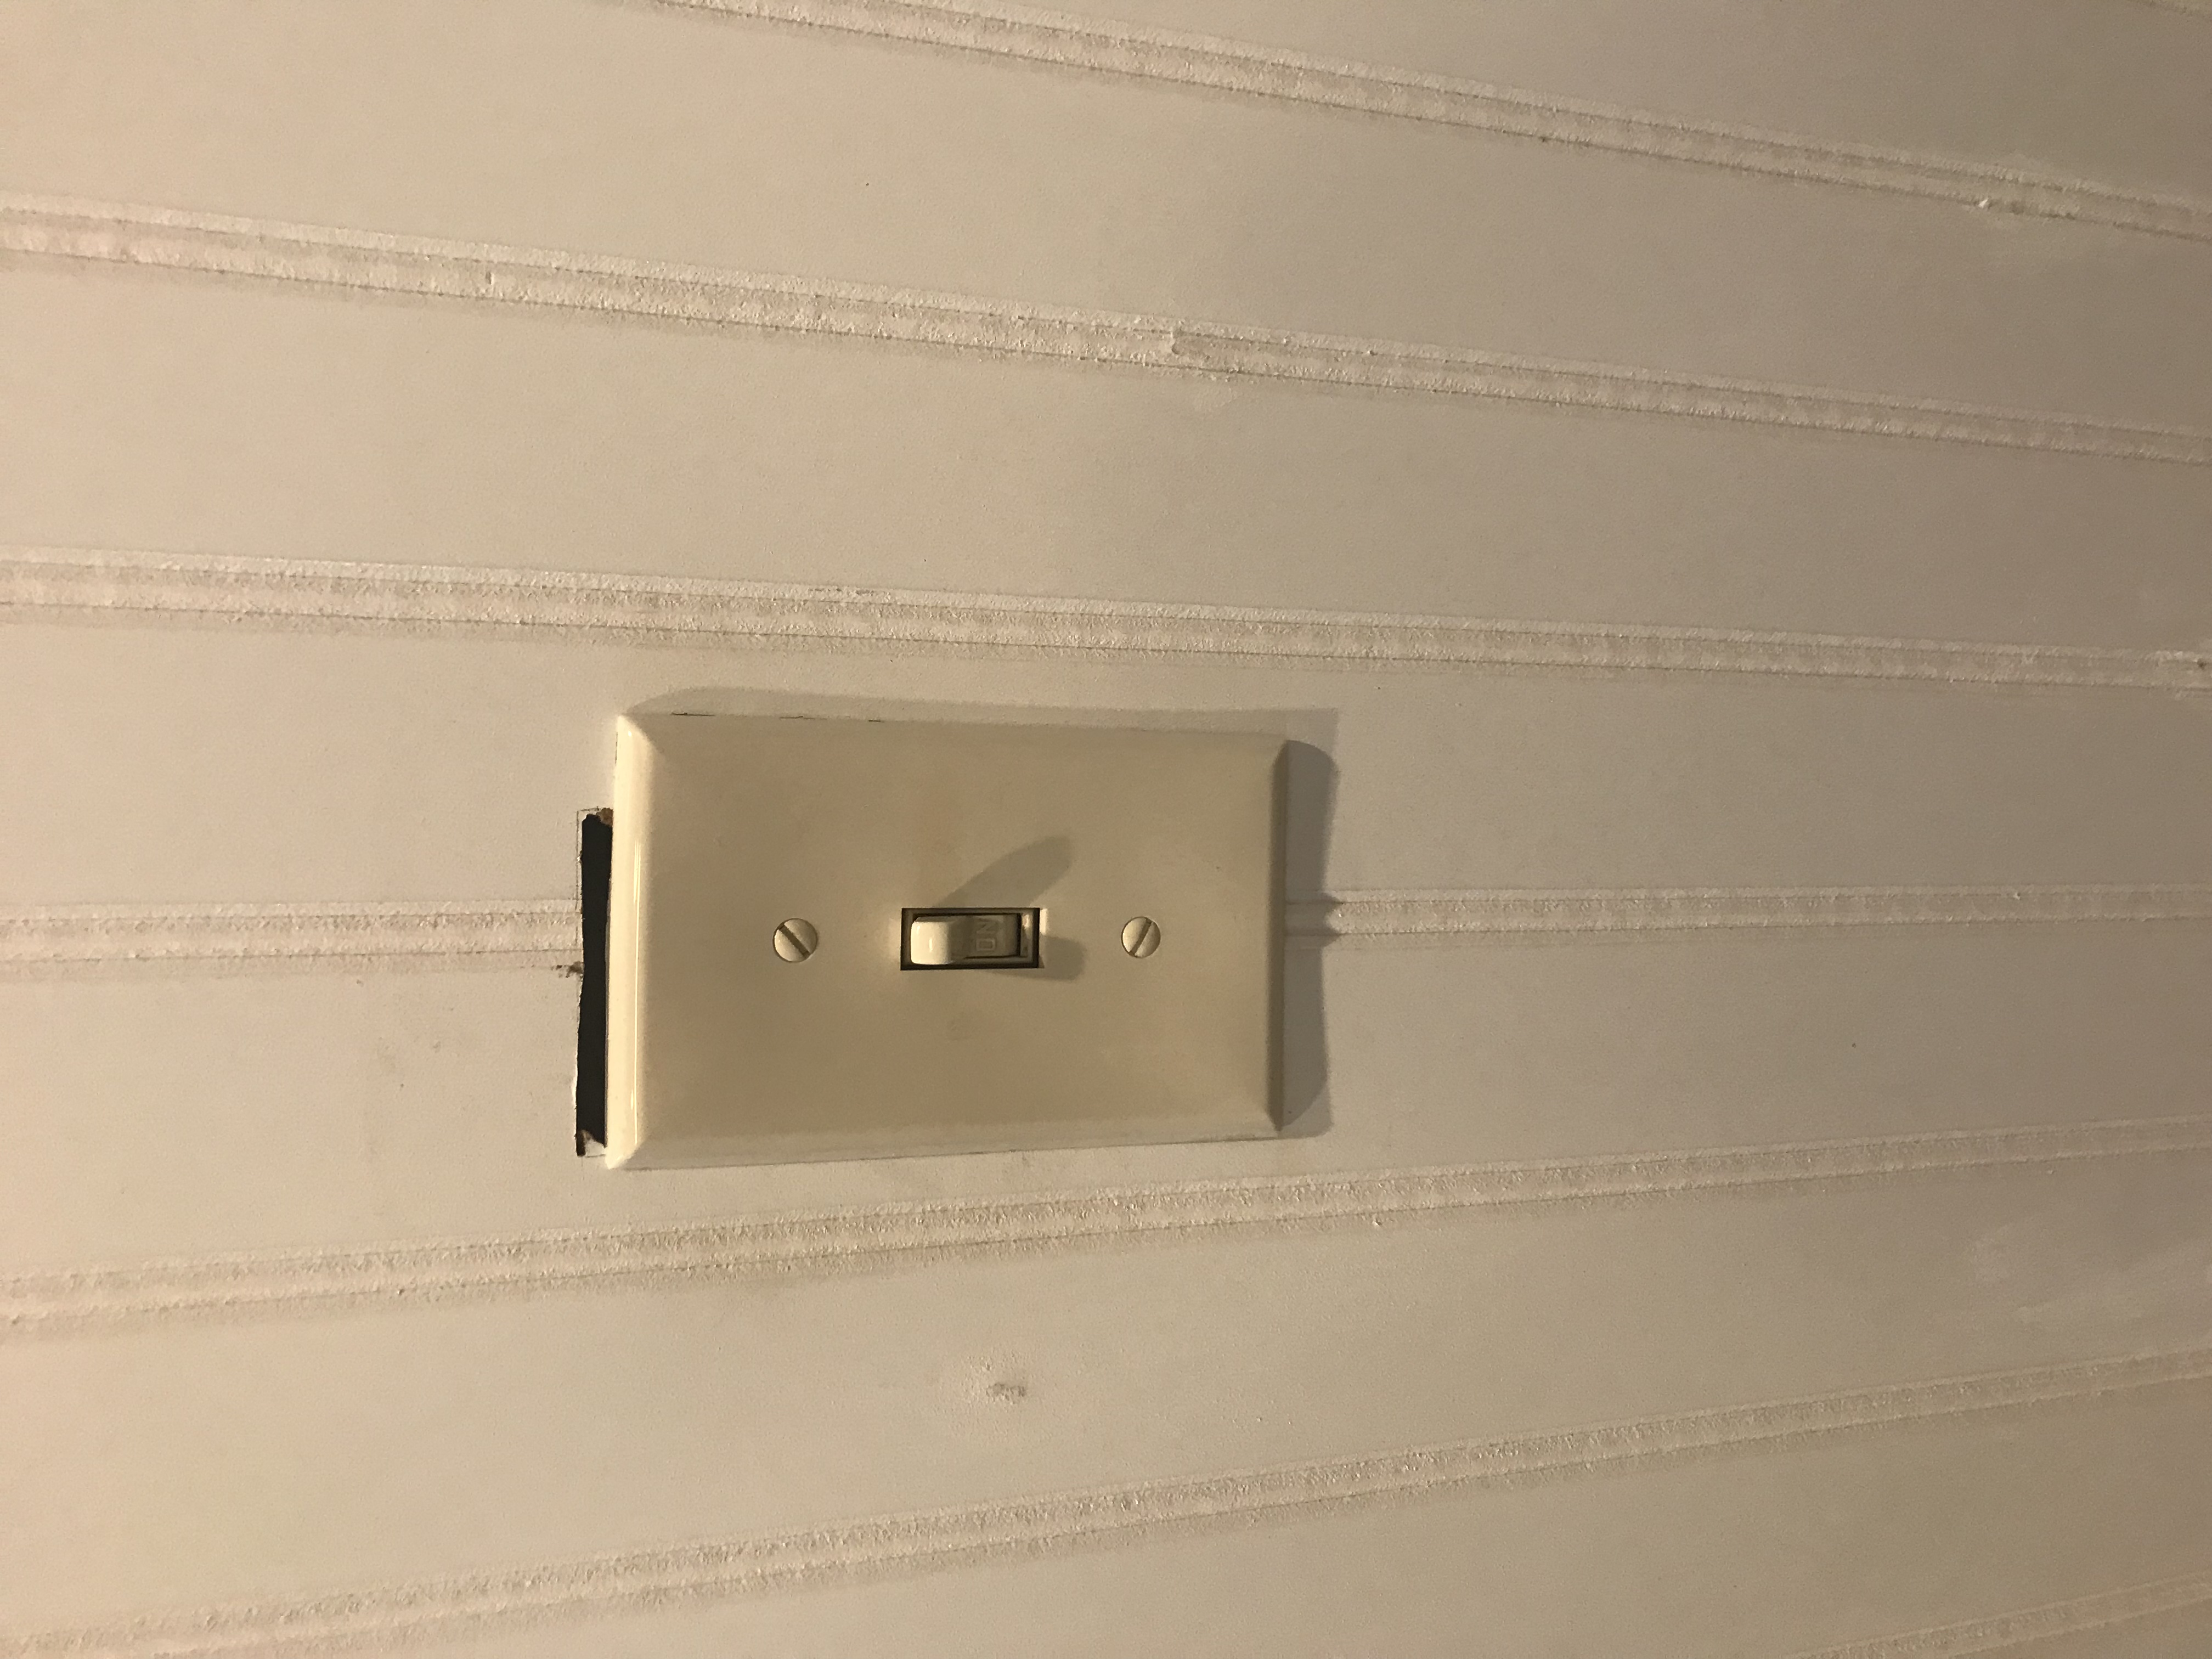
Out of 3 cuts, I only messed this one up. For my first time doing this, I call it a success! TIP: if this happens, don’t fret. Did you know that they make larger light switches?! A trip to Home Depot, less than $5 later, and I fixed this minor mess up.
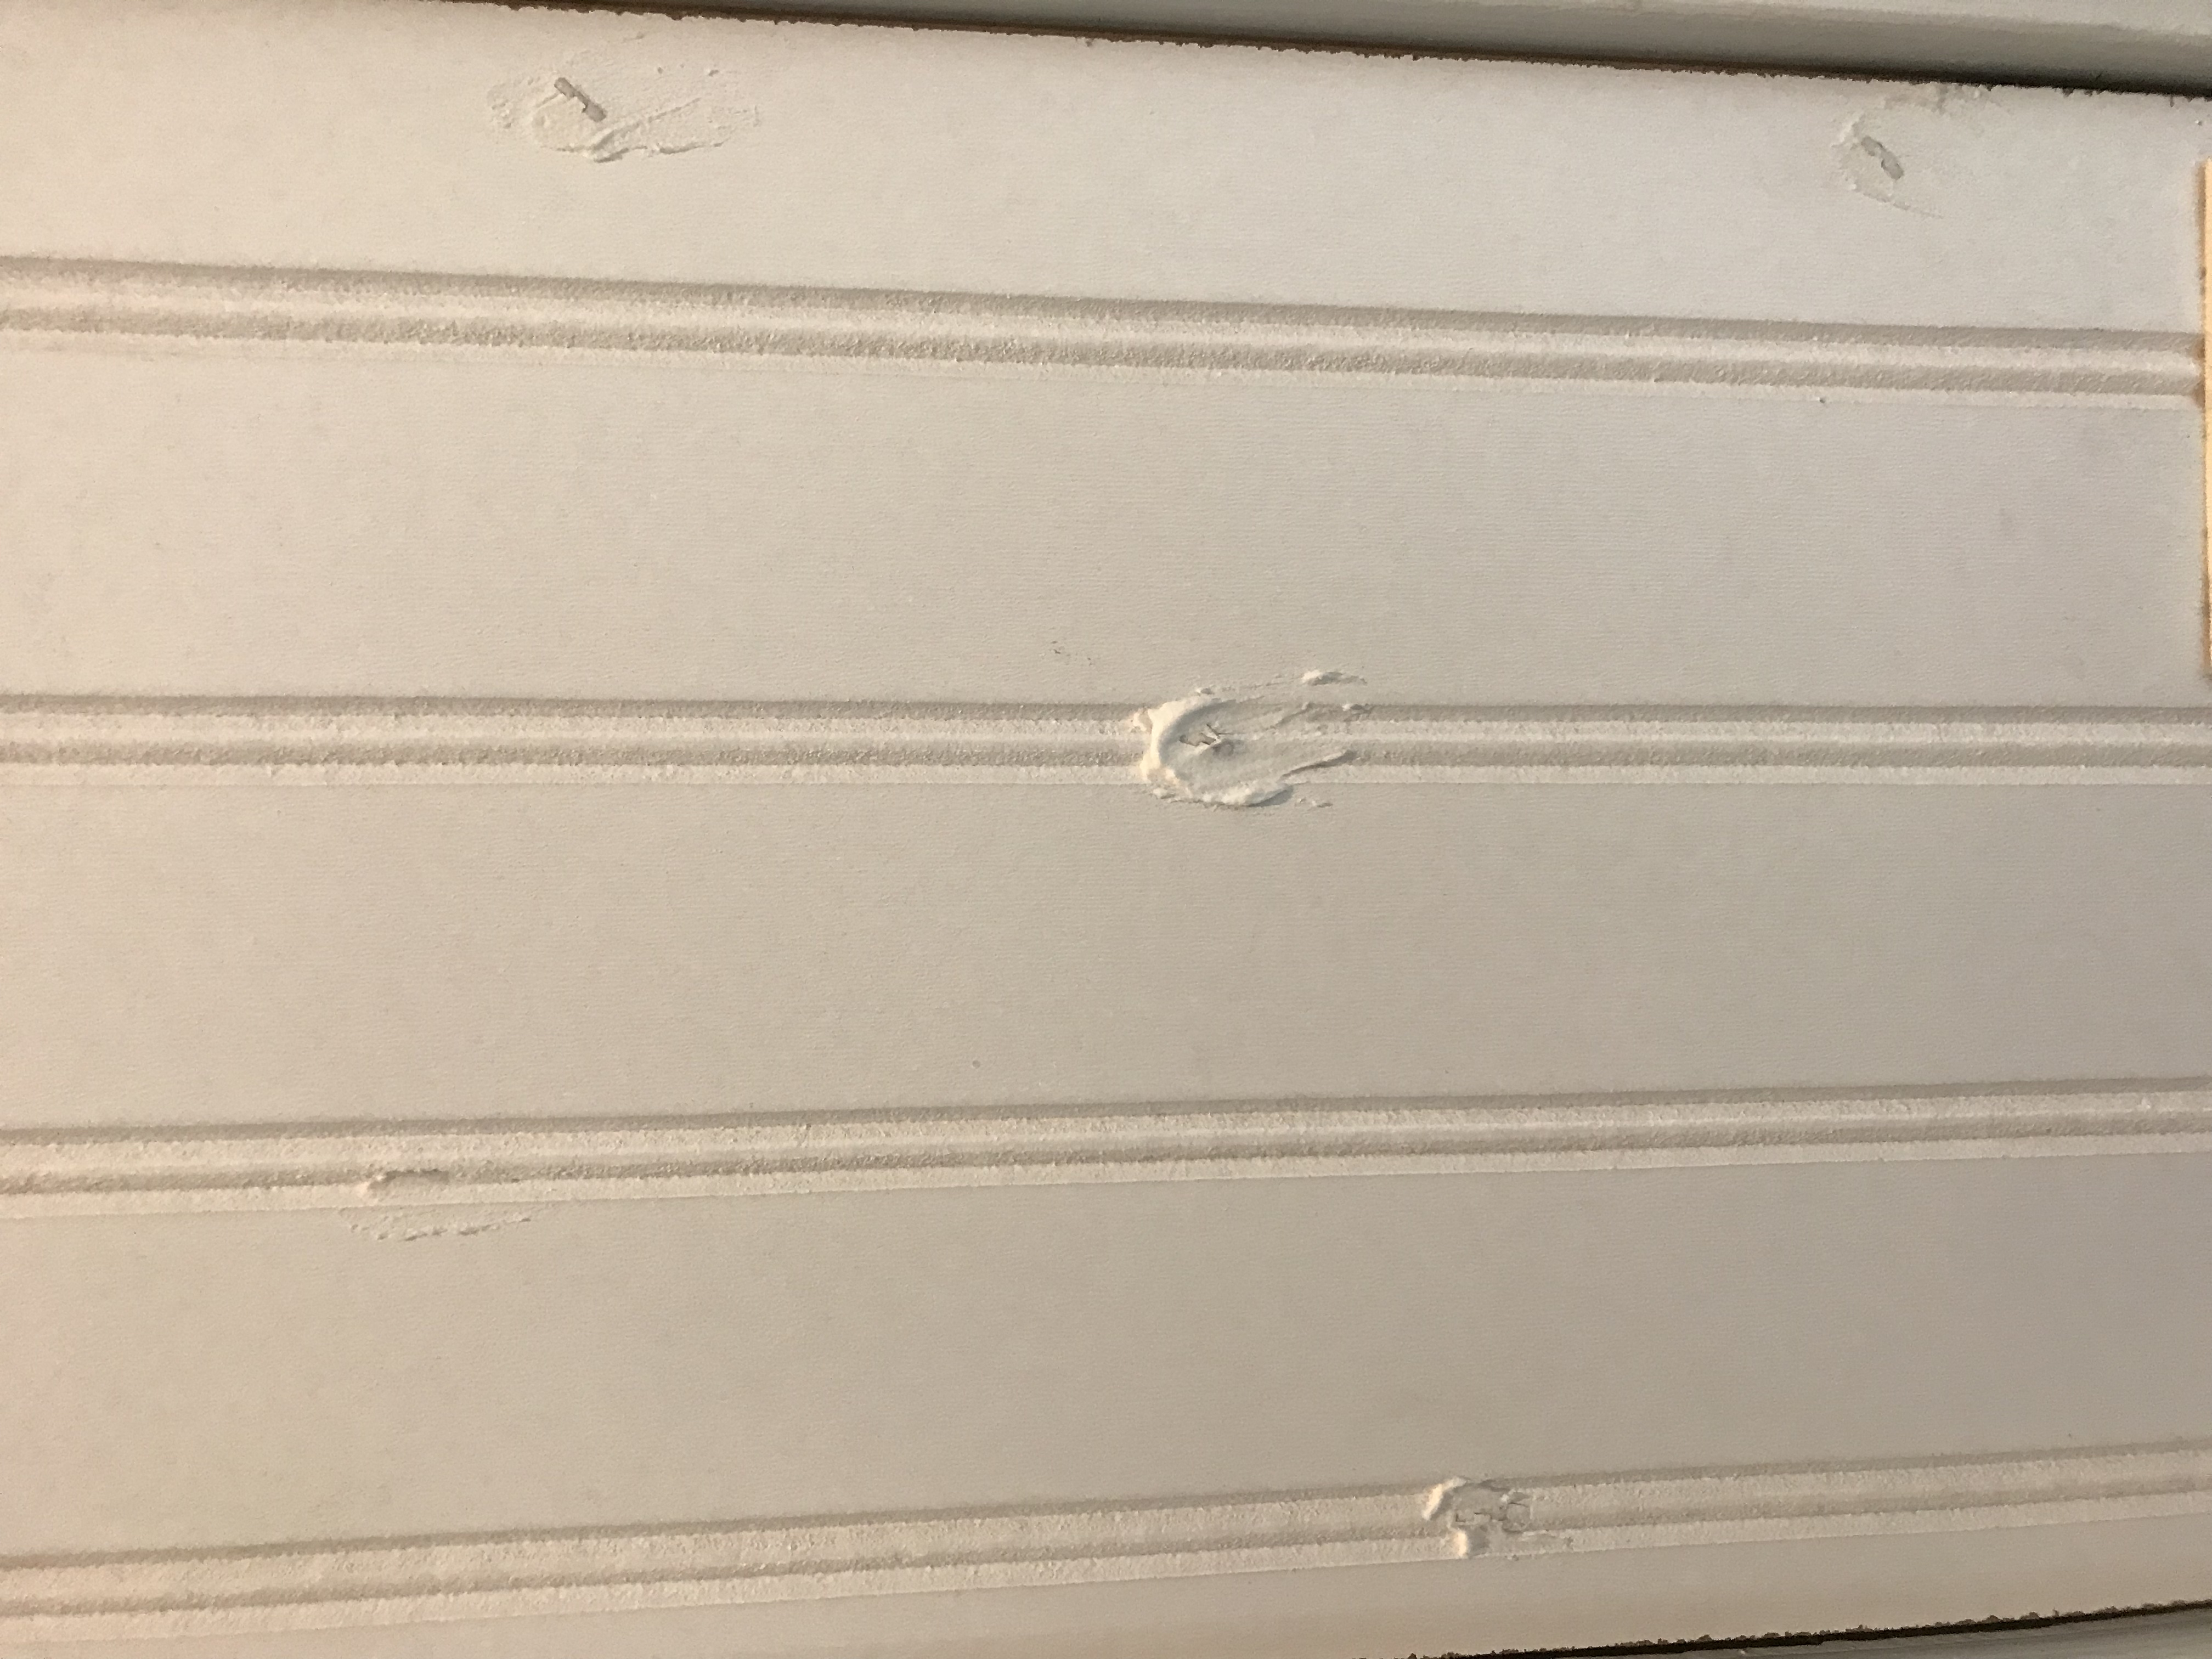
Fill in nail holes with putty 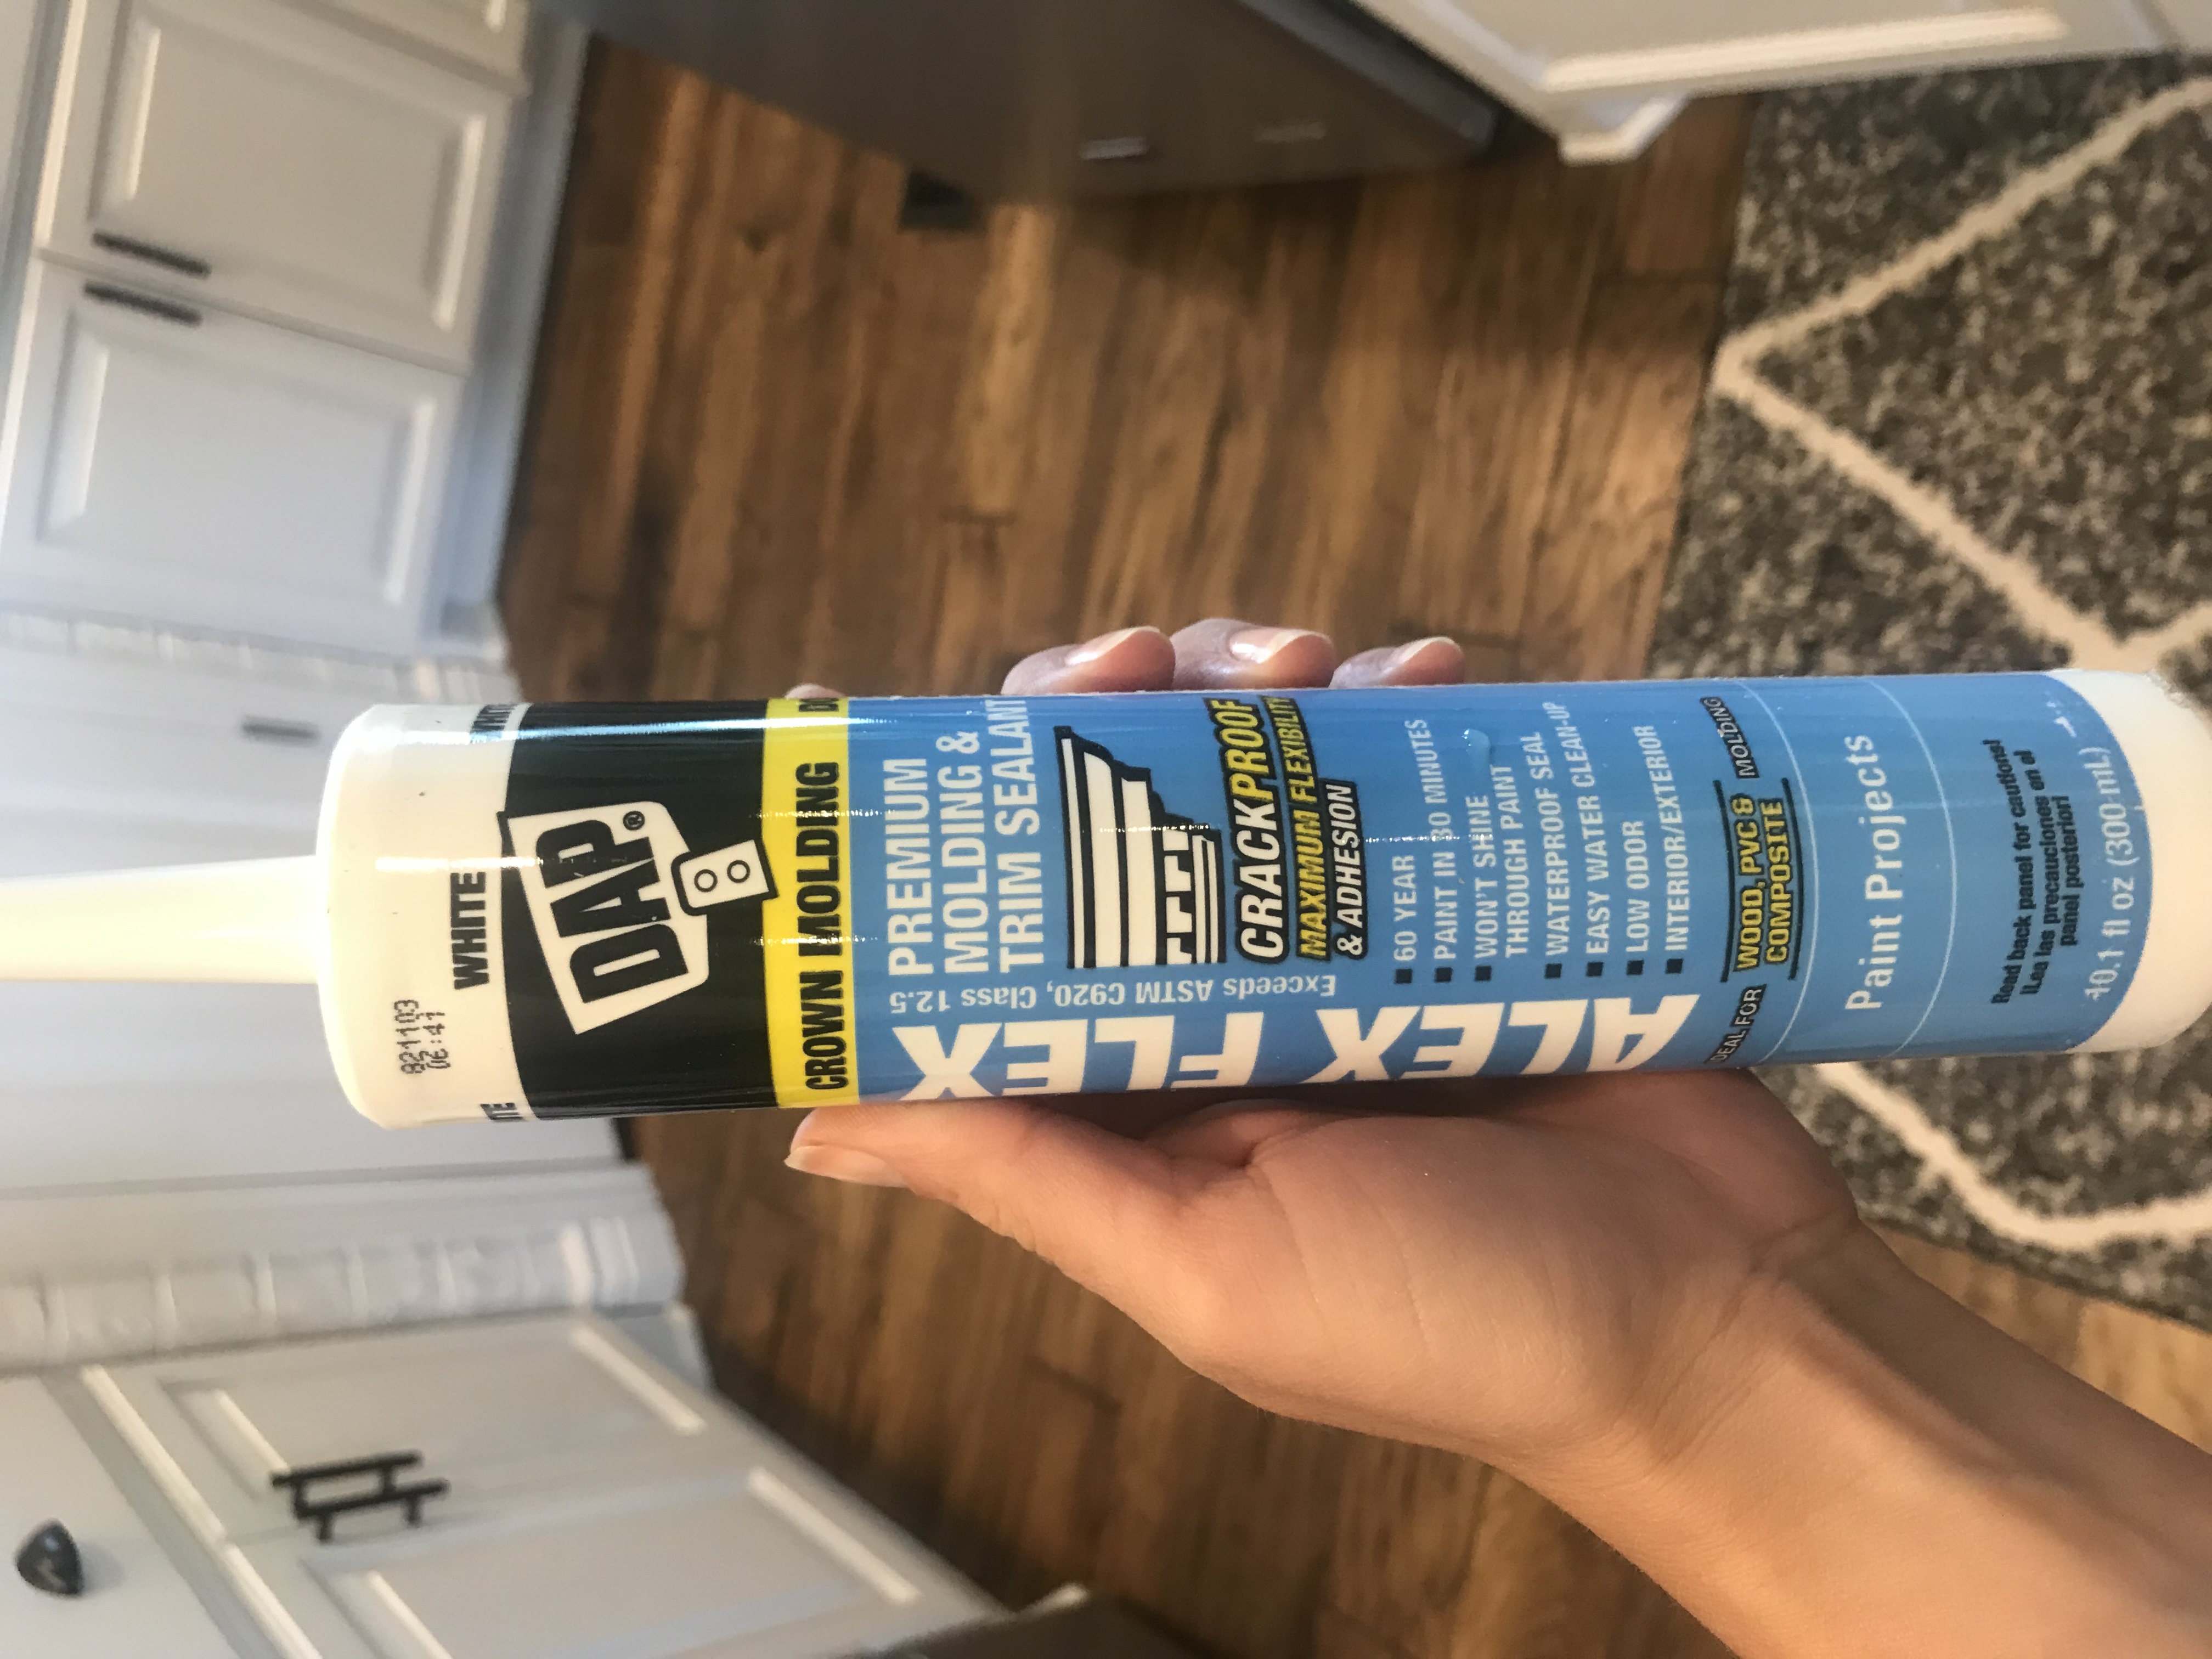
Use caulking to make everything look nice and seamless 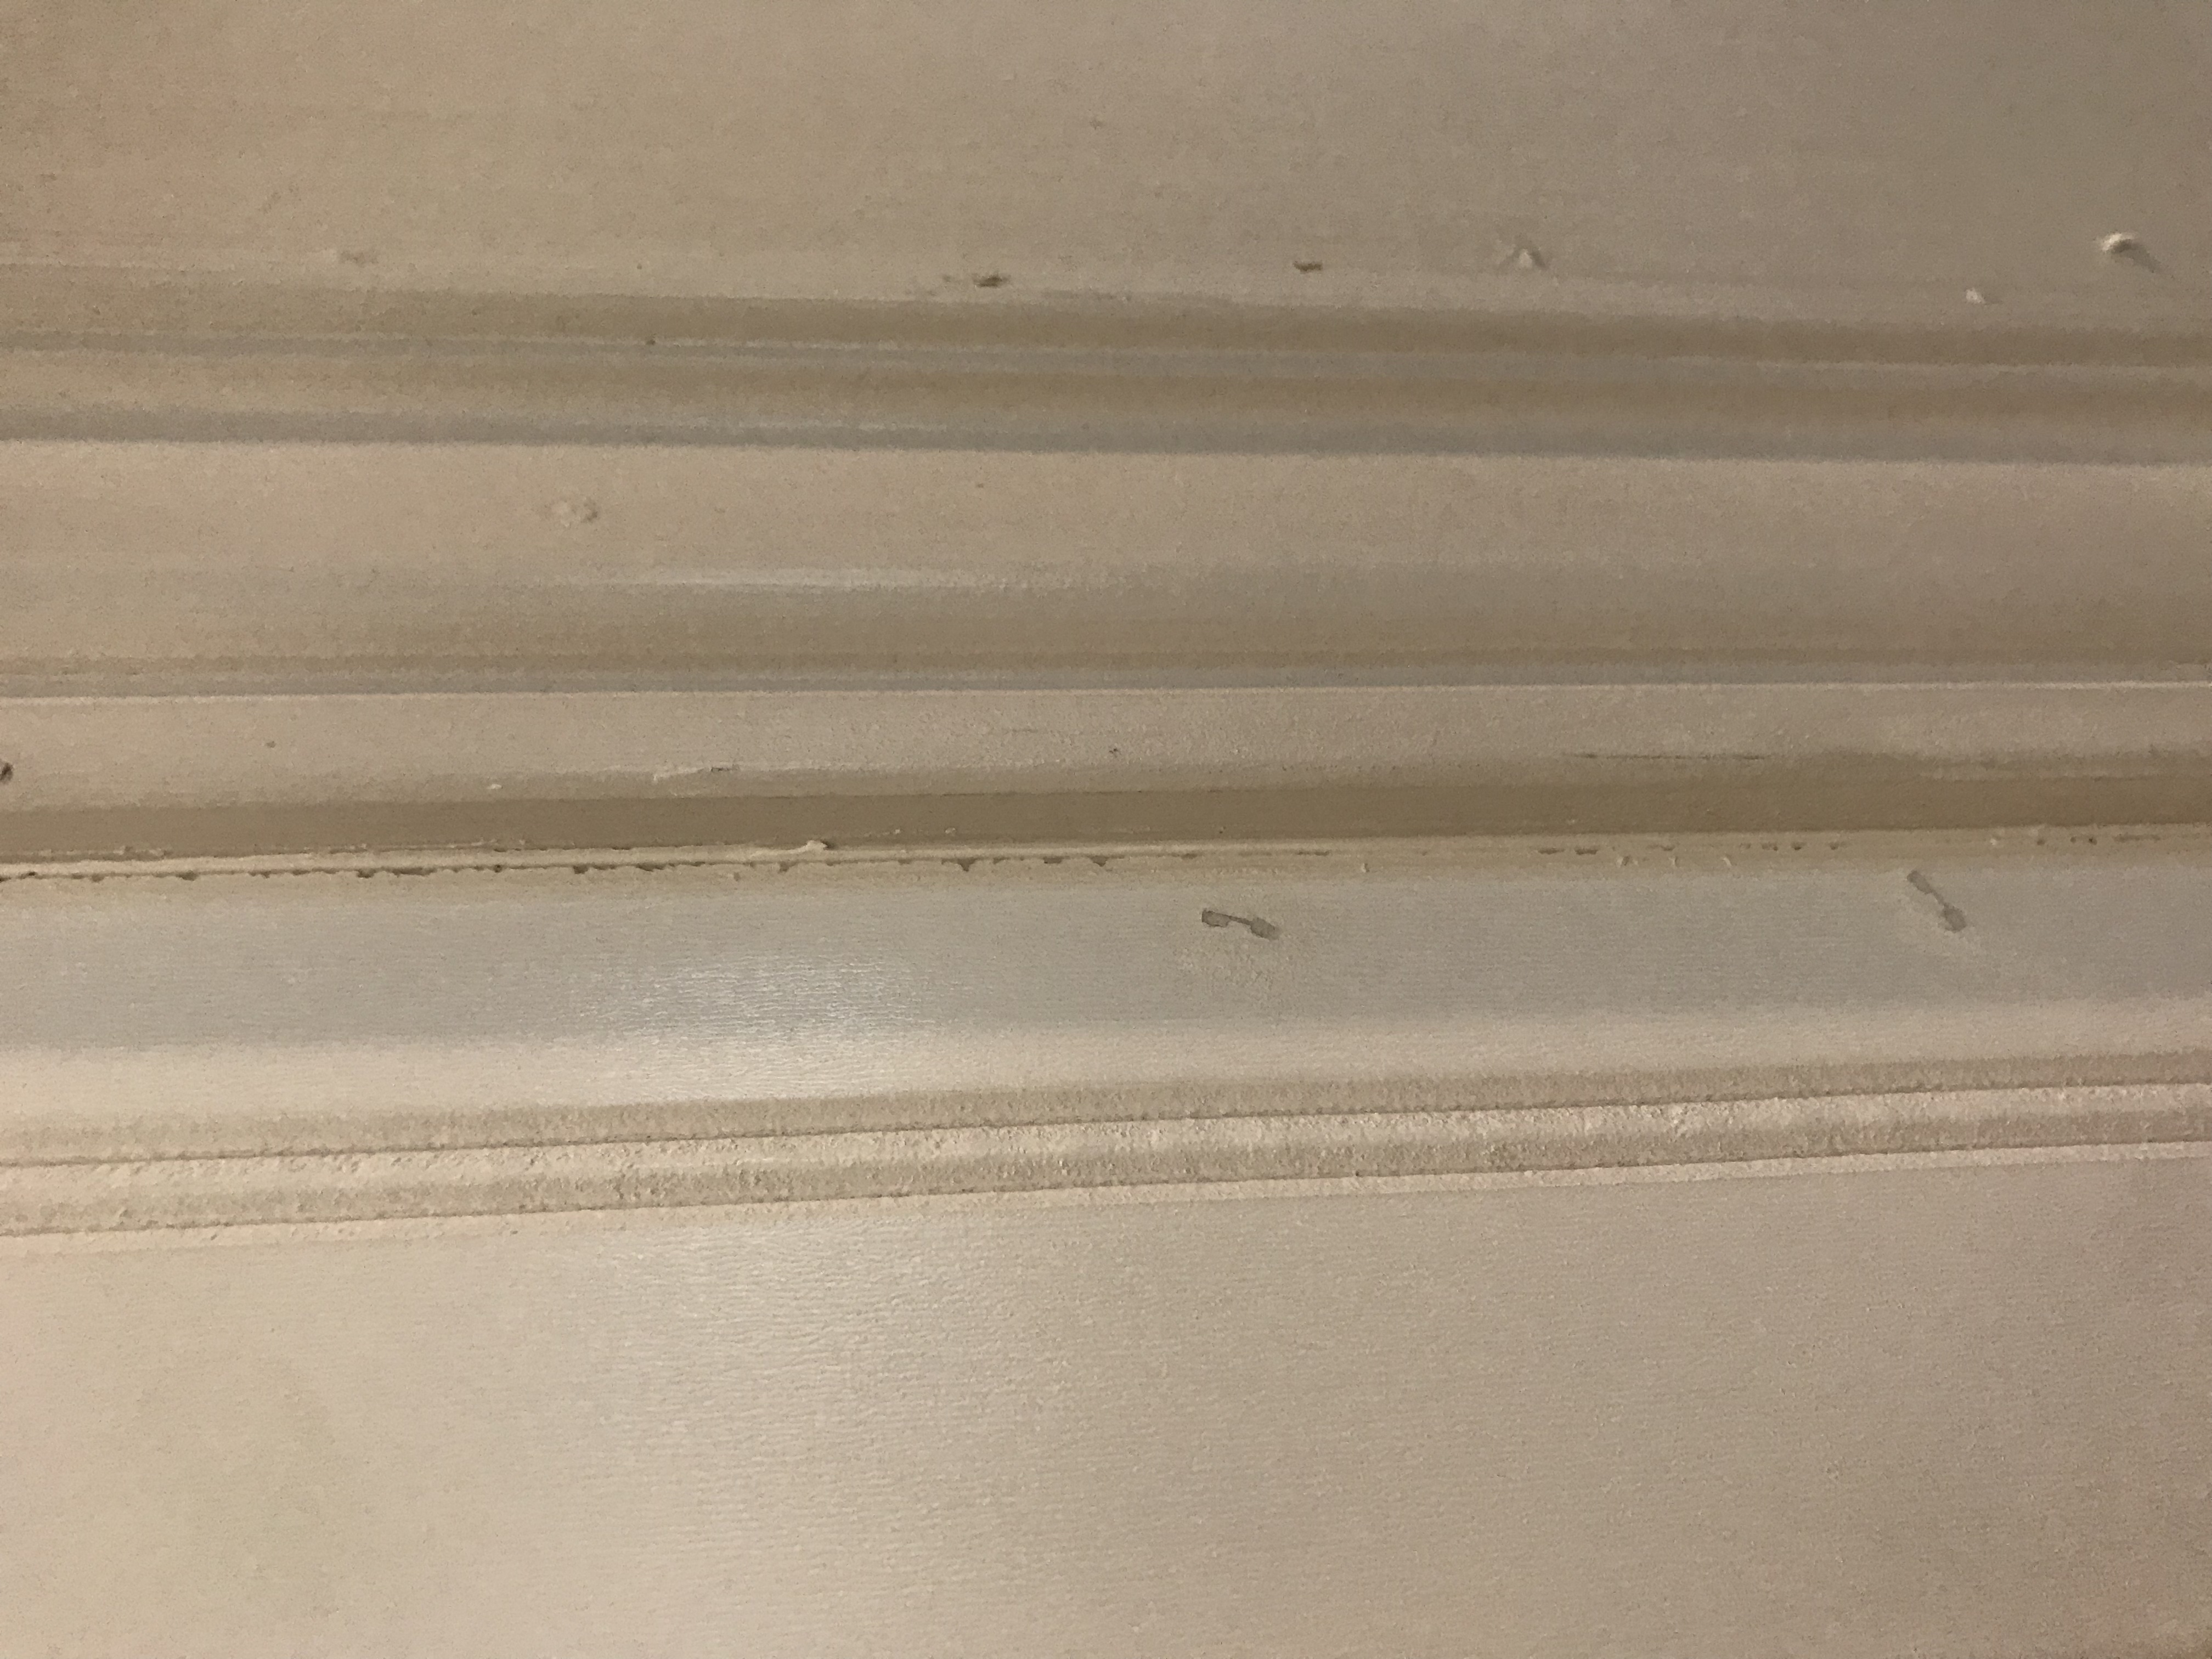
Sand nail holes down
There are so many different types of trim pieces you can add on top of the beadboard, we decided to just do something simple.
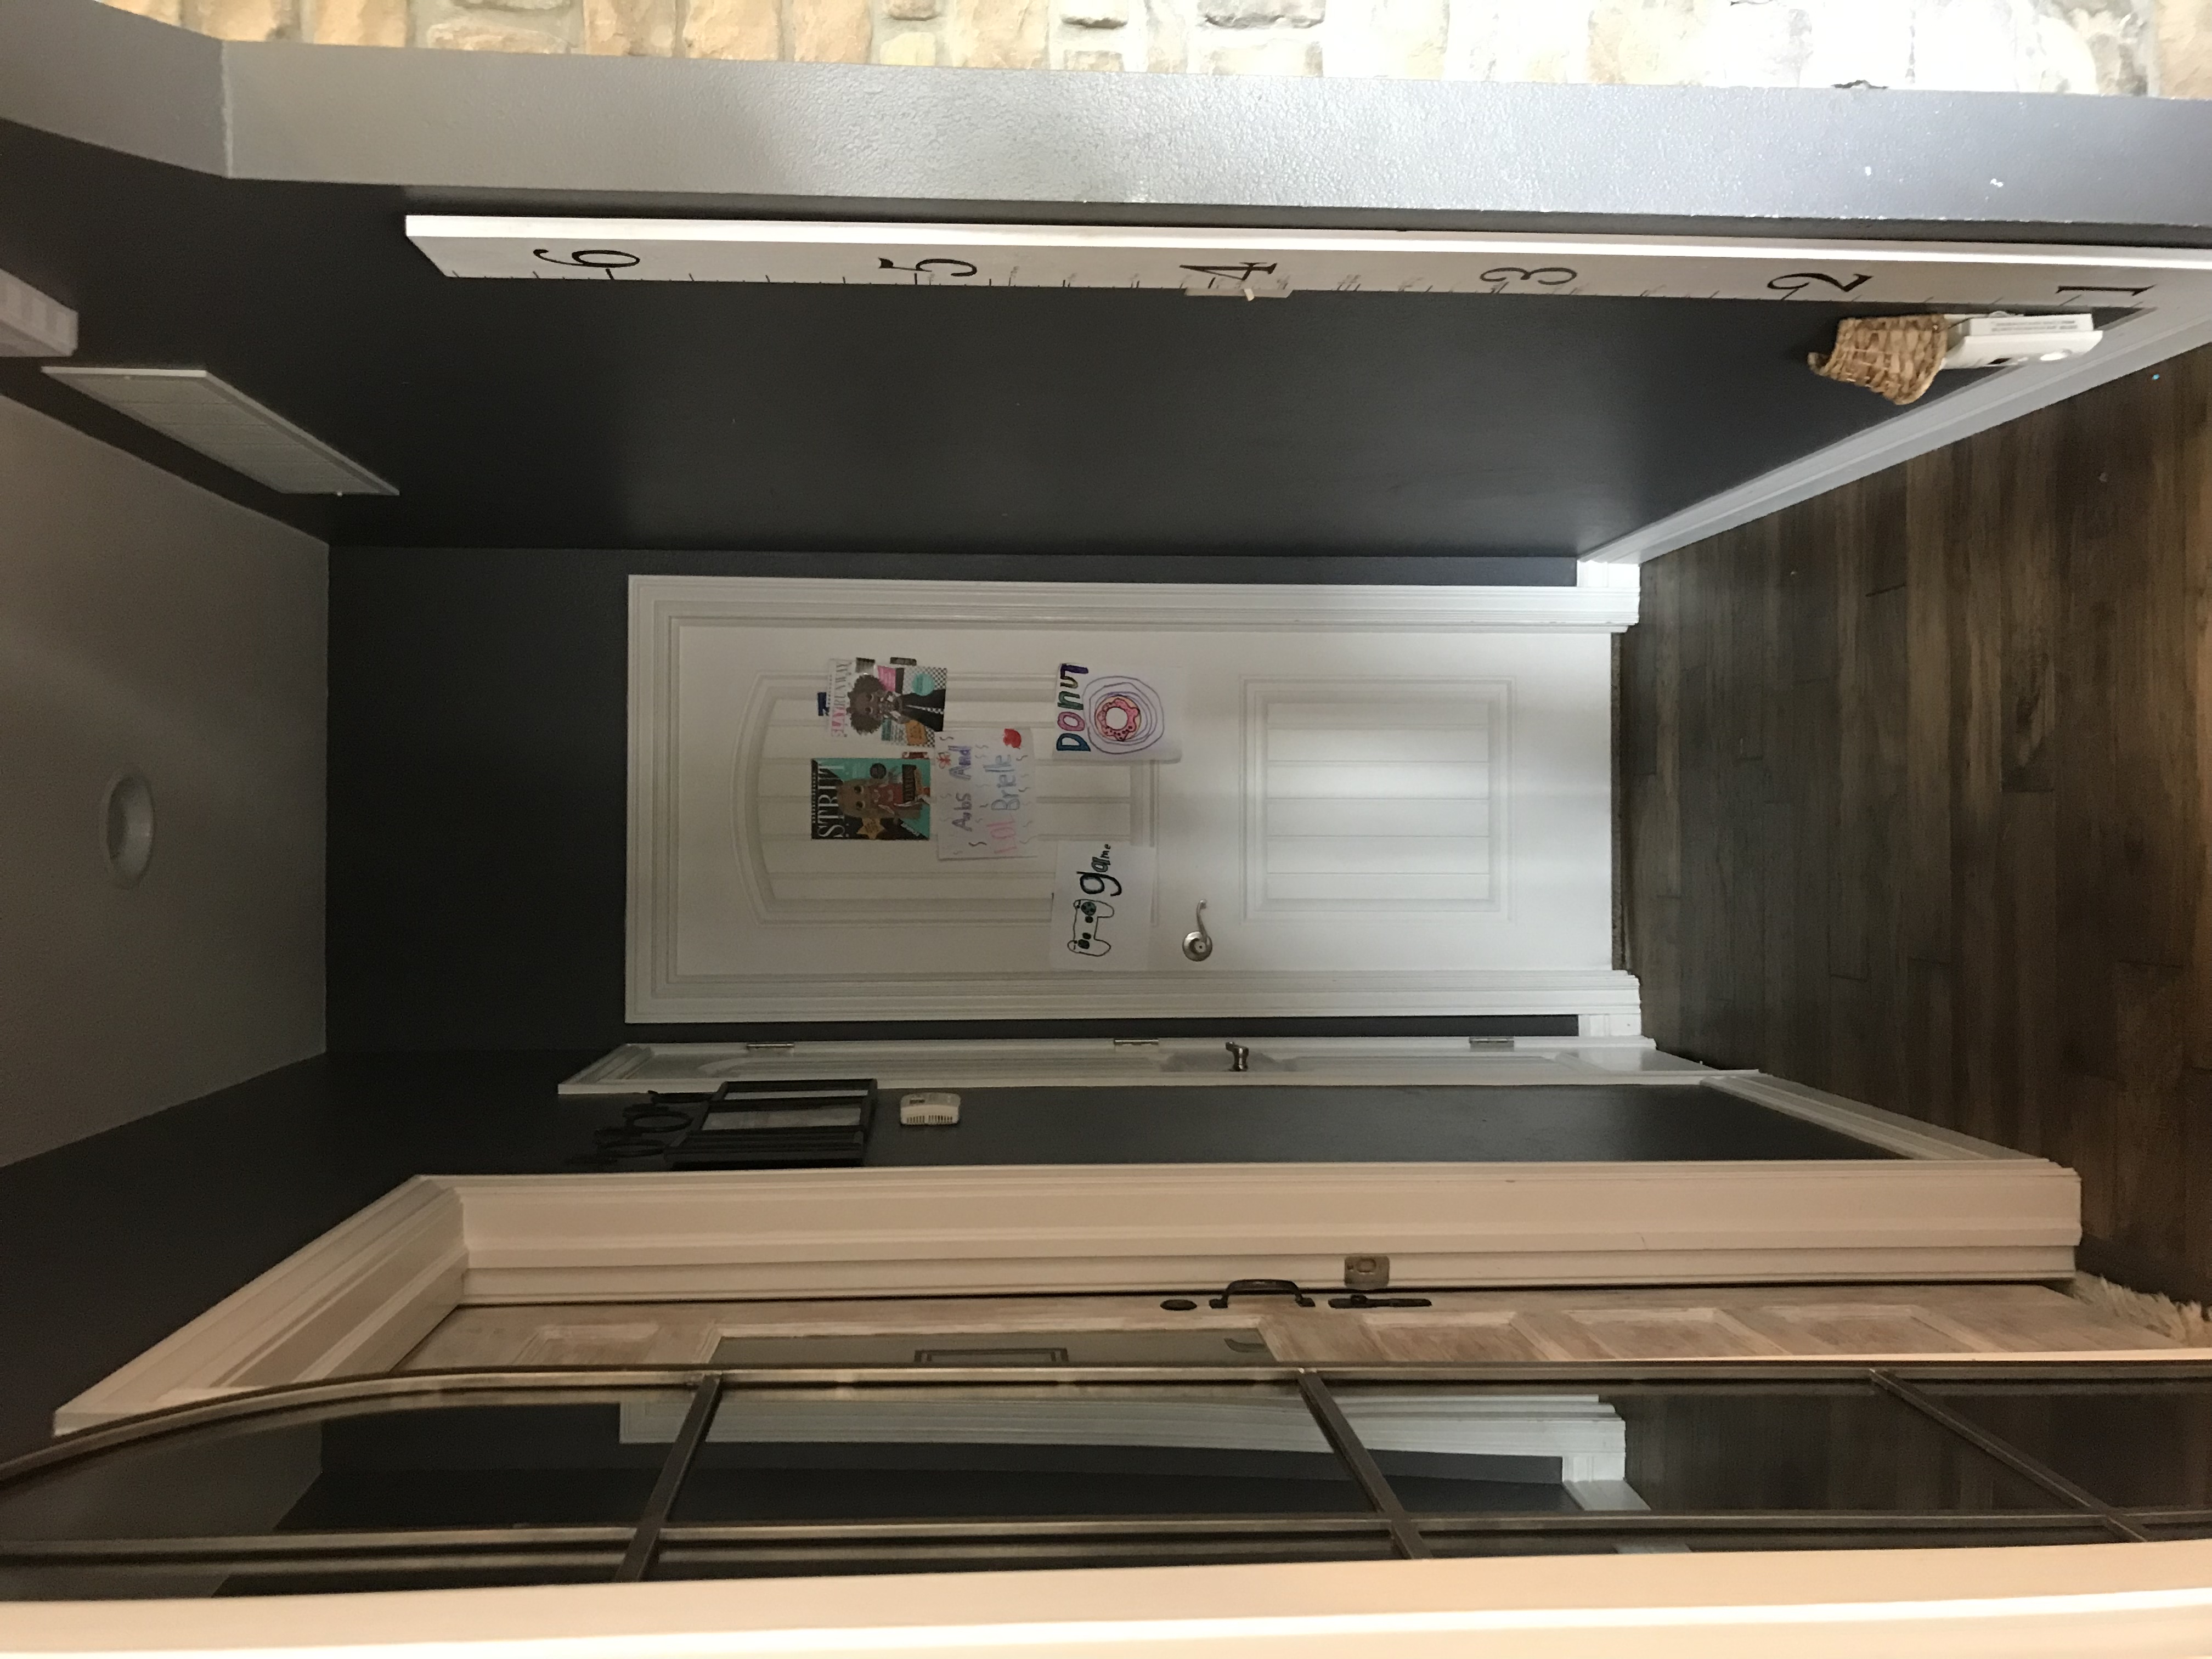
AFTER

After a LOT of sanding, caulking and painting, my beadboard walls were complete!!
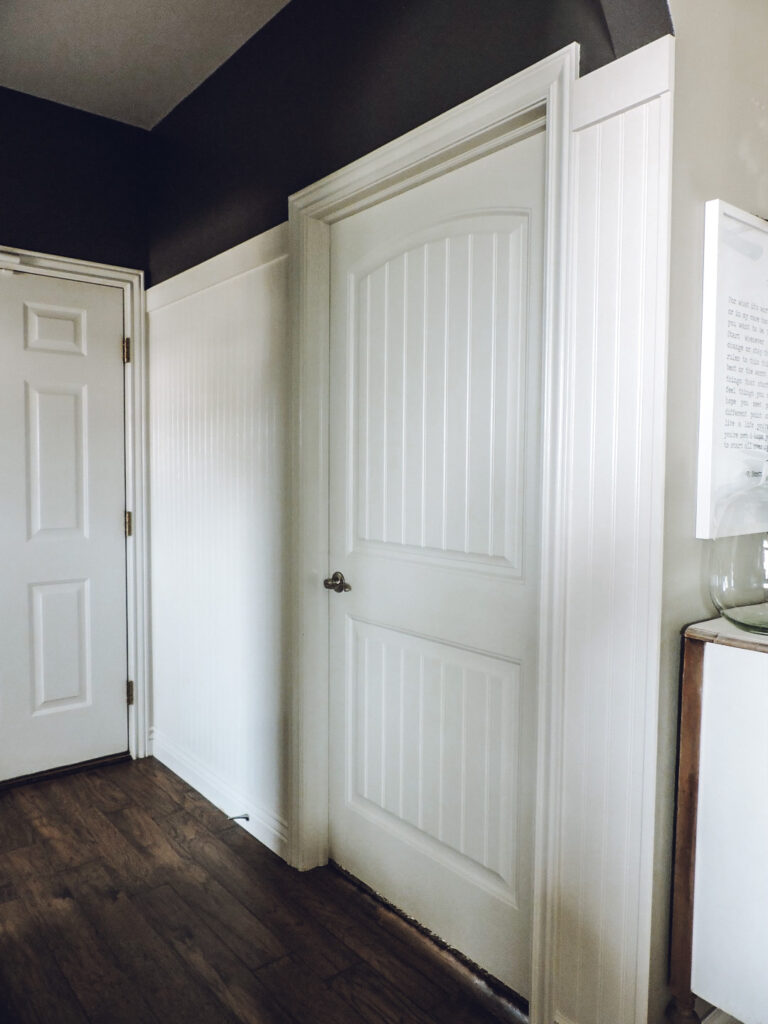

This is just the first step in my hallway makeovers and I absolutely love the look! I have some more ideas planned that will be happening soon!

If I can do this beadboard project, then you can too! I do want to mention a problem I ran into…. so since our walls aren’t perfectly straight some of my boards wouldn’t fit in some areas. I measured right but didn’t account for some areas of the wall being more narrow. I tired sanding among other innovative things that did not work at all. Matt helped me figure it out in the end BUT if I had to do it over, I would definitely minus 1/4 of an inch in some small corners to make sure that the board fit. Caulking will fix any gaps you have.
Love the character and warmth this beadboard gives and can’t wait to continue to add some warmth to this space! I am reading this design book right now and it is giving me major inspiration.
Thanks for stopping by!
xoxo Kayla